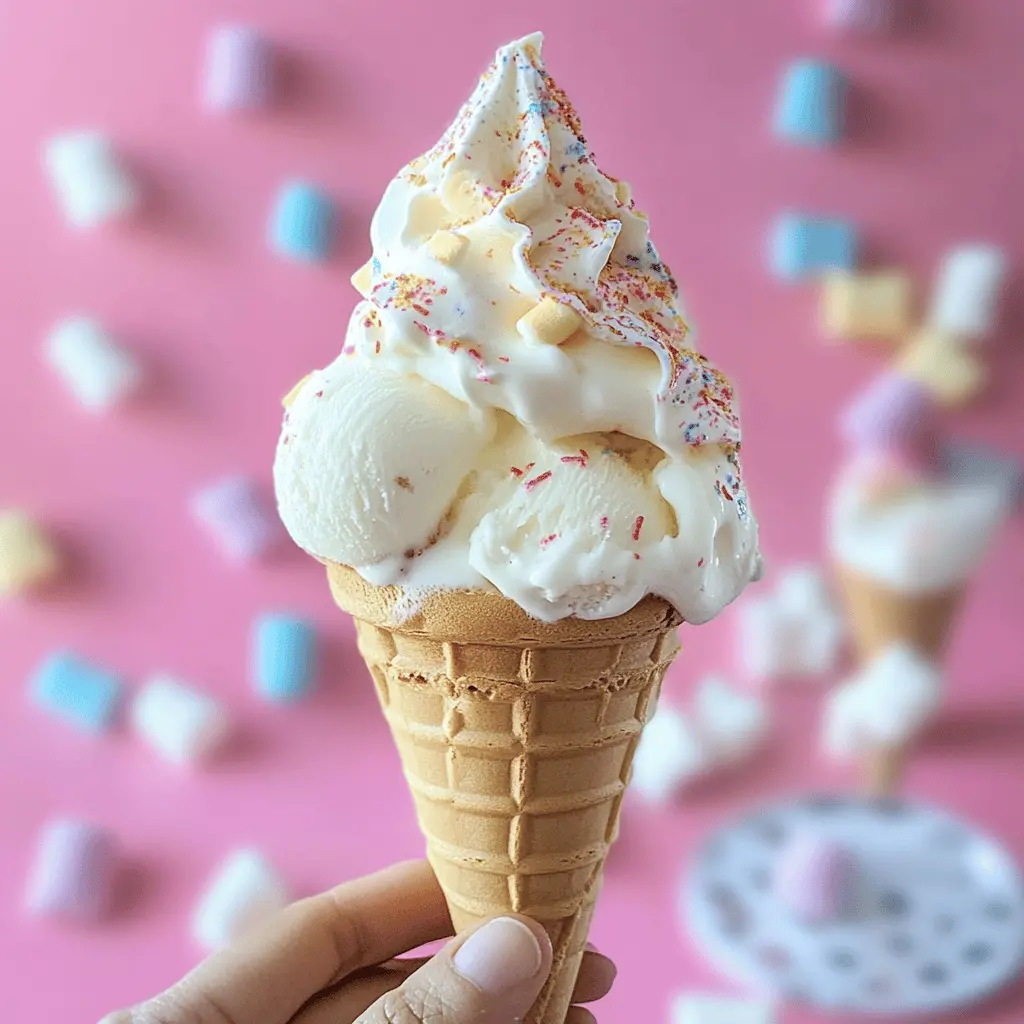
This Marshmallow Ice Cream is a creamy dream that will cool you down on hot days! With fluffy marshmallow swirls mixed into sweet, chilled ice cream, it’s simply delightful.
I love how easy it is to make and how it brings back childhood memories of summer fun. Scoop some into a cone, and you’ve got a treat that’s hard to beat! 😋
Key Ingredients & Substitutions
Heavy Cream: This is key for a rich and creamy texture. If you’re looking for a lighter option, you can try using half-and-half, though it might not be as creamy.
Whole Milk: Whole milk helps balance the creaminess. If you need a non-dairy alternative, coconut milk works well, giving a nice flavor too.
Sugar: Granulated sugar is best for sweetness. You could substitute it with brown sugar for a deeper flavor or use honey or maple syrup, but this might slightly alter the texture.
Marshmallows: Mini marshmallows are convenient, but regular ones can work too if you chop them up. For a healthier option, look for natural marshmallows made without artificial ingredients.
Vanilla Extract: Pure vanilla extract gives the best flavor. If you’re in a pinch, imitation vanilla can also be used, but it won’t be as rich in taste.
How Can I Perfectly Toast Marshmallows Without Burning Them?
Toasting marshmallows is a fun step that adds depth to the ice cream’s flavor! Here’s how to get perfectly toasted marshmallows without burning them:
- Preheat your oven thoroughly to 400°F (200°C).
- Spread the marshmallows evenly on the baking sheet. A single layer helps them toast evenly.
- Keep a close eye on them as they can go from perfectly toasted to burnt quickly, typically in about 5-7 minutes.
- If you’re a fan of that charred flavor, give them an extra minute or two, but be attentive!
Let them cool down before adding to the cream mixture. This will help maintain the lovely toasted flavor!
How to Make Toasted Marshmallow Ice Cream
Ingredients You’ll Need:
For The Ice Cream Base:
- 2 cups heavy cream
- 1 cup whole milk
- 3/4 cup granulated sugar
- 1 teaspoon vanilla extract
- 1/4 teaspoon salt
For the Toasted Marshmallow Swirl:
- 1 cup marshmallows (mini or regular)
- 1/4 cup toasted marshmallows for garnish (optional)
How Much Time Will You Need?
This delicious ice cream will take about 15 minutes of active prep time, plus at least 2 hours for chilling, and an additional 4-6 hours for freezing after churning. So, allow yourself enough time to enjoy this sweet treat!
Step-by-Step Instructions:
1. Toast the Marshmallows:
First things first! Preheat your oven to 400°F (200°C). Spread the marshmallows on a baking sheet lined with parchment paper. Toast them in the oven for about 5-7 minutes, until they’re golden brown and delicious. Keep a close eye on them so they don’t burn! Once they’re toasted, take them out and let them cool.
2. Blend the Base:
In a large mixing bowl, whisk together the heavy cream, whole milk, granulated sugar, vanilla extract, and salt. Make sure everything is well mixed and the sugar is dissolved. This will be the creamy base for your ice cream!
3. Add the Toasted Marshmallows:
Now, gently fold the cooled toasted marshmallows into your cream mixture. If you like a smoother texture, you can blend a portion of the marshmallows in a blender before adding them. This step is optional, but it can give your ice cream a nice consistency!
4. Chill the Mixture:
Cover the ice cream mixture and pop it in the fridge for at least 2 hours. This chilling step is important as it helps the flavors meld together and ensures a creamy ice cream.
5. Churn the Ice Cream:
Once your mixture is chilled, pour it into your ice cream maker. Churn according to the manufacturer’s instructions, which usually takes about 20-25 minutes, until it’s the right consistency.
6. Freeze the Ice Cream:
After churning, transfer the ice cream to an airtight container. If you want it firmer (and who doesn’t?), freeze it for an additional 4-6 hours before serving. Patience is key here!
7. Serve and Garnish:
Now it’s time to enjoy your creation! Scoop the toasted marshmallow ice cream into cones or bowls. If you’re feeling fancy, top it with some more toasted marshmallows before serving. Dig in and enjoy this sweet treat!

Can I Use Different Types of Milk?
Yes! If you prefer a lighter option, you can use a reduced-fat milk or substitute with almond or oat milk for a dairy-free version. Keep in mind that using non-dairy milk may affect the creaminess of the ice cream, so you might want to add a little extra sugar or a splash of vanilla to enhance the flavor.
What If I Don’t Have an Ice Cream Maker?
No worries! You can still make this ice cream without one. Pour the chilled mixture into a shallow dish and place it in the freezer. Every 30 minutes, stir the mixture with a fork to break up any ice crystals until it’s fully frozen and creamy. This usually takes about 2-3 hours.
How to Store Leftovers?
Store any leftover ice cream in an airtight container in the freezer. It’s best enjoyed within 1-2 weeks for optimal flavor and texture. If the ice cream hardens too much, let it sit at room temperature for a few minutes before scooping.
Can I Customize the Flavor?
Absolutely! Feel free to add mix-ins like chocolate chips, crushed cookies, or nuts after churning for added texture and flavor. Just remember not to overload the mixture to ensure it freezes properly!