Making homemade ice cream is one of my favorite kitchen activities. There’s something truly special about creating a cold, sweet treat right in your own home. Today, I’m excited to share two amazing recipes for creamy ice cream that I think you’ll absolutely love.
Whether you’re a fan of rich chocolate or prefer the kick of coffee, these easy ice cream recipes will help you make perfect scoops every time. Get ready to churn up some deliciousness!
Jump to Recipe:
Best Creamy Homemade Chocolate Ice Cream Recipe
This chocolate ice cream recipe is a true classic. It gives you a rich, smooth, and deeply satisfying chocolate flavor that’s perfect for any time.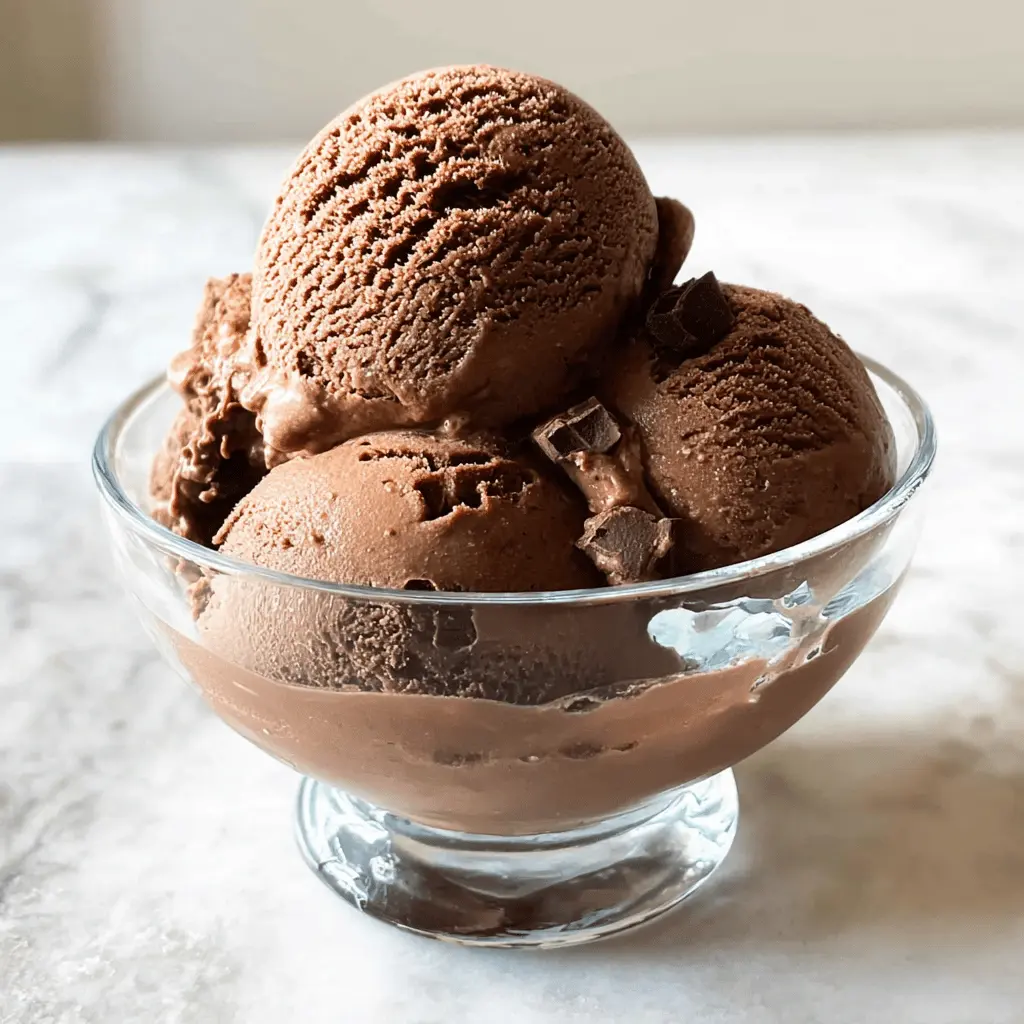
Key Ingredients & Tips for Rich Chocolate Ice Cream
- Quality Cocoa Powder: Use a good quality unsweetened cocoa powder for the best, most intense chocolate flavor in your ice cream.
- Full-Fat Dairy: Heavy cream and whole milk are essential for achieving that wonderfully creamy texture you want in homemade ice cream.
- Chill Completely: Make sure your ice cream base is fully chilled before churning. This helps the ice cream freeze correctly and become extra smooth.
What You Need for Creamy Chocolate Ice Cream
- 2 cups heavy cream
- 1 cup whole milk
- ¾ cup granulated sugar
- ½ cup unsweetened cocoa powder
- 1 teaspoon vanilla extract
- Pinch of salt
⏱️ Time: 30 minutes prep, 4-6 hours chill, 20-25 minutes churn🍽️ Yields: About 1 quart (4 servings)
How to Make This Chocolate Treat
Step 1: Make the Chocolate Base
In a medium saucepan, combine the heavy cream, whole milk, sugar, cocoa powder, and salt. Heat over medium heat, stirring often, until the sugar is fully dissolved and the mixture is warm but not boiling. Remove from heat and stir in the vanilla extract.
Step 2: Chill and Churn
Pour the chocolate mixture into a bowl, cover it, and refrigerate for at least 4 hours, or even better, overnight, until it is very cold. Once chilled, pour the mixture into your ice cream maker and churn according to the manufacturer’s directions, usually for 20-25 minutes.
Step 3: Freeze to Firm
The ice cream will be soft-serve consistency after churning. For a firmer ice cream, transfer it to an airtight container and freeze for another 2-4 hours before serving. This step makes it perfect for scooping.
📝 Final Note
Store your homemade chocolate ice cream in a shallow, airtight container in the coldest part of your freezer to keep it fresh and prevent ice crystals.
Bold And Creamy Coffee Ice Cream Recipe
If you love coffee, this ice cream recipe is for you. It’s packed with real coffee flavor and has a wonderful, smooth texture that melts in your mouth.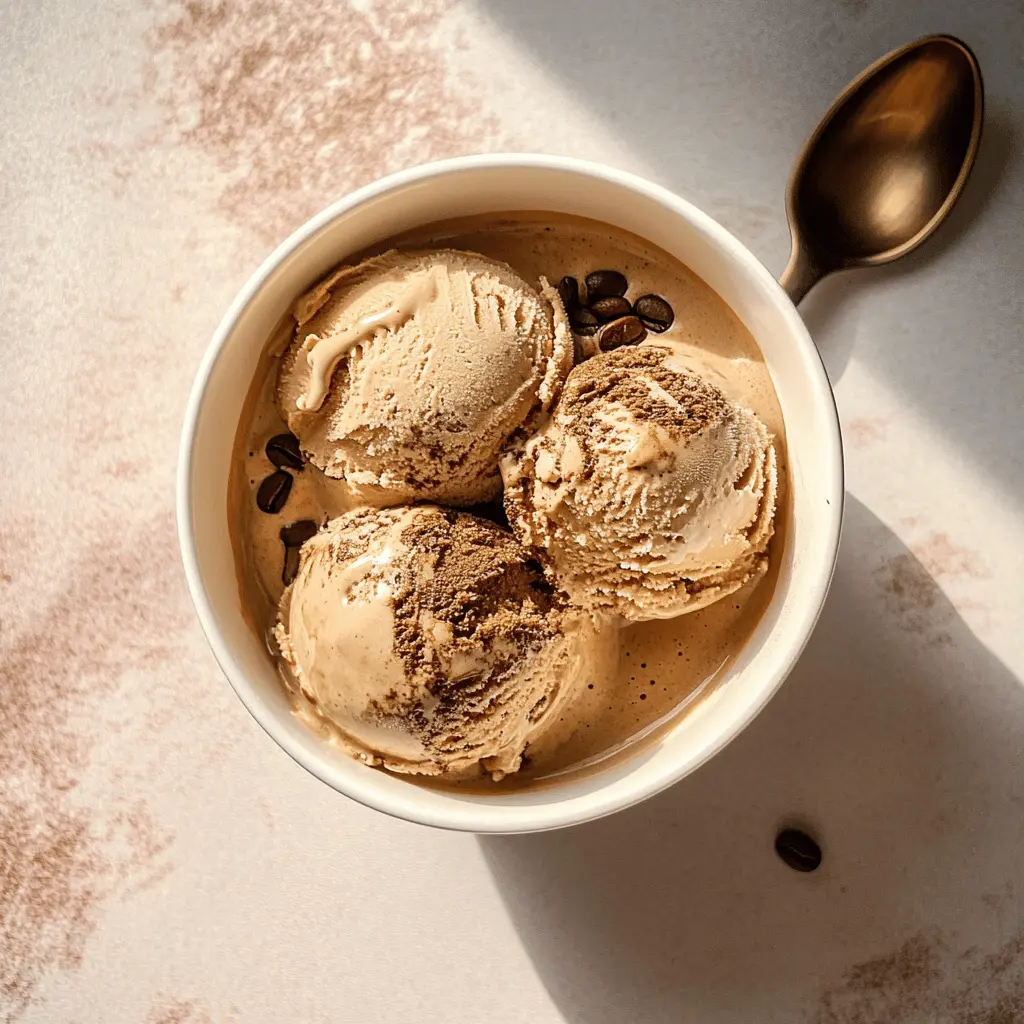
Key Ingredients & Tips for Bold Coffee Ice Cream
- Strong Coffee: Use freshly brewed, very strong coffee or espresso to ensure the coffee flavor truly stands out in your creamy ice cream.
- Egg Yolks for Texture: Egg yolks help make this coffee ice cream extra smooth and rich, giving it a custard-like quality.
- Temper Eggs Carefully: When adding hot liquid to egg yolks, do it slowly to avoid scrambling them. This makes sure your base is silky smooth.
What You Need for Creamy Coffee Ice Cream
- 1 ½ cups heavy cream
- 1 cup whole milk
- ¾ cup granulated sugar
- 4 large egg yolks
- ½ cup very strong brewed coffee (cooled)
- 1 teaspoon vanilla extract
- Pinch of salt
⏱️ Time: 40 minutes prep, 6-8 hours chill, 20-25 minutes churn🍽️ Yields: About 1 quart (4 servings)
How to Make This Coffee-Flavored Treat
Step 1: Prepare the Custard Base
In a medium saucepan, heat the heavy cream, milk, sugar, and salt over medium heat until warm and the sugar is dissolved. In a separate bowl, whisk the egg yolks. Slowly pour about half of the warm cream mixture into the egg yolks, whisking constantly. Then pour the egg yolk mixture back into the saucepan with the remaining cream.
Step 2: Cook and Chill the Base
Cook the custard over low heat, stirring constantly, until it thickens slightly and coats the back of a spoon (about 5-7 minutes). Do not boil. Remove from heat and stir in the strong coffee and vanilla extract. Pour through a fine-mesh sieve into a clean bowl, cover, and chill thoroughly for at least 6-8 hours or overnight.
Step 3: Churn and Freeze
Once your coffee ice cream base is completely cold, pour it into your ice cream maker. Churn according to your machine’s instructions until it reaches a soft, frozen consistency, typically 20-25 minutes. Transfer the soft ice cream to an airtight container and freeze for another 3-5 hours to firm it up before you serve.
📝 Final Note
For an extra coffee kick, you can add a tablespoon of coffee liqueur or instant espresso powder to the base before chilling it.