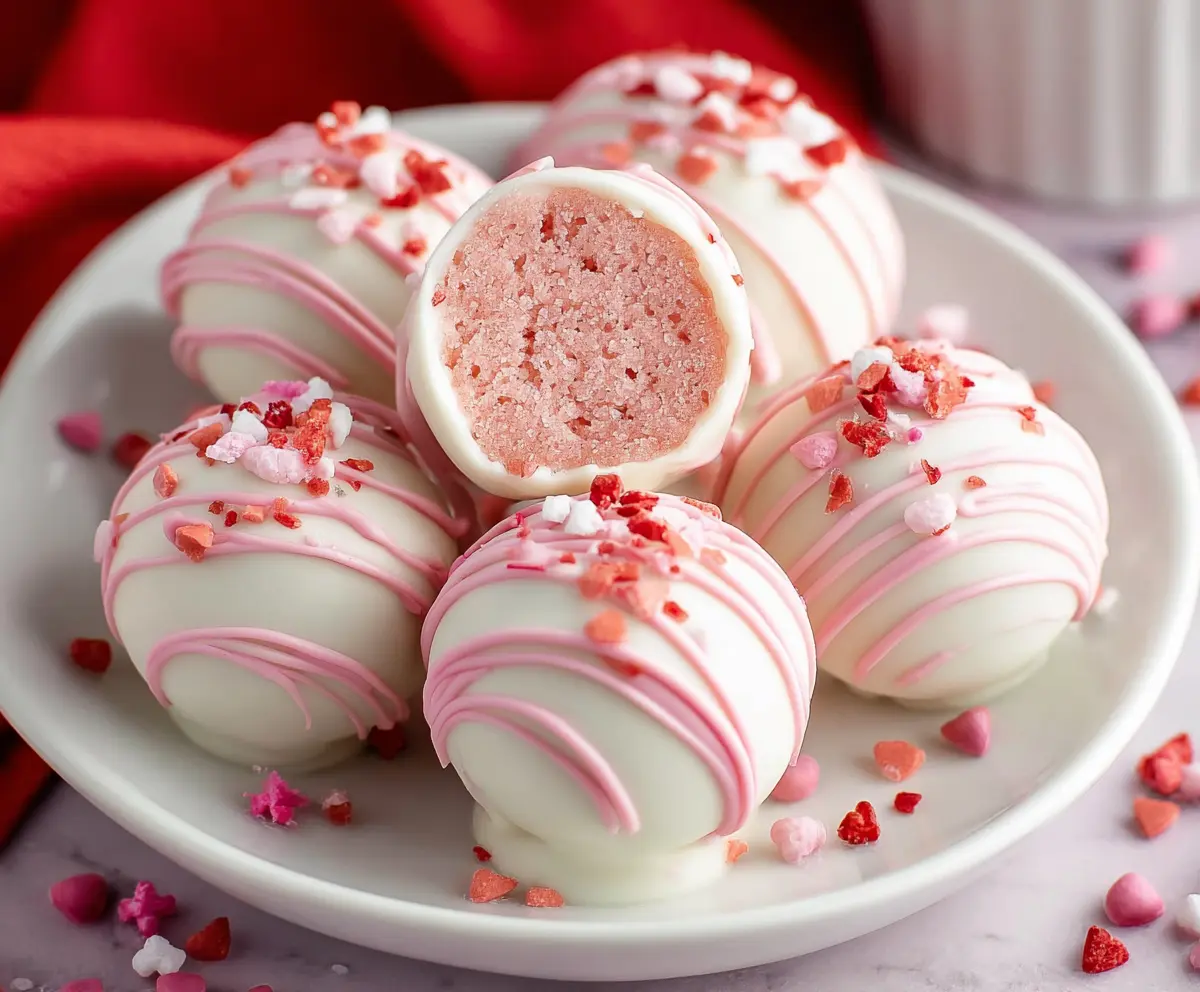
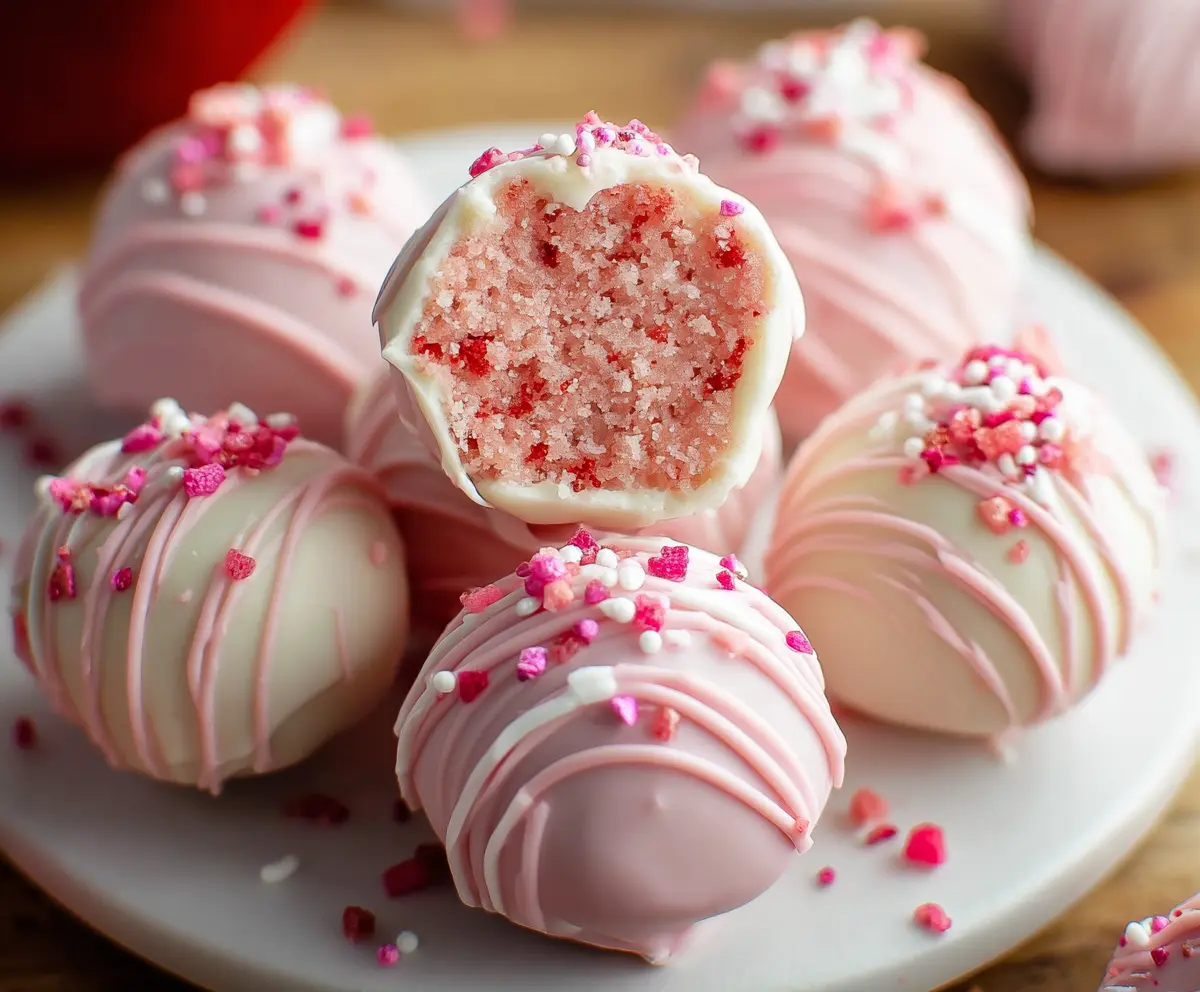
Strawberry Cake Balls are sweet little treats that burst with fresh strawberry flavor! They’re made of crumbled cake mixed with frosting, then rolled into tasty bite-sized balls.
These adorable snacks are perfect for parties or just because! I love how easy they are to make, and they always bring a smile. Plus, who can resist anything that looks this cute? 🍓
Key Ingredients & Substitutions
Strawberry Cake Mix: You can use a box mix for ease, but homemade strawberry cake adds a personal touch. If you want a healthier option, consider substituting with almond flour or a gluten-free cake mix.
Cream Cheese: This ingredient gives the cake balls their creamy texture. For a lighter version, try Greek yogurt or a dairy-free cream cheese alternative. They work well, too!
White Chocolate or Candy Melts: Both create a sweet coating, but candy melts are easier to work with as they set quickly. If you’re looking for a different flavor, dark chocolate is an excellent substitute.
Pink Candy Melts: These are mainly for decoration, but you can skip them or use colored sprinkles if that’s what you have on hand. Don’t forget to add a pop of color!
Freeze-Dried Strawberries: They add a lovely crunch and flavor. If you can’t find them, feel free to use regular crushed strawberries, but keep in mind they will make the coating a bit soggy.
How Do I Get the Best Consistency When Making Cake Balls?
Getting the right dough-like consistency for cake balls is crucial. Start by ensuring your cake is completely cooled. Crumble it finely for even mixing with cream cheese. If it’s too dry, add a pinch of cream cheese or keep mixing until it’s more pliable.
- Mix cake and cream cheese thoroughly for a consistent texture.
- Chill the mixture before rolling, as this helps them hold shape better.
- Don’t be shy about using your hands to mix; it often gives the best results!
How to Make Delicious Strawberry Cake Balls
Ingredients You’ll Need:
For the Cake Balls:
- 1 box strawberry cake mix (or homemade strawberry cake, crumbled)
- 1/2 cup (about 4 oz) cream cheese, softened
For the Coating:
- 12 oz white chocolate or white candy melts
- 1/4 cup pink candy melts or pink white chocolate (for drizzling)
For Garnish:
- Freeze-dried strawberries, crushed
How Much Time Will You Need?
This recipe takes about 2 hours total. This includes about 20 minutes for preparation and assembling the cake balls, an hour for chilling, and 15 minutes for dipping and decorating. It’s super simple and the results are festive and delicious!
Step-by-Step Instructions:
1. Prepare Your Cake:
Start by preparing the strawberry cake based on the box instructions, or whip up your favorite homemade recipe. Once baked, let your cake cool completely on a wire rack. This is key, as you don’t want warm cake for the next steps!
2. Crumble the Cake:
Once the cake is cool, crumble it into fine crumbs in a large mixing bowl. You can use your hands or a fork to achieve this. Make sure there are no large chunks left, as this will help the cake balls hold together better!
3. Mix in Cream Cheese:
Add the softened cream cheese to the crumbled cake. Mix everything together well until it forms a dough-like consistency. A good mix is crucial for that delicious creamy center!
4. Roll the Cake Balls:
Now it’s time to shape your cake mixture! Roll the mixture into 1-inch balls and place them onto a baking sheet lined with parchment paper. Try to keep them all roughly the same size so they look pretty!
5. Chill the Cake Balls:
Place the baking sheet with the rolled cake balls in the refrigerator. Chill them for at least 1 hour, or until they are firm. This helps them keep their shape while you dip them in chocolate!
6. Melt Your Chocolate:
While the cake balls are chilling, melt the white chocolate or white candy melts in a microwave-safe bowl. Stir every 30 seconds until it’s smooth and melted. Be careful not to overheat it!
7. Dip the Cake Balls:
Once the cake balls are firm, take them out of the refrigerator. Dip each ball into the melted white chocolate using a fork or a dipping tool. Let the excess chocolate drip off, then place them back on the parchment paper. Repeat with all the balls!
8. Set the Coating:
Return the dipped cake balls to the refrigerator again to set for about 15 minutes. This helps the chocolate coating harden nicely!
9. Drizzle with Pink Chocolate:
In a separate bowl, melt the pink candy melts until smooth. Using a spoon or a piping bag, drizzle the pink candy melts over the set white chocolate coating in any beautiful pattern you like!
10. Garnish:
As soon as you drizzle the pink chocolate, sprinkle crushed freeze-dried strawberries on top. Do this while the drizzle is still soft so it sticks well!
11. Let It Set:
Allow the decorative coating to set completely before serving. Store any leftovers in an airtight container in the refrigerator. Enjoy your delightful and festive Strawberry Cake Balls!
These cake balls are perfect for parties or just a sweet treat at home. Happy baking!
Can I Use Other Cake Flavors Instead of Strawberry?
Absolutely! You can swap the strawberry cake mix with any flavor you prefer, such as vanilla, chocolate, or lemon. Just keep in mind that the filling and garnishes can complement the flavor you choose!
What Should I Do If My Cake Balls Are Falling Apart?
If your cake balls are crumbling, it might be due to not enough moisture. Try adding a bit more cream cheese to the mixture and mix it in well until it reaches a dough-like consistency. Chilling them for a bit longer might also help them firm up!
How to Store Leftover Cake Balls?
Store any leftovers in an airtight container in the refrigerator for up to a week. Just make sure they are completely set before storing to prevent any sticking or mess!
Can I Freeze These Cake Balls?
Yes, you can freeze cake balls! Place them in a single layer on a baking sheet and freeze until firm, then transfer them to an airtight container or freezer bag. They can last for up to 3 months in the freezer. Thaw in the fridge before serving.