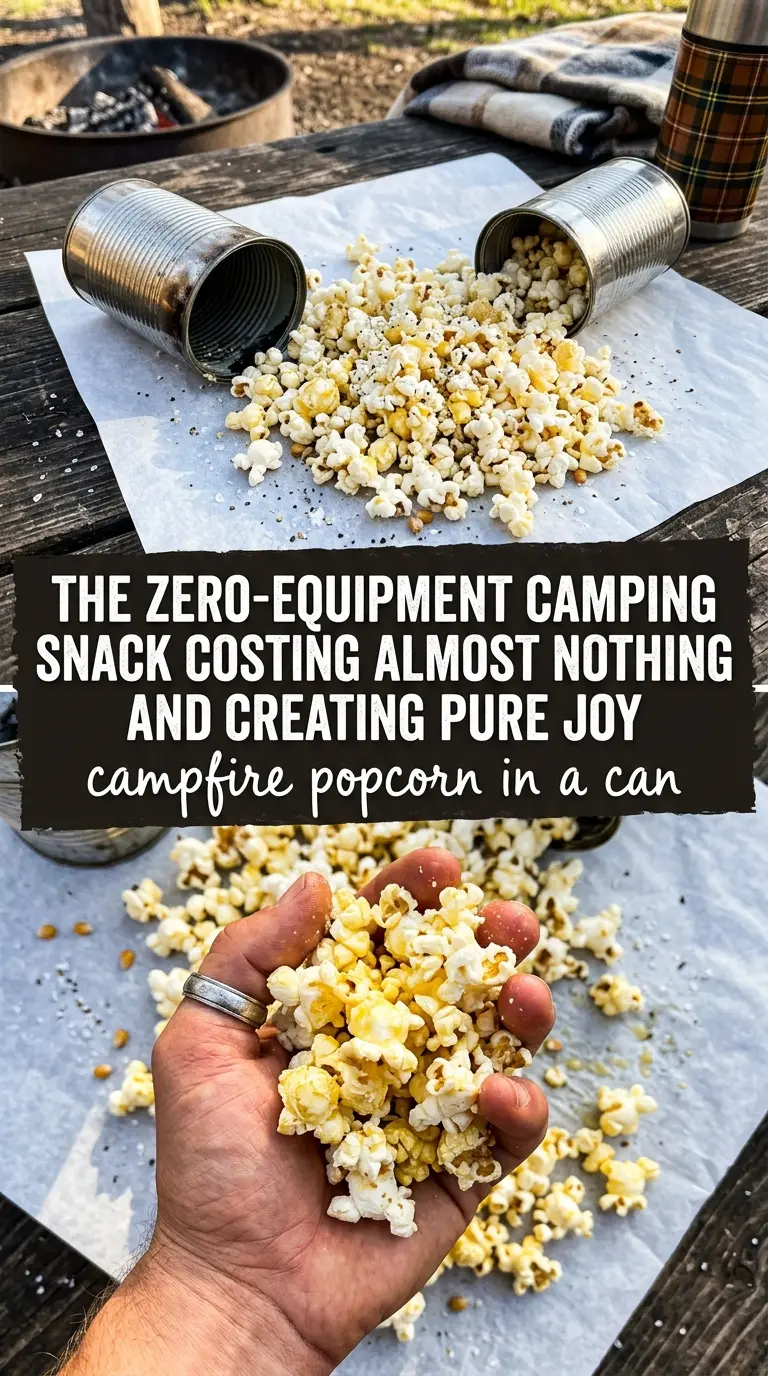
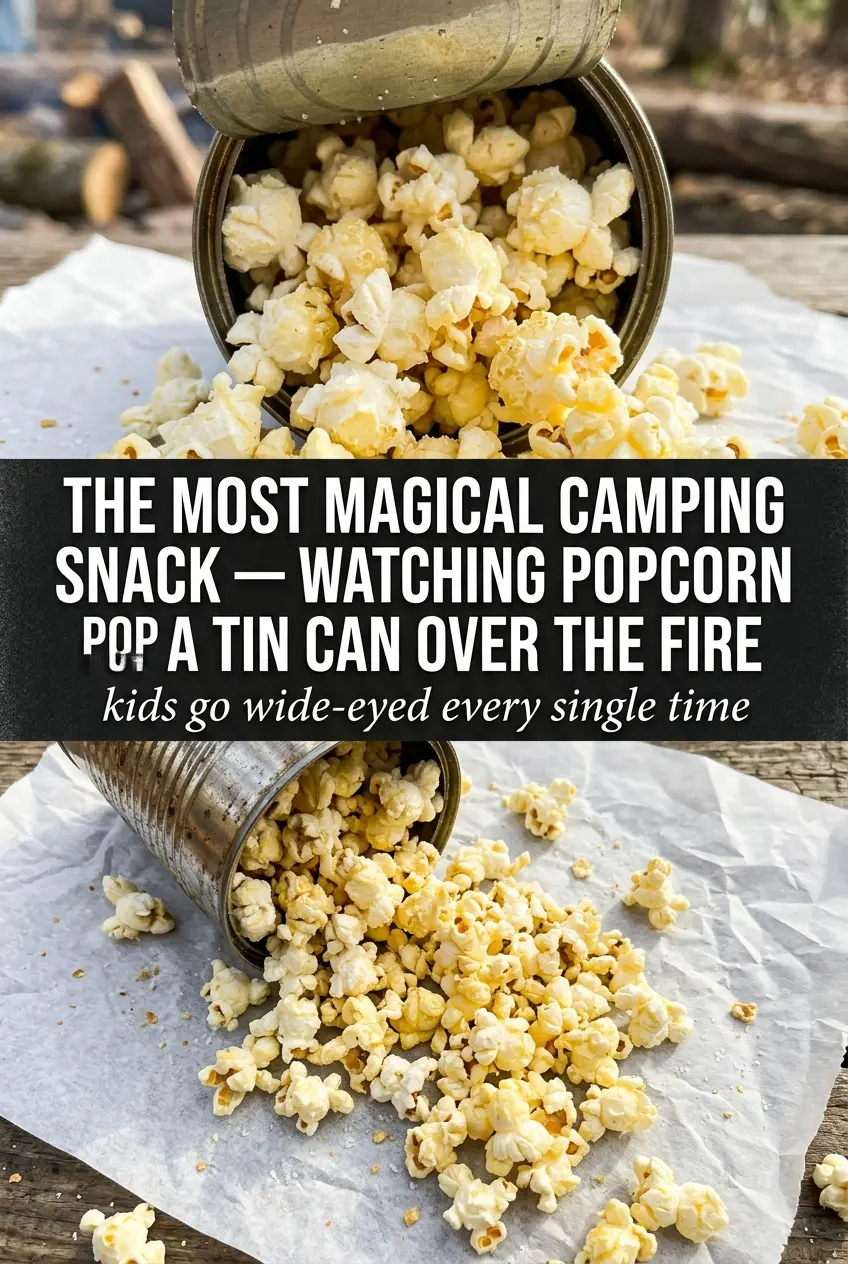
Campfire popcorn in a can turns a regular fire into the kind of snack moment people remember. The kernels pop right inside the metal can, so you get that big, crackly batch with a smoky edge and none of the mess of a pot balanced over the flames. It’s the sort of camping food that feels a little improvised in the best way, and it gets people hovering close with bowls in hand before the first handful is even seasoned.
The trick is keeping the can moving. Popcorn burns fast over direct fire, but constant shaking keeps the kernels from sitting in one hot spot long enough to scorch. The oil coats the kernels evenly, the holes in the bottom let steam escape, and the lid keeps the popcorning contained until the popping slows down enough to pour.
Below, I’ve included the small details that make this work safely and cleanly, plus a few ways to season it once it’s out of the can. If you’ve ever had popcorn go from perfect to bitter in seconds, the timing notes here will help.
Save this campfire popcorn in a can for the nights when you want a crunchy, smoky camping snack made right over the flames.
The Part That Keeps Campfire Popcorn From Burning
Popcorn over a campfire fails for one simple reason: the heat is uneven and much harsher than most people expect. If the can sits still, the kernels on the bottom scorch before the rest catch up. Constant shaking is what turns this from a smoky mess into a real batch of popcorn, because it keeps the oil moving and spreads the heat across all the kernels instead of letting one side take the punishment.
The other detail that matters is when you stop. Once the popping slows to a few seconds between pops, the can is done. Leaving it over the fire after that point is how you end up with burnt butter notes instead of clean popcorn flavor. Pull it off early, then pour immediately so the residual heat doesn’t keep cooking the batch in the can.
What the Coffee Can and Oil Are Really Doing
- Popcorn kernels: Fresh kernels matter more than people think. Old popcorn can pop slowly or leave too many hard shells behind, so use a bag that hasn’t been sitting in the cupboard forever.
- Vegetable oil: This gives the kernels an even coat and handles the heat well. Neutral oil works best here because you want the popcorn to taste like popcorn first, not like the oil.
- Large metal coffee can: The can does the heavy lifting by holding the kernels, letting them pop safely, and giving you a surface you can shake over the fire. A sturdy metal can is important; thin flimsy containers can warp fast over high heat.
- Wire handle: A coat hanger or sturdy wire lets you hold the can over the fire without hovering too close. Keep the handle secure and long enough that your hand stays away from the hottest part of the flames.
- Salt and melted butter: Salt goes on right after popping so it sticks to the hot kernels. Butter is optional, but if you use it, drizzle it after the popcorn is in the bowl so the steam doesn’t soften the crunch inside the can.
How to Pop It Over the Fire Without Ruining the Batch
Prep the Can and Kernel Base
Punch several small holes in the bottom of the can before you add anything else. Those holes let steam escape, which helps the popcorn stay crisp instead of steamy and chewy. Add the kernels and oil, then secure the lid so nothing escapes once the popping starts. If the lid sits loose, the first few pops can throw kernels out before they finish cooking.
Shake Like It Matters
Hold the can over the campfire and keep it moving the whole time. You’re not trying to roast it in one spot; you’re trying to tumble the kernels through the hot zone so they pop evenly. The popping should start after a couple of minutes, then pick up quickly. If the sound turns from steady popping to occasional bursts, you’re close to done.
Stop Before the Burnt Ones Take Over
Remove the can when the popping slows to about two or three seconds between pops. That last stretch matters because popcorn goes from done to burnt fast over open flame. Take the lid off carefully, keep your face back, and pour the popcorn into a bowl right away. Season immediately while the surface is still warm enough to catch the salt.
Make It With Buttered Popcorn
Drizzle melted butter over the finished popcorn instead of adding it to the can. This keeps the popcorn crunchier and gives you a cleaner, richer butter flavor without making the kernels steam inside the can.
Make It Dairy-Free
Skip the butter and finish with salt only, or use a dairy-free buttery topping after popping. The popcorn stays just as crisp, and you won’t lose anything in the cooking method because the oil does the actual popping.
Add a Savory Camping Seasoning
Toss the popcorn with smoked paprika, garlic powder, or a little chili powder after it comes out of the can. Dry seasonings stick best when the popcorn is still warm and lightly glossy with butter or oil.
Storage and Reheating
- Refrigerator: Store leftovers in an airtight container for up to 2 days. The popcorn loses some crunch, especially if it’s buttered.
- Freezer: I don’t recommend freezing it. Popcorn picks up moisture when it thaws, and the texture turns stale fast.
- Reheating: Spread it on a baking sheet and warm it in a low oven for a few minutes if you need to revive the crunch. Don’t microwave it; that softens the kernels instead of crisping them back up.
Questions I Get Asked About This Recipe
Campfire Popcorn in a Can
Ingredients
Equipment
Method
- Punch several small holes in the bottom of the can for ventilation, so steam can escape and kernels pop evenly. Check that the holes are clear and the can sits stable over the fire.
- Add popcorn kernels and vegetable oil to the can, then secure the lid tightly. Confirm the lid won’t shift when you shake.
- Create a handle by wrapping the coat hanger or sturdy wire around the can. Ensure the handle is snug and lets you hold the can over the flames.
- Hold the can over the campfire and shake constantly for 8-10 minutes until popping slows. Keep the can moving to prevent burning and watch for kernels visible popping.
- Carefully remove the lid and pour the popcorn into a bowl. Tilt away from yourself so any hot steam doesn’t hit your face.
- Season with salt to taste while the popcorn is warm so it sticks. Spread it out briefly in the bowl for more even coating.
- Add melted butter (optional) and toss lightly to coat. Stop when the popcorn looks glossy but not soggy.