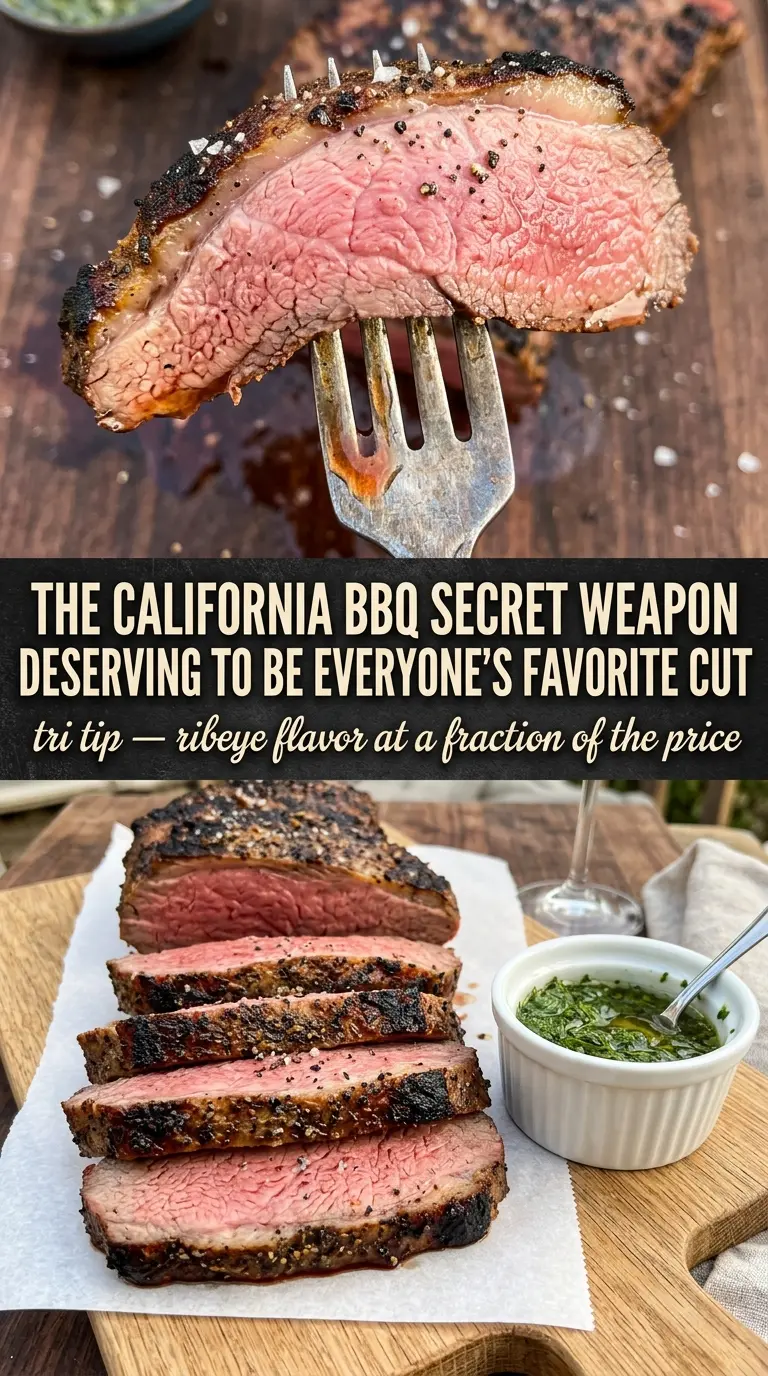
Tri-tip earns its place on the table because it gives you a deep, peppery crust and a pink, juicy center without needing a long cook. The cut is forgiving in a way that makes it useful for weeknights and worth bringing out for company, especially when you slice it thinly against the grain. When it’s done right, every piece has that contrast of charred exterior and tender beef that makes people go back for seconds.
This version leans on a simple Santa Maria-style rub: salt, pepper, garlic, paprika, onion powder, and oregano. That mix does two jobs at once — it seasons the meat all the way through and helps form a savory crust as the roast sears. The only real trick is keeping an eye on temperature and not overcooking past medium-rare unless you’ve got a crowd that prefers it more done. Tri-tip can go from perfect to dry faster than people expect.
Below you’ll find the small details that matter most: how long to let the roast sit before cooking, why the rest time is non-negotiable, and how to handle the grain so the slices stay tender instead of chewy.
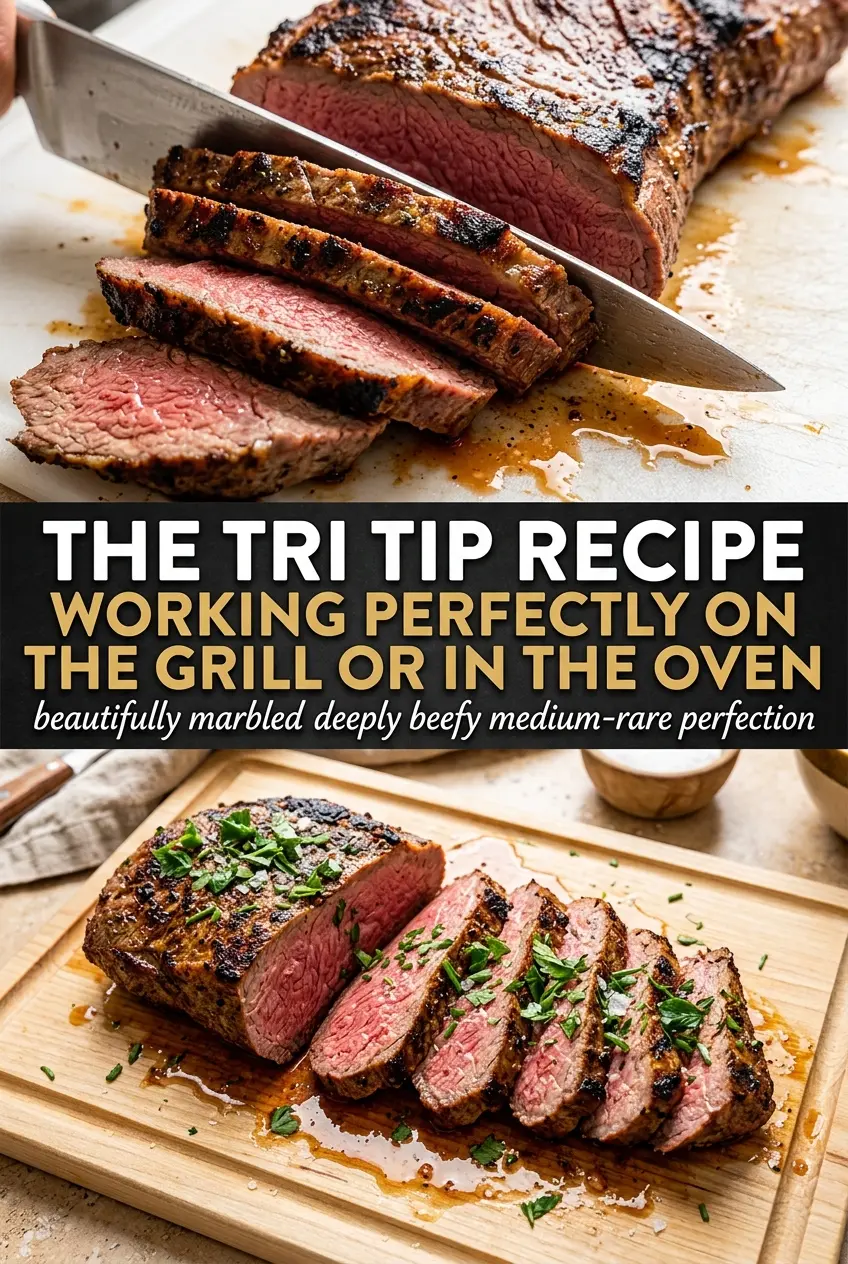
The crust on this tri-tip came out gorgeous and the center stayed pink all the way through. I cooked it in the oven at 425 and it sliced like butter after resting.
Save this grilled or oven-roasted tri-tip for the night you want a crisp crust, pink center, and a simple Santa Maria-style rub.
The Trick to Keeping Tri-Tip Juicy Instead of Chewy
Tri-tip has a reputation for getting tough when people treat it like a set-it-and-forget-it roast. It’s a lean, flavorful cut, which means the texture changes fast once it moves past medium-rare. The difference between a great tri-tip and a disappointing one usually comes down to two things: not overcooking it and slicing it the right way.
Letting the roast sit at room temperature for about 30 minutes helps it cook more evenly, especially if it’s been chilled. The other key piece is the rest after cooking. If you cut it too soon, the juices run onto the board instead of staying in the meat, and the first slices will taste drier than they should.
- Medium-rare is the sweet spot — Pull it at 130-135°F. It rises a few degrees while resting, and that final carryover is what keeps the center rosy instead of gray.
- The grain matters more than people expect — Tri-tip has two grain directions in many roasts. Look closely before slicing and turn the roast as needed so each cut stays tender.
- The crust comes from dry seasoning and high heat — The rub needs direct contact with the meat. Don’t drown it in oil; just enough to help the spices stick is enough.
What the Rub Is Doing for the Meat
- Kosher salt — This seasons the meat deeply and helps the exterior dry just enough to brown well. Table salt works in a pinch, but it’s denser, so you’d need less by volume.
- Black pepper and paprika — Pepper gives the crust its bite, while paprika adds color and a little sweetness. Smoked paprika works if you want a faint woodsy edge, but it will shift the flavor away from the classic Santa Maria-style profile.
- Garlic powder, onion powder, and oregano — These build the background flavor without burning the way fresh garlic can at high heat. Use dried oregano, not fresh, since the fresh herb can taste harsh once it hits the sear.
- Olive oil — This is just a binder here. Any neutral oil will work, but olive oil gives the rub a slightly richer finish and helps it cling evenly.
How to Cook It So the Outside Browns Before the Center Overcooks
Mixing and Coating the Roast
Stir the salt, pepper, garlic powder, paprika, onion powder, and oregano together first so the seasoning is even before it touches the meat. Rub the tri-tip with olive oil, then press the spice mix all over every surface, including the edges. The coating should look generous and a little rough, not damp or paste-like. If the roast sits too long after seasoning, that’s fine; the salt starts helping the surface dry, which improves browning.
Grilling Over Direct and Indirect Heat
Start the tri-tip over high heat for about 5 minutes per side to build color. You want a hard sear and some dark spots, not a slow brown. Then move it to indirect heat and cook until the center reaches 130-135°F for medium-rare. If the grill is too hot the whole time, the outside will darken before the inside has a chance to catch up.
Using the Oven Without Losing the Crust
Sear the tri-tip in a hot skillet first so the roast starts with a browned exterior, then finish it in a 425°F oven. That high temperature keeps the cooking time short and helps the crust stay firm. Roast until the center reaches 130-135°F, checking early because oven times can vary with the thickness of the meat. If you skip the sear, the surface tends to look cooked but won’t have the same savory crust.
Resting and Slicing
Let the tri-tip rest for 15 minutes before slicing. That pause matters just as much as the cooking itself because the juices settle back into the meat. Slice thinly against the grain, not with it. If the slices seem stringy, the knife probably followed the grain instead of cutting across it.
How to Adjust This Tri-Tip for Different Kitchens and Different Eaters
Oven-Only Tri-Tip
If you don’t have a grill, the oven method still gives you great crust as long as you start with a hot skillet. That first sear is what builds the exterior, and the 425°F roast finishes the center before the meat dries out.
Santa Maria-Style with a Smoked Edge
Swap half the paprika for smoked paprika if you want a deeper grillhouse taste. The meat will still read like tri-tip, but the crust picks up a little more smoke and color.
Lower-Sodium Version
Reduce the kosher salt to 1 tablespoon if you need a lighter hand. The roast will still have plenty of seasoning from the pepper, garlic, paprika, and oregano, though the crust won’t taste as bold.
Leftover Tri-Tip
Slice leftovers thin and warm them gently in a skillet with a splash of beef broth or serve them cold on sandwiches. Reheating too hard will push the meat past medium-rare and make it firm, so keep the heat low and stop as soon as it’s warmed through.
Storage and Reheating
- Refrigerator: Store sliced or whole tri-tip in an airtight container for up to 4 days. The crust softens a bit in the fridge, but the flavor stays strong.
- Freezer: It freezes well for up to 2 months if wrapped tightly and sealed. Slice before freezing if you plan to use it for sandwiches or quick dinners.
- Reheating: Warm slices gently in a covered skillet over low heat with a spoonful of broth or pan drippings. High heat turns the edges gray and chews up the texture fast.
Questions I Get Asked About This Recipe
Tri Tip - Grilled or Oven-Roasted
Ingredients
Equipment
Method
- Mix kosher salt, black pepper, garlic powder, paprika, onion powder, and dried oregano until evenly combined.
- Rub tri-tip with olive oil so the spices cling, then coat generously with the spice rub.
- Let the seasoned tri-tip sit at room temperature for 30 minutes.
- Sear the tri-tip over high heat for 5 minutes per side to form a crusty exterior.
- Move to indirect heat and cook until the center reaches 130-135°F for medium-rare.
- Sear the tri-tip in a hot skillet to brown the exterior.
- Roast at 425°F for 20-25 minutes, until the center reaches 130-135°F for medium-rare.
- Rest the tri-tip for 15 minutes to keep juices in the meat.
- Slice against the grain and serve to show the pink medium-rare interior with the seasoned crust.