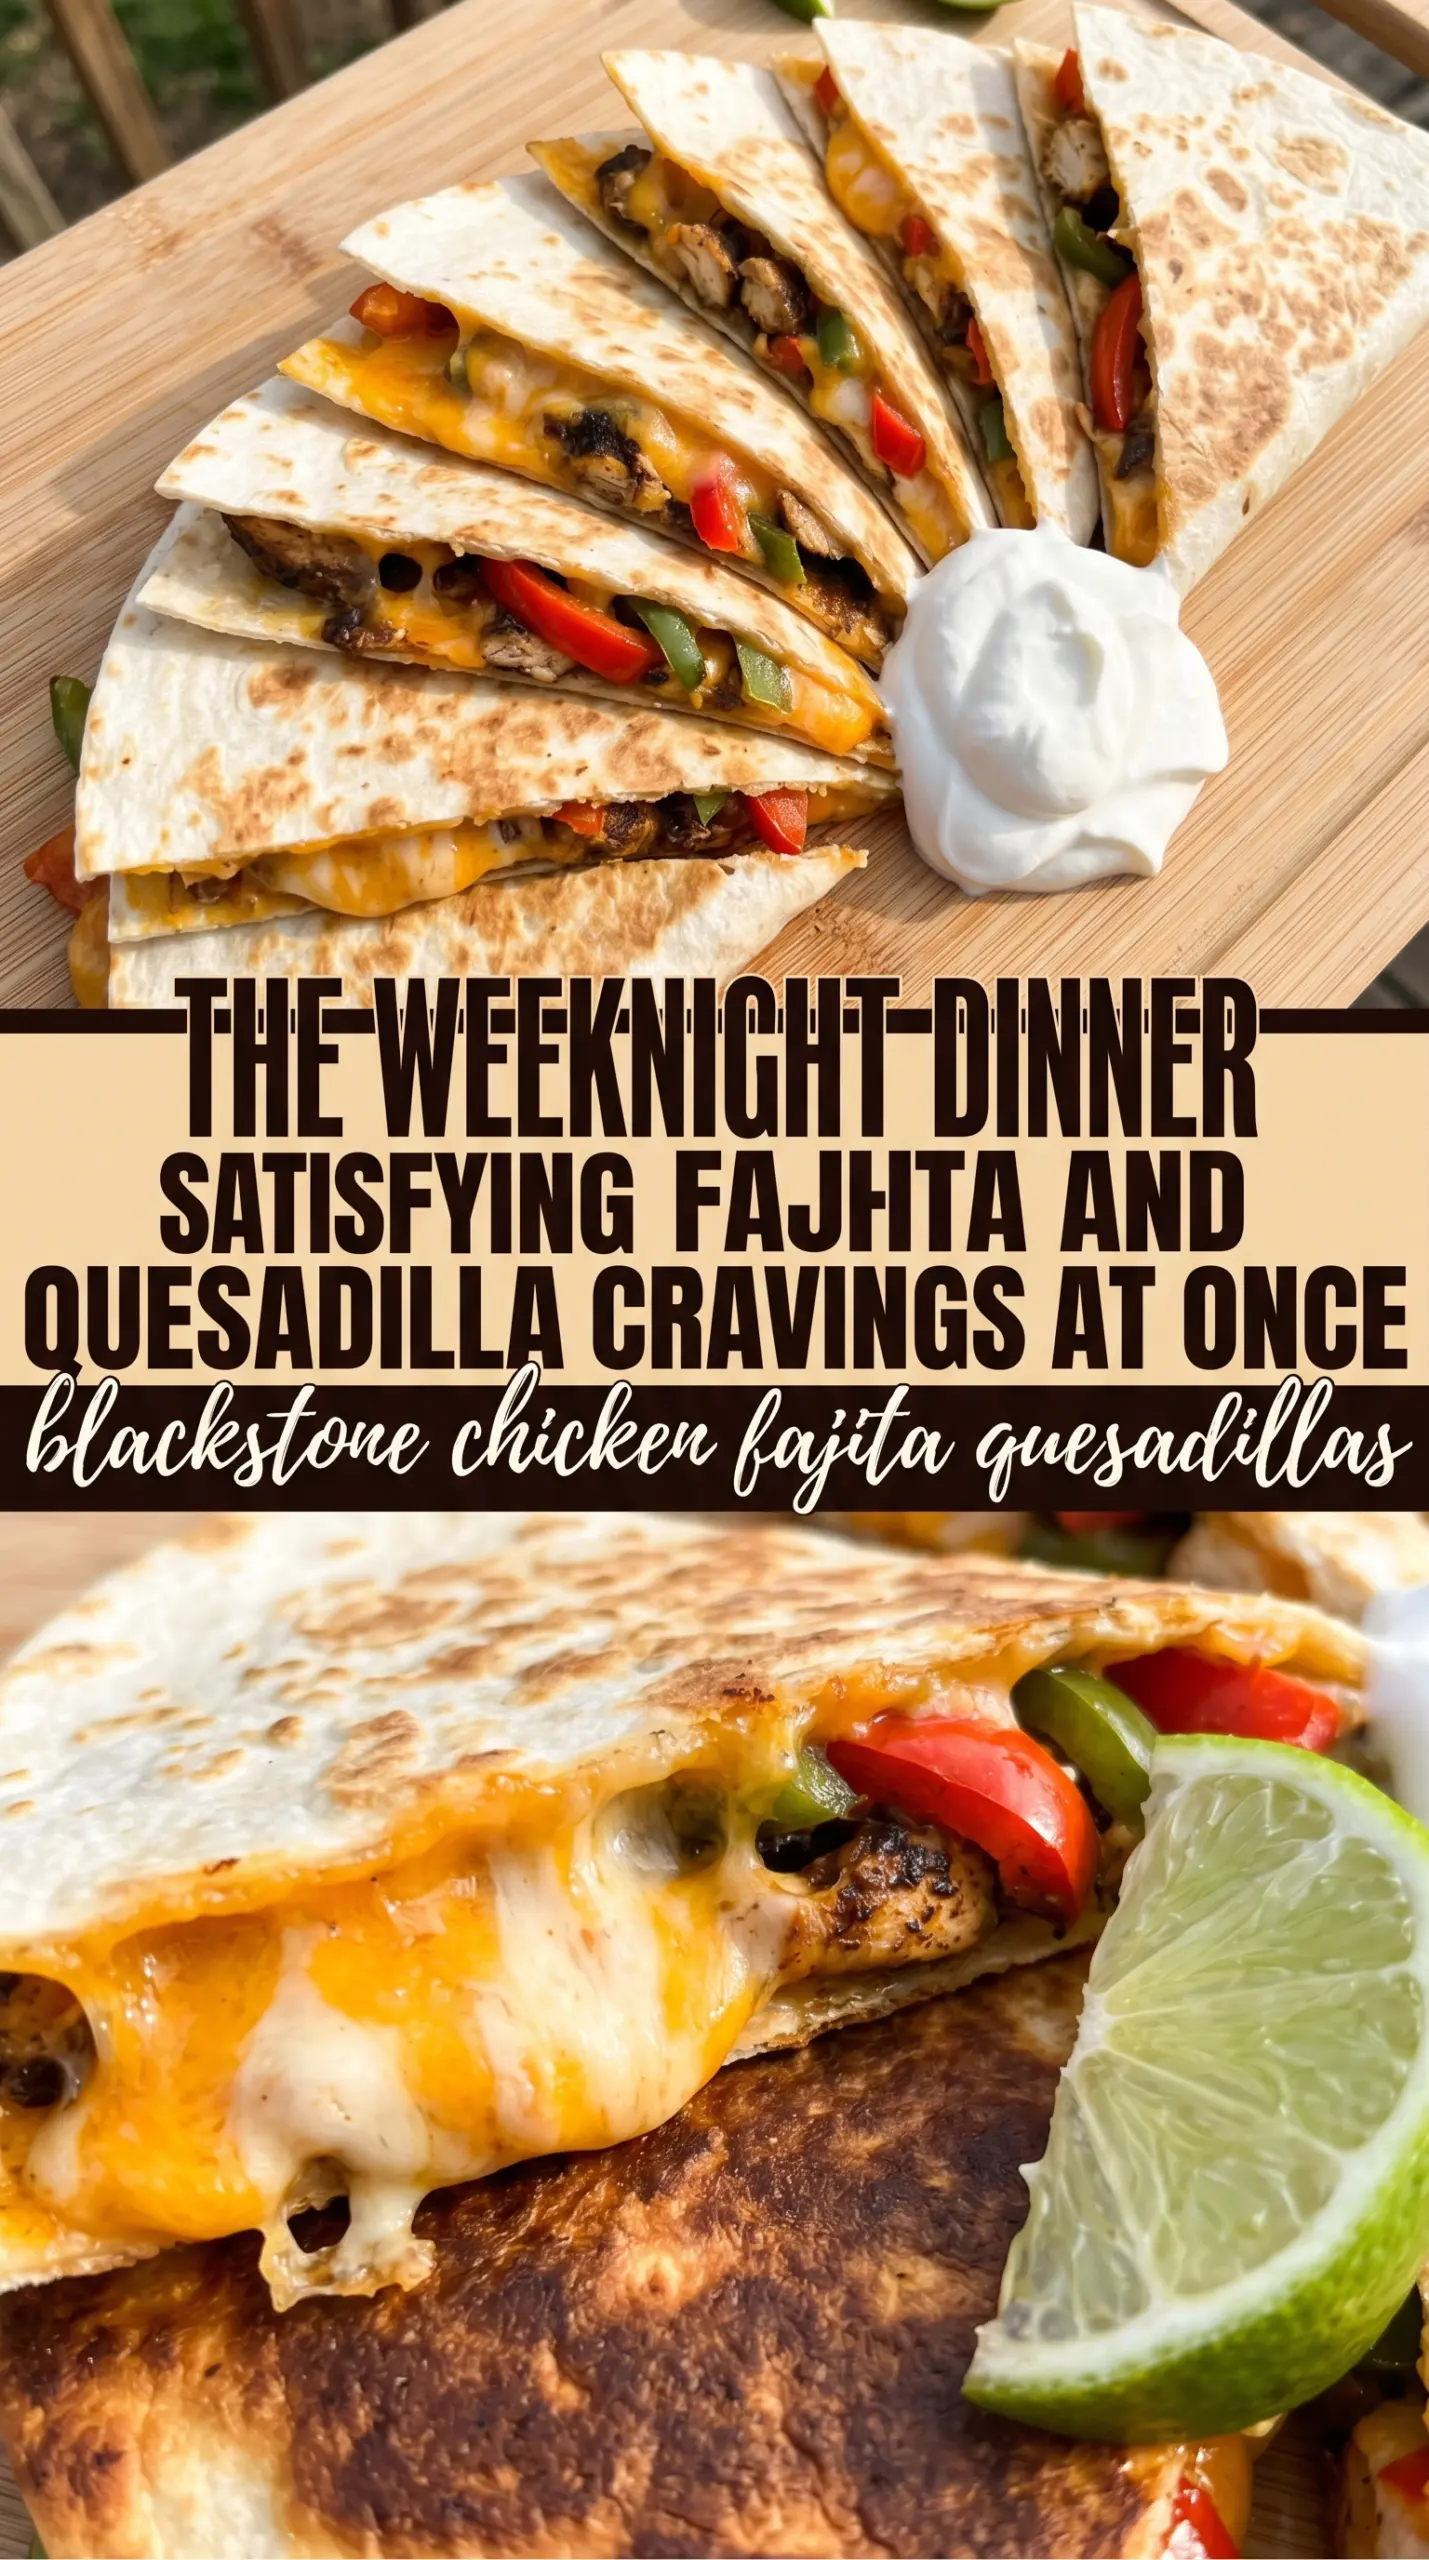
Blackstone chicken fajita quesadillas come off the griddle with crisp, buttery tortillas, gooey melted cheese, and that smoky fajita filling tucked into every wedge. The peppers stay a little tender and sweet, the chicken stays juicy, and the whole thing eats like a cross between a cheeseburger-level comfort meal and a proper Tex-Mex dinner.
What makes this version work is the way the filling is cooked in stages instead of all at once. The chicken gets seasoned and browned first so it picks up direct heat and real flavor, then the peppers and onions go in just long enough to soften without turning limp. That keeps the filling from getting watery inside the tortillas, which is the difference between a crisp quesadilla and a soggy one.
Below, I’m walking through the exact griddle cues that matter, plus the small ingredient choices that keep the cheese melted and the tortillas browned without burning. If you’ve ever had a quesadilla split open before the cheese set, the process notes will help with that too.
The chicken stayed juicy, the peppers still had a little bite, and the cheese melted all the way to the edges without making the tortillas greasy. I’ll be making these on the griddle again.
Save these Blackstone chicken fajita quesadillas for the nights when you want smoky peppers, juicy chicken, and crisp griddle tortillas in one pan.
The Griddle Trick That Keeps the Tortillas Crisp Instead of Soggy
The biggest mistake with quesadillas on a hot griddle is loading them before the filling has settled. If the chicken and vegetables are still wet when they go under the tortillas, the steam has nowhere to go and the bottom softens before the cheese can glue everything together. That’s how you end up with a floppy middle and a torn shell.
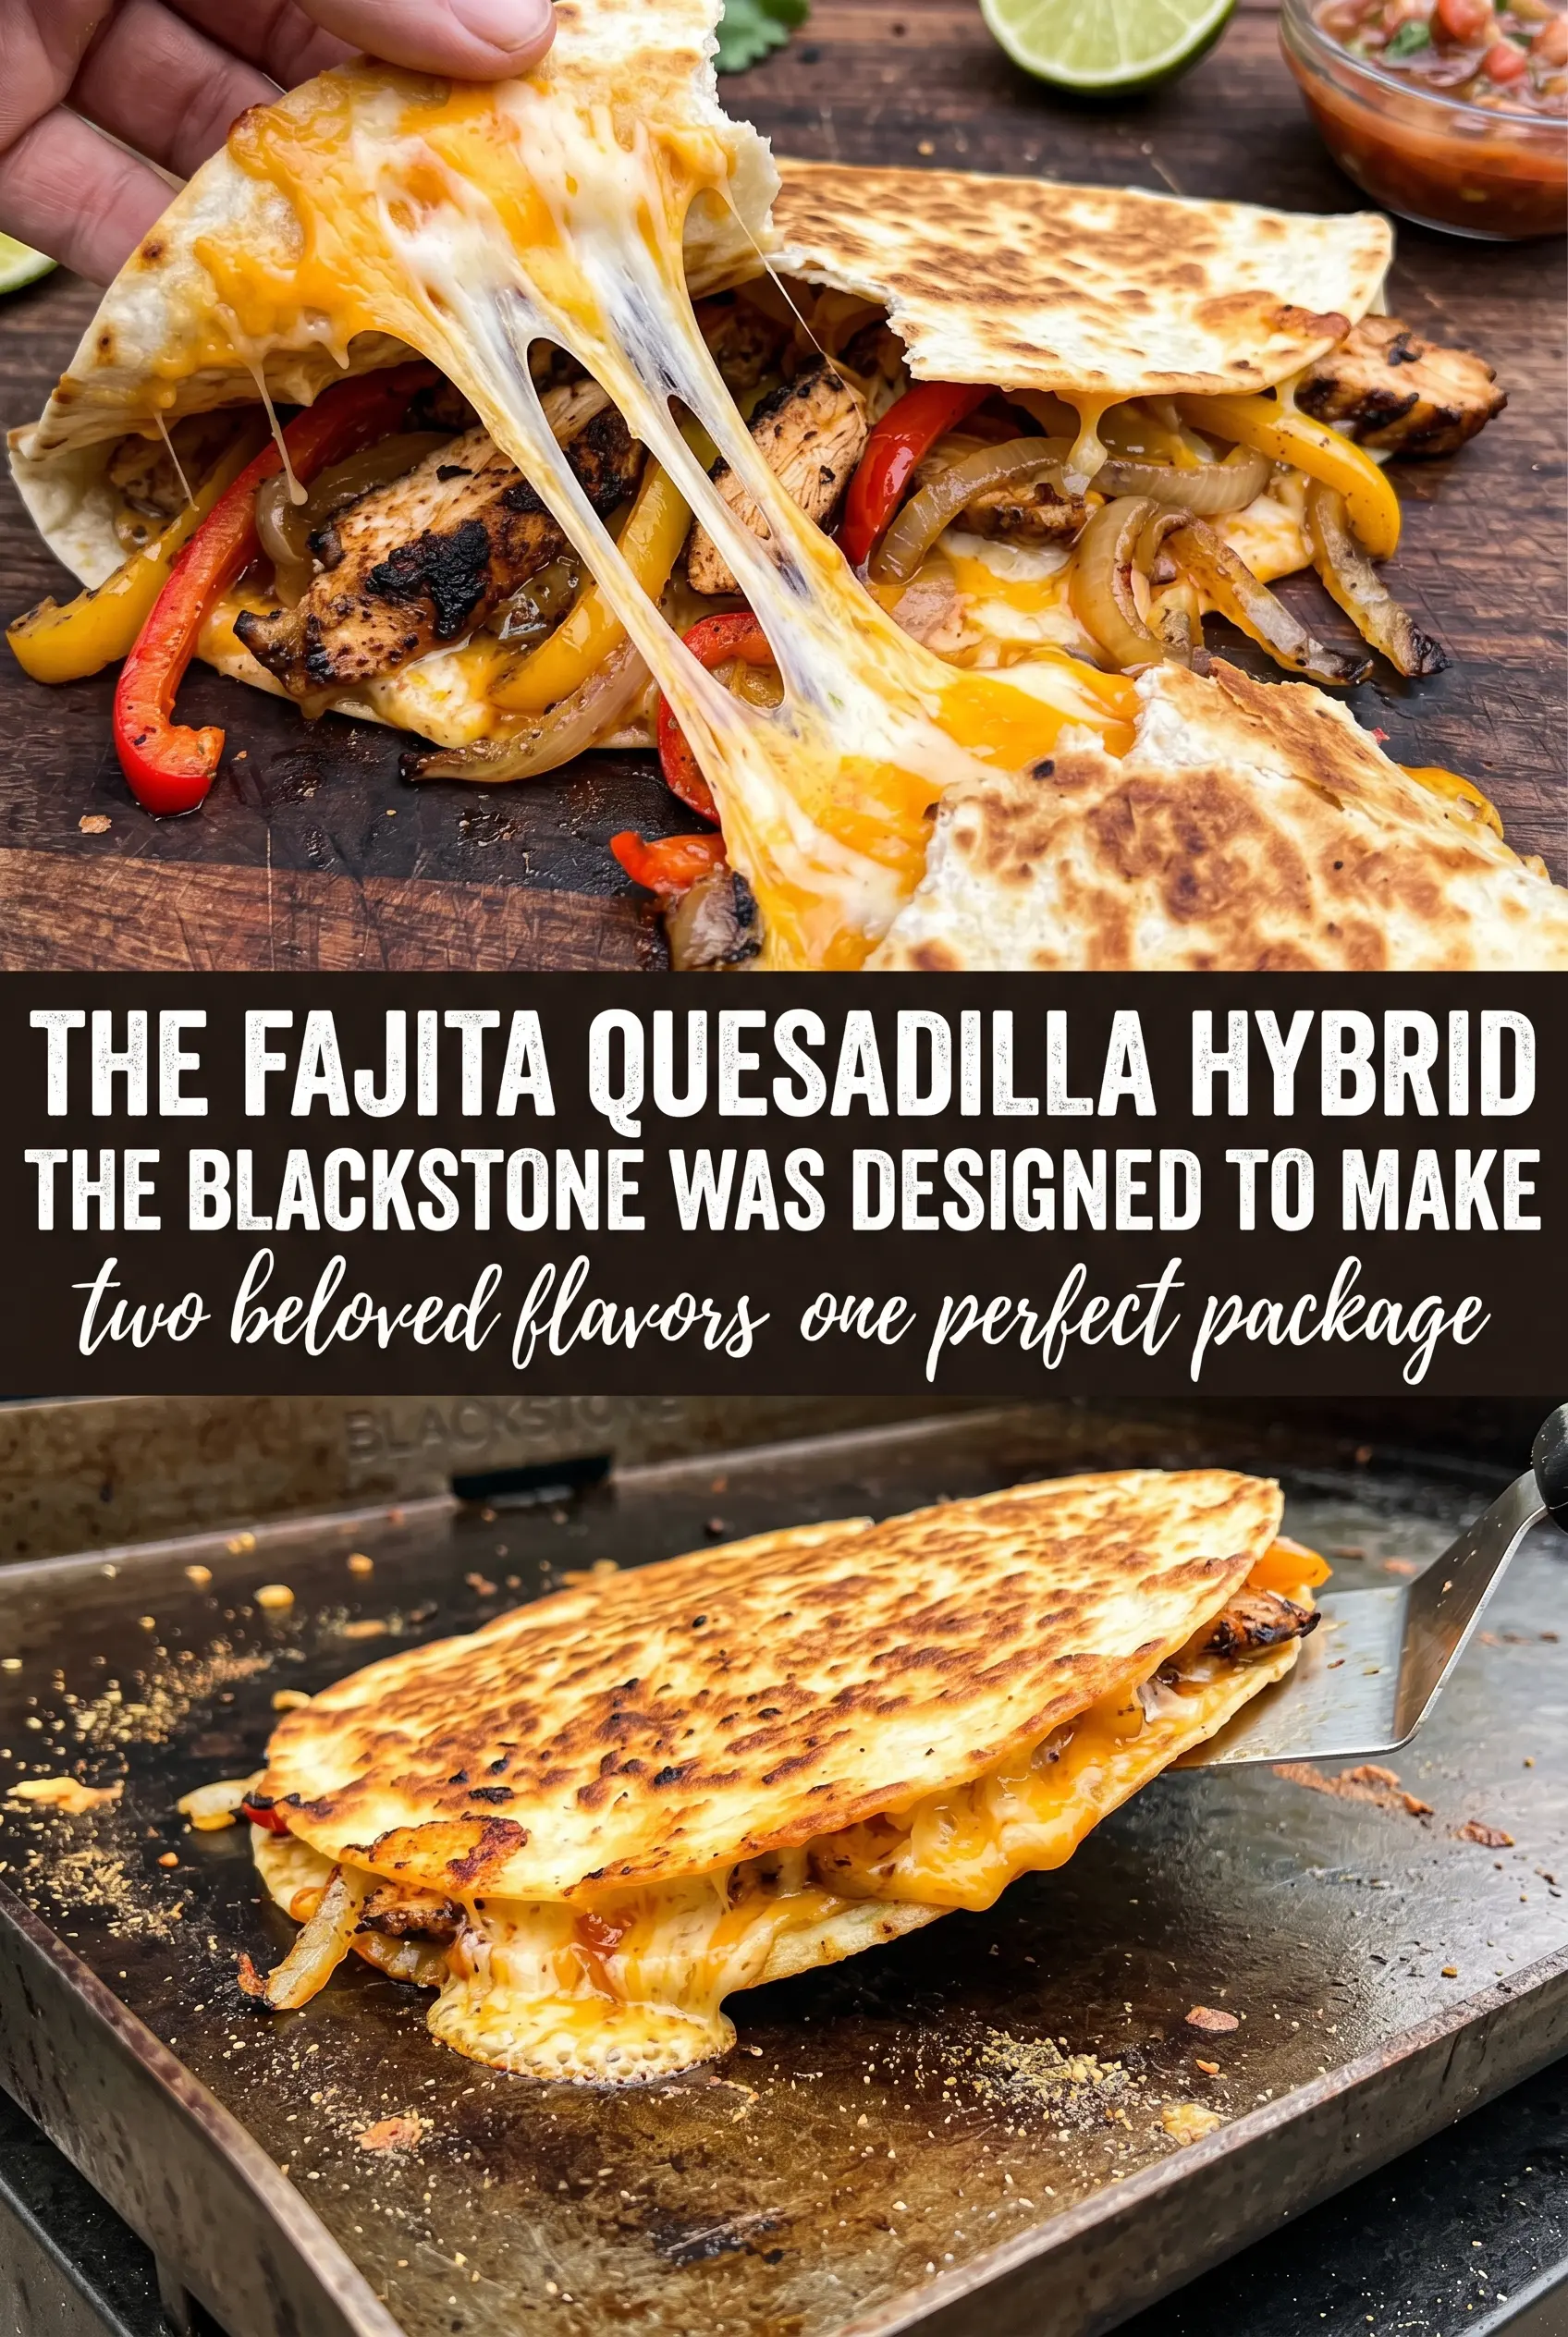
This recipe avoids that by cooking the filling in a way that drives off excess moisture first, then using just enough cheese on both sides of the filling to create a seal. The cheese isn’t only for flavor here. It acts like edible glue, which is why the tortillas hold together cleanly when you cut them.
- Thin-sliced chicken breast cooks fast and stays tender on a hot griddle. Cut it against the grain into strips so it doesn’t turn chewy after a few minutes of direct heat.
- Bell peppers and onion should soften but keep some structure. If they’re cooked until fully limp, they leak more moisture into the tortillas and the filling loses that fajita snap.
- Flour tortillas are the right choice here because they crisp without cracking. Corn tortillas won’t hold this much filling in the same way.
- Cheddar and Monterey Jack give you both melt and flavor. Monterey Jack melts smoothly, while cheddar brings the sharper finish that stands up to the seasoning.
What Each Ingredient Is Actually Doing in These Quesadillas
- Chicken breast gives you a lean filling that cooks quickly on the Blackstone. If you swap in thighs, you’ll get a little more richness and forgiveness, but you’ll need to trim the pieces well so they cook evenly.
- Fajita seasoning does the heavy lifting for smoke, heat, and salt. Store-bought seasoning works fine, but if yours is heavy on salt, cut back a touch so the finished quesadillas don’t taste harsh once the cheese melts in.
- Oil keeps the griddle from grabbing the tortillas and helps the chicken brown instead of steam. A neutral oil is best here; olive oil can work, but it doesn’t give the same clean griddle finish at higher heat.
- Cheddar and Monterey Jack melt best when shredded fresh. Pre-shredded cheese often has anti-caking agents that slow melting, and that matters when you only have a few minutes per side.
- Sour cream, salsa, guacamole, and lime turn the quesadilla from heavy to balanced. The acid from the lime and salsa cuts through the cheese and brings the fajita seasoning back into focus.
Building the Filling So It Melts Together, Not Apart
Start With the Chicken
Heat the Blackstone to medium-high and add the oil before the chicken goes down. The pan should sizzle immediately when the meat hits it, but it shouldn’t smoke hard. Cook the strips in a single layer until they’re opaque and lightly browned, about 6 to 7 minutes total, stirring as needed so the smaller pieces don’t dry out while the larger ones finish.
Cook the Peppers and Onions Until They Still Have Bite
Add the peppers and onion with the remaining seasoning and cook just until they soften and pick up a little char at the edges. You want them tender enough to fold easily into the quesadillas, but not cooked down into a soft pile. If they go too far, the juices pool under the tortillas and the bottom layer won’t crisp cleanly.
Layer, Close, and Press Lightly
Lay four tortillas on the griddle, then scatter on cheese before adding the chicken and vegetable mixture. Top with a little more cheese before the second tortilla goes on. That top and bottom layer of cheese helps the quesadilla seal once it melts, and a light press with the spatula helps the layers bond without squeezing the filling out the sides.
Brown the Outside Without Burning the Cheese
Cook the assembled quesadillas for 3 to 4 minutes per side until the tortillas are golden and the cheese is fully melted. If the tortillas are browning too fast, the heat is too high and the cheese won’t have time to melt before the outside overcooks. Pull the griddle back slightly if needed; a slower melt gives you a cleaner slice and better wedge shape.
How to Adapt These Quesadillas for Different Kitchens and Diets
Use Thighs Instead of Breasts
Chicken thighs give you a juicier, richer filling and hold up a little better if you leave them on the griddle a minute too long. Slice them thin so they cook at the same pace as the vegetables, and trim away excess fat so the quesadillas don’t turn greasy.
Make It Gluten-Free
Use sturdy gluten-free flour tortillas that are meant for folding and browning. Some brands crack if they’re too cold, so warm them briefly on the griddle first before filling them. The flavor stays the same, but the texture is a little more delicate, so handle them gently when flipping.
Make It Dairy-Free
Use a dairy-free shreddable cheese that melts well and don’t overload the filling, since some alternatives soften without fully becoming stretchy. The quesadillas will still crisp up nicely, but they won’t have the same pull or richness as the dairy version.
Storage and Reheating
- Refrigerator: Store leftovers for up to 3 days. The tortillas soften a bit as they sit, but the flavor holds well.
- Freezer: These freeze better if you wrap the cooked quesadilla wedges tightly and freeze them in a single layer first. The tortillas won’t stay as crisp after thawing, but it’s still a workable make-ahead option.
- Reheating: Reheat in a skillet or on the griddle over medium heat until the outside crisps again and the center is hot. The microwave makes the tortillas rubbery and pulls the filling into a soft layer, so skip it if you want the texture to stay close to freshly made.
Questions I Get Asked About This Recipe
Blackstone Chicken Fajita Quesadillas
Ingredients
Equipment
Method
- Heat a griddle (or flat-top) to medium-high and add the oil. Wait until it shimmers before adding ingredients.
- Season the sliced chicken breast with half the fajita seasoning and cook for 6-7 minutes until done, turning once if needed. Keep it in an even layer so it browns instead of steaming.
- Add the sliced bell peppers and onion to the griddle with the remaining fajita seasoning and cook for 5-6 minutes until softened. Stir occasionally until the onions turn translucent.
- Place 4 flour tortillas on the griddle and layer each one with cheese, the chicken mixture, and more cheese. Build close to the edges so the filling stays inside.
- Top with the remaining tortillas and cook for 3-4 minutes per side until golden and the cheese is melted. Press lightly with a spatula for better sealing and visible cheese stretch.
- Cut the quesadillas into wedges and serve with sour cream, salsa, guacamole, and lime wedges. Arrange the sauces on the side for easy cross-section dipping.