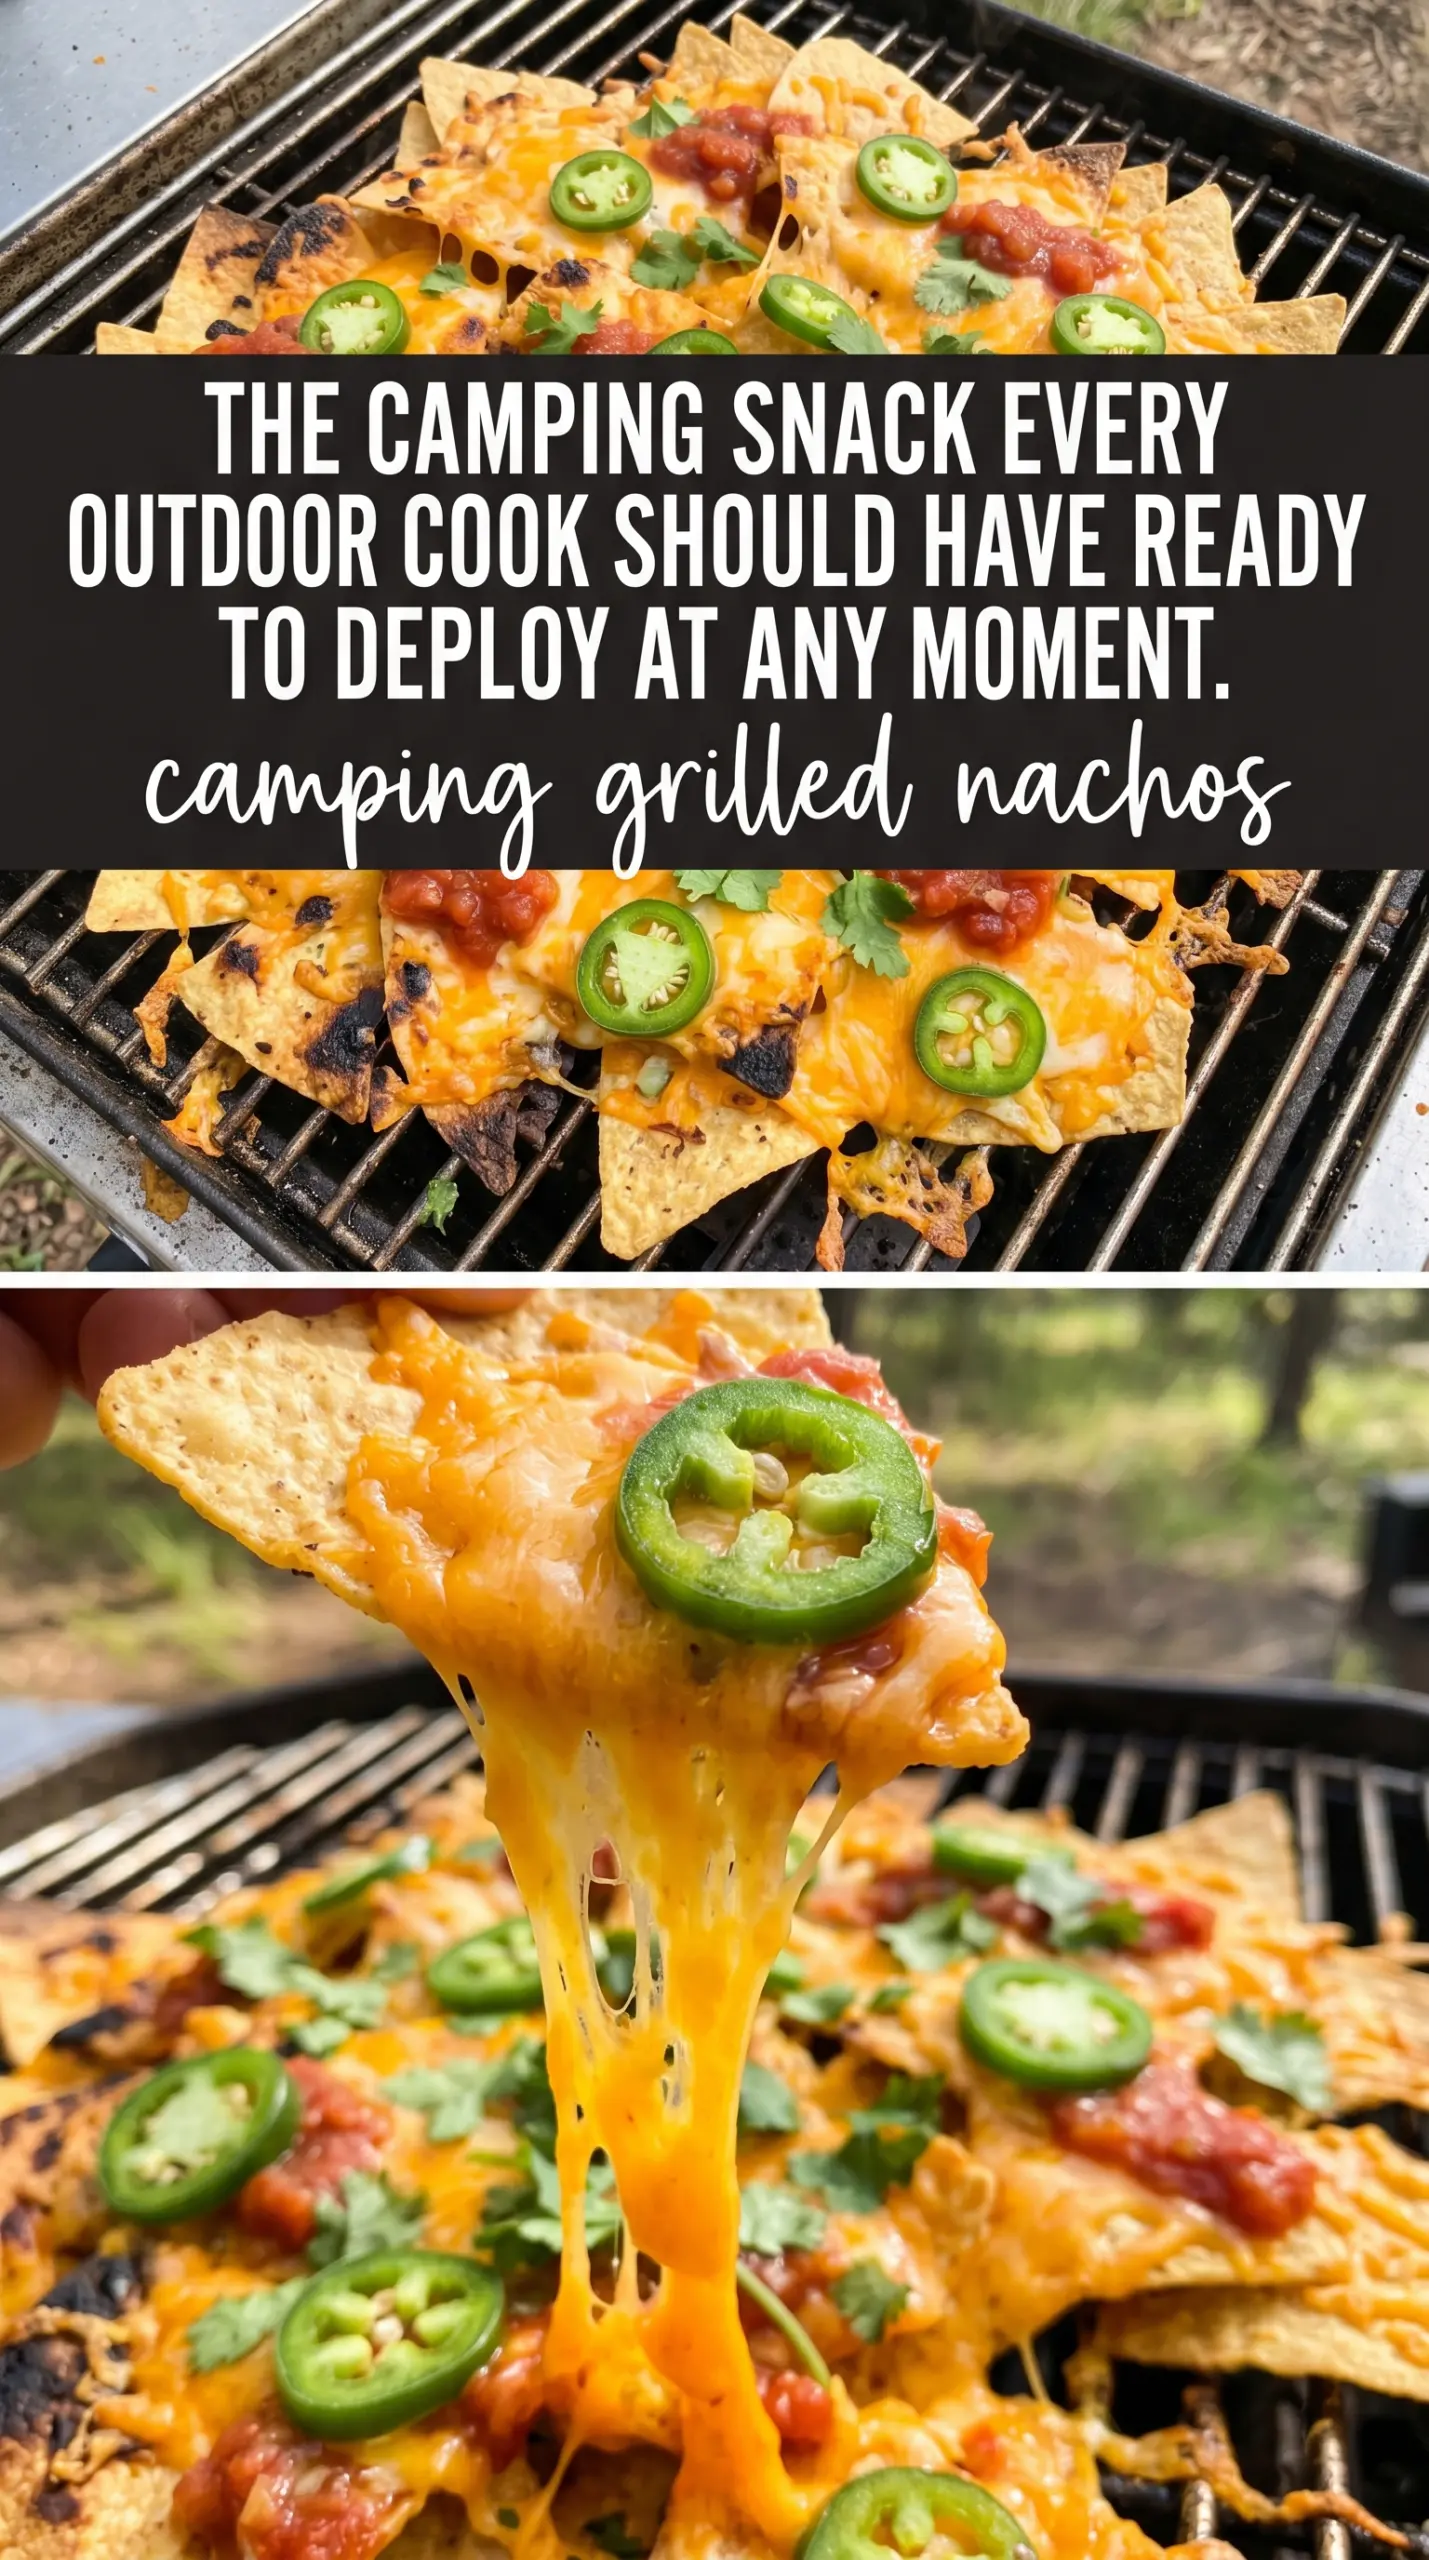
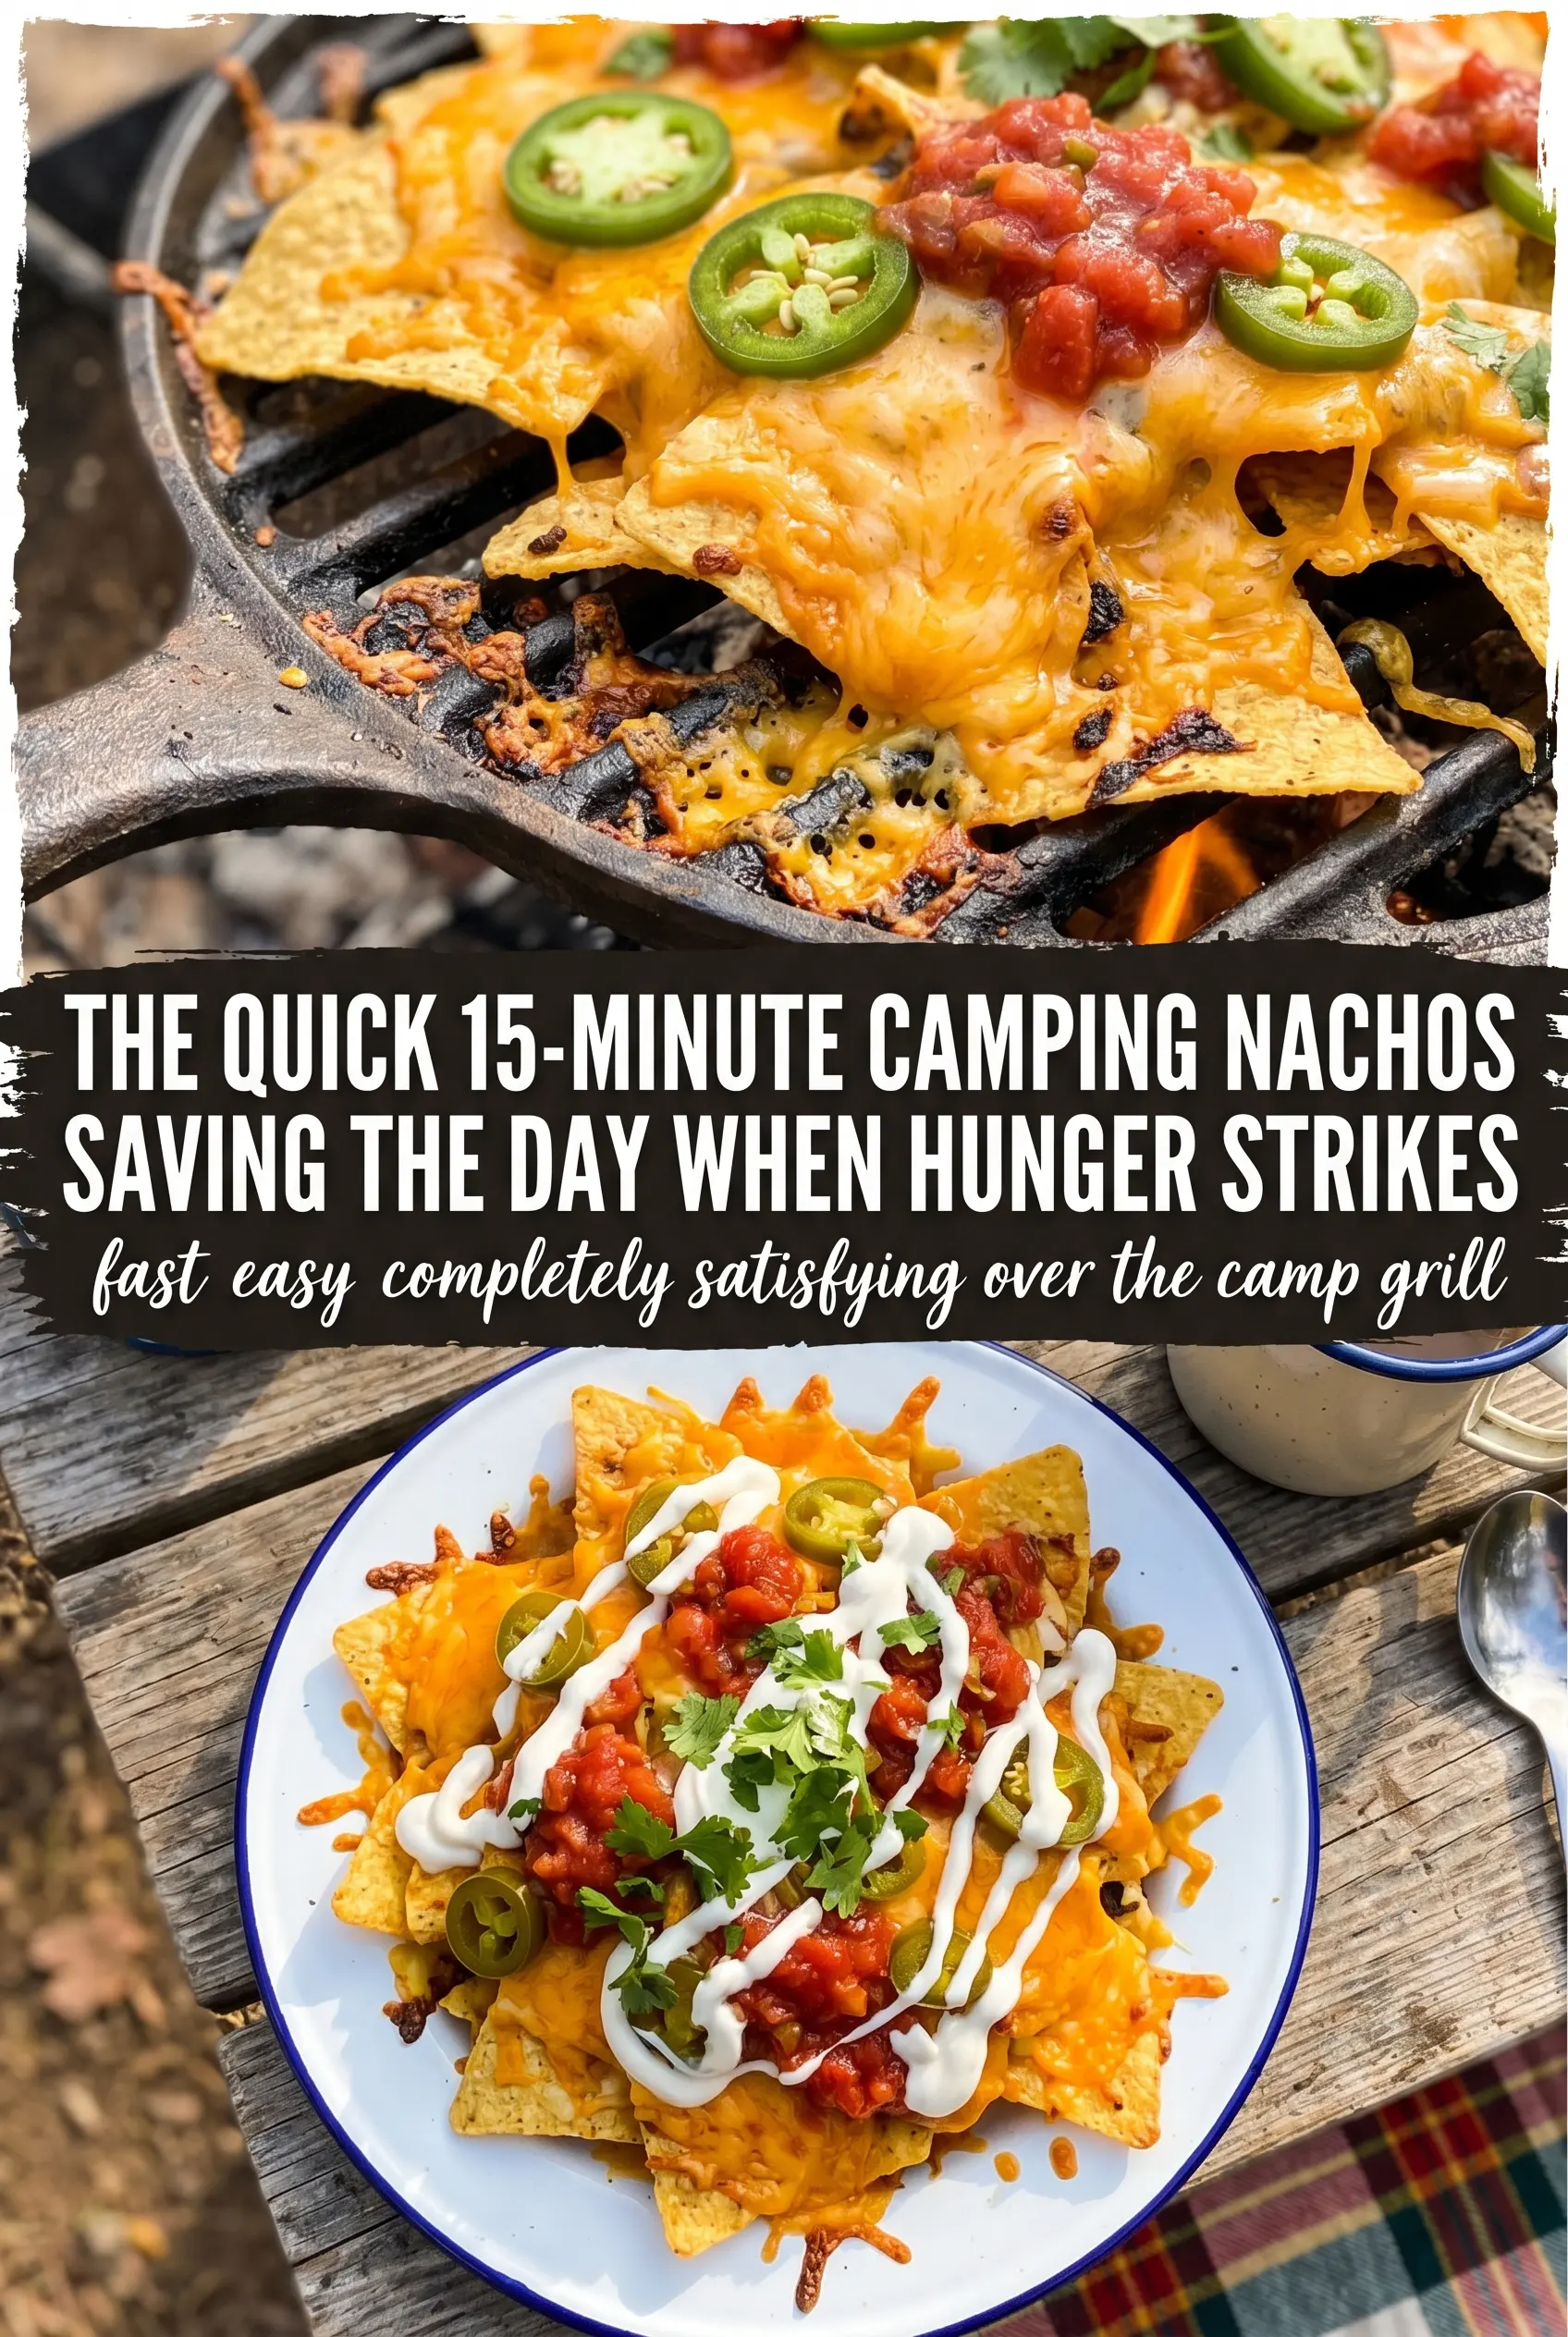
Camping grilled nachos hit that sweet spot between low-effort and crowd-pleasing: hot, melty cheese; sturdy chips that still have crunch; and just enough smoky edge from the fire to make them taste like you planned ahead. They’re the kind of camp meal that disappears fast, especially when everyone can dig straight into the pan with a lime wedge in hand.
What makes this version work is the layering. The cheese isn’t dumped on top all at once, so the chips underneath pick up heat and melt from both directions instead of staying dry in the middle. Using a disposable aluminum pan also matters here because it gives you even heat and saves you from trying to rescue loose chips through a grill grate.
Below, I’ve included the small details that keep the nachos from turning soggy, plus a few easy swaps if you’re cooking for a mixed group or working with whatever’s in the cooler.
The Layering Trick That Keeps Campfire Nachos Crunchy
Most nachos go soft because the toppings sit all on one level and steam the chips underneath. These hold up better when you build them in two thin layers instead of one heavy pile. That gives the cheese more contact with the chips, so it melts fast without trapping as much moisture in the middle.
The other thing that matters is heat control. Medium campfire heat is enough to melt the cheese, but direct roaring flames will scorch the bottom of the pan before the center gets hot. You want bubbling cheese and a few browned spots, not a blackened base and cold beans.
- Disposable aluminum pan This is the right vessel for campfire nachos because it conducts heat evenly and lets you serve straight from the pan. A deep pan can work, but a wide, shallow one gives the chips better coverage.
- Tortilla chips Use sturdy chips, not thin restaurant-style ones. Thin chips break under the weight of the beans and beef before the cheese sets.
- Shredded Mexican cheese blend Pre-shredded cheese melts well here and the blend gives you better coverage than a single cheese. If you grate your own, it melts even smoother, but the bagged version is fine for camping.
- Cooked ground beef This needs to be seasoned before it goes into the pan. Bland meat flattens the whole dish, and raw beef isn’t a good fit for quick campfire cooking.
What Each Ingredient Is Actually Doing in Camping Grilled Nachos
- High heat (essential for browning) High heat creates crust and caramelization. Medium heat just cooks without developing flavor.
- Oil or fat (for browning and flavor) The fat helps transfer heat and create crust. It also carries seasonings.
- Salt and seasoning (bold, applied before) Season confidently. The high heat cooking mellows flavors slightly.
- No moving it around (let it sit) The food needs time to develop crust. Constant flipping and moving prevents browning.
- Timing (watch carefully) High heat cooks fast. Check doneness frequently to avoid overcooking.
- Optional: finishing sauce or glaze Apply in the last minute for flavor without burning. Heavy sauces applied early can char.
- Resting time (5-10 minutes before serving) Resting allows juices to reabsorb. Cutting right away lets them run out.
- Optional: smoke or char flavor (if available) Wood smoke or char adds depth. Build the fire strategically for the flavor you want.
How to Melt Everything Without Turning the Chips Soggy
Building the First Layer
Start by covering the bottom of the pan with half the chips, then add half the cheese, beans, and beef. Keep the layers loose and even instead of pressing them down. If you pack everything tightly, the heat can’t move through the pile and the bottom chips steam instead of crisping.
Stacking for Better Melt
Repeat with the remaining chips and toppings. This second layer protects the first one from direct heat while still giving you coverage all the way to the top. The cheese should be visible from edge to edge so you know the pan is set up to melt evenly.
Cooking Over the Fire
Set the pan on the grill grate over medium campfire heat and leave it alone for 8 to 10 minutes. You’re looking for melted cheese with active bubbling around the edges and a few spots in the center that have gone glossy and soft. If the fire is too hot, move the pan to a cooler part of the grate instead of pulling it far away, which can leave the center underdone.
Finishing with Cool Toppings
Add the salsa, sour cream, jalapeños, cilantro, and lime wedges after the pan comes off the heat. Those toppings bring freshness and contrast, but if they go on too early, the salsa can make the top layer wet and the sour cream can melt into the cheese. Serve right away while the bottom chips still have some crunch.
How to Adapt These Nachos for the Cooler You Actually Packed
Make Them Vegetarian
Skip the ground beef and add an extra can of black beans or a layer of seasoned sautéed peppers and onions. You’ll lose the savory richness of the meat, so the best backup is a generous pinch of taco seasoning and a little extra cheese.
Make Them Gluten-Free
Most tortilla chips are naturally gluten-free, but the seasoning on the beef and the salsa should be checked if you’re cooking for someone with an intolerance. Once those two pieces are verified, the rest of the recipe fits without any changes.
Turn Up the Heat
Use pickled jalapeños in addition to the fresh slices, or mix chopped chipotle peppers into the beef before layering. That adds smoky heat without changing the structure of the dish, and it plays especially well with the melted cheese.
Storage and Reheating
- Refrigerator: Store leftovers in an airtight container for up to 2 days. The chips soften, so expect a less crisp texture.
- Freezer: I don’t recommend freezing assembled nachos. The chips and sour cream won’t hold up well after thawing.
- Reheating: Reheat leftovers in a 350°F oven until warmed through. The biggest mistake is using the microwave, which turns the chips limp and rubbery before the cheese can warm evenly.
Answers to the Questions Worth Asking
Camping Grilled Nachos
Ingredients
Equipment
Method
- Line a large disposable aluminum pan with half the tortilla chips.
- Layer in half the shredded Mexican cheese blend, black beans, and cooked ground beef.
- Repeat the layers with the remaining tortilla chips, shredded Mexican cheese blend, black beans, and cooked ground beef.
- Place the pan on the grill grate over medium campfire heat.
- Cook for 8-10 minutes until the cheese is fully melted and visibly bubbly.
- Remove the pan from the heat.
- Top with salsa, sour cream, sliced jalapeños, and chopped cilantro.
- Serve immediately with lime wedges.