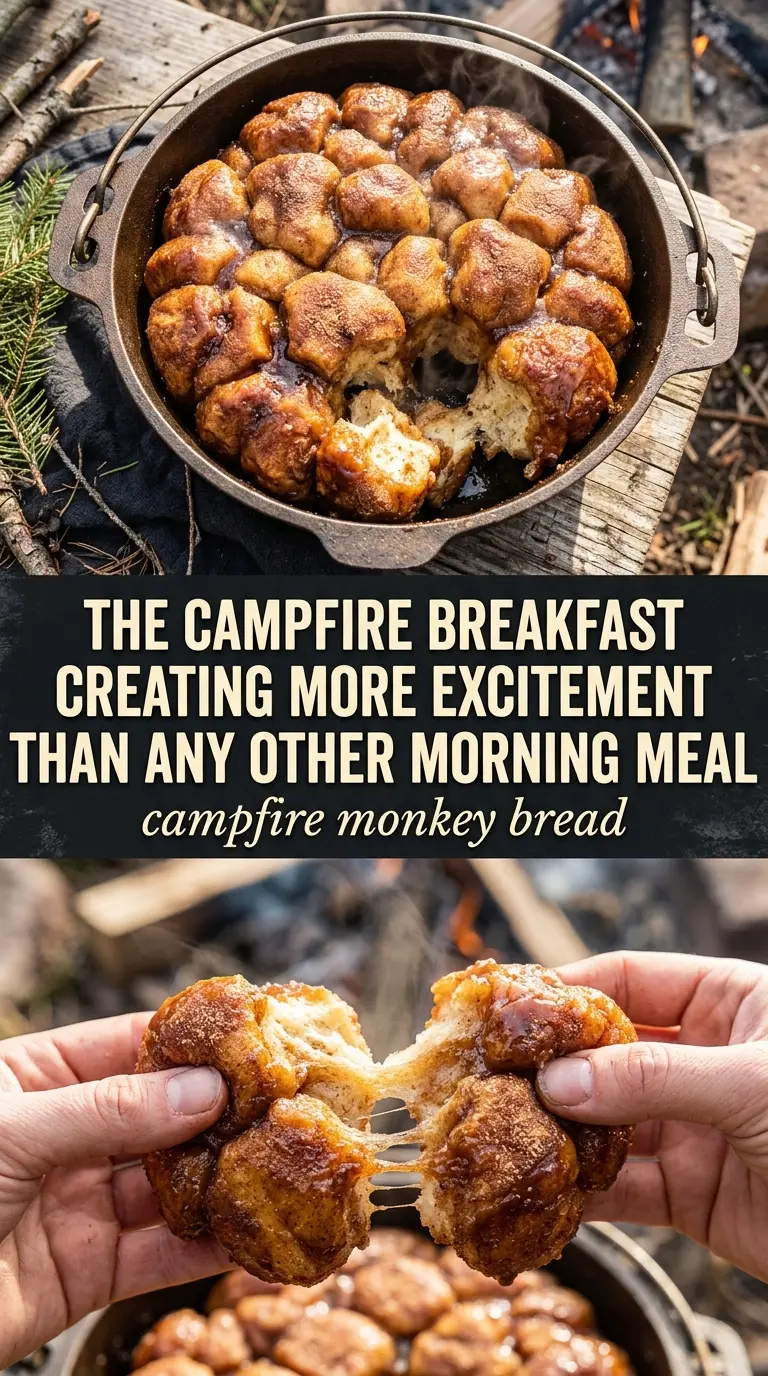
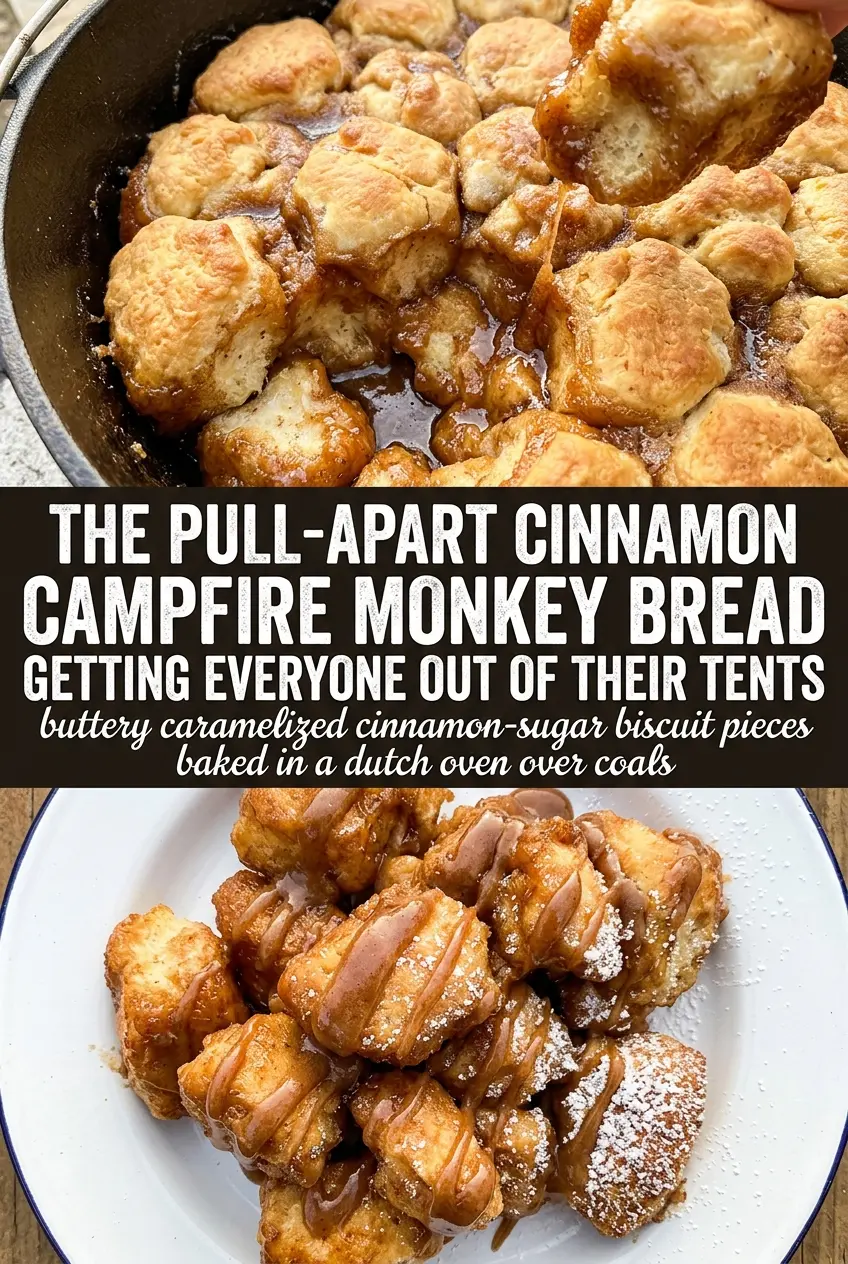
Golden, sticky, pull-apart monkey bread belongs over a fire just as much as it does on a kitchen counter. This campfire version bakes up with crisp edges, soft centers, and a caramel shell that clings to every biscuit piece, so each bite tastes like cinnamon rolls and campfire dessert had the same idea at the same time. The Dutch oven does the heavy lifting here, holding steady heat from the coals and turning a simple can of biscuit dough into something people reach for with their fingers before it even hits the plate.
The trick is in the layering and the heat management. Cutting the biscuits into quarters gives you more edges for the cinnamon sugar to grab, and shaking them in a bag coats them more evenly than tossing them in a bowl. The butter and brown sugar go in after the dough is in the pot, where they melt down into the gaps and build that glossy caramel base as the bread bakes. Keep the coals balanced on the lid and underneath the Dutch oven, and the center cooks through without scorching the bottom.
Below you’ll find the timing cues that keep the bread tender instead of doughy, plus a few variations for making it work with different setups. If you’ve ever pulled a dessert from the fire and hoped for the best, this one gives you a much better plan.
The cinnamon sugar coated every piece and the bottom turned into this perfect caramel layer in the Dutch oven. We lifted the lid at 25 minutes and it smelled like a bakery at camp.
Like this campfire monkey bread? Save it to Pinterest for the next time you want a golden Dutch oven dessert with sticky caramel edges.
The Spot Where Campfire Monkey Bread Usually Goes Wrong
Most campfire monkey bread problems come from heat, not ingredients. If the coals are too hot, the outside browns before the center has time to bake, and you end up with doughy pockets under a dark crust. If the heat is too light, the sugar melts but never really turns into that sticky caramel layer, so the bread tastes soft instead of finished.
The other thing that matters is how the biscuit pieces are packed into the Dutch oven. You want them snug enough to hold the caramel, but not smashed into a solid mass. Those gaps let the butter and brown sugar flow down through the layers, which is what gives you that pull-apart texture instead of a dense bread pudding situation.
- Even coal distribution keeps the Dutch oven baking from both directions. Put some coals under the pot and some on the lid so the middle cooks before the top dries out.
- Quartered biscuit pieces give you more surface area for cinnamon sugar and more seams for caramel to slip between.
- A covered Dutch oven traps heat and steam, which helps the biscuits cook through before the sugar overbrowns.
What the Biscuit Dough and Brown Sugar Are Each Doing Here
- Refrigerated biscuit dough is the shortcut that makes this possible over a fire. It bakes into soft, fluffy layers with enough structure to hold the caramel, and the canned dough is sturdy enough to handle campfire heat better than a loose homemade sweet dough.
- Cinnamon and sugar build the dry coating that turns every piece into something worth pulling apart. The sugar also helps the outside caramelize once the butter and brown sugar melt through it.
- Brown sugar matters more than white sugar in the glaze because it brings molasses flavor and a softer, stickier finish. White sugar will sweeten the bread, but it won’t give you the same caramel depth.
- Butter carries the sugar into the cracks and helps create the glossy sauce at the bottom of the pot. Melt it fully before mixing with the brown sugar so it pours evenly instead of clumping.
- Cooking spray is the small detail that saves the whole dessert. Dutch ovens can hold onto sticky sugar, and a well-coated pot helps the monkey bread release cleanly when you invert it.
Building the Layers So the Center Cooks and the Bottom Caramelizes
Coating the Biscuit Pieces
Cut each biscuit into quarters so you get small, rough-edged pieces that catch the cinnamon sugar on every side. Toss them in a zip-top bag with the sugar and cinnamon until the coating looks even and dry, with no bald spots of dough showing through. If you crowd the bag too much, some pieces stay pale and others get overloaded, so work in batches if needed.
Setting Up the Dutch Oven
Spray the inside of the Dutch oven generously, then layer in the coated biscuit pieces without pressing them down hard. The pieces should settle naturally, leaving small spaces for the butter mixture to run through. If you pack them too tightly, the center steams into a gummy mass instead of baking into pull-apart bread.
Pouring on the Caramel Base
Mix the melted butter and brown sugar until the sugar looks wet and grainy, then pour it evenly over the dough. Don’t stir once it’s in the pot; the heat will take care of moving the caramel where it needs to go. Put the lid on right away so the oven holds as much heat as possible while the sugar starts to melt down into the bread.
Cooking Over the Coals
Set the Dutch oven on campfire coals and place coals on top of the lid for even heat. After about 25 minutes, lift the lid and look for deep golden edges, bubbling caramel, and no raw dough hiding in the center. If the top is browning too fast, pull a few coals off the lid and let the bottom finish the bake more gently.
The Flip That Finishes It
Let the bread rest for 5 minutes after cooking so the caramel settles and doesn’t run everywhere the moment you turn it out. Then invert it onto a plate in one confident move. If you wait too long, the sugar can harden in the pot and stick, and if you flip too early, the loaf can break apart before it sets.
How to Adjust Campfire Monkey Bread for Different Camps and Crowds
Oven-Baked Version for Home
Bake it in a well-greased Dutch oven in a 350°F oven for about 30 to 35 minutes. You’ll get the same pull-apart texture and caramel glaze, just with less smoke and a little more even browning on top.
Dairy-Free Campfire Monkey Bread
Use plant-based butter in place of the regular butter. The caramel will still thicken and coat the dough, though the flavor will be a little less rich and more straightforwardly sweet.
Extra Cinnamon for a Stronger Spice Hit
Add another teaspoon or two of cinnamon to the sugar mixture if you want the spice to come through more clearly after cooking. That pushes the bread a little closer to cinnamon-roll territory and balances the sweetness of the glaze.
Storage and Reheating
- Refrigerator: Store leftovers covered for up to 3 days. The sugar will firm up and the bread will lose some softness, but it still reheats well.
- Freezer: Freeze individual portions wrapped tightly for up to 1 month. The texture softens a little after thawing, but it’s workable if you want to save extra pieces.
- Reheating: Warm in a 300°F oven until the pieces are heated through, or microwave short bursts if you’re in a hurry. Don’t blast it on high heat, or the caramel will turn hard before the center warms up.
Questions I Get Asked About This Recipe
Campfire Monkey Bread
Ingredients
Equipment
Method
- Cut each refrigerated biscuit dough into quarters.
- In a large zip-top bag, mix sugar and cinnamon, add biscuit pieces, and shake until evenly coated with cinnamon sugar.
- Spray a Dutch oven with cooking spray.
- Layer the coated biscuit pieces in the Dutch oven in an even pile.
- Mix melted butter and brown sugar, then pour over the biscuit pieces so they’re glazed.
- Cover the Dutch oven and place it on campfire coals with additional coals on top of the lid to create top-and-bottom heat.
- Cook for 25-30 minutes until the monkey bread is golden brown and cooked through.
- Let cool for 5 minutes to set the caramel glaze.
- Invert onto a plate and pull apart to serve.