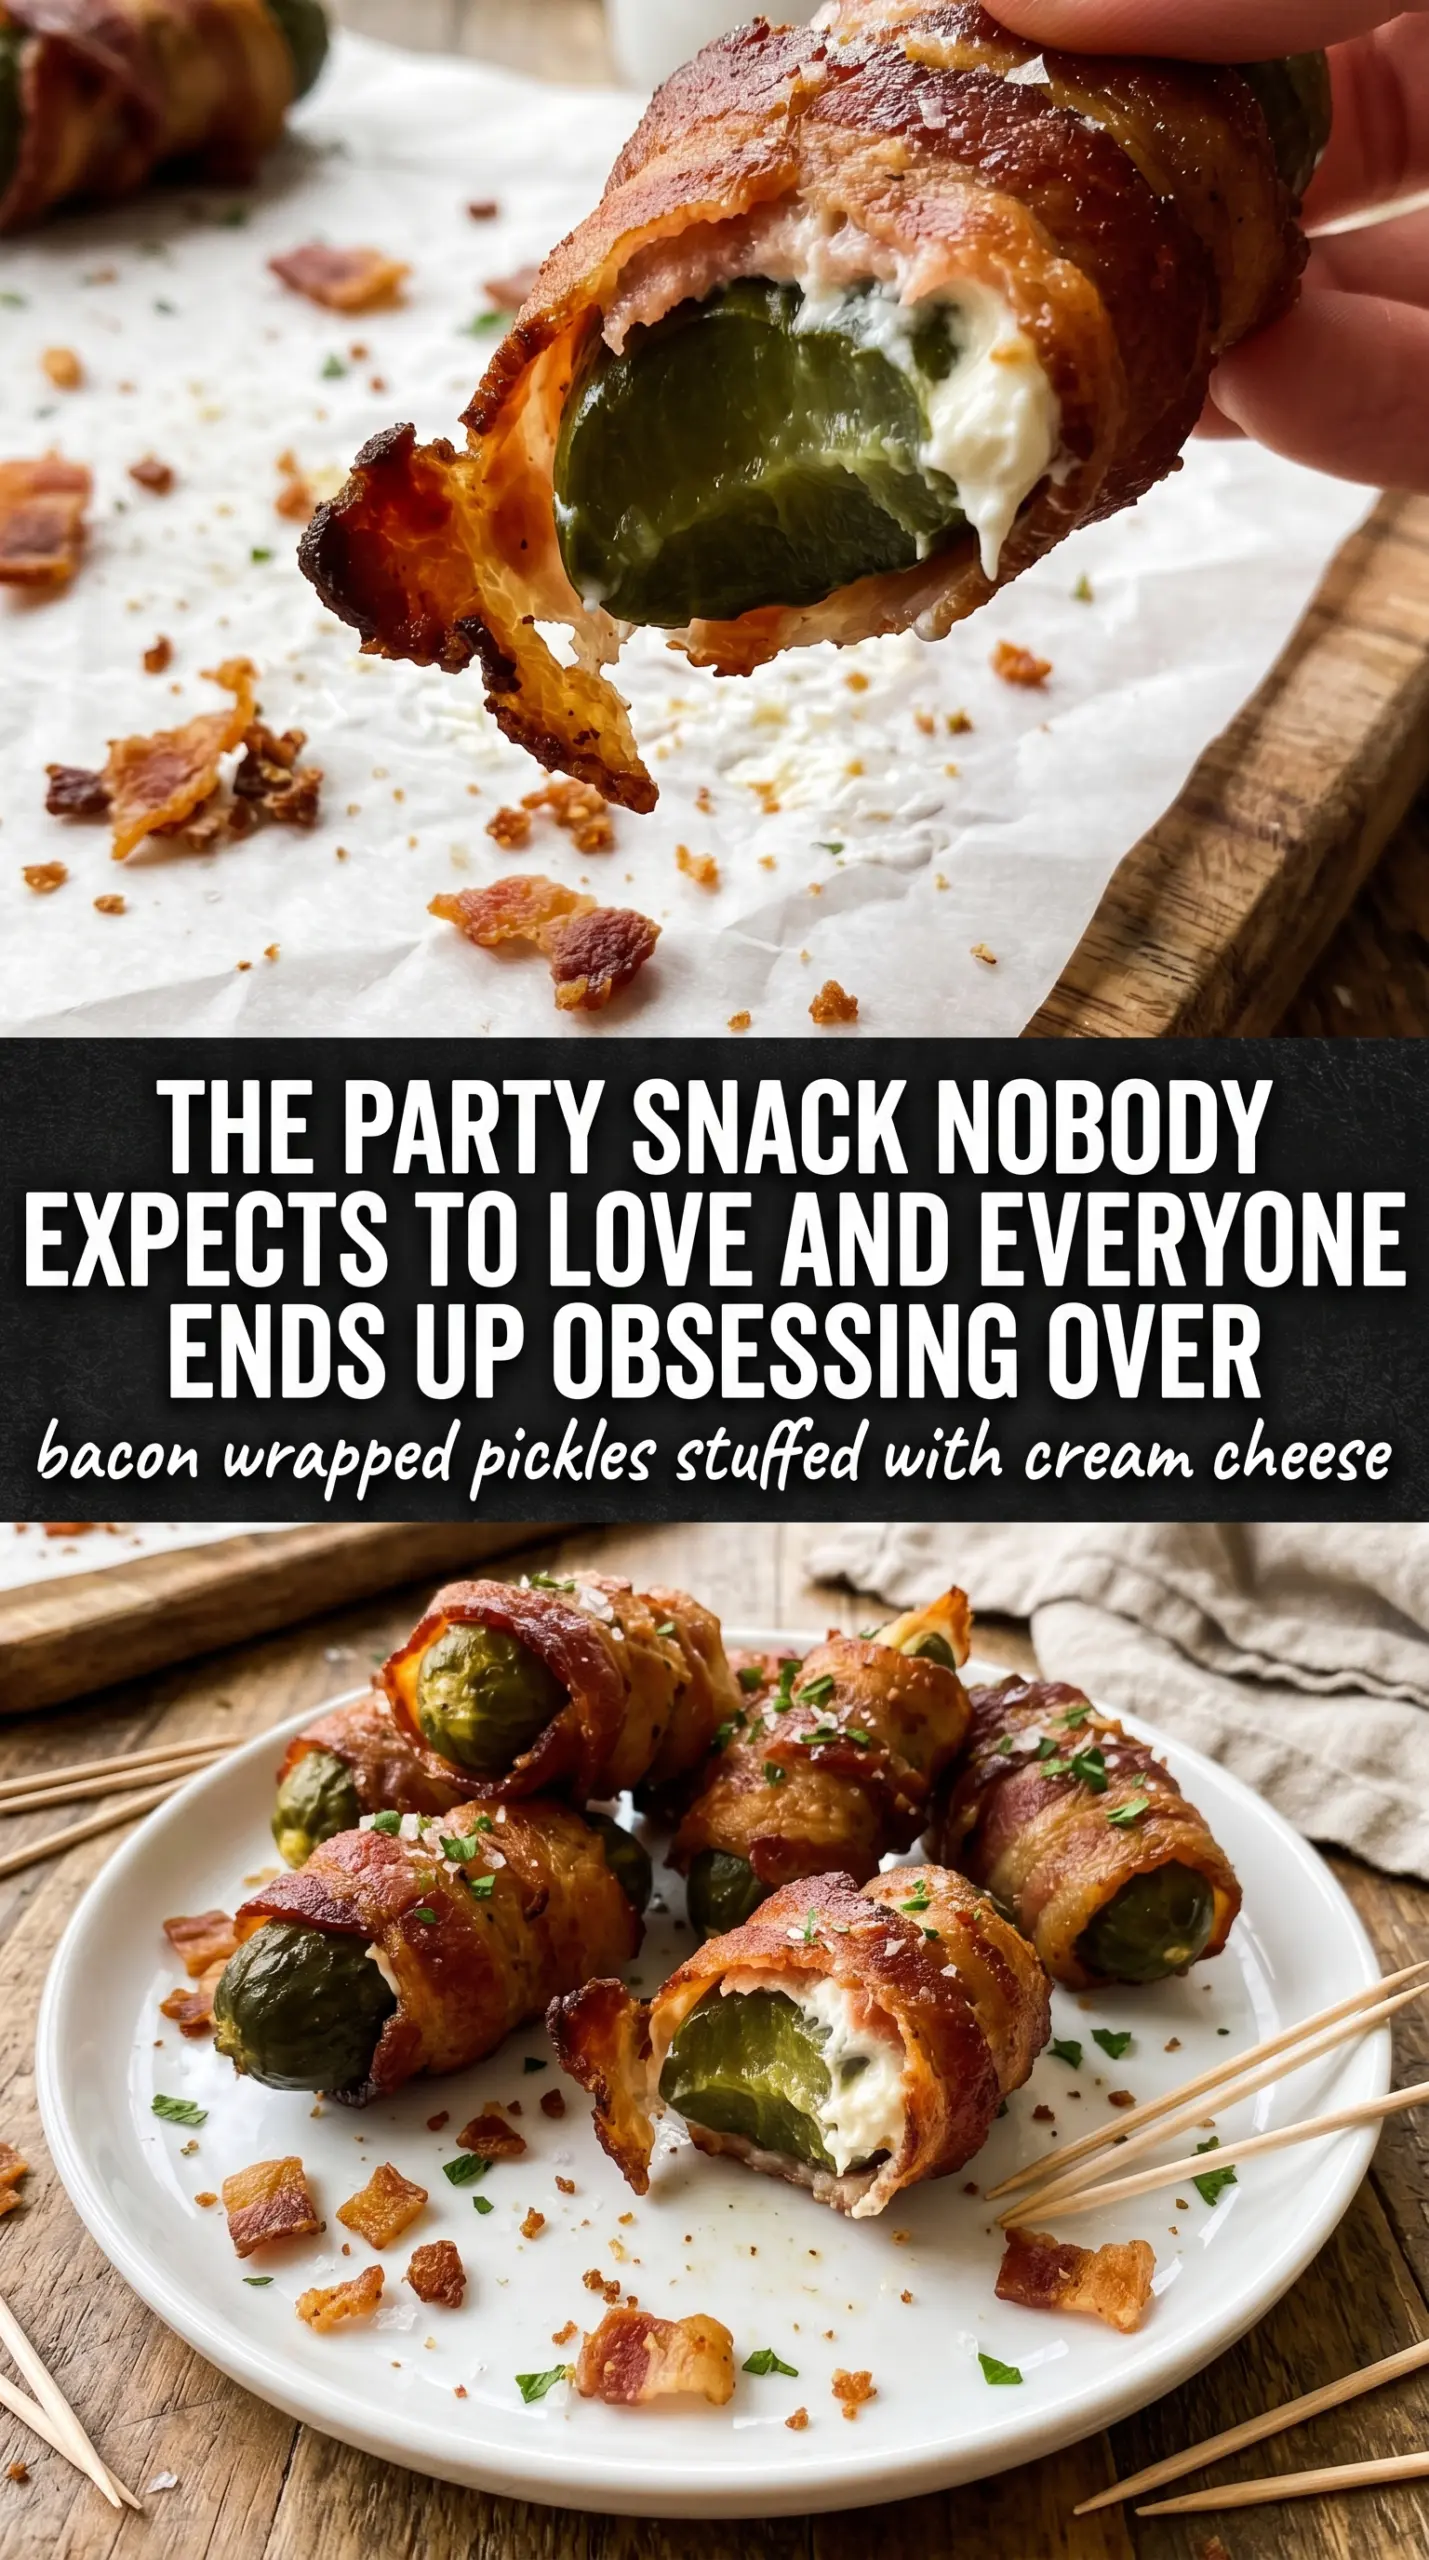
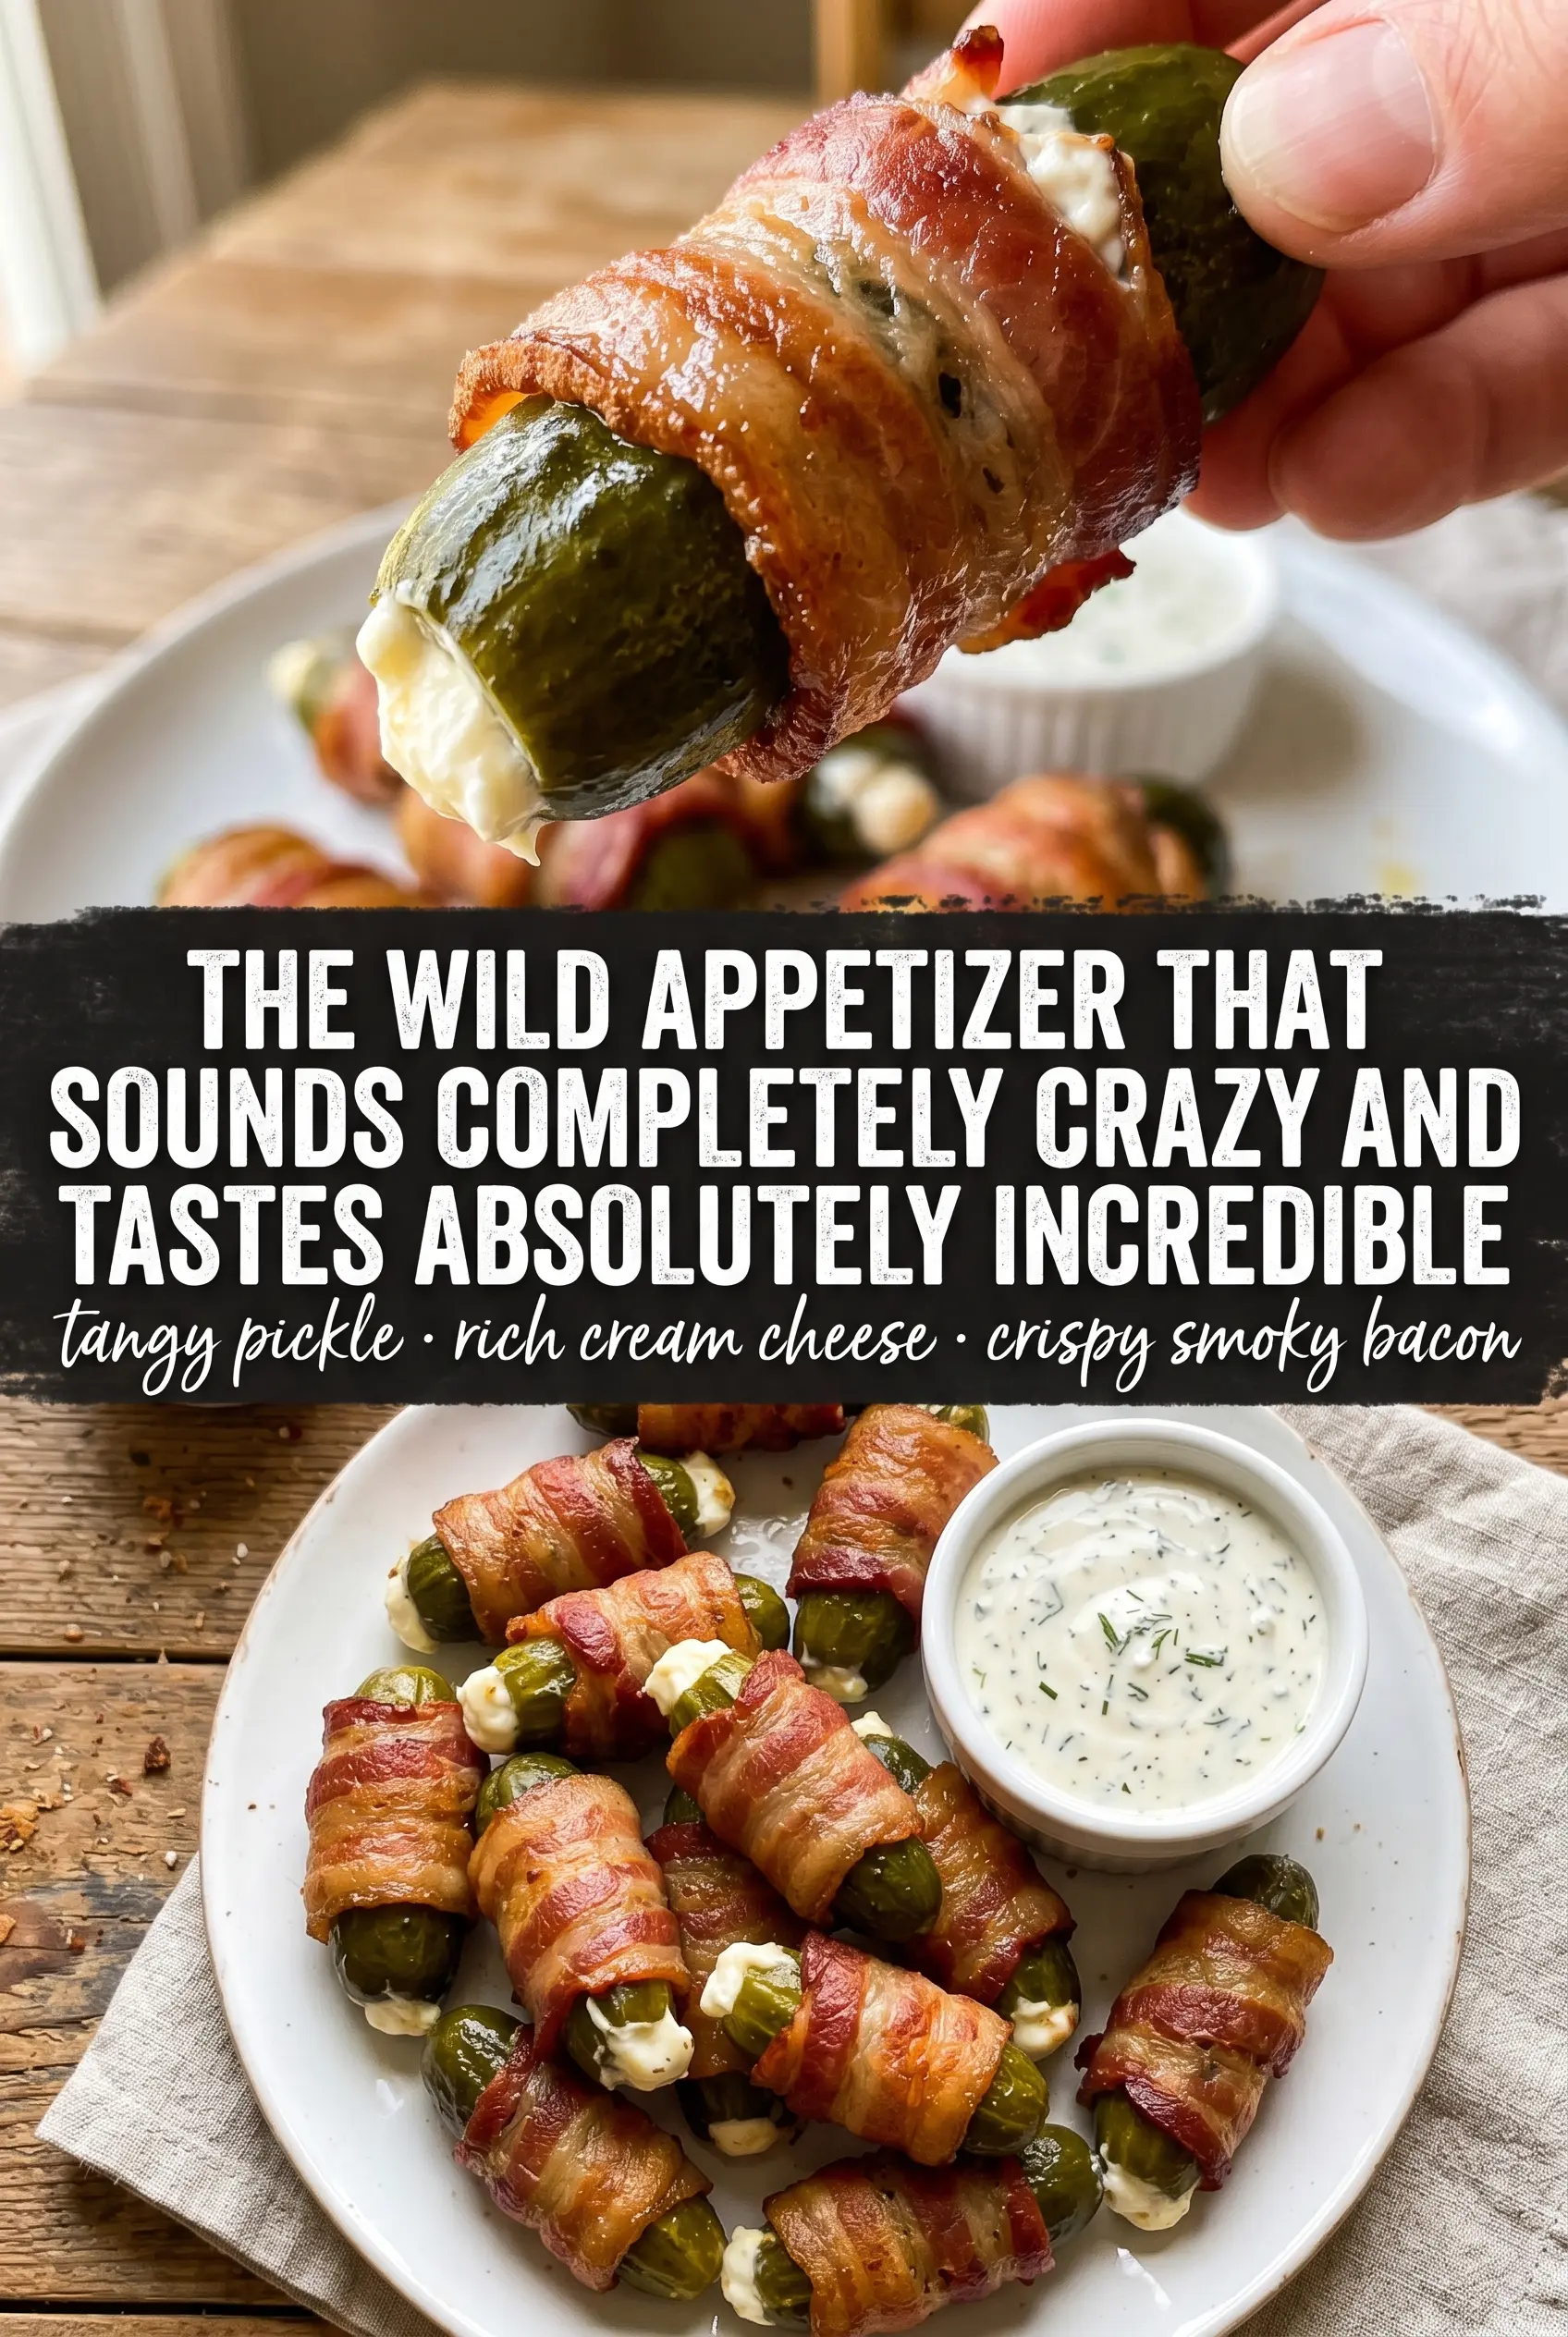
Crispy bacon wrapped pickles with a cool cream cheese center hit that salty, tangy, smoky balance that disappears fast at a party. The pickle stays snappy, the filling turns creamy instead of runny, and the bacon gives you the kind of crackly finish that makes people reach for a second one before they’ve finished the first.
The trick is drying the pickles well before stuffing them and wrapping them with bacon that can actually crisp in the time it takes the pickles to heat through. Softened cream cheese spreads cleanly into the slit without tearing the pickle, and grilling over medium heat keeps the bacon from burning before the fat renders.
Below, I’ve included the little details that matter most here: how to keep the bacon on, what to do if your pickles are extra juicy, and a few simple variations if you want to change up the filling.
The Step That Keeps the Bacon Crisp Instead of Steaming
Most of the disappointment with bacon wrapped pickles comes from too much moisture. Pickles hold a lot of brine, and if they go onto the grill wet, the bacon has to fight steam before it ever starts to brown. Patting the spears dry matters more here than in almost any other appetizer like this.
Stuffing the pickle with softened cream cheese also helps. Cold cream cheese tears the pickle and clumps instead of spreading into the slit, which leaves gaps that leak during cooking. The other part that matters is using medium heat and turning often so the bacon renders gradually. High heat will char the outside before the center has warmed through.
What the Pickle, Cream Cheese, and Bacon Each Need From You
- Dill pickle spears Use spears, not chips, so there’s enough surface to stuff and wrap. Pickles that are firm and extra crunchy hold up best on the grill. If yours are very wet, let them drain on paper towels after patting dry.
- Cream cheese Full-fat cream cheese gives the cleanest filling and the best contrast with the pickle. Reduced-fat versions can work, but they soften faster and can leak more easily. Let it sit at room temperature until it spreads without resistance.
- Bacon Regular-cut bacon is the sweet spot here. Thick-cut bacon often needs longer than the pickle can comfortably sit over heat, which leaves you with soft spots. If your slices are especially wide, stretch them gently as you wrap so they cover without doubling too much.
- Toothpicks These do the actual holding. Push them in at a slight angle so the bacon stays snug as it shrinks during cooking. If you soak wooden toothpicks for 10 minutes first, they’re easier to remove after grilling.
How to Wrap, Grill, and Stop the Filling From Leaking Out
Cutting and Stuffing the Pickles
Cut a slit lengthwise down each pickle spear, but stop before you cut through the bottom. You want a pocket, not two halves. Spoon or spread the cream cheese into the opening and press it in firmly enough that it holds shape, but don’t overfill it or the cheese will squeeze out once the bacon tightens.
Wrapping the Bacon Tightly
Start the bacon at one end of the pickle and spiral it down with a slight overlap so there are no open gaps. The bacon shrinks as it cooks, so a loose wrap will slide around and expose the pickle. Secure the end with toothpicks, and if a strip seems too short to cover the whole spear, use two shorter pieces with a small overlap rather than stretching it thin.
Grilling to a Crisp Finish
Cook over medium heat and turn the pickles frequently so the bacon renders evenly. You’re looking for bacon that’s browned and crisp on the outside, not just no longer pink. If the bacon is getting too dark before it crisps, move the pickles to a cooler part of the grill and keep going there. Pull them off when the bacon feels set and the fat has mostly rendered; waiting for deep mahogany color usually means you’ve gone too far.
How to Change These Up Without Losing the Crunch
Dairy-Free Version
Swap the cream cheese for a firm dairy-free cream cheese spread. The texture will be a little softer once heated, so keep the filling modest and chill the stuffed pickles for 10 minutes before wrapping if your kitchen is warm.
Oven-Baked Instead of Grilled
Bake at 400°F on a rack set over a sheet pan until the bacon crisps, turning once if needed. The rack matters because it keeps the bacon out of the rendered fat, which helps it brown instead of steam.
Spicy Version
Add a pinch of cayenne or a little finely chopped jalapeño to the cream cheese. That gives you heat without changing the structure of the appetizer, and the pickle still keeps it from feeling heavy.
Make-Ahead Party Prep
You can stuff and wrap the pickles a few hours ahead, then keep them covered in the refrigerator until grilling time. Don’t prep them too far in advance or the pickle moisture will start softening the bacon before it cooks.
Storage and Reheating
- Refrigerator: Store leftovers in an airtight container for up to 3 days. The bacon softens after chilling, but the flavor stays good.
- Freezer: I don’t recommend freezing these. Pickles get watery and the cream cheese turns grainy after thawing.
- Reheating: Reheat on a rack in a 375°F oven or air fryer until the bacon is hot and re-crisped. Skip the microwave it makes the bacon rubbery and pulls more moisture out of the pickle.
Questions I Get Asked About This Recipe
Bacon Wrapped Pickles Stuffed With Cream Cheese
Ingredients
Equipment
Method
- Cut a slit lengthwise in each pickle spear without cutting all the way through, leaving the spear intact.
- Stuff each cut pickle with softened cream cheese so the filling sits firmly inside.
- Wrap each stuffed pickle with a slice of bacon and secure with toothpicks to hold the bacon in place.
- Grill over medium heat for 15-20 minutes, turning frequently, until the bacon is crispy.
- Remove toothpicks before serving.