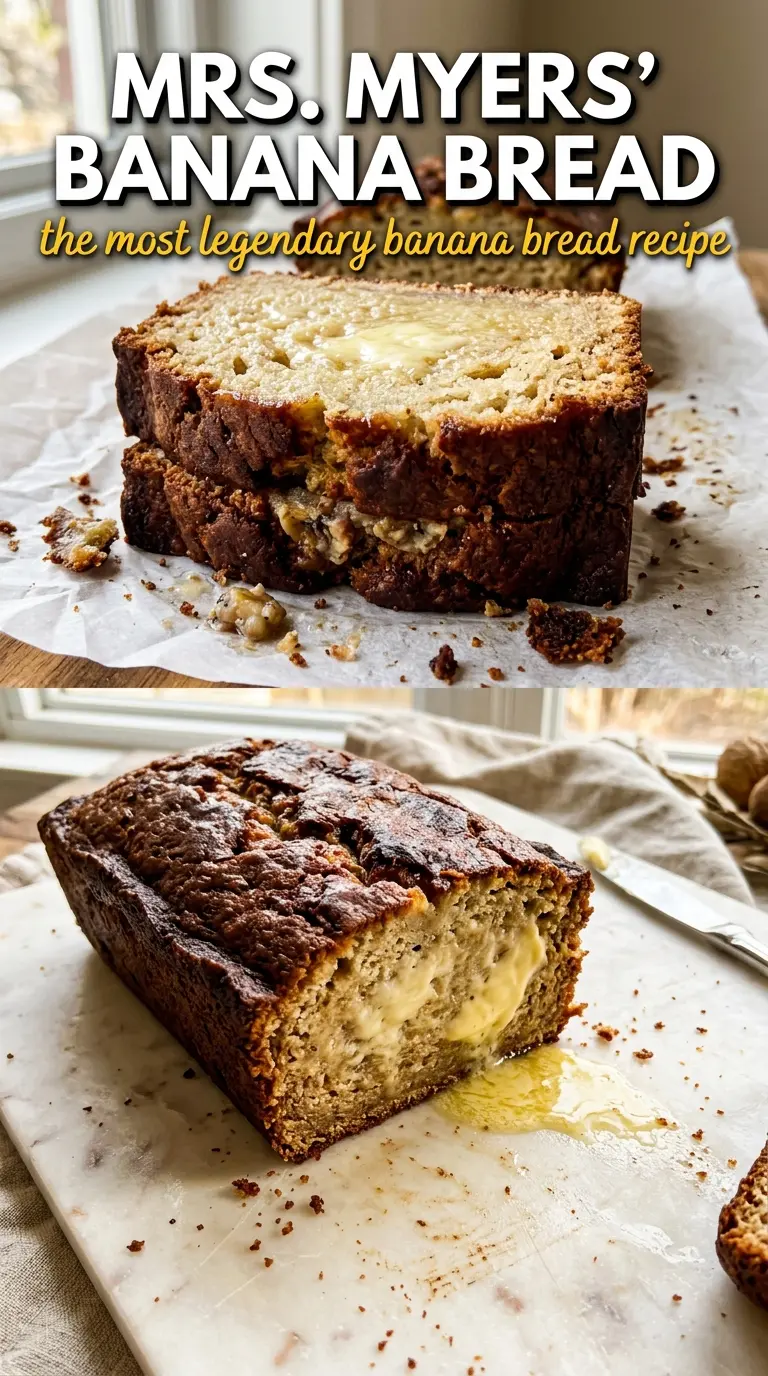
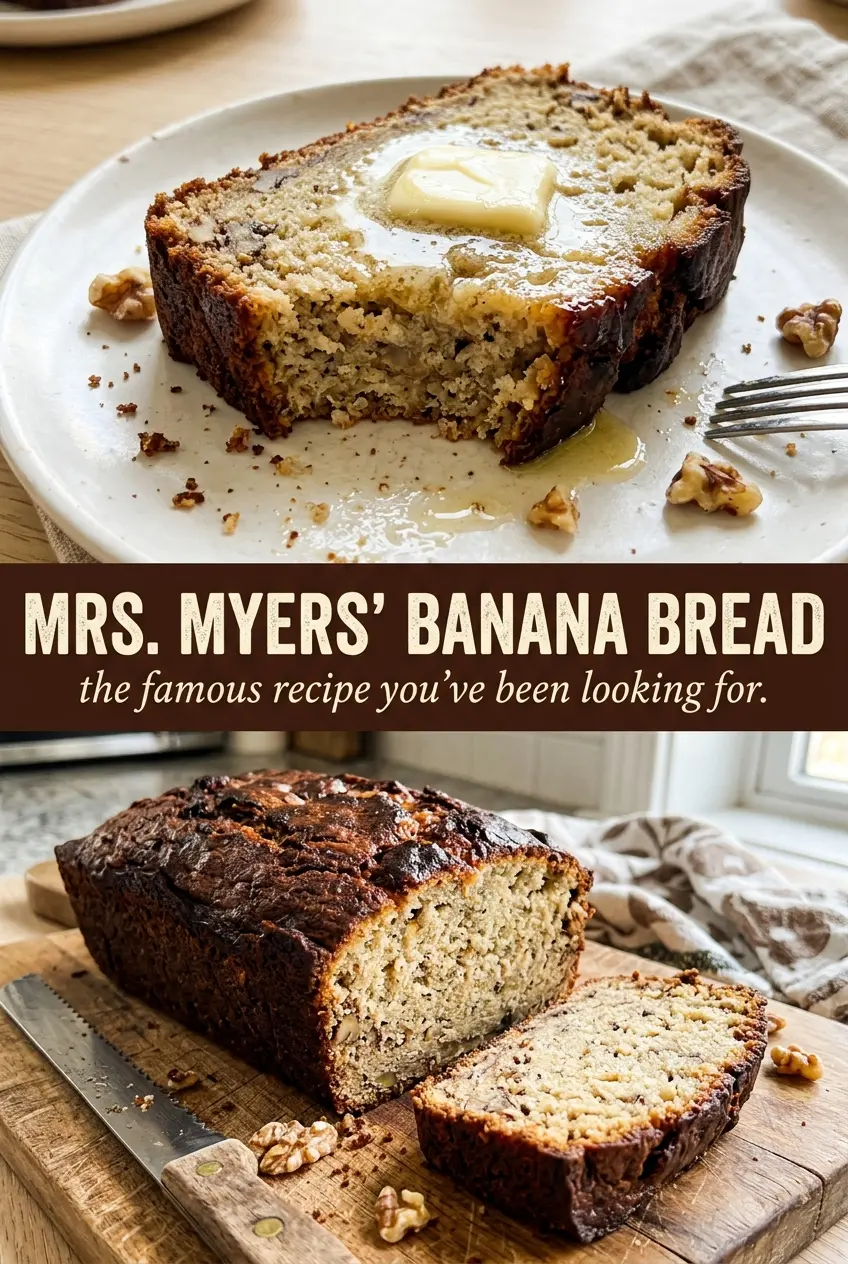
Mrs. Myers’ Banana Bread bakes up with a cracked, golden top and a crumb that stays tender for days, the kind of loaf that disappears one thick slice at a time. It tastes old-fashioned in the best way: sweet enough to feel like a treat, but still balanced and straightforward, with the banana flavor front and center instead of buried under extras.
What makes this version work is the way the fat and sugar are creamed first, which gives the loaf a lighter texture than the dense, heavy banana breads people sometimes expect. The bananas go in after the eggs, so they stay evenly distributed, and the dry ingredients are folded in just until the batter comes together. That keeps the crumb soft instead of tough. A little milk loosens the batter just enough to bake up moist without turning gummy.
Below, I’ve included the small details that matter most: which banana texture gives the best flavor, how to avoid a sunk middle, and how to swap butter and shortening depending on what you’ve got on hand.
Save Mrs. Myers’ Banana Bread for the days when you want a deeply golden loaf with a soft crumb and that old-fashioned banana flavor.
The Mistake That Makes Banana Bread Heavy Instead of Tender
Banana bread gets weighed down fast when the batter is overmixed after the flour goes in. Once the flour hits the bowl, you’re just trying to bring everything together, not beat it smooth. A few streaks disappear in the oven. Overworking it leaves you with a tighter crumb and a loaf that eats more like quick-cake than banana bread.
The other place this loaf can go wrong is the banana texture itself. Too many recipes chase the darkest, mushiest bananas possible, but if they’ve turned watery, the bread can bake up dense in the center. You want bananas that are heavily speckled, fragrant, and easy to mash, with enough body left to give the batter structure and real banana flavor.
What Each Ingredient Is Actually Doing in This Loaf
- Bananas: These are the flavor and moisture source, and they need to be ripe enough to mash smoothly. Brown-speckled bananas give you the best balance of sweetness and aroma. If yours are still yellow, the bread will taste flatter and need a little more time to develop in the oven.
- Shortening or butter: Butter gives a richer flavor and a more bakery-style crumb, while shortening makes the loaf a touch softer and more classic-textured. Either one works. If you use butter, soften it fully so it creams properly; cold butter won’t trap air well and the bread will bake up heavier.
- Sugar: This isn’t just for sweetness. It helps with the tender crumb and that deep golden top. Cutting it much lower changes the texture as much as the flavor.
- Flour, baking soda, and salt: The flour gives the loaf its structure, the baking soda lifts it, and the salt keeps the sweetness from tasting flat. Sifting them together helps prevent pockets of leavener, which can leave bitter spots or uneven rise.
- Milk: The milk loosens the batter just enough to keep the crumb soft without making it wet. If your bananas are extra large and loose, you can hold back a tablespoon and see how the batter looks before adding the rest.
Building the Batter Without Losing the Lift
Cream the Fat and Sugar Until It Lightens
Start by beating the shortening or butter with the sugar until it looks pale and fluffy, not just combined. That’s where the loaf gets some of its lift before the baking soda even kicks in. If the mixture still looks gritty and dense, keep going for another minute or two. Scrape the bowl once so the bottom doesn’t hide an unmixed pocket of fat.
Add the Eggs One at a Time
Beat in the eggs one at a time and let each one disappear before adding the next. This keeps the batter smooth and prevents it from looking curdled. If the batter breaks a little when the second egg goes in, it usually comes back together once the bananas are added, so don’t panic. Just keep mixing on medium, not high.
Fold in the Dry Ingredients Just Until Combined
Once the bananas and vanilla are in, add the flour mixture alternately with the milk. Stir with a light hand and stop as soon as the flour disappears. The batter should look thick, scoopable, and slightly lumpy. If you beat it until glossy, you’ve gone too far and the finished loaf will lose that tender, old-fashioned crumb.
Bake Until the Top Is Deep Golden
Pour the batter into the prepared pan and bake until the top is a deep golden brown and a toothpick comes out clean from the center. The crack down the middle is a good sign, not a problem. If the top browns too quickly before the middle is set, lay a loose piece of foil over it for the last 15 minutes. Let it rest in the pan for 15 minutes before turning it out so it doesn’t tear apart.
How to Adjust This Loaf Without Losing Its Old-Fashioned Character
Butter for a richer banana bread
Use softened butter instead of shortening if you want a deeper, more buttery finish. The loaf will taste a little richer and brown more around the edges, while shortening gives you a softer, more classic bakery-style crumb. Both work well, so this is a texture-and-flavor choice, not a technical one.
A dairy-free version that still bakes up tender
Use shortening instead of butter and swap the milk for an unsweetened non-dairy milk. The loaf still rises and stays moist because the bananas carry most of the moisture, but the flavor will be a little cleaner and less rich than the butter version. Almond or oat milk both work well here.
Turning it into banana muffins
Scoop the batter into a lined muffin tin and bake at 350°F until the centers spring back and a tester comes out clean, usually much sooner than the loaf. You’ll lose the dramatic crackly top, but you gain grab-and-go portions and faster baking. Watch them closely near the end because muffins go from done to dry fast.
Storage and Reheating
- Refrigerator: Store tightly wrapped for up to 5 days. The crumb firms up a little in the fridge, but the flavor holds well.
- Freezer: This loaf freezes well. Wrap slices or the whole cooled loaf in plastic, then foil, and freeze for up to 3 months.
- Reheating: Warm slices in the toaster oven or microwave just until heated through. Don’t overheat them or the bread turns dry fast; a little butter on top brings it right back.
Questions I Get Asked About This Recipe
Mrs. Myers' Banana Bread
Ingredients
Equipment
Method
- Preheat oven to 350°F. Grease and flour a 9x5 loaf pan so the batter releases cleanly after baking.
- Cream shortening or butter with sugar until light and fluffy. Add eggs one at a time and beat well after each for a smooth, thick batter.
- Stir in mashed bananas and vanilla until combined. Mix just until no dry streaks remain so the loaf stays tender.
- Sift flour, baking soda, and salt together. Fold into the banana mixture alternating with the milk until the batter is fully incorporated.
- Pour batter into the prepared loaf pan. Bake at 350°F for 60–70 minutes until a toothpick comes out clean and the top is a deep golden brown.
- Cool in the pan for 15 minutes before turning out. Rest fully before slicing for the cleanest cut and best crumb set.