Crisp, sweet, and comforting — apple crisp is a favorite dessert for so many reasons. As the leaves start to change and the air gets cooler, I often find myself wanting to bake something warm and delicious. That’s why I’m sharing some of my best apple crisp recipes with you today!
Whether you like your crisp plain and simple, with a touch of fruit, or with a grown-up kick, you’ll find a perfect apple crisp here. I know you’ll love these warm and cozy apple desserts, perfect for sharing with family and friends.
Jump to Recipe:
Almond Flour Apple Crisp Recipe
This delightful apple crisp uses almond flour, which gives the topping a wonderful nutty flavor and a satisfying crunch. It’s a great option if you’re looking for a slightly different texture in your favorite dessert.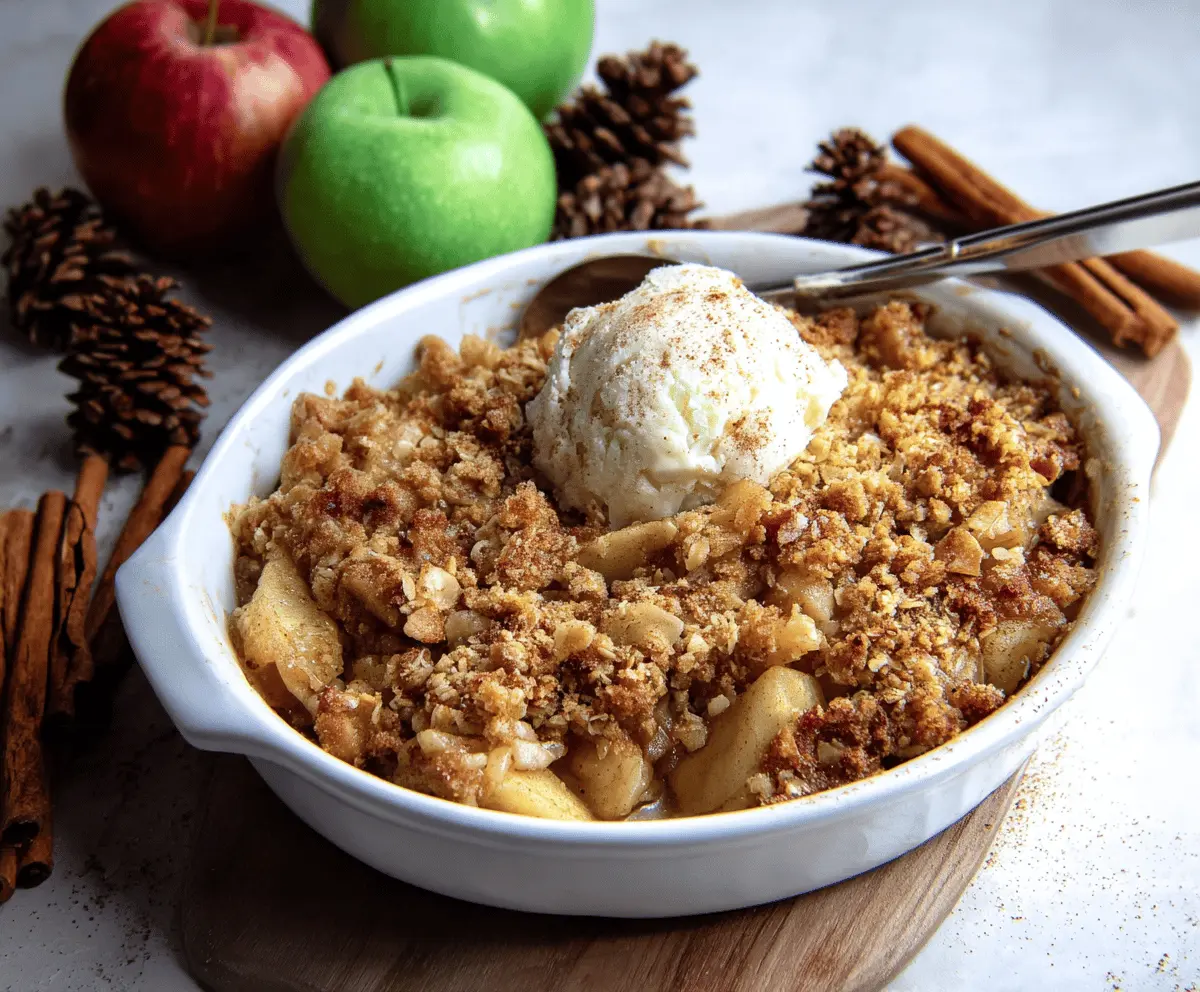
Key Ingredients & Tips for Almond Flour Crisp
- Almond Flour: This is the star ingredient for the topping, providing a unique texture and a lovely subtle nutty flavor. It’s lighter than traditional flour in this crisp.
- Apple Choice: I like to use a mix of tart apples, like Granny Smith, with sweeter ones, like Honeycrisp, for a balanced fruit filling.
What You Need for Almond Flour Apple Crisp
- 6 medium apples (about 2.5 lbs), peeled, cored, and sliced
- 1 tablespoon lemon juice
- 1/4 cup granulated sugar
- 1 teaspoon ground cinnamon
- 1/2 teaspoon ground nutmeg
- 1 cup almond flour
- 1/2 cup rolled oats
- 1/2 cup packed brown sugar
- 1/2 cup cold unsalted butter, cut into small pieces
⏱️ Time: Prep 20 min, Bake 40 min🍽️ Yields: 6 servings
How to Make Almond Flour Apple Crisp
Step 1: Prepare the Apple Filling
Preheat your oven to 375°F (190°C). In a large bowl, combine the sliced apples, lemon juice, granulated sugar, cinnamon, and nutmeg. Toss gently until the apples are evenly coated, then transfer them to an 8×8-inch baking dish.
Step 2: Make the Almond Flour Topping
In the same large bowl (no need to wash it), combine the almond flour, rolled oats, and brown sugar. Add the cold butter pieces and use your fingertips or a pastry blender to mix until the mixture resembles coarse crumbs.
Step 3: Assemble and Bake the Crisp
Evenly sprinkle the almond flour topping over the apple filling in the baking dish. Place the dish on a baking sheet to catch any drips. Bake for 40-45 minutes, or until the topping is golden brown and the apples are tender and bubbly.
📝 Final Note
This almond flour apple crisp is best served warm, perhaps with a scoop of vanilla ice cream or a dollop of whipped cream.
Apple Cranberry Crisp for Fall
This crisp combines the sweetness of apples with the bright tartness of cranberries, creating a beautiful balance of flavors. It’s a wonderful fall dessert, especially perfect for holiday gatherings or a cozy night in.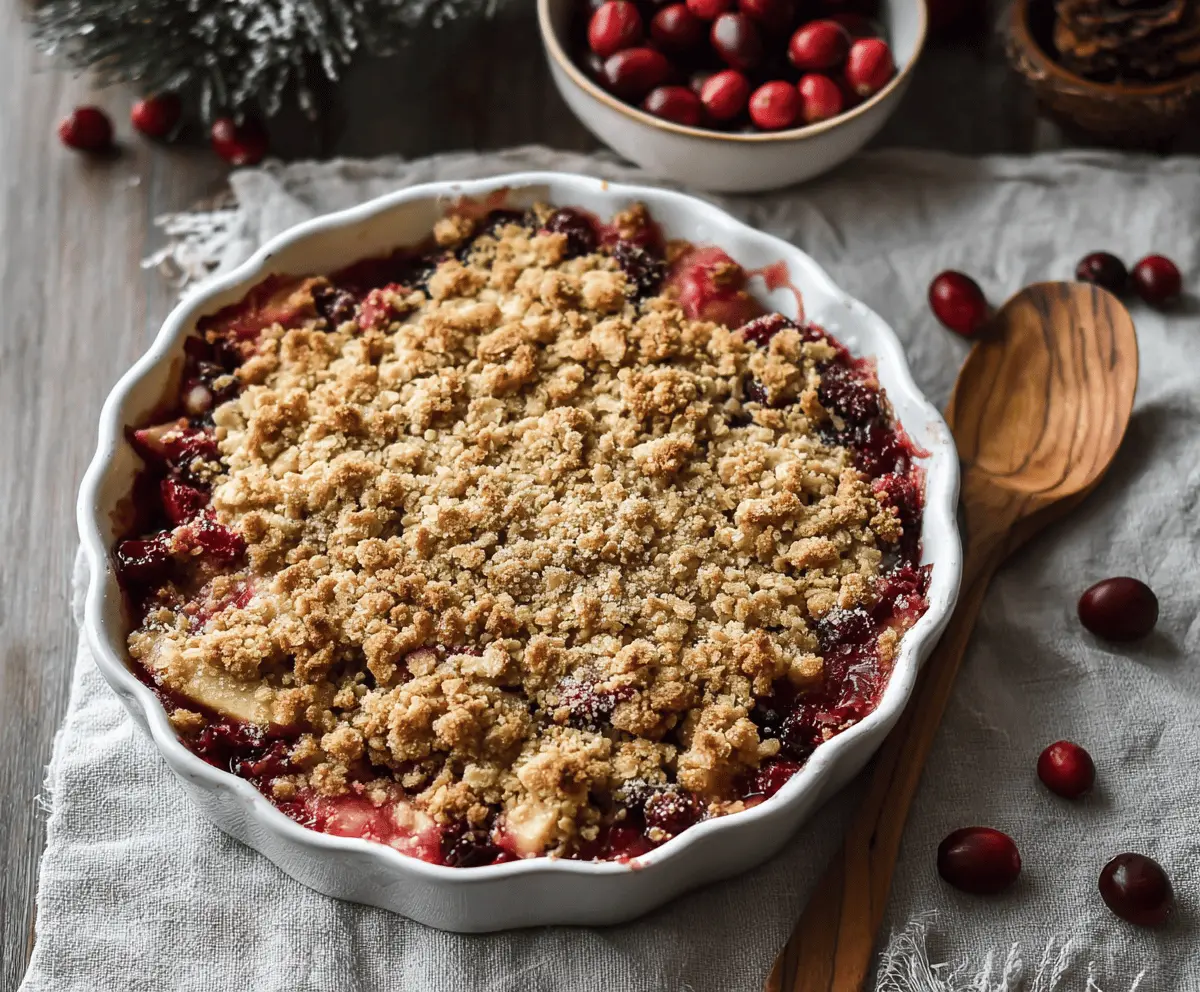
Key Ingredients & Tips for Apple Cranberry Crisp
- Fresh Cranberries: Using fresh cranberries adds a lovely burst of tangy flavor and beautiful color that dried cranberries just can’t match.
- Orange Zest: A little bit of orange zest brightens up the fruit filling and complements both the apples and cranberries wonderfully. Don’t skip it!
What You Need for Apple Cranberry Crisp
- 6 cups sliced apples (about 2 lbs)
- 1 cup fresh cranberries
- 1/2 cup granulated sugar
- 1 tablespoon all-purpose flour
- 1 teaspoon orange zest
- For the Topping:
- 1 cup rolled oats
- 1/2 cup packed brown sugar
- 1/2 cup all-purpose flour
- 1/2 teaspoon ground cinnamon
- 1/4 teaspoon ground nutmeg
- 1/2 cup (1 stick) cold unsalted butter, cut into cubes
⏱️ Time: Prep 25 min, Bake 45 min🍽️ Yields: 8 servings
How to Make Apple Cranberry Crisp
Step 1: Prepare the Fruit Filling
Preheat your oven to 375°F (190°C). In a large bowl, combine the sliced apples, fresh cranberries, granulated sugar, flour, and orange zest. Toss gently to coat the fruit evenly. Pour the fruit mixture into a 9×13-inch baking dish.
Step 2: Mix the Crisp Topping
In a separate medium bowl, combine the rolled oats, brown sugar, flour, cinnamon, and nutmeg. Add the cold butter cubes. Use your fingers or a pastry blender to cut the butter into the dry ingredients until the mixture resembles coarse crumbs.
Step 3: Bake the Apple Cranberry Crisp
Sprinkle the crumb topping evenly over the apple and cranberry filling. Bake for 45-50 minutes, or until the topping is golden brown and the fruit filling is bubbly and tender. If the topping browns too quickly, you can loosely cover it with foil.
📝 Final Note
This apple cranberry crisp stores well in the refrigerator for up to 3 days. Reheat gently in the oven or microwave before serving.
Homemade Apple Crisp Pie
Can’t decide between apple pie and apple crisp? This recipe gives you the best of both worlds! You get a flaky pie crust on the bottom with a warm, spiced apple filling, all topped with a crunchy, buttery crisp.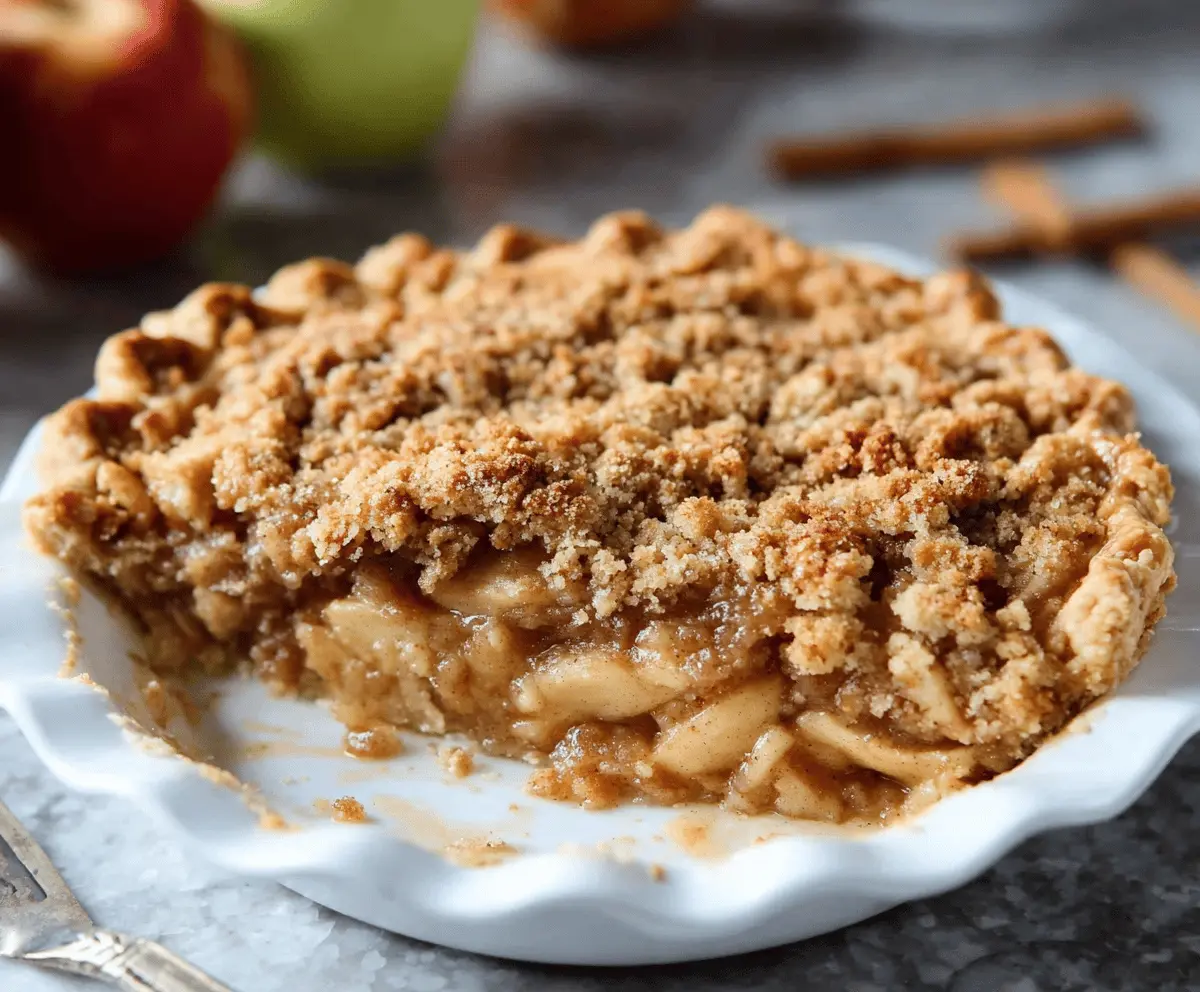
Key Ingredients & Tips for Apple Crisp Pie
- Pie Crust: Feel free to use a store-bought refrigerated pie crust to save time, or if you prefer, make your favorite homemade crust from scratch.
- Apple Prep: Slice your apples thinly and evenly so they cook down consistently and create a nice, smooth filling.
What You Need for Apple Crisp Pie
- 1 (9-inch) unbaked pie crust
- 6-7 medium apples (about 2.5-3 lbs), peeled, cored, and thinly sliced
- 1/2 cup granulated sugar
- 1 tablespoon all-purpose flour
- 1 teaspoon ground cinnamon
- 1/2 teaspoon ground nutmeg
- For the Crisp Topping:
- 1 cup rolled oats
- 1/2 cup packed brown sugar
- 1/2 cup all-purpose flour
- 1/2 cup (1 stick) cold unsalted butter, cut into small pieces
⏱️ Time: Prep 30 min, Bake 50 min🍽️ Yields: 8-10 slices
How to Make Apple Crisp Pie
Step 1: Prepare the Pie Crust and Filling
Preheat your oven to 400°F (200°C). Press the unbaked pie crust into a 9-inch pie plate. In a large bowl, combine the sliced apples, granulated sugar, 1 tablespoon all-purpose flour, cinnamon, and nutmeg. Toss until the apples are well coated, then spoon them into the pie crust.
Step 2: Make the Crisp Topping
In a separate medium bowl, combine the rolled oats, brown sugar, and 1/2 cup all-purpose flour. Add the cold butter pieces. Use your fingers or a pastry blender to mix until the butter is fully incorporated and the mixture resembles coarse crumbs.
Step 3: Assemble and Bake the Pie
Sprinkle the crisp topping evenly over the apple filling in the pie crust. Place the pie on a baking sheet. Bake for 15 minutes at 400°F (200°C), then reduce the oven temperature to 375°F (190°C) and continue baking for another 35-45 minutes, or until the topping is golden and the apples are tender.
📝 Final Note
Allow the apple crisp pie to cool for at least 30 minutes before slicing and serving. This helps the filling set, making for cleaner slices.
Bourbon Apple Crisp Recipe
This Bourbon Apple Crisp is a cozy dessert with a sophisticated edge. A splash of bourbon adds a warm, deep flavor that really complements the sweet apples and spices. It’s a great choice for adults who enjoy a little extra warmth in their treats.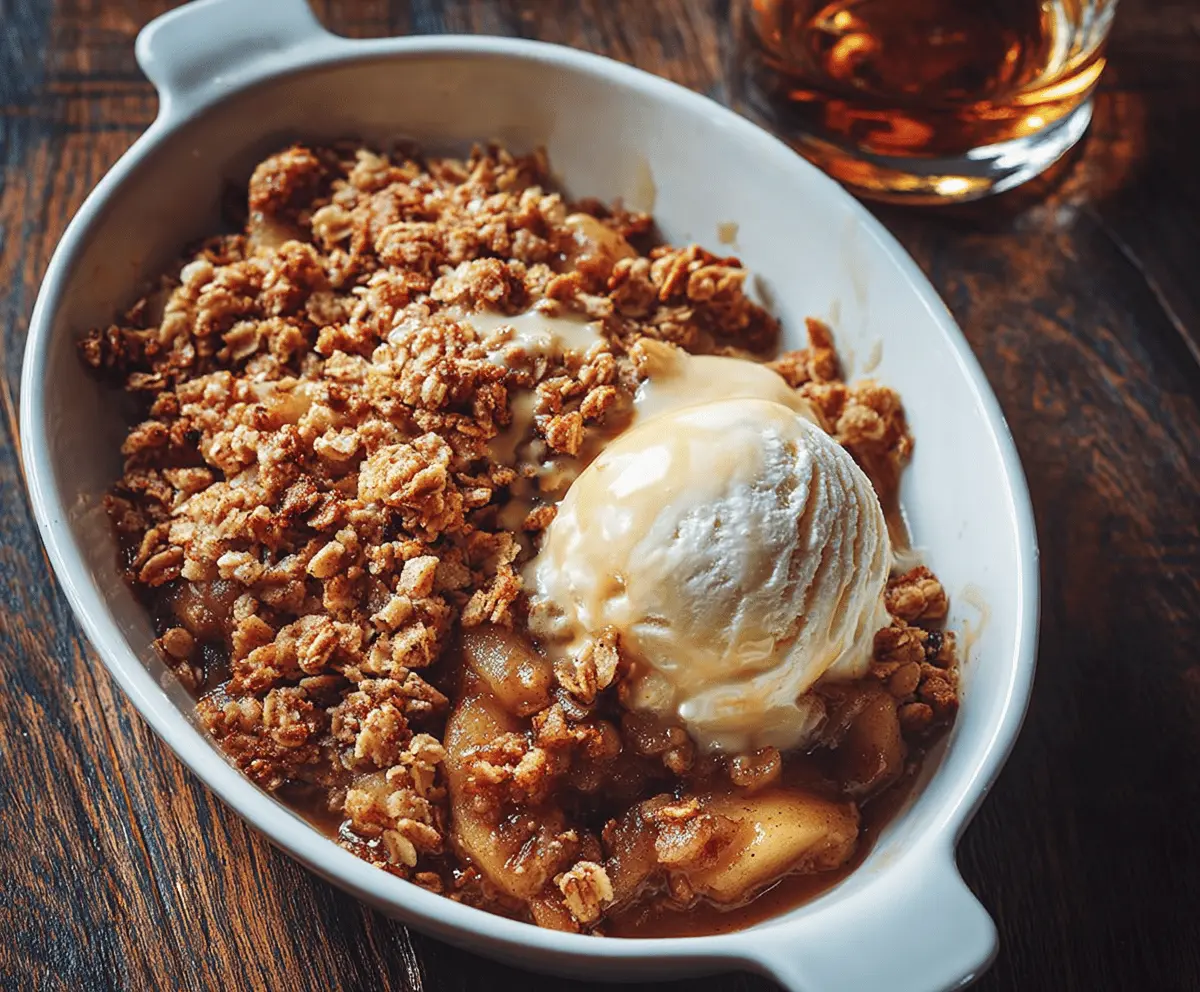
Key Ingredients & Tips for Bourbon Apple Crisp
- Good Bourbon: You don’t need to use your most expensive bourbon, but a good quality one will give the best flavor to the apple filling. The alcohol bakes out, leaving just the rich taste.
- Prep Ahead: You can prepare the apple filling mixture a day in advance and store it in the fridge. Just add the crisp topping and bake when you’re ready to serve.
What You Need for Bourbon Apple Crisp
- 6 cups sliced apples (about 2 lbs), peeled and cored
- 1/4 cup bourbon
- 1/2 cup packed light brown sugar
- 1 teaspoon ground cinnamon
- 1/2 teaspoon ground nutmeg
- For the Crisp Topping:
- 1 cup all-purpose flour
- 1/2 cup rolled oats
- 1/2 cup packed brown sugar
- 1/2 cup (1 stick) cold unsalted butter, cut into small pieces
⏱️ Time: Prep 20 min, Bake 40 min🍽️ Yields: 6-8 servings
How to Make Bourbon Apple Crisp
Step 1: Cook the Apple Filling
Preheat your oven to 375°F (190°C). In a large saucepan over medium heat, combine the sliced apples, bourbon, brown sugar, cinnamon, and nutmeg. Cook for 5-7 minutes, stirring occasionally, until the apples begin to soften slightly and the sauce thickens. Transfer the apple mixture to an 8×8-inch baking dish.
Step 2: Prepare the Crisp Topping
In a medium bowl, combine the flour, rolled oats, and brown sugar. Add the cold butter pieces. Use your fingers or a pastry blender to mix until the mixture resembles coarse crumbs.
Step 3: Bake the Crisp
Evenly sprinkle the prepared crisp topping over the warm apple filling in the baking dish. Bake for 35-40 minutes, or until the topping is golden brown and the apple filling is bubbling.
📝 Final Note
For an extra special treat, serve this bourbon apple crisp with a scoop of vanilla bean ice cream and a drizzle of warm caramel sauce.