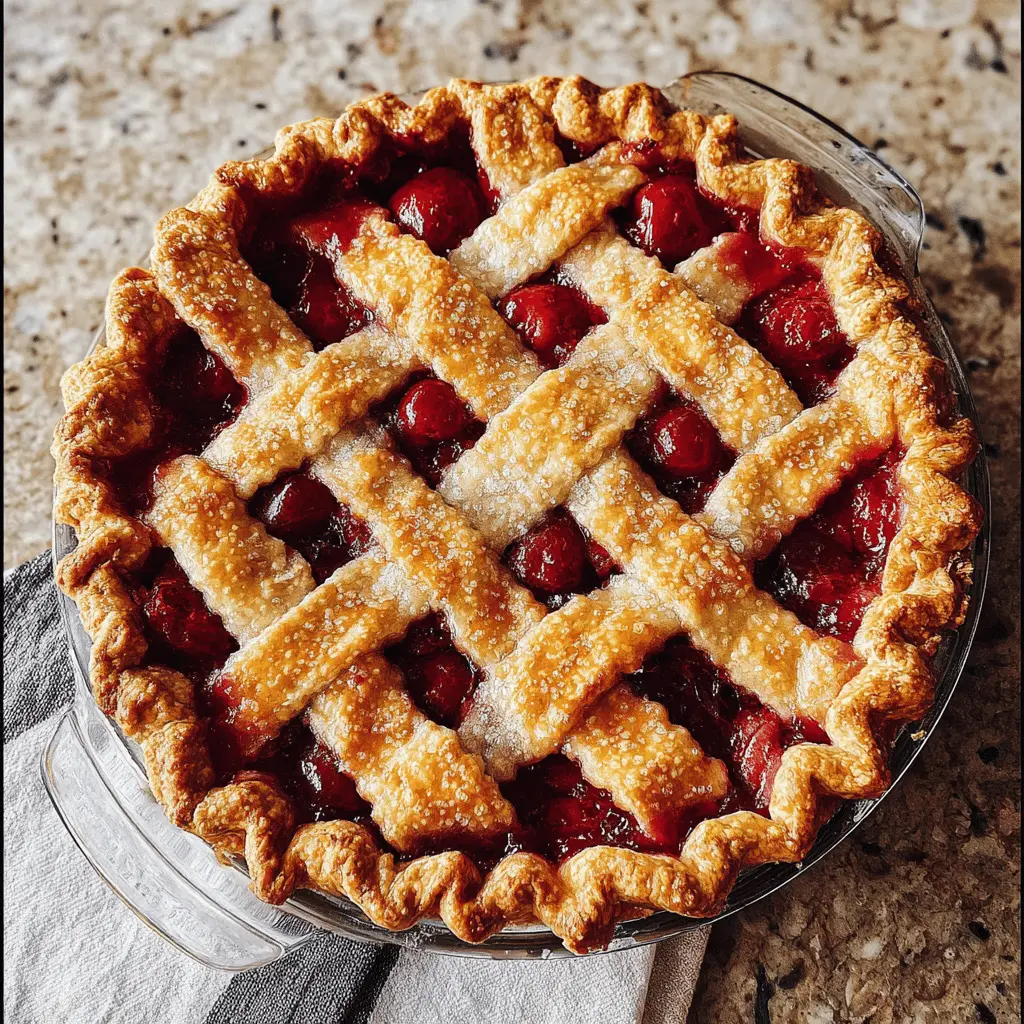
This homemade cherry pie is a sweet and juicy treat that everyone loves! With a flaky crust and a delicious cherry filling, it’s perfect for any occasion.
Making it is easy—just mix cherries with a little sugar and cornstarch, pour it into the crust, and bake! It smells amazing while baking, and I can’t resist a slice warm with a scoop of ice cream! 🍦
Key Ingredients & Substitutions
Cherries: You can use either fresh or frozen cherries. Fresh are sweeter, but frozen are convenient and great when out of season. Just make sure they’re pitted!
Sugar: Granulated sugar keeps this pie sweet. You can use brown sugar for a deeper flavor or a sugar substitute like Stevia if you want a lower-calorie option!
Cornstarch: This thickens the filling. If you’re out, you can use flour, but it won’t thicken as much. Either will do the job!
Lemon Juice: It adds brightness. If you don’t have lemon juice, try a bit of white vinegar or lime juice for a similar effect.
Almond Extract: This gives a lovely flavor. If you don’t like almond, use vanilla extract instead or leave it out altogether.
Pie Crust: You can make your own pie crust, or refrigerated crusts are a time-saver and work well. Gluten-free crusts are also available if you need a gluten-free option.
How Do You Create a Perfectly Flaky Pie Crust?
The pie crust is key to making this cherry pie delicious. Here’s how to get it just right:
- Use cold ingredients. Keep butter and water straight from the fridge to ensure your crust bakes up flaky.
- Don’t overwork the dough. Mixing too much can lead to a tough crust. Just combine until it holds together.
- Chill the crust. After rolling it out, let it sit in the fridge for 30 minutes. This helps it firm up and prevents shrinking while baking.
By following these tips, you’ll end up with a deliciously flaky crust every time! Enjoy your cherry pie with that perfect texture!
Best Easy Homemade Cherry Pie
Ingredients You’ll Need:
- 2 cups fresh or frozen pitted cherries
- 1 cup granulated sugar
- 3 tablespoons cornstarch
- 1 tablespoon lemon juice
- 1/4 teaspoon almond extract (optional)
- Pinch of salt
- 1 package (14 oz) refrigerated or homemade pie crust (enough for top and bottom crust)
- 1 tablespoon butter, cut into small pieces
- 1 egg, beaten (for egg wash)
- Vanilla ice cream, for serving (optional)
How Much Time Will You Need?
This cherry pie takes about 15 minutes for preparation and approximately 1 hour for baking. After baking, let it cool for at least 2 hours. So, in total, you’re looking at about 3 hours to enjoy this delightful dessert, but most of that time is just waiting for it to cool!
Step-by-Step Instructions:
1. Preheat the Oven:
Start by preheating your oven to 425°F (220°C). This high temperature will help your crust to get nice and crispy.
2. Prepare the Cherry Filling:
In a large mixing bowl, throw in the cherries, granulated sugar, cornstarch, lemon juice, almond extract (if you’re using it), and a pinch of salt. Gently stir everything together until the cherries are well coated. This will make a juicy filling!
3. Roll Out the First Crust:
Take one pie crust and roll it out on a lightly floured surface. Place this crust into a 9-inch pie plate, pressing it gently to fit the bottom and sides.
4. Fill with Cherry Mixture:
Pour the cherry filling into the prepared pie crust. Make sure to spread it evenly. Dot the top with small pieces of butter to add richness to the filling.
5. Add the Top Crust:
Roll out the second pie crust. You can either cut it into strips for a pretty lattice top or place it whole over the filling. If you cover it fully, be sure to cut slits in the top to allow steam to escape.
6. Crimp the Edges:
Lay the top crust over the cherries and crimp the edges together to seal, ensuring that no filling escapes during baking.
7. Brush with Egg Wash:
Brush the top crust with the beaten egg. This gives it a beautiful golden color when baked. It’s a simple step that makes a big difference!
8. Bake the Pie:
Place your pie on a baking sheet to catch any drips, and bake in the preheated oven for 15 minutes. Then, reduce the temperature to 350°F (175°C) and bake for an additional 35-40 minutes until the crust is golden and the filling is bubbly.
9. Cool and Serve:
Once baked, remove the pie from the oven and let it cool on a wire rack for at least 2 hours. This cooling time allows the filling to thicken up a bit more.
10. Enjoy!
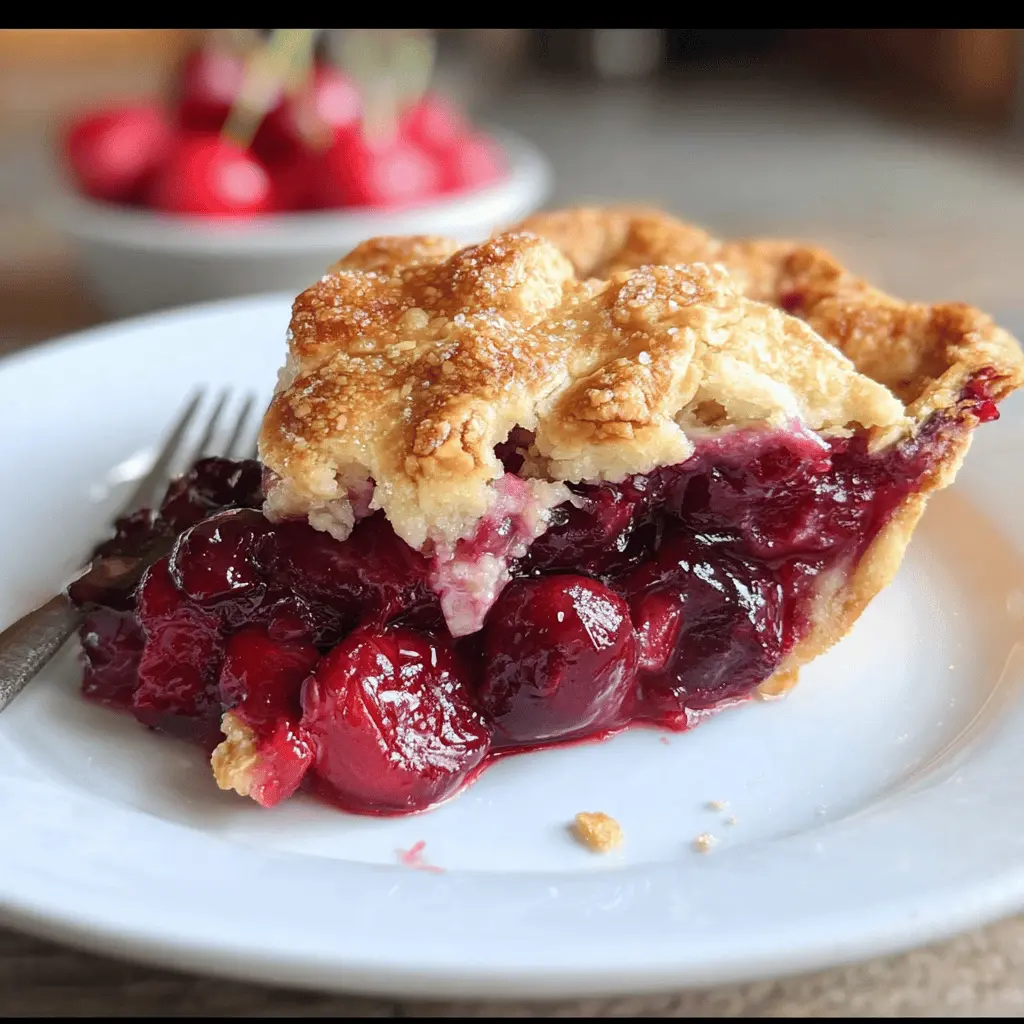
Slice the pie and serve it warm or at room temperature. It’s perfect on its own, or you can add a scoop of vanilla ice cream for a delightful dessert!
This cherry pie features a flaky, buttery crust with a sweet-tart cherry filling that’s thick and glossy. Enjoy every bite!
Frequently Asked Questions (FAQ)
Can I Use Frozen Cherries Instead of Fresh?
Absolutely! Frozen cherries work great in this recipe. Just make sure they are pitted and allow for a slightly longer cooking time if they are still a bit icy.
How Do I Store Leftover Cherry Pie?
Store any leftover pie in an airtight container at room temperature for up to 2 days or in the fridge for up to a week. You can also freeze it for longer storage; just wrap it tightly in plastic wrap and foil.
Can I Make the Pie Crust from Scratch?
Yes! Making your own pie crust gives it that homemade touch. Use a simple mix of flour, butter, salt, and water. Just remember to keep the butter cold for a flaky texture!
How Can I Thicken the Filling More?
If you prefer a thicker filling, simply add an extra tablespoon of cornstarch. Mix it with the sugar before adding it to the cherries to ensure even distribution.