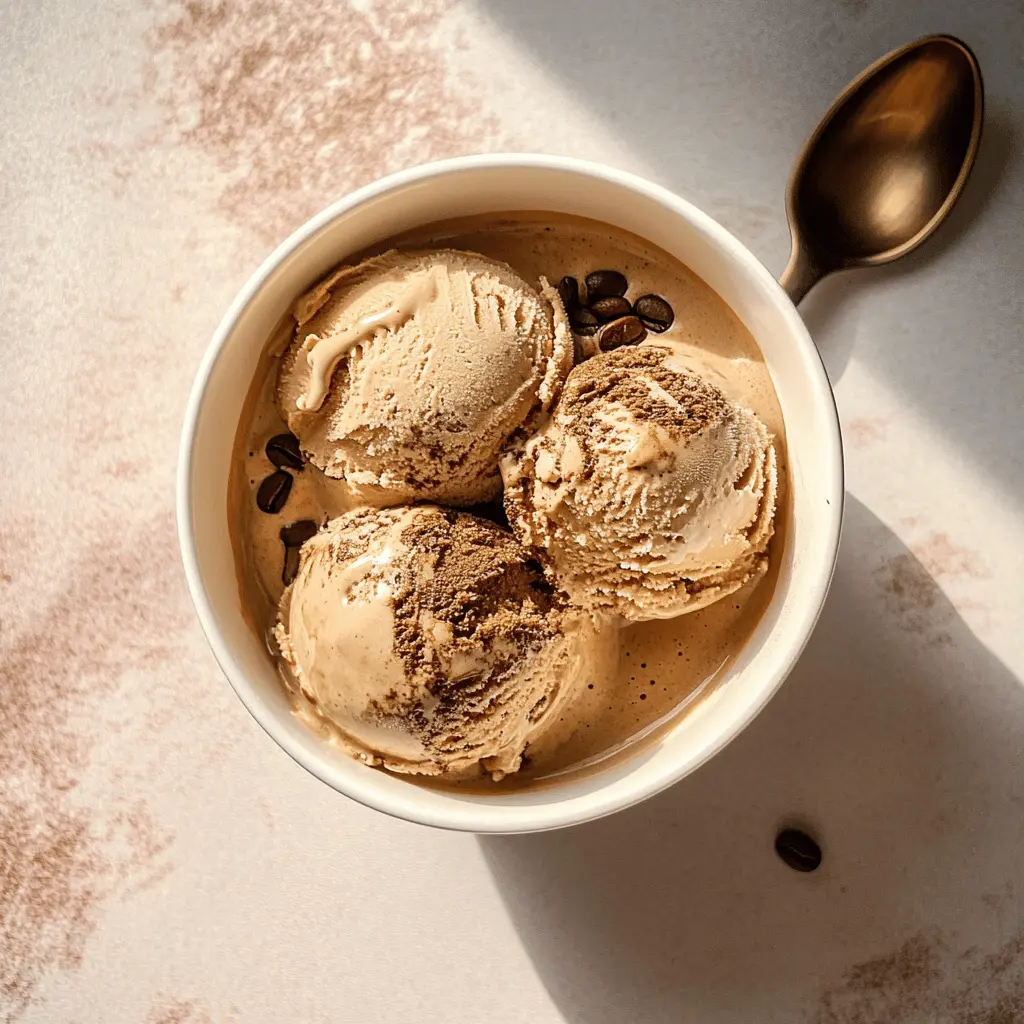
This Bold and Creamy Coffee Ice Cream is a dream for coffee lovers! Made with rich coffee and cream, it’s smooth and full of flavor. Perfect for a hot day!
I love how simple it is to whip up this ice cream. Just mix, chill, and churn. It’s great served on its own or alongside a slice of pie—yummy!
Key Ingredients & Substitutions
Heavy Cream: This is crucial for a rich and creamy texture. If you’re looking for a lighter version, you can use half-and-half or whole milk, but the ice cream may be less creamy.
Whole Milk: Whole milk adds to the creaminess but if you’re lactose intolerant, any plant-based milk like almond, coconut, or oat milk can work as substitutes, although it may slightly alter the texture.
Granulated Sugar: Standard granulated sugar is great, but if you’re trying to reduce sugar, consider using a sugar alternative like coconut sugar or a no-calorie sweetener. Just adjust to taste.
Instant Espresso Powder: For convenience and strong flavor, use instant espresso. If you don’t have it, try finely grinding fresh coffee. Use about 2 tablespoons for a stronger flavor.
Vanilla Extract: This adds a lovely depth of flavor. You can also use vanilla bean paste or the seeds from a vanilla bean for a more intense vanilla taste.
How Do I Get the Perfect Creamy Texture?
Texture is key in making ice cream, so here’s how to nail it:
- Mix ingredients until well combined, dissolving sugar and espresso fully. A smooth base is essential.
- Chill the mixture thoroughly. Cold mixtures freeze better, resulting in creamier ice cream.
- When churning, don’t rush it; give your machine enough time to air and thicken the mix. Aim for that soft-serve consistency.
- After churning, freeze in an airtight container. This helps to firm up the ice cream, ensuring it’s scoopable but still creamy.
Remember, the slower you churn and freeze, the creamier it will be!
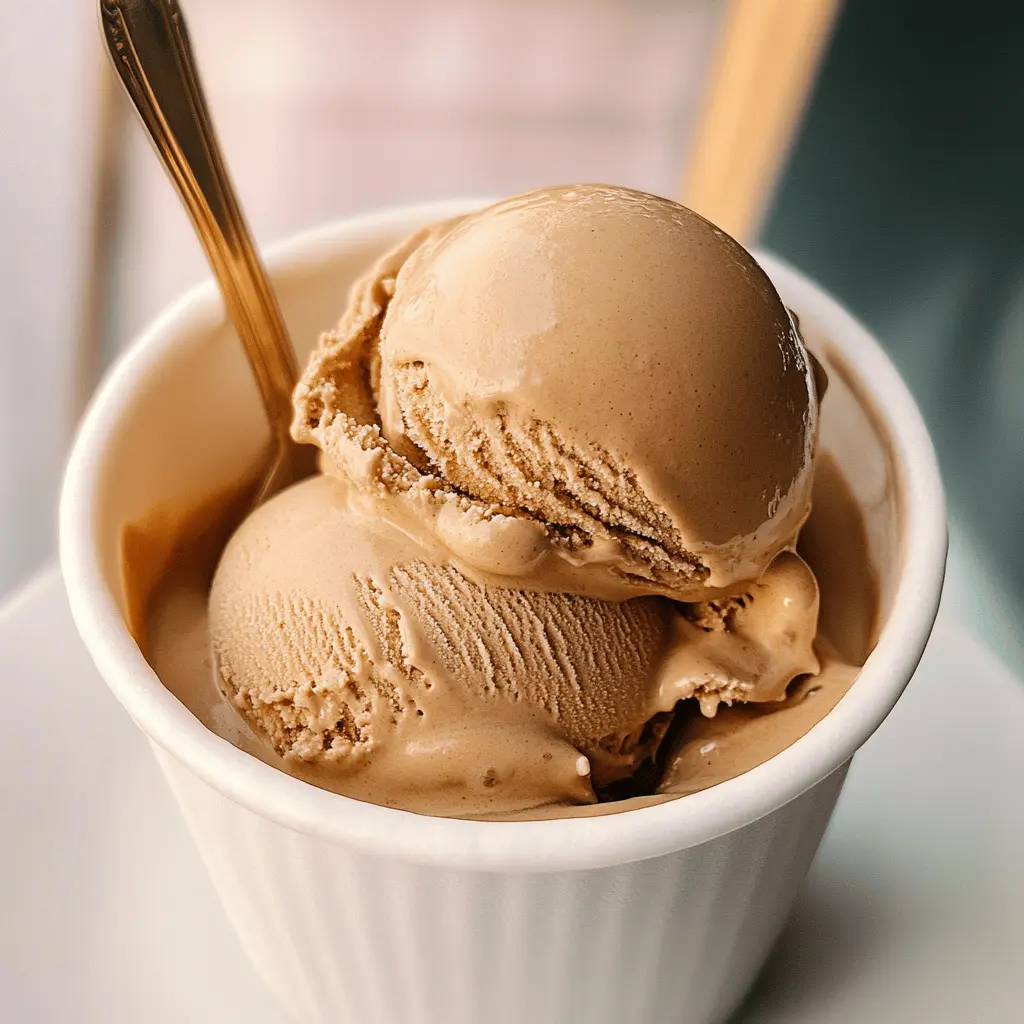
Bold and Creamy Coffee Ice Cream
Ingredients You’ll Need:
- 2 cups heavy cream
- 1 cup whole milk
- 3/4 cup granulated sugar
- 1 tablespoon instant espresso powder (or finely ground coffee)
- 1 teaspoon vanilla extract
- Pinch of salt
How Much Time Will You Need?
This recipe will take about 10 minutes to prepare, plus at least 1 hour to chill and 4 hours to freeze after churning. In total, you’re looking at around 5 hours and 10 minutes before you can enjoy your homemade coffee ice cream!
Step-by-Step Instructions:
1. Mix the Base:
In a medium mixing bowl, whisk together the whole milk, granulated sugar, and instant espresso powder. Keep whisking until both the sugar and espresso dissolve completely. This step is important to ensure a smooth ice cream base!
2. Add the Cream and Flavor:
Next, stir in the heavy cream, vanilla extract, and a pinch of salt. Mix everything together until well combined. The salt will enhance the flavors and balance the sweetness.
3. Chill the Mixture:
Cover your mixing bowl with plastic wrap or a lid and place it in the refrigerator. Allow the mixture to chill for at least 1 hour. This cooling helps the ice cream base set up better as it churns.
4. Churn in Ice Cream Maker:
Once chilled, pour the mixture into your ice cream maker. Churn according to the manufacturer’s instructions, which typically takes about 20-25 minutes. You want it to reach a soft-serve consistency.
5. Freeze the Ice Cream:
Carefully transfer the churned ice cream to an airtight container. Cover it tightly and place it in the freezer for at least 4 hours to harden and become scoopable.
6. Serve and Enjoy:
After freezing, scoop your bold and creamy coffee ice cream into bowls or cones. Enjoy the delightful flavors and creamy texture! Perfect on a hot day or as a sweet treat any time!
This recipe yields a smooth, rich coffee ice cream with a strong coffee flavor balanced by creaminess, making it the perfect choice for coffee lovers. Have a delightful treat!
FAQ for Bold and Creamy Coffee Ice Cream
Can I Use Decaffeinated Coffee Instead?
Absolutely! If you prefer a caffeine-free version, swap the instant espresso powder for decaffeinated instant coffee. You may need to adjust the amount to achieve your desired coffee flavor.
What If I Don’t Have an Ice Cream Maker?
No problem! You can still make this ice cream by pouring the chilled mixture into a shallow dish and freezing it. Every 30-45 minutes, stir the mixture vigorously with a fork to break up ice crystals until it reaches a creamy consistency, usually after about 2-3 hours.
How to Store Leftover Ice Cream?
Store any leftover ice cream in an airtight container in the freezer. For the best texture, press a piece of plastic wrap directly onto the surface before sealing. It should last well for up to 2 weeks, but it’s best enjoyed fresh!
Can I Add Mix-Ins to This Recipe?
Absolutely! Feel free to add dark chocolate chips, crushed cookies, or chopped nuts during the last few minutes of churning for some extra flavor and texture. Just be mindful not to overload it, as it can affect the churning process.