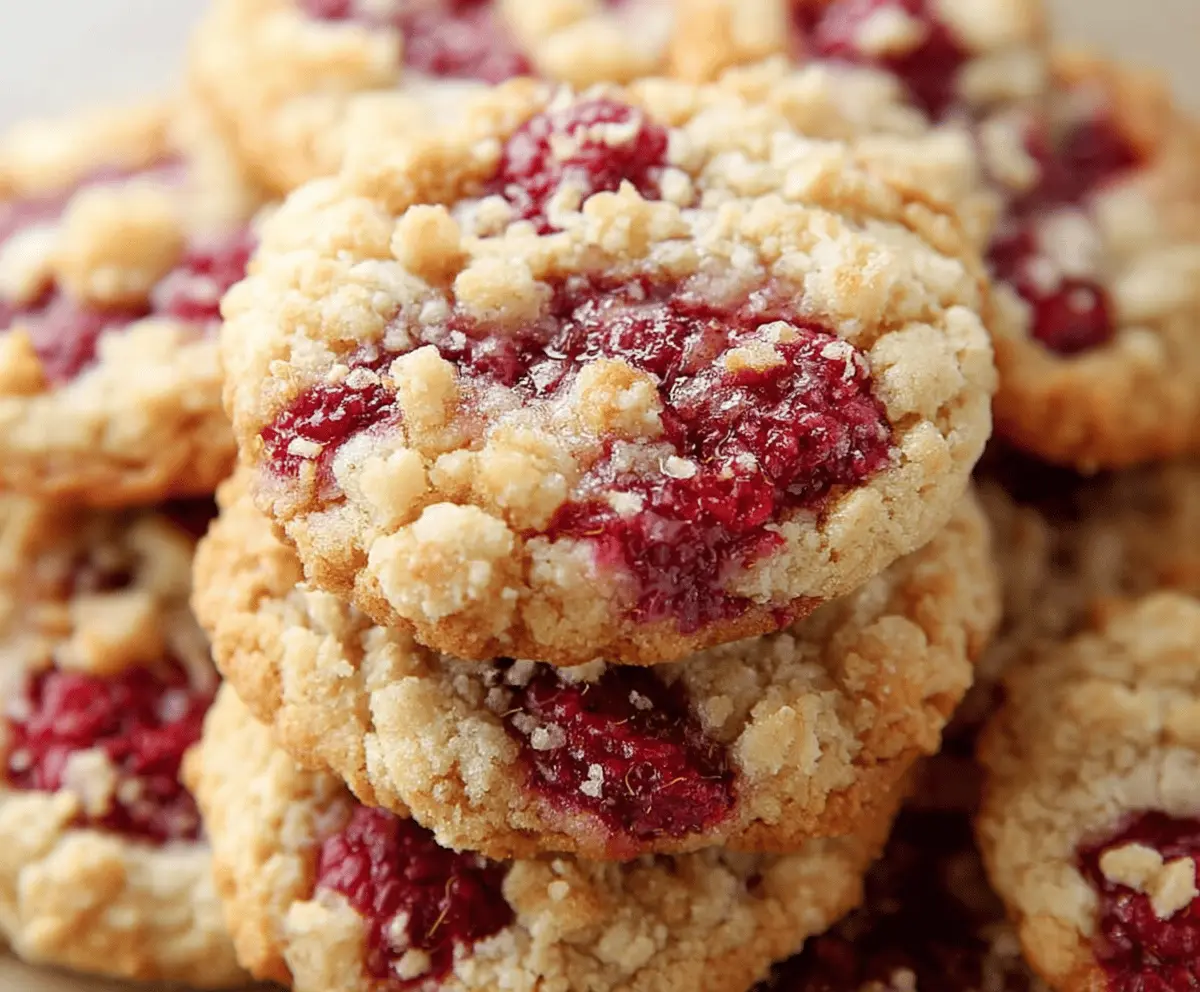
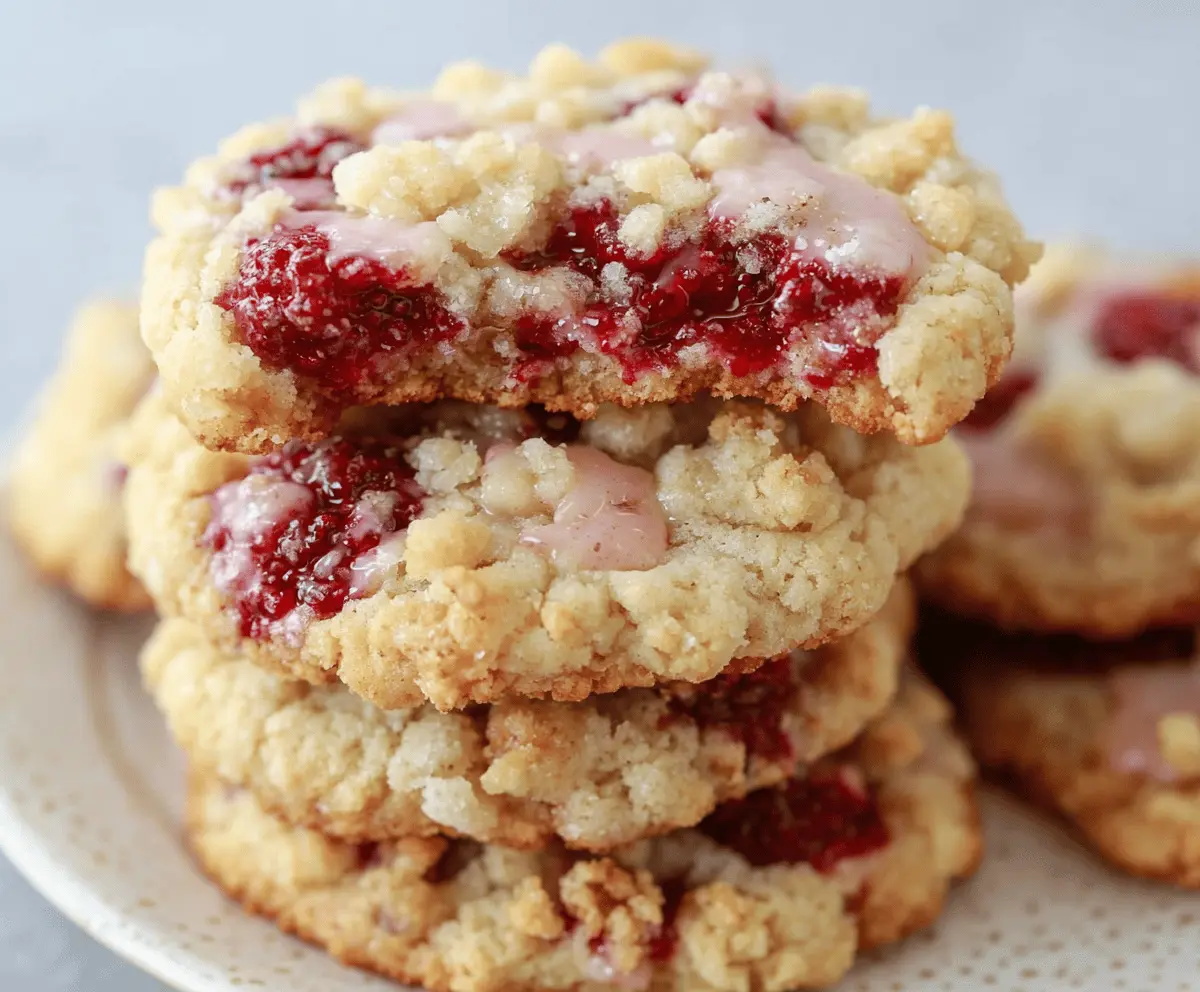
These buttery raspberry crumble cookies are like little bites of happiness! With juicy raspberries and a crispy crumb topping, they really hit the sweet spot.
Honestly, I could eat these all day! They make a great treat for sharing, but you might want to keep a few for yourself (trust me, they disappear fast)! 😄
Making these cookies is a breeze. Just mix, top with that yummy crumble, and bake! They’re perfect for snack time or dessert anytime!
Key Ingredients & Substitutions
Unsalted Butter: This is crucial for the rich buttery taste. You can use salted butter if that’s what you have, but reduce the added salt in the recipe.
Raspberries: Fresh raspberries are best for flavor and texture. If they aren’t in season, use frozen ones! Just make sure to thaw and drain them beforehand to avoid extra moisture.
Granulated Sugar: Standard granulated sugar creates the sweetness needed for these cookies. For a twist, consider using brown sugar for a deeper flavor, but keep in mind that it will change the texture a bit.
All-Purpose Flour: While all-purpose flour works great, you could try a gluten-free blend if you need a gluten-free version. Just make sure it’s a 1:1 substitute for best results.
How To Cream Butter and Sugar Like a Pro?
Creaming butter and sugar properly is key to fluffy cookies! Here’s how to do it:
- Start with softened butter—let it sit out for about 30 minutes before you start. It should be soft but not greasy.
- Use a hand mixer or stand mixer on medium speed, beating the butter until it’s light and fluffy, about 2-3 minutes.
- Gradually add sugar while mixing. Continue to beat until it’s well combined and there are no grainy bits left.
- This process incorporates air, creating a nice fluffy base for your cookies!
Perfectly creamed butter and sugar make all the difference in texture, so take your time here!
Buttery Raspberry Crumble Cookies
Ingredients You’ll Need:
For the Cookie Base:
- 1 cup (2 sticks) unsalted butter, softened
- 1 cup granulated sugar
- 1 large egg
- 1 teaspoon vanilla extract
- 2 cups all-purpose flour
- 1/2 teaspoon baking powder
- 1/4 teaspoon salt
- 1 1/2 cups fresh raspberries (or frozen, thawed and drained)
For the Crumble Topping:
- 1/2 cup all-purpose flour
- 1/4 cup granulated sugar
- 1/4 cup cold unsalted butter, cubed
How Much Time Will You Need?
This delightful recipe will require about 15 minutes for prep and 15-18 minutes for baking. Add a little time for cooling, and you can enjoy these buttery raspberry crumble cookies in about 40-45 minutes from start to finish!
Step-by-Step Instructions:
1. Preheat and Prepare:
Start by preheating your oven to 350°F (175°C). While that’s heating up, line your baking sheets with parchment paper or a silicone baking mat. This will help prevent the cookies from sticking and make cleanup easier!
2. Creaming the Butter and Sugar:
In a large mixing bowl, take your softened butter and granulated sugar. Using a hand mixer or a stand mixer, beat them together until they become light and fluffy. This process usually takes about 2-3 minutes. Once fluffy, add in the egg and vanilla extract, mixing until everything is nicely combined.
3. Whisking the Dry Ingredients:
In a separate bowl, whisk together the flour, baking powder, and salt. This helps ensure that everything is evenly mixed before combining with the wet ingredients.
4. Mixing Everything Together:
Gradually add the dry ingredients to the butter mixture, mixing until just combined. Be careful not to overmix; a soft dough is perfect for these cookies!
5. Making the Crumble Topping:
In a small bowl, prepare the crumble topping by cutting the cold cubed butter into the flour and sugar using a fork or a pastry cutter. Continue until the mixture resembles coarse crumbs. Set this aside for later!
6. Forming the Cookies:
Using a tablespoon, scoop out portions of cookie dough and flatten them slightly on your prepared baking sheet, giving them about 2 inches of space in between. Create a shallow indentation in the center of each cookie using your thumb or the back of a spoon to hold the raspberries.
7. Filling with Raspberries:
Gently fill the indentation of each cookie with a spoonful of raspberries, pressing them in slightly so they stay in place. Feeling fancy? You can even add a few more on top!
8. Adding the Crumble Topping:
Generously sprinkle the crumble topping over each cookie, making sure to cover the raspberry filling nicely.
9. Baking Time:
It’s time to bake! Place the cookies in your preheated oven and bake for about 15-18 minutes, or until the edges are lightly golden and the crumble topping looks set. Your kitchen will smell heavenly!
10. Cooling Down:
Once baked, take the cookies out and allow them to cool on the baking sheet for about 5 minutes. Then gently transfer them to a wire rack to cool completely.
11. Enjoy!
Now it’s time to enjoy your delicious buttery raspberry crumble cookies! Pair them with a glass of milk or your favorite tea for a delightful treat!
These cookies have a wonderful buttery base, juicy raspberry pockets, and a buttery crumble crunch on top – truly perfect for any occasion!
Can I Use Different Berries Instead of Raspberries?
Absolutely! You can substitute raspberries with blueberries, blackberries, or chopped strawberries. Just ensure they are fresh or properly thawed and drained if using frozen to keep the dough from getting too wet.
What Should I Do If My Dough Is Too Soft?
If your cookie dough feels too soft to handle, chill it in the refrigerator for about 15-30 minutes. This will firm it up a bit and make it easier to scoop and shape.
Can I Make This Recipe Gluten-Free?
Yes! You can substitute the all-purpose flour with a gluten-free 1:1 baking flour. Just make sure to check that all other ingredients are gluten-free as well!
How Should I Store Leftover Cookies?
Store any leftover cookies in an airtight container at room temperature for up to 3 days. If you want them to last longer, you can freeze them and simply thaw as needed!