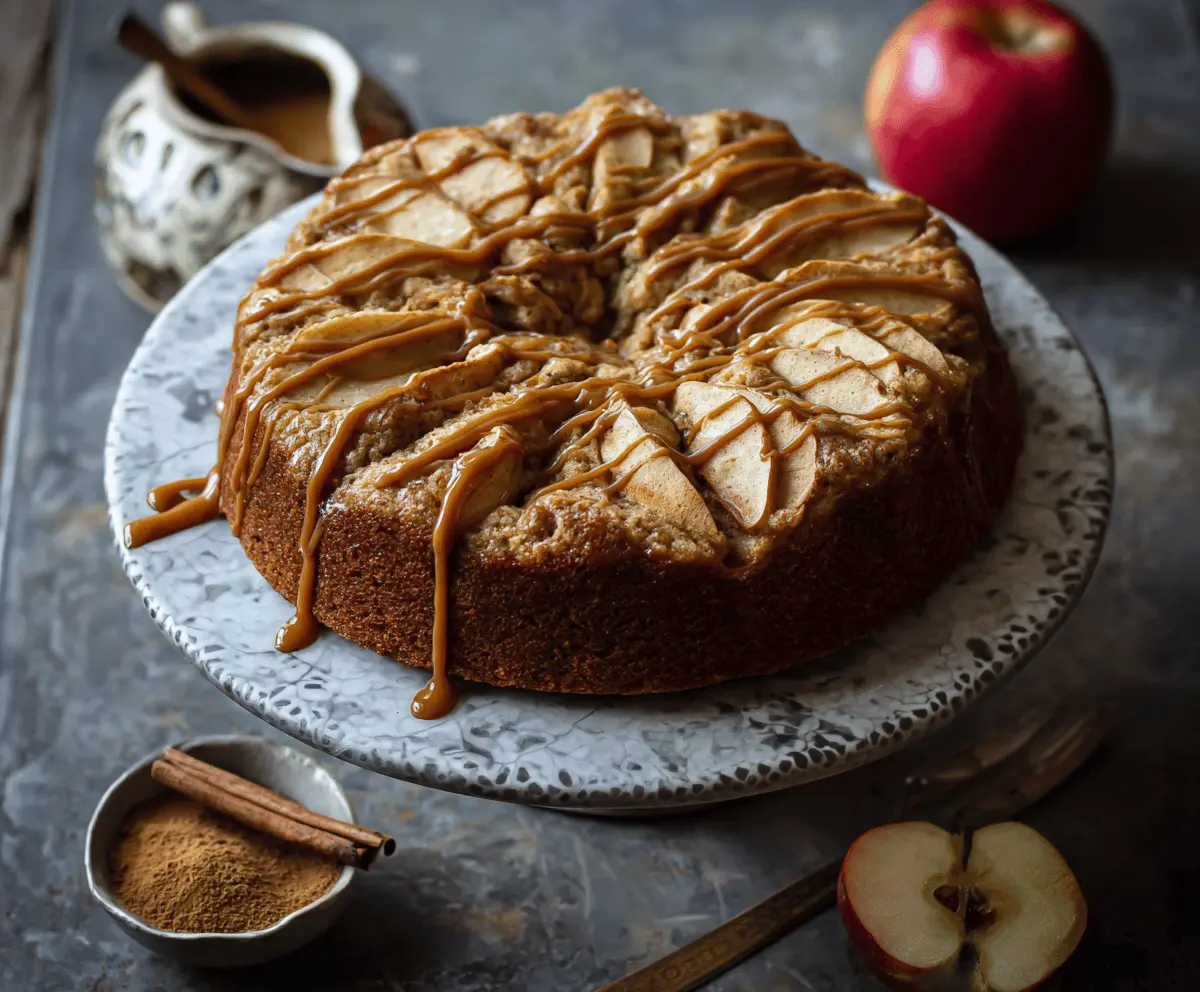
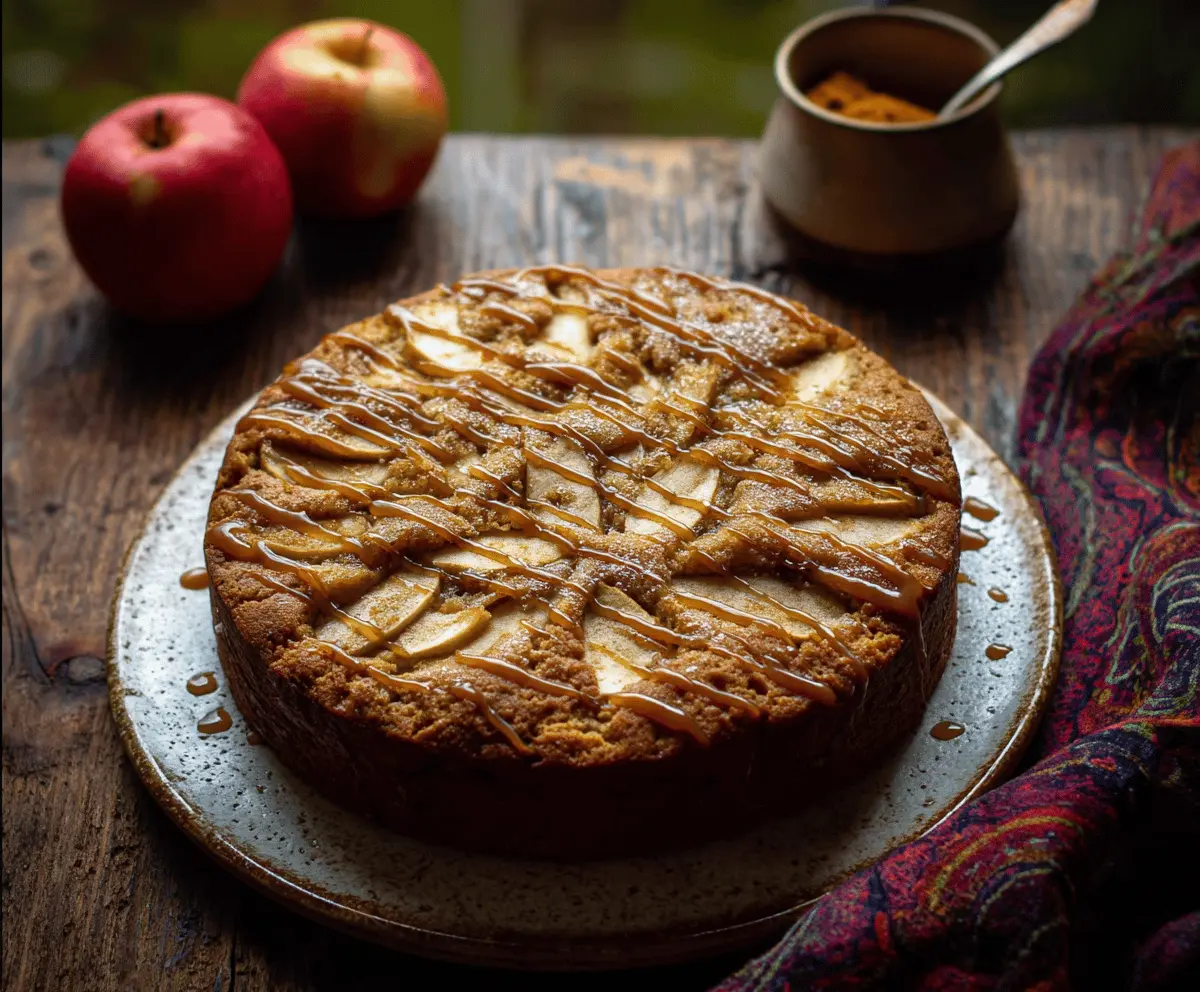
This Chai Spice Apple Cake is a warm treat that fills your kitchen with cozy scents of cinnamon, ginger, and nutmeg. It’s packed with juicy apples and topped with a sweet glaze!
Honestly, this cake is like a hug in dessert form. I love having a slice with my afternoon tea—it’s the perfect way to chill out after a busy day!
Making this cake is a breeze! Just mix the spices, fold in the apples, bake, and enjoy the yummy aroma filling your home. It’s a delightful way to celebrate fall flavors!
Key Ingredients & Substitutions
Flour: All-purpose flour is a staple here. If you’re gluten-free, try using a 1:1 gluten-free flour blend. It’s important for structure in the cake, making it light yet sturdy.
Spices: The joy of this cake comes from chai spices. If you don’t have cardamom or cloves at home, you can use just more cinnamon and ginger. I enjoy a touch of nutmeg for that warm, cozy flavor!
Butter: While unsalted butter gives you control over the salt level, you can substitute it with coconut oil or vegetable oil. The cake will still be moist and delicious.
Yogurt/Sour Cream: Greek yogurt works well and adds a nice tang. If you’re dairy-free, use non-dairy yogurt for a similar effect!
Apples: Fuji and Honeycrisp are great for baking due to their sweetness and firmness. If they aren’t on hand, any tart apples like Granny Smith can work wonderfully!
How Do I Make My Cake Light and Fluffy?
To achieve that perfect texture, focus on the creaming method. This step is essential for incorporating air into your cake, making it light. Here’s how:
- Start with softened butter; it should be soft enough to make a dent with your finger.
- Beat the butter and sugar together for 3-5 minutes until it looks pale and fluffy. Don’t rush this step!
- Add eggs one by one, mixing well after each to ensure they’re fully incorporated.
- Finally, alternate adding dry ingredients and yogurt; this helps prevent overmixing, which can make the cake dense.
Remember, mix just until you see no more flour streaks for the best fluffy results!
Chai Spice Apple Cake
Ingredients You’ll Need:
- 2 cups all-purpose flour
- 1 ½ tsp baking powder
- ½ tsp baking soda
- 1 tsp ground cinnamon
- ½ tsp ground ginger
- ¼ tsp ground cardamom
- ¼ tsp ground cloves
- ¼ tsp ground nutmeg
- ½ tsp salt
- ¾ cup (1 ½ sticks) unsalted butter, softened
- 1 cup granulated sugar
- 2 large eggs
- 1 tsp vanilla extract
- ¾ cup plain yogurt or sour cream
- 2 medium apples (such as Fuji or Honeycrisp), peeled, cored, and thinly sliced
- Optional: caramel sauce or spiced glaze for drizzling
How Much Time Will You Need?
This delicious Chai Spice Apple Cake takes about 20 minutes to prepare and 50-60 minutes to bake. After that, you’ll want to let it cool for 15 minutes before transferring it to a rack. Total time: about 1 hour and 35 minutes, including cooling!
Step-by-Step Instructions:
1. Preheat and Prep:
Start by preheating your oven to 350°F (175°C). While that’s warming up, grease and flour a 9-inch bundt or round cake pan so the cake doesn’t stick.
2. Mix the Dry Ingredients:
In a medium bowl, whisk together the flour, baking powder, baking soda, and spices (cinnamon, ginger, cardamom, cloves, nutmeg) along with the salt. Make sure it’s well combined so the spices are evenly distributed in the cake.
3. Cream the Butter and Sugar:
In a large mixing bowl, beat the softened butter and granulated sugar together for about 3-5 minutes until the mixture is light and fluffy. This is key for a tender cake!
4. Add Eggs and Vanilla:
Crack in the eggs one at a time, mixing well after each addition. Add the vanilla extract in and give everything another good mix to combine.
5. Combine Dry and Wet Ingredients:
Now it’s time to bring it all together. Alternately add the dry ingredients and yogurt to the butter mixture, starting and finishing with the dry ingredients. Mix just until everything is blended—don’t overdo it!
6. Fold in the Apples:
Gently fold in half of the sliced apples into the batter, making sure they’re evenly distributed for lovely apple flavor in every bite.
7. Pour and Smooth:
Pour the batter into the prepared cake pan and smooth the top with a spatula. Arrange the remaining apple slices on top in a circular pattern for a beautiful presentation.
8. Bake to Perfection:
Place the cake in the oven and bake for 50-60 minutes. You’ll know it’s done when a toothpick inserted into the center comes out clean and the cake looks golden brown.
9. Cooling Time:
Once baked, let the cake cool in the pan for about 15 minutes. Then carefully transfer it to a wire rack to cool completely. This helps keep the texture just right!
10. Drizzle and Enjoy:
For a delightful finishing touch, drizzle with caramel sauce or a spiced glaze once the cake has cooled. Serve a warm slice with your favorite tea or coffee for a truly cozy experience!
Enjoy your homemade Chai Spice Apple Cake, and share the warmth with family and friends!
Can I Use Different Types of Apples?
Absolutely! While Fuji and Honeycrisp are great choices for their sweetness and firmness, you can also use Granny Smith for a tart flavor or any other apple you love. Just make sure they’re suitable for baking!
How Should I Store Leftovers?
Store any leftover cake in an airtight container at room temperature for up to 3 days. If you want to keep it fresh for longer, refrigerate it for up to a week. You can also freeze slices wrapped tightly in plastic wrap for up to 3 months!
Can I Make This Cake Dairy-Free?
Yes! Replace the butter with a dairy-free butter substitute or coconut oil, and use non-dairy yogurt to keep the moisture level. The cake will still be delicious, just like the original!
Is It Possible to Add Nuts or Other Mix-Ins?
Definitely! Adding chopped walnuts or pecans can give a nice crunch. You could also mix in some raisins or dried cranberries for added flavor. Just remember to adjust the quantity so the batter remains balanced!