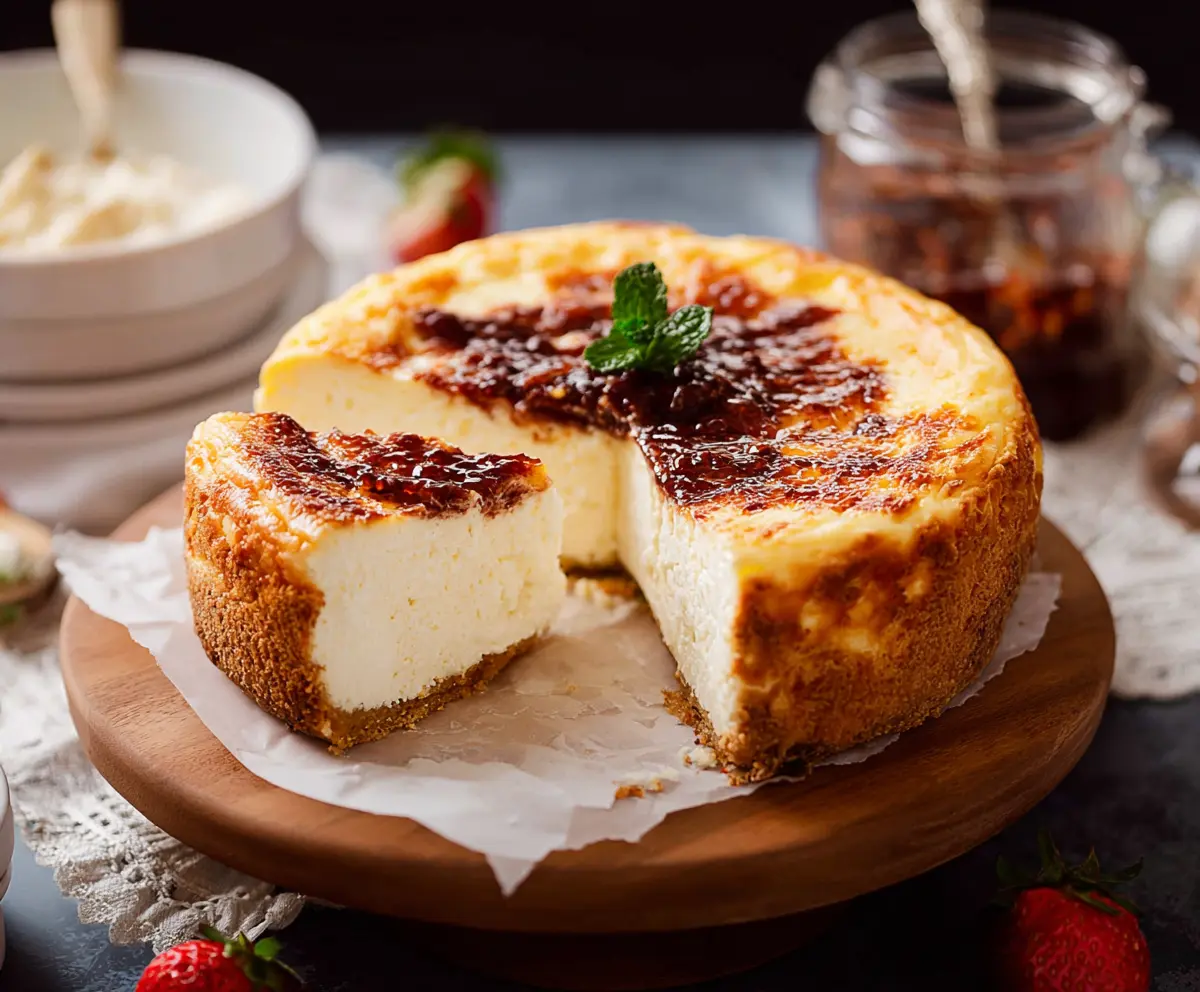
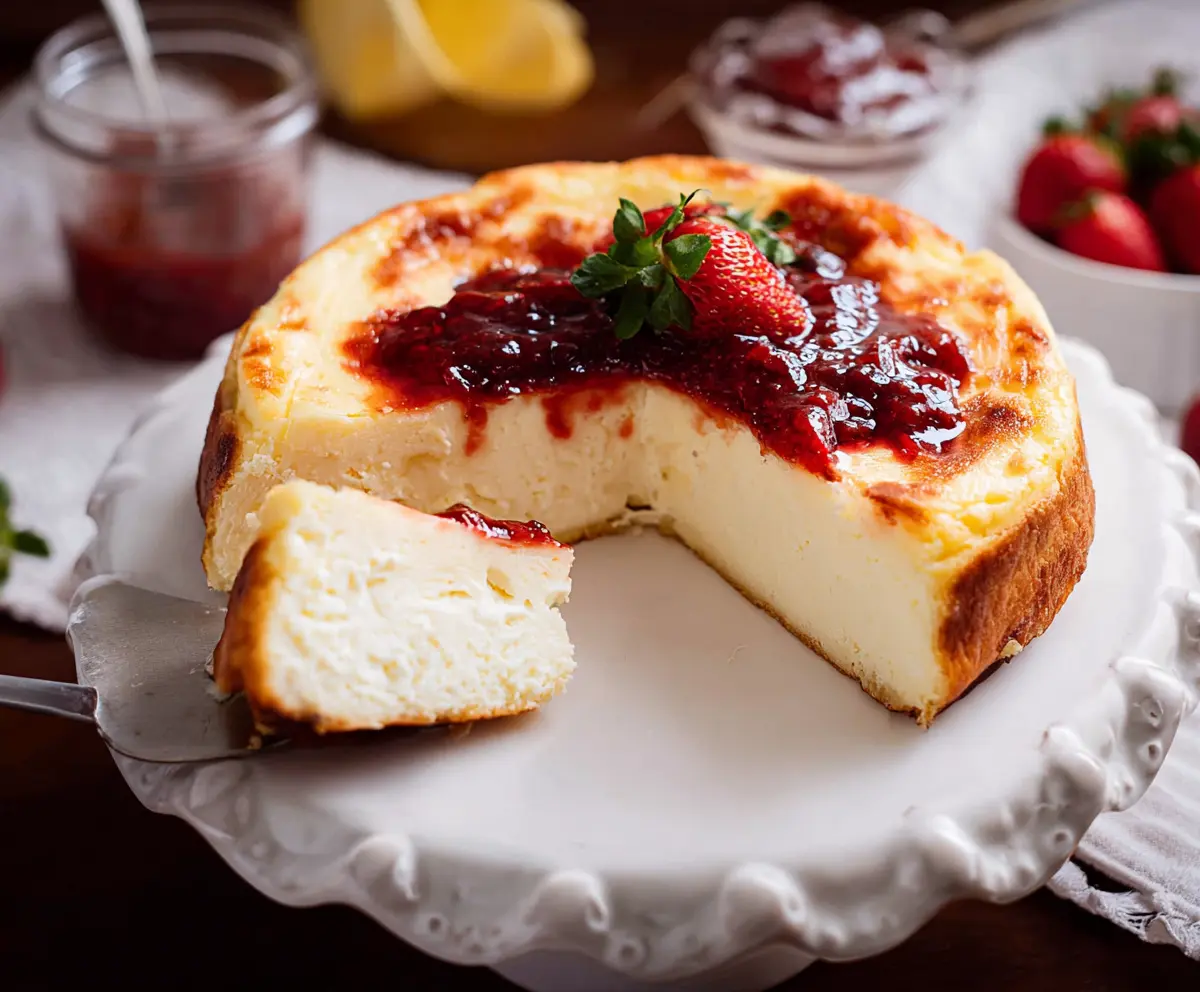
This cottage cheese cheesecake is a light and fluffy treat! Made with creamy cottage cheese, it has a lovely texture and a slightly tangy flavor that’s oh-so-refreshing.
I love serving it chilled with some fresh fruit on top. It feels fancy, but it’s so easy to make. Plus, a slice is perfect for satisfying those sweet cravings without the guilt!
Key Ingredients & Substitutions
Graham Cracker Crumbs: These are essential for a classic cheesecake crust. If you can’t find them, crushed digestive biscuits work nicely as a substitute. You can even use Oreo cookies for a chocolatey twist!
Cottage Cheese: Make sure to use well-drained cottage cheese to avoid excess moisture in your cheesecake. Needing a substitute? Ricotta cheese is a great alternative that provides a similar creamy texture.
Cream Cheese: This adds richness to the filling. If you’re looking for a lighter option, try using Neufchâtel cheese instead, which has less fat but still gives a creamy consistency.
Sour Cream: Sour cream enhances the tanginess of the cheesecake. You can swap it with Greek yogurt for a healthier option, but keep in mind it may slightly change the flavor.
How Do I Get a Smooth Filling for My Cheesecake?
A smooth filling is key for a creamy cheesecake. Start by blending the cottage cheese until completely smooth; this reduces any grainy texture you’ll want to avoid. Also, make sure all ingredients—especially cream cheese—are at room temperature before mixing to ensure they combine evenly.
- Blend cottage cheese in a food processor until smooth. Don’t skip this step!
- Mix with cream cheese until there are no lumps. Use an electric mixer for best results.
- Add eggs one at a time, mixing well after each addition to maintain creaminess.
Remember, the goal is a rich, creamy batter that will bake into a perfect cheesecake. Happy baking!
How to Make Cottage Cheese Cheesecake
Ingredients You’ll Need:
For The Crust:
- 1 ½ cups graham cracker crumbs (or digestive biscuits crushed)
- ¼ cup granulated sugar
- ½ cup unsalted butter, melted
For The Filling:
- 2 ½ cups cottage cheese (well drained)
- 1 cup cream cheese, softened
- 1 cup granulated sugar
- 3 large eggs
- 1 tsp vanilla extract
- 2 tbsp all-purpose flour
- ¼ cup sour cream
For The Topping:
- 2 tbsp granulated sugar (for caramelizing or you can use brown sugar)
- Fresh mint leaves for garnish (optional)
How Much Time Will You Need?
This delicious cottage cheese cheesecake will take about 20 minutes to prepare, plus an additional hour to bake. After that, it’s best to chill for at least 4 hours, or overnight if you can wait. So, make sure to allow plenty of time before serving—it’s totally worth it!
Step-by-Step Instructions:
1. Preheat the Oven:
Start by preheating your oven to 325°F (165°C). Grab a 9-inch springform pan, grease it well, and line the bottom with parchment paper. This will help your cheesecake come out easily once it’s baked!
2. Make the Crust:
In a medium bowl, mix together the graham cracker crumbs, granulated sugar, and melted butter. Use a fork to combine everything until it looks like wet sand. This will form the base of your cheesecake.
3. Bake the Crust:
Evenly press the crust mixture into the bottom and slightly up the sides of the springform pan. Bake it in the oven for 10 minutes, then take it out and let it cool while you prepare the filling.
4. Prepare the Filling:
To make the filling, blend the cottage cheese in a food processor or blender until it becomes smooth and creamy. This step is crucial for avoiding any lumps in your cheesecake!
5. Mix the Filling Ingredients:
In a large mixing bowl, combine the blended cottage cheese, softened cream cheese, granulated sugar, and vanilla extract. Mix everything until it’s nice and smooth. This deliciously creamy mixture is the heart of your cheesecake.
6. Add Eggs and More:
Add in the eggs one at a time, mixing well after each addition. Then stir in the flour and sour cream until everything is well combined and smooth. Now your filling is ready to go!
7. Pour the Filling:
Pour the creamy filling over the cooled crust in your springform pan, spreading it out evenly. Get ready for a wonderful cheesecake!
8. Bake the Cheesecake:
Put the cheesecake in the preheated oven and bake for about 60-70 minutes. You want it to be set but still have a slight jiggle in the center—that’s perfect!
9. Cool It Down:
Once done, take the cheesecake out of the oven and let it cool to room temperature. This will help it set better for chilling.
10. Add the Topping:
To make it extra special, sprinkle granulated sugar (or brown sugar) evenly over the top of the cooled cheesecake. Use a kitchen torch to caramelize the sugar until it’s golden and crispy. If you don’t have a torch, broil it under the oven for about 1-2 minutes, just keep an eye on it!
11. Chill the Cheesecake:
Cover the cheesecake and let it chill in the fridge for at least 4 hours, or overnight for the best results. This will help it firm up perfectly.
12. Serve and Enjoy:
Before serving, garnish with fresh mint leaves if you’re feeling fancy! Slice up your creamy cottage cheese cheesecake and enjoy every delicious bite!
Can I Use Low-Fat Ingredients for This Cheesecake?
Yes, you can use low-fat cottage cheese and cream cheese to make this cheesecake a bit lighter. Just keep in mind that the texture and flavor may vary slightly, but it should still turn out delicious!
How Can I Avoid Cracks in My Cheesecake?
To minimize cracks, avoid overmixing your batter and don’t open the oven door while it’s baking, as this can cause temperature fluctuations. Baking it in a water bath can also help maintain a consistent temperature and moisture level.
What’s the Best Way to Store Leftover Cheesecake?
Store any leftovers in an airtight container in the refrigerator for up to 5 days. If you want to freeze it, wrap it tightly in plastic wrap and then foil, and it can be frozen for up to 2 months. Thaw overnight in the fridge before serving.
Can I Add Flavors or Mix-ins?
Absolutely! Feel free to add lemon zest, chocolate chips, or fresh fruit to the filling for added flavor. If using fruit, make sure to adjust the sugar level to balance it out!