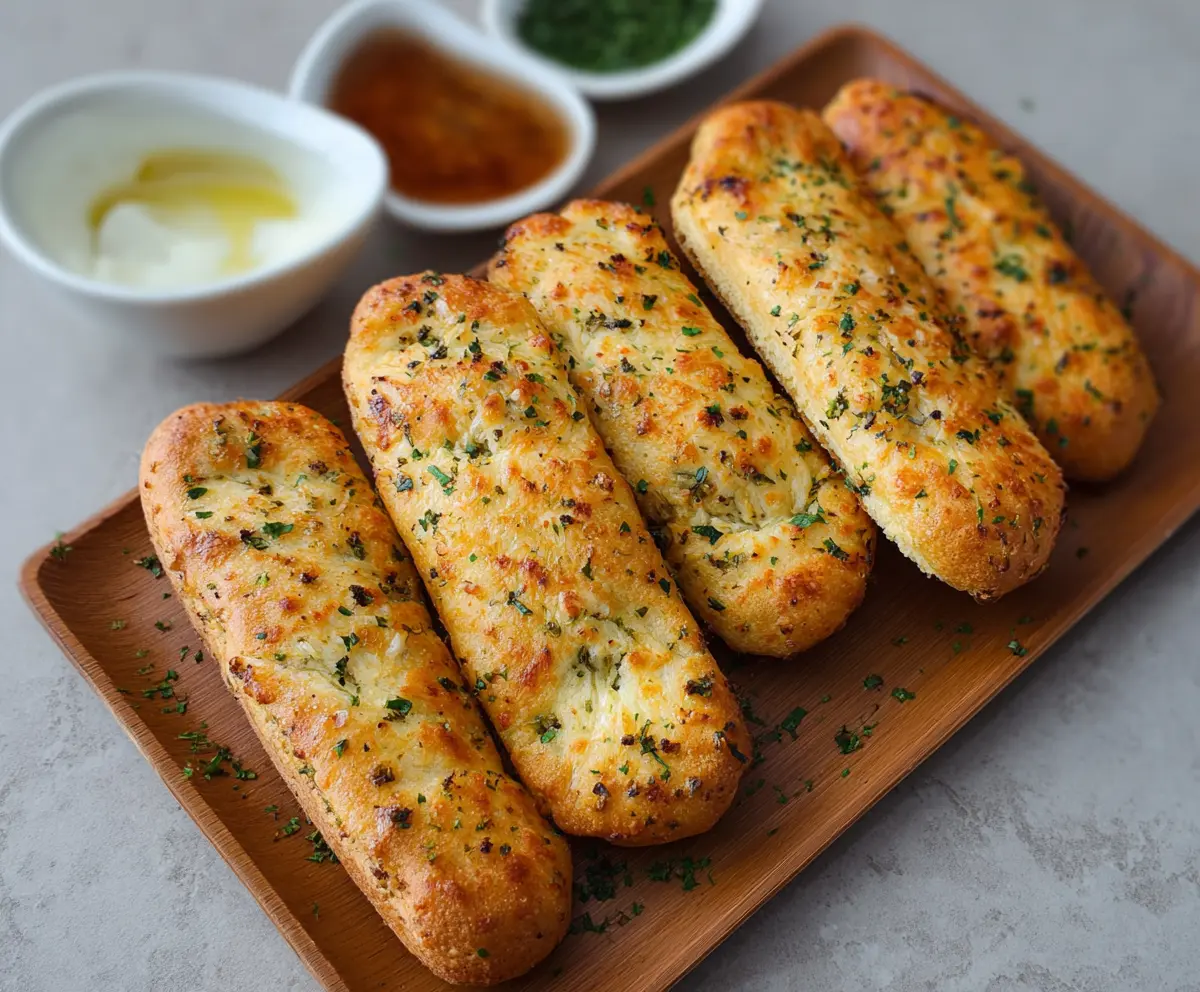
These Cottage Cheese Garlic Breadsticks are a tasty treat that’s easy to make! With creamy cottage cheese and a touch of garlic, they’re soft on the inside and crispy on the outside.
Trust me, they make the perfect snack or side for any meal. I always end up munching on more than I should while waiting for dinner to start! 🥖😋
Ingredients & Substitutions
Cottage Cheese: This ingredient adds moisture and richness! If you’re looking for a lower-fat option, consider using low-fat or even Greek yogurt as a substitute, though it may change the texture slightly.
Flour: All-purpose flour works great here. If you need a gluten-free option, you can try a gluten-free all-purpose blend, but the texture might vary.
Active Dry Yeast: If you don’t have active dry yeast, you could use instant yeast instead—just skip the proofing step! Remember that using fresh yeast is another option, but you’ll need to adjust the quantity.
Cheese: Mozzarella is fantastic for its melting quality. If you’re a fan of sharper flavors, feel free to replace it with cheddar or even a bit of feta for a unique taste!
Garlic: I love fresh garlic for its strong flavor! If you don’t have fresh garlic, use garlic powder as a substitute, though fresh gives the best taste.
How Do I Ensure My Breadsticks Rise Properly?
The rising step is key for fluffy breadsticks! First, make sure your yeast is alive by checking for bubbles after dissolving it in warm water. The water temperature should be around 110°F—too hot can kill the yeast!
- After mixing the dough, cover it well with a towel or plastic wrap to keep it warm and prevent drafts.
- Place it in a warm spot, like an oven turned off but with the light on, or on the counter near a heating source.
- Let it rise until it doubles in size, which usually takes about 1 hour. Don’t rush this step!
Once ready, gently punch it down to release the air and shape into breadsticks. This helps keep the texture light and fluffy!
Cottage Cheese Garlic Breadsticks
Ingredients You’ll Need:
- 1 cup cottage cheese
- 2 cups all-purpose flour
- 1 packet (2 1/4 tsp) active dry yeast
- 1/2 cup warm water (around 110°F/43°C)
- 1 tbsp sugar
- 2 tbsp olive oil (plus extra for brushing)
- 3-4 cloves garlic, minced
- 1/2 cup shredded mozzarella cheese
- 1/4 cup grated Parmesan cheese
- 2 tbsp chopped fresh parsley (or 1 tbsp dried parsley)
- 1 tsp salt
- 1/2 tsp garlic powder (optional, for extra garlic flavor)
How Much Time Will You Need?
This recipe takes about 10 minutes for preparation, 1 hour for the dough to rise, and about 15-18 minutes for baking. In total, you’re looking at around 1 hour and 30 minutes before you can enjoy delicious, warm garlic breadsticks!
Step-by-Step Instructions:
1. Prepare the Yeast:
In a small bowl, mix the warm water and sugar, then sprinkle the yeast on top. Let it sit for 5-10 minutes until it becomes foamy. This tells you the yeast is active!
2. Mix the Dry Ingredients:
In a large mixing bowl, combine the flour and salt, stirring until evenly mixed.
3. Combine the Ingredients:
Add the cottage cheese, olive oil, and the foamy yeast mixture into the flour mixture. Stir together until the dough starts to come together.
4. Knead the Dough:
Transfer the dough onto a floured surface and knead for about 5-7 minutes, until it is smooth and elastic. This helps develop the bread’s structure.
5. Let the Dough Rise:
Place the kneaded dough in a greased bowl, cover it with a clean towel, and let it rise in a warm spot for about 1 hour, or until it has doubled in size. You can opt for the oven with the light on for a cozy environment!
6. Preheat the Oven:
Once the dough has risen, preheat your oven to 400°F (200°C) and line a baking sheet with parchment paper.
7. Shape the Breadsticks:
Punch down the risen dough gently and divide it into 8 equal pieces. Roll each piece into a stick about 6 inches long, gently stretching it as needed.
8. Arrange on the Baking Sheet:
Place the rolled breadsticks on the prepared baking sheet, leaving space between each one for expansion during baking.
9. Prepare the Garlic Topping:
In a small bowl, mix together the minced garlic, melted butter or olive oil, garlic powder, parsley, mozzarella, and Parmesan cheese until well combined.
10. Add the Topping:
Generously brush the garlic cheese mixture over the tops of the breadsticks, ensuring they’re well coated.
11. Bake:
Bake the breadsticks in the oven for 15-18 minutes, or until they are golden brown and the cheese is bubbly. Keep an eye on them so they don’t over-brown!
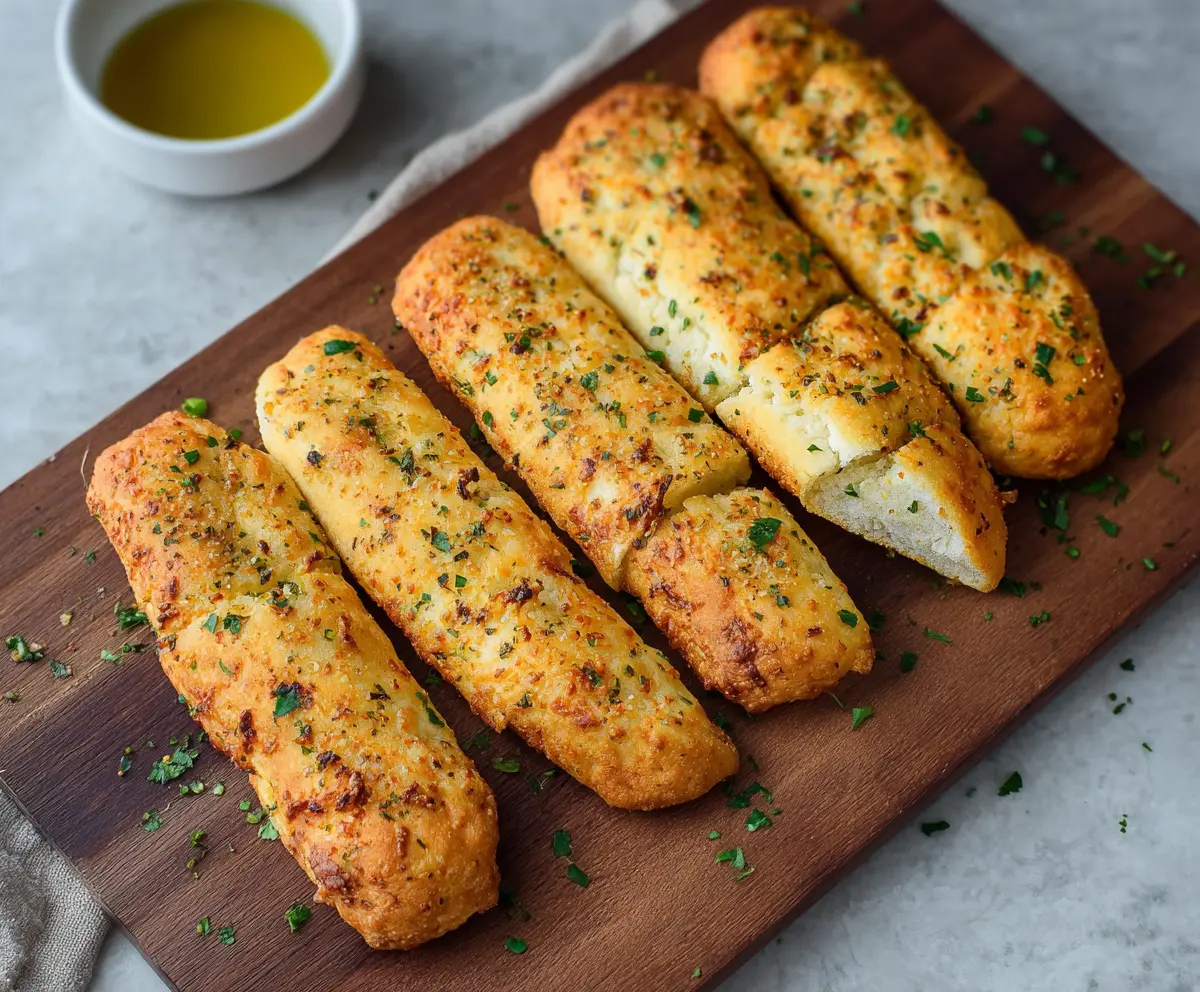
12. Final Touches:
Once baked, remove from the oven and brush the tops again with a little olive oil or melted butter for extra flavor.
13. Serve and Enjoy!
Allow the breadsticks to cool slightly before serving. Feel free to sprinkle extra parsley on top for garnish! Enjoy them warm, perfect for dipping in marinara sauce or on their own!
Can I Use Low-Fat Cottage Cheese?
Absolutely! Low-fat cottage cheese will work just fine and still give the breadsticks a nice texture. Just keep in mind that the flavor may be a little less rich compared to regular cottage cheese.
Can I Make the Dough Ahead of Time?
Yes! You can prepare the dough and let it rise, then cover it tightly and refrigerate for up to 2 days. Just remember to let it come back to room temperature and rise again for about 30 minutes before shaping and baking.
How Should I Store Leftover Breadsticks?
Store any leftovers in an airtight container at room temperature for up to 2 days. You can also freeze them for up to a month. Just reheat in the oven or microwave before serving to get that fresh-out-of-the-oven taste!
Can I Add Other Ingredients to the Breadsticks?
Definitely! Feel free to add herbs like rosemary or thyme, or even mix in some finely chopped vegetables or different cheeses for a unique flavor twist.