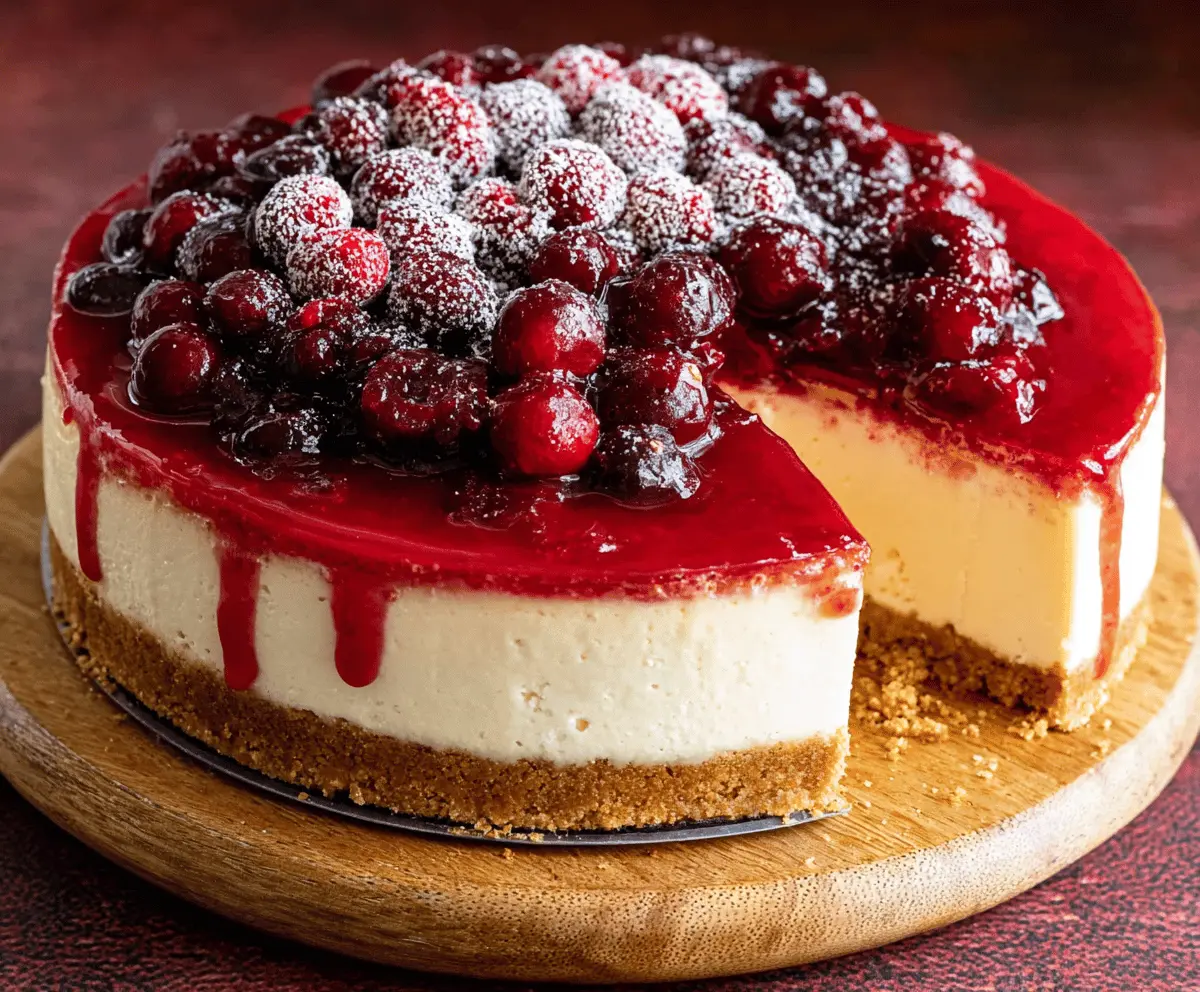
This cranberry cheesecake is a creamy delight with a burst of tartness from fresh cranberries. It’s perfectly sweet and makes a beautiful dessert for any occasion!
Every bite is like a tasty surprise, with the tangy cranberries mixing beautifully with the smooth filling. I can’t resist having a slice after dinner, how about you? 😋
The best part? This cheesecake is super easy to whip up and looks fancy, so you can impress friends without the fuss. Serve it chilled and enjoy every bite!
Key Ingredients & Substitutions
Graham cracker crumbs: These create a sweet and crunchy base for the cheesecake. If you want a gluten-free version, use gluten-free cookie crumbs or ground almonds!
Cream cheese: The star of the cheesecake! Make sure it’s softened to room temperature for easy blending. If you’re looking for a lighter option, you can use Neufchâtel cheese instead.
Sour cream: This adds creaminess and a slight tang. If you don’t have sour cream, Greek yogurt works as a great substitute and keeps that creamy texture.
Cranberries: Fresh cranberries are perfect for a tart topping, but you can use frozen ones if fresh aren’t available. Just thaw them and they’re good to go!
How Do I Ensure My Cheesecake Comes Out Smooth and Creamy?
Getting a smooth cheesecake filling can be tricky, but with these steps, you’ll nail it!
- Start with softened cream cheese. Let it sit out for at least 30 minutes before mixing.
- Beat the cream cheese before adding sugar to avoid lumps, then slowly add sugar while mixing.
- Mix on low speed after adding eggs to prevent incorporating too much air, which can lead to cracks.
- Lastly, bake the cheesecake in a water bath if you want an even creamier texture and to reduce cracking.
How to Make Delicious Cranberry Cheesecake
Ingredients You’ll Need:
For the Crust:
- 1 1/2 cups graham cracker crumbs (about 10-12 full sheets)
- 1/4 cup granulated sugar
- 6 tablespoons unsalted butter, melted
For the Cheesecake Filling:
- 24 ounces (680g) cream cheese, softened
- 1 cup granulated sugar
- 1 teaspoon vanilla extract
- 3 large eggs
- 1 cup sour cream
For the Cranberry Topping:
- 2 cups fresh cranberries (or frozen, thawed)
- 3/4 cup granulated sugar
- 1/2 cup water
- 1 teaspoon lemon juice
- 1 tablespoon cornstarch mixed with 1 tablespoon water (slurry)
For Garnish:
- Fresh cranberries (optional)
- Powdered sugar for dusting
How Much Time Will You Need?
This cranberry cheesecake requires about 20 minutes of prep time. Baking will take around 50-60 minutes and you’ll need to cool it for 1 hour in the oven. Finally, it needs to chill for at least 4 hours, or overnight for the best texture. That means you can make it the day before your gathering and let it rest overnight!
Step-by-Step Instructions:
1. Preparing the Crust:
Start by preheating your oven to 325°F (160°C). In a medium-sized bowl, mix the graham cracker crumbs, sugar, and melted butter together until they are well combined. It should look like wet sand. Press this mixture firmly into the bottom of a 9-inch (23cm) springform pan to form your crust. Bake it for 8-10 minutes, then remove from the oven and set aside to cool while you prepare the filling.
2. Making the Cheesecake Filling:
In a large mixing bowl, beat the softened cream cheese with the sugar using an electric mixer until it’s smooth and creamy, about 2-3 minutes. Add in the vanilla extract and mix until just combined. Then, add the eggs one at a time, beating gently after each addition to keep the mixture smooth. Finally, stir in the sour cream until everything is well blended.
3. Assembling and Baking the Cheesecake:
Once your filling is ready, pour it over the cooled crust in the springform pan, spreading it evenly. Bake the cheesecake in the preheated oven for 50-60 minutes, just until the edges are set but the center still jiggles a bit. Turn off the oven, crack open the oven door slightly, and let the cheesecake cool inside for about 1 hour. After that, remove it from the oven and place it in the refrigerator for at least 4 hours or overnight to chill.
4. Preparing the Cranberry Topping:
While the cheesecake is chilling, you can make the berry topping. In a medium saucepan, combine the fresh cranberries, sugar, water, and lemon juice. Bring it to a boil over medium heat. Once boiling, reduce the heat and let it simmer for around 10 minutes, or until the cranberries start to burst. Stir in the cornstarch slurry and simmer for another 1-2 minutes until it thickens. Remove it from the heat and let it cool completely.
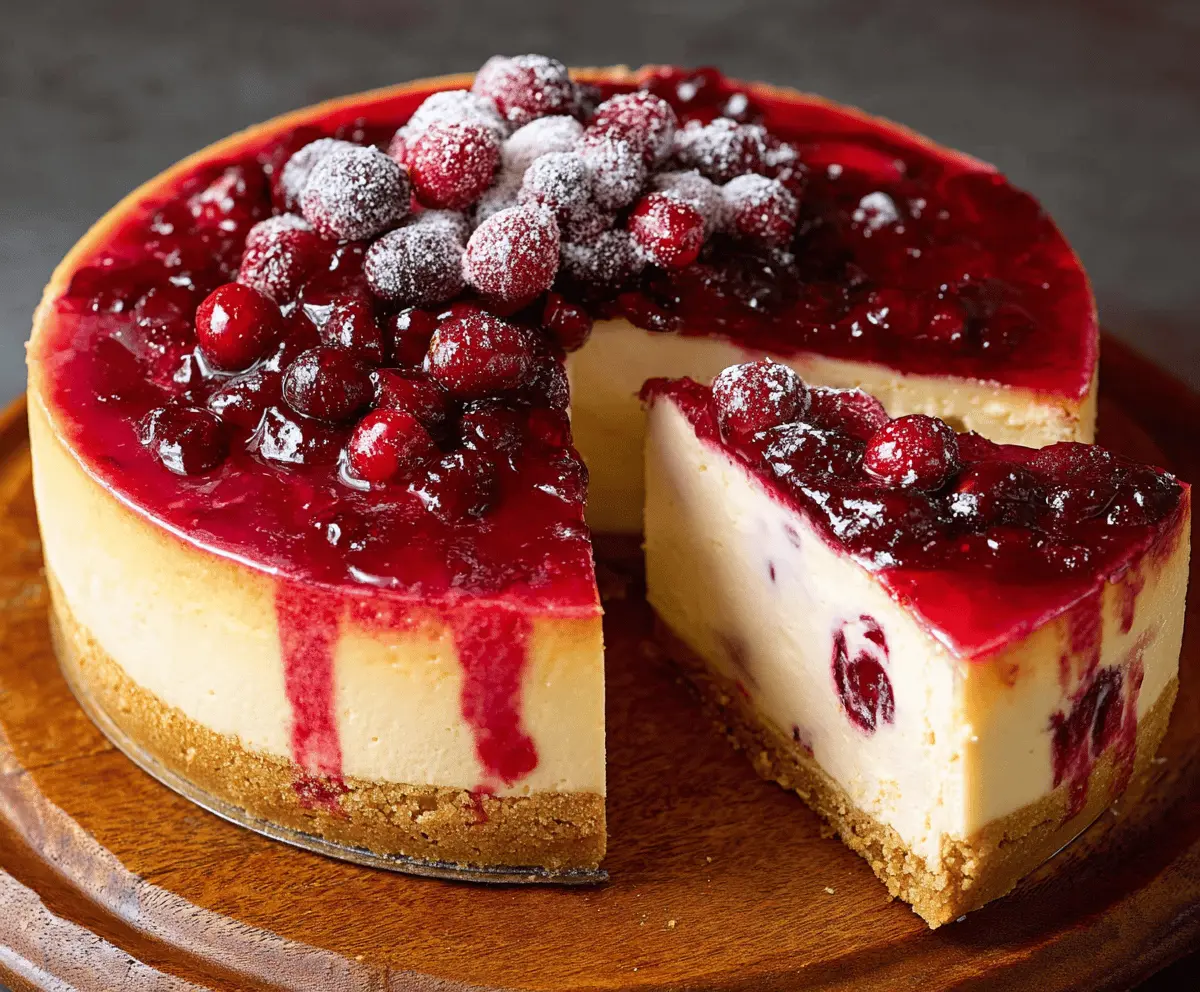
5. Serving the Cheesecake:
Once the cheesecake is fully chilled, take it out of the refrigerator. Spread the cooled cranberry topping evenly over the cheesecake. If you’d like, scatter some fresh cranberries on top and give it a light dusting of powdered sugar for garnish. Finally, slice it up and serve it chilled to enjoy!
This creamy, tangy cranberry cheesecake with its crisp graham cracker crust and luscious cranberry topping is sure to impress everyone. Happy baking!
Can I Use a Different Type of Crust?
Absolutely! If you’re looking to mix things up, you can use Oreo cookie crumbs for a chocolatey twist or a nut-based crust for a gluten-free option. Just adjust the amount of butter as needed to hold it together!
How Can I Make This Cheesecake in Advance?
This cheesecake can be made up to 2 days in advance. Once it has cooled and set in the refrigerator, simply wait to add the cranberry topping until just before serving to keep it looking fresh.
What if I Can’t Find Fresh Cranberries?
No worries! Frozen cranberries work perfectly as a substitute. Just make sure to thaw them before using, and be aware that the topping may be a bit more saucy, but still delicious!
How Should I Store Leftovers?
Store any leftover cheesecake in an airtight container in the refrigerator for up to 5 days. It’s best served chilled, so just slice and enjoy whenever you’re ready!