I love making delicious holiday desserts, especially cheesecakes. Today, I’m sharing two fantastic cranberry cheesecake recipes perfect for your festive table.
Both of these cheesecakes bring a lovely sweet-tart flavor, but with their own unique touches. You’ll find simple steps and helpful tips to make them a success.
Jump to Recipe:
Classic Cranberry Cheesecake for the Holidays
This creamy cranberry cheesecake offers a perfect balance of rich filling and tart cranberry topping. It’s a wonderful dessert to share with family and friends.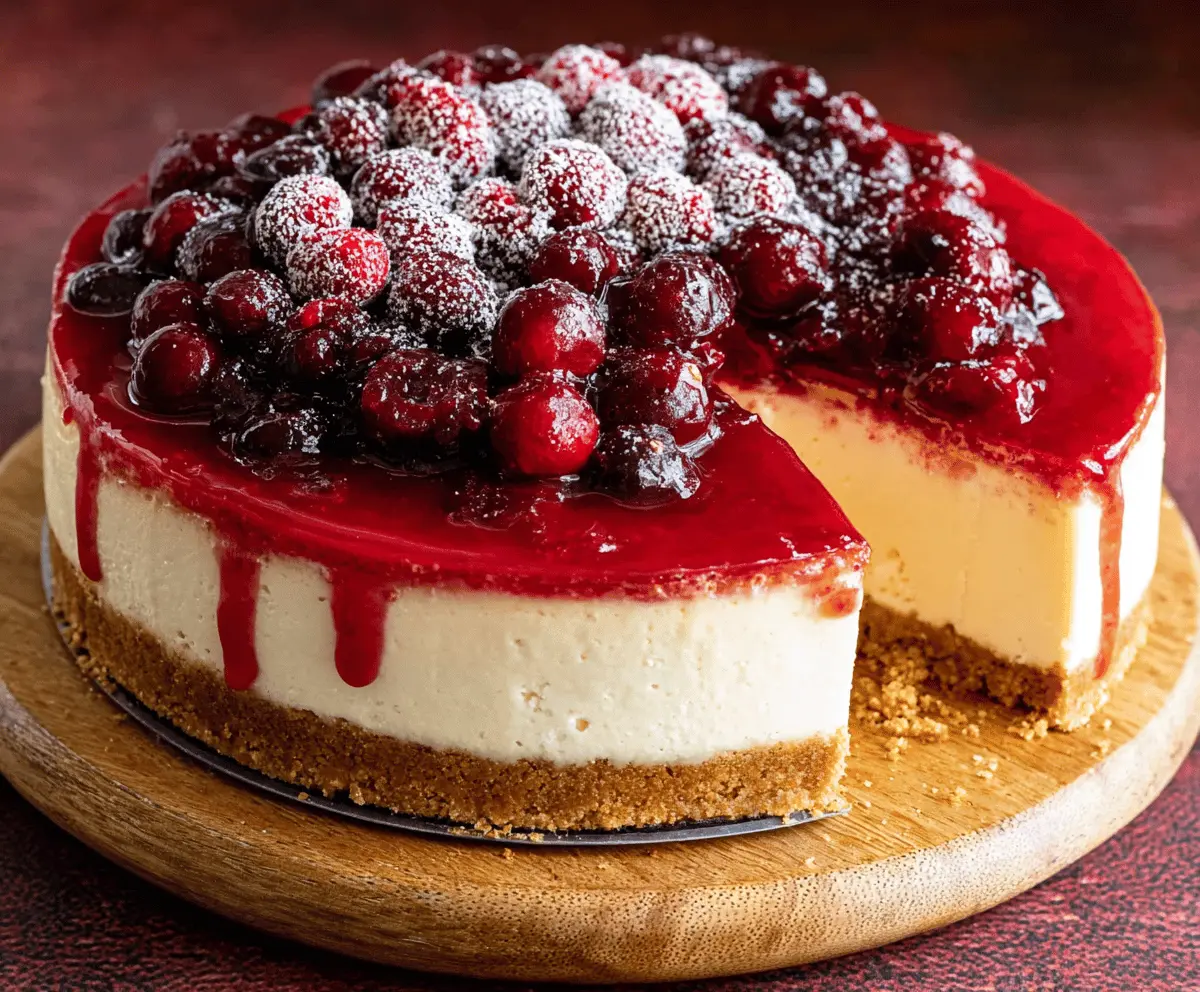
Key Ingredients & Tips for Cranberry Cheesecake
- Room Temperature Cream Cheese: This helps prevent lumps in your batter, making the cheesecake super smooth.
- Water Bath Baking: Baking the cheesecake in a water bath keeps it moist and helps stop cracks from forming on top.
- Homemade Cranberry Topping: Using fresh cranberries for the topping gives the best bright, sweet-tart flavor.
What You Need for Cranberry Cheesecake
- Graham cracker crumbs
- Melted butter
- Cream cheese
- Granulated sugar
- Large eggs
- Vanilla extract
- Sour cream
- Fresh cranberries
- Water or orange juice (for topping)
⏱️ Time: 3 hours (prep + bake + chill)🍽️ Yields: 12 slices
How to Make Cranberry Cheesecake
Step 1: Make the Crust
Preheat your oven to 325°F (160°C). Combine graham cracker crumbs and melted butter in a bowl. Press this mixture firmly into the bottom of a 9-inch springform pan.
Step 2: Prepare the Filling
In a large bowl, beat softened cream cheese with granulated sugar until it’s smooth and creamy. Add eggs one at a time, mixing well after each addition. Stir in vanilla extract and sour cream. Pour this cheesecake filling over your prepared crust.
Step 3: Bake the Cheesecake
Place the springform pan into a larger roasting pan. Carefully add hot water to the roasting pan, coming halfway up the sides of the springform pan. Bake for 60-75 minutes, or until the edges are set and the center still jiggles slightly.
Step 4: Create Cranberry Topping
While the cheesecake cools, simmer fresh cranberries with sugar and a little water or orange juice in a saucepan until the berries burst and the sauce thickens slightly. Let this topping cool completely before using.
Step 5: Chill and Serve
Once the cheesecake is completely cool, spread the cooled cranberry topping evenly over it. Chill in the refrigerator for at least 4 hours, or preferably overnight, before slicing and serving.
📝 Final Note
To get clean slices of your cranberry cheesecake, dip your knife in hot water and wipe it clean between each cut.
Bright Cranberry Orange Cheesecake Recipe
This cheesecake combines the tang of cranberries with a sunny burst of fresh orange flavor. It’s a refreshing change and a beautiful addition to any meal.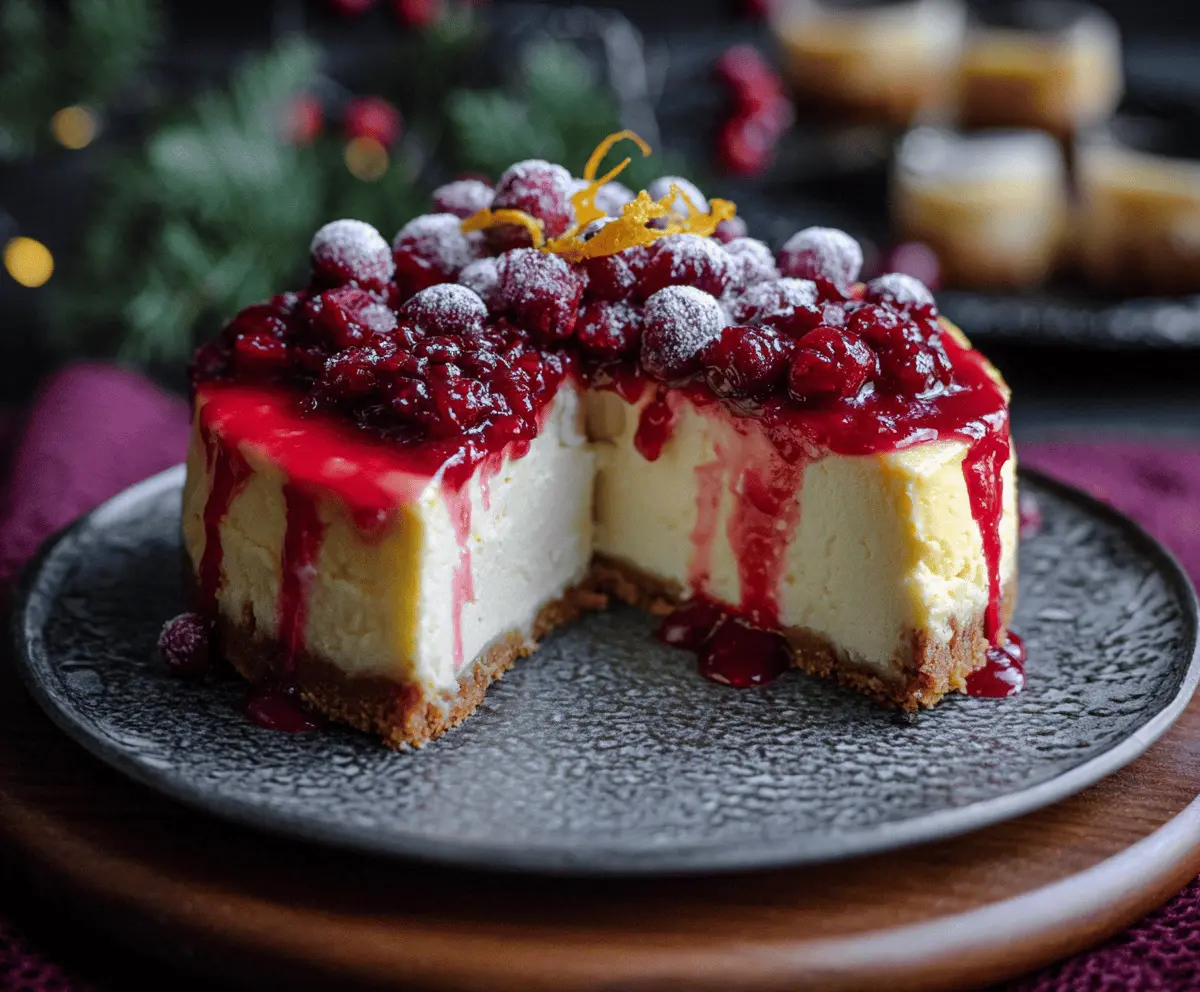
Key Ingredients & Tips for Cranberry Orange Cheesecake
- Fresh Orange Zest: Make sure to use fresh orange zest in both the crust and the filling for the best citrus aroma and taste.
- Fresh Orange Juice: A bit of fresh orange juice in the cranberry topping enhances the overall bright flavor profile of the cheesecake.
- Gentle Mixing: When adding eggs to the cream cheese mixture, mix just until combined. Overmixing can add too much air, which might lead to cracks.
What You Need for Cranberry Orange Cheesecake
- Graham cracker crumbs
- Melted butter
- Orange zest
- Cream cheese
- Granulated sugar
- Large eggs
- Vanilla extract
- Sour cream
- Fresh cranberries
- Fresh orange juice
⏱️ Time: 3 hours 15 minutes (prep + bake + chill)🍽️ Yields: 12-14 slices
How to Make Cranberry Orange Cheesecake
Step 1: Zesty Crust Prep
Preheat your oven to 325°F (160°C). In a bowl, combine graham cracker crumbs, melted butter, and fresh orange zest. Press this mixture firmly into the bottom of a 9-inch springform pan.
Step 2: Flavorful Filling
In a large bowl, beat softened cream cheese and granulated sugar until smooth. Mix in eggs one at a time, then add vanilla extract, sour cream, and more orange zest until just combined. Pour the filling over the prepared crust.
Step 3: Bake Carefully
Place the springform pan into a larger roasting pan, then add hot water to create a water bath. Bake for 65-80 minutes, or until the edges are set. Turn off the oven and let the cheesecake cool inside with the door ajar for an hour before removing.
Step 4: Make Orange Cranberry Topping
In a saucepan, cook fresh cranberries with sugar and fresh orange juice until the berries burst and the mixture thickens. Let this orange cranberry topping cool completely before spreading it.
Step 5: Chill and Serve
Once the cheesecake is fully cooled, spread the orange cranberry topping over the top. Chill in the refrigerator for at least 6 hours, or overnight, for the best firmness and flavor before serving.
📝 Final Note
You can make the cranberry orange topping a day ahead and store it in the fridge until you are ready to use it on your cheesecake.