I love ice cream, especially when it’s homemade. There’s something special about making your own frozen treats right in your kitchen.
Today, I’m sharing four easy homemade ice cream and gelato recipes that are perfect for a warm day or any time you need a sweet dessert. You can make these at home with simple ingredients and enjoy a truly fresh taste. Let’s make some delicious frozen desserts!
Jump to Recipe:
- 1. Easy Homemade Cappuccino Ice Cream Recipe
- 2. Easy Homemade Coconut Ice Cream Recipe
- 3. Easy Homemade Dark Chocolate Gelato Recipe
- 4. Easy Homemade Raw Milk Ice Cream Recipe
Easy Homemade Cappuccino Ice Cream Recipe
This cappuccino ice cream recipe brings the coffee shop right to you. It has a smooth texture and a rich coffee flavor that everyone will enjoy.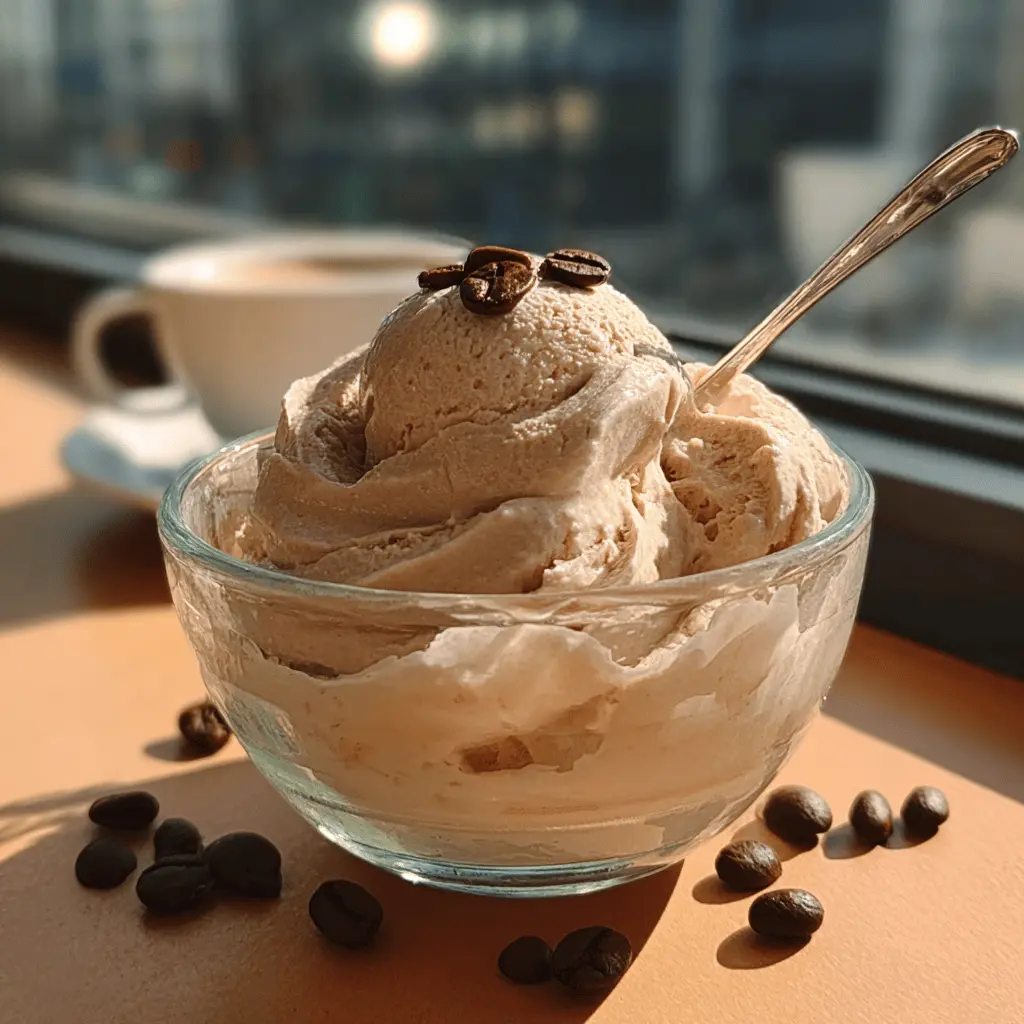
Key Ingredients & Tips
- Strong Coffee: Use good quality espresso or strong brewed coffee for the best coffee flavor in your ice cream.
- Chill Time: Make sure your ice cream base is very cold before churning; this helps create a creamy texture.
What You Need
- 1 cup strong brewed coffee, cooled
- 2 cups heavy cream
- 1 cup whole milk
- 3/4 cup granulated sugar
- 2 large egg yolks (optional, for a richer base)
- 1 teaspoon vanilla extract
⏱️ Time: 25 minutes prep, 4-6 hours freezing🍽️ Yields: 4-6 servings
How to Make It
Step 1: Prepare the Cappuccino Base
In a large bowl, mix together the cooled coffee, heavy cream, whole milk, sugar, and vanilla extract. If you are using egg yolks, whisk them in very well until everything is combined. Make sure the sugar dissolves completely into the mixture.
Step 2: Chill the Ice Cream Mixture
Cover the bowl and put the coffee ice cream mixture in the refrigerator. Let it chill for at least 2 hours, or until it is very cold. This step is important for getting a smooth texture when you churn the ice cream.
Step 3: Churn and Freeze Your Ice Cream
Pour the very cold mixture into your ice cream maker and churn according to the manufacturer’s directions. This usually takes about 20-30 minutes. Once it has a soft-serve consistency, transfer the cappuccino ice cream to an airtight container and freeze for another 2-4 hours to firm it up.
📝 Final Note
Store homemade cappuccino ice cream in the freezer for up to 2 weeks. Let it sit out for a few minutes before serving for the best scoop.
Easy Homemade Coconut Ice Cream Recipe
This simple coconut ice cream is creamy and refreshing. It’s a great treat for those who love coconut flavor or want a dairy-free option.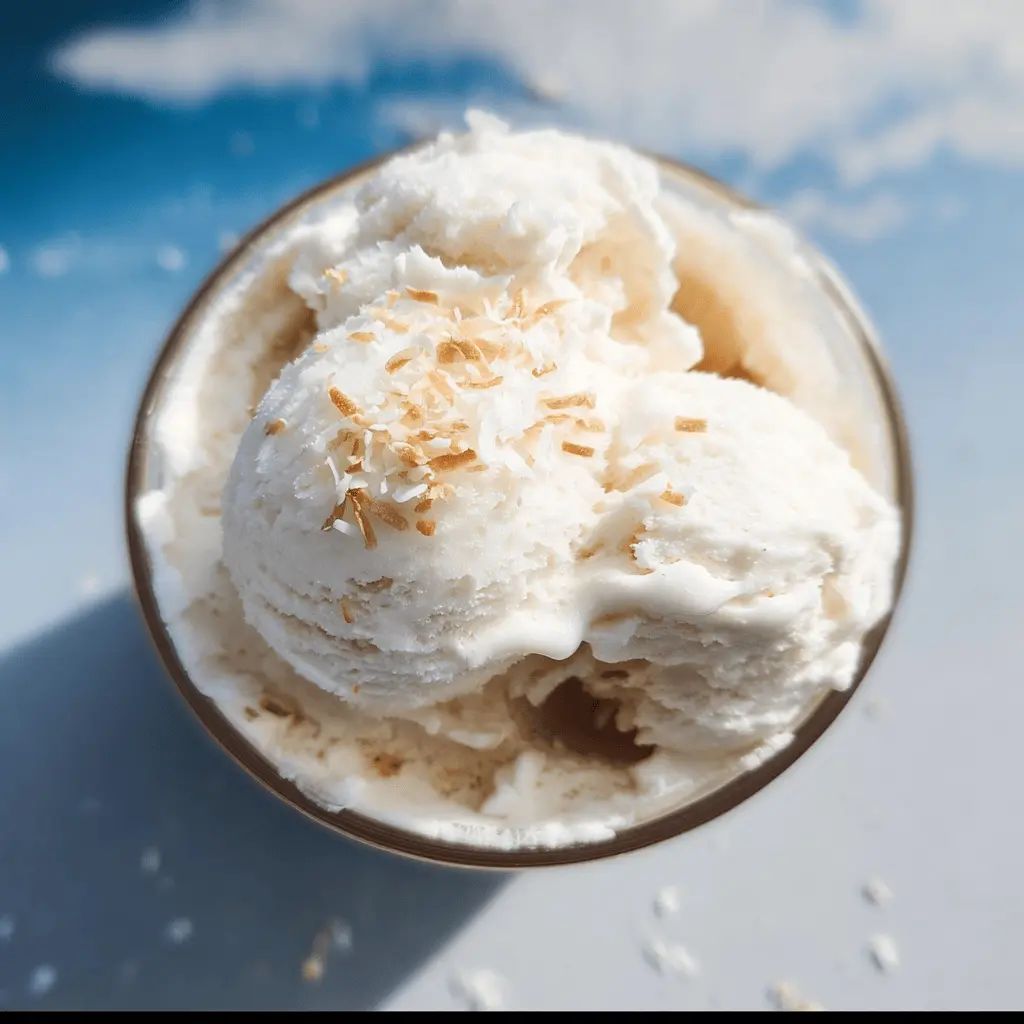
Key Ingredients & Tips
- Full-Fat Coconut Milk: Use full-fat coconut milk and cream for the creamiest texture. Shake the cans well before opening.
- Sweetness: Adjust the sugar amount to your liking. You can add more or less depending on how sweet you want your coconut ice cream.
What You Need
- 2 cans (13.5 oz each) full-fat coconut milk
- 1 can (13.5 oz) full-fat coconut cream
- 1/2 cup granulated sugar (or to taste)
- 1 teaspoon vanilla extract
- Pinch of salt
⏱️ Time: 15 minutes prep, 4-6 hours freezing🍽️ Yields: 4-6 servings
How to Make It
Step 1: Combine Coconut Ingredients
In a large bowl, mix the coconut milk, coconut cream, sugar, vanilla extract, and salt. Stir everything together until the sugar has fully dissolved. You want a smooth, well-mixed base for your coconut ice cream.
Step 2: Chill the Ice Cream Base Thoroughly
Cover the bowl and place the mixture in the refrigerator for at least 2 hours. Getting the base very cold will help your ice cream churn properly and achieve the right creamy texture.
Step 3: Churn and Harden Your Coconut Ice Cream
Pour the chilled mixture into your ice cream maker and churn according to its instructions. Once it reaches a soft, frozen consistency, put the coconut ice cream into a freezer-safe container. Freeze for another 2-4 hours until it is firm enough to scoop.
📝 Final Note
This coconut ice cream is best enjoyed within a week. If it becomes too hard, let it soften on the counter for 10-15 minutes before serving.
Easy Homemade Dark Chocolate Gelato Recipe
Enjoy the deep, rich flavor of dark chocolate with this easy homemade gelato. It’s smooth, dense, and has a wonderful chocolate taste that you will appreciate.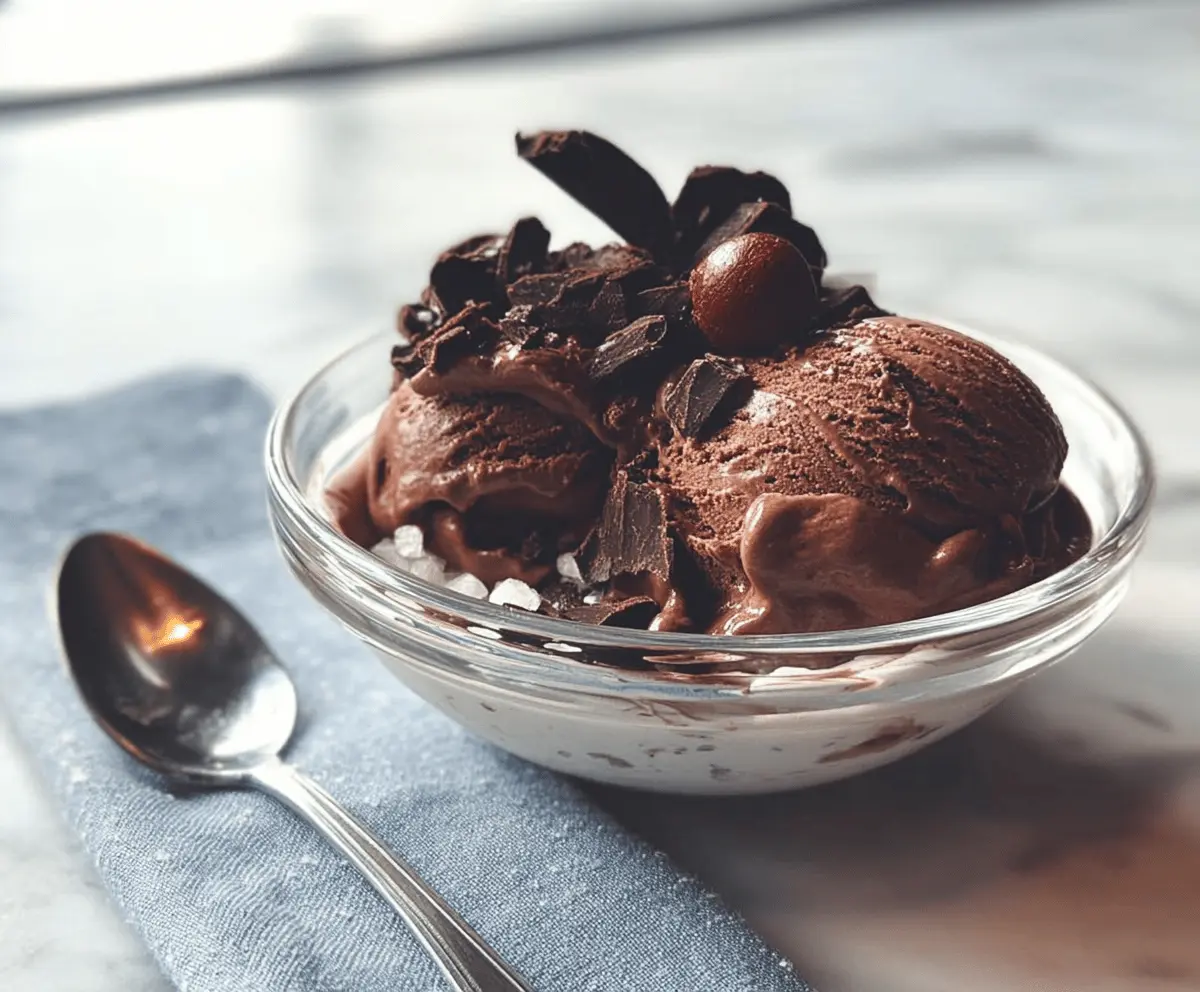
Key Ingredients & Tips
- Quality Chocolate: Use high-quality dark chocolate (60-70% cocoa) for the best flavor. This makes a big difference in your gelato.
- Dutch-Processed Cocoa: Using Dutch-processed cocoa powder will give a darker color and a smoother, less bitter chocolate flavor.
What You Need
- 4 oz good quality dark chocolate, finely chopped
- 1/4 cup unsweetened cocoa powder
- 2 cups whole milk
- 1 cup heavy cream
- 3/4 cup granulated sugar
- 3 large egg yolks
- Pinch of salt
- 1 teaspoon vanilla extract
⏱️ Time: 30 minutes prep, 6+ hours freezing🍽️ Yields: 4-6 servings
How to Make It
Step 1: Make the Chocolate Base
In a saucepan, heat milk and heavy cream over medium heat until small bubbles appear around the edges. Do not let it boil. Remove from heat. Add the finely chopped dark chocolate and cocoa powder, stirring until everything is melted and smooth.
Step 2: Temper Egg Yolks for Gelato
In a separate bowl, whisk the egg yolks and sugar until they are light in color. Slowly pour about half of the warm chocolate milk mixture into the egg yolks, whisking constantly to prevent the eggs from cooking. Then pour the egg mixture back into the saucepan with the remaining chocolate milk.
Step 3: Cook and Chill the Gelato Base
Return the saucepan to low heat. Stir constantly with a spatula until the mixture thickens enough to coat the back of a spoon (about 5-7 minutes). Do not boil. Remove from heat, stir in vanilla and salt. Strain through a fine-mesh sieve into a clean bowl. Chill this dark chocolate gelato base in the refrigerator for at least 4 hours, or overnight, until it is very cold.
Step 4: Churn and Freeze Your Gelato
Pour the very cold dark chocolate gelato base into your ice cream maker. Churn according to the manufacturer’s instructions, typically 20-30 minutes, until it’s a soft-serve consistency. Transfer the gelato to an airtight container and freeze for at least 4 hours to firm up before serving.
📝 Final Note
For the best texture, let your dark chocolate gelato sit at room temperature for about 10-15 minutes before scooping. This helps it become perfectly smooth.
Easy Homemade Raw Milk Ice Cream Recipe
This raw milk ice cream recipe offers a simple, fresh taste. It’s a great way to use raw milk for a creamy, delightful frozen dessert.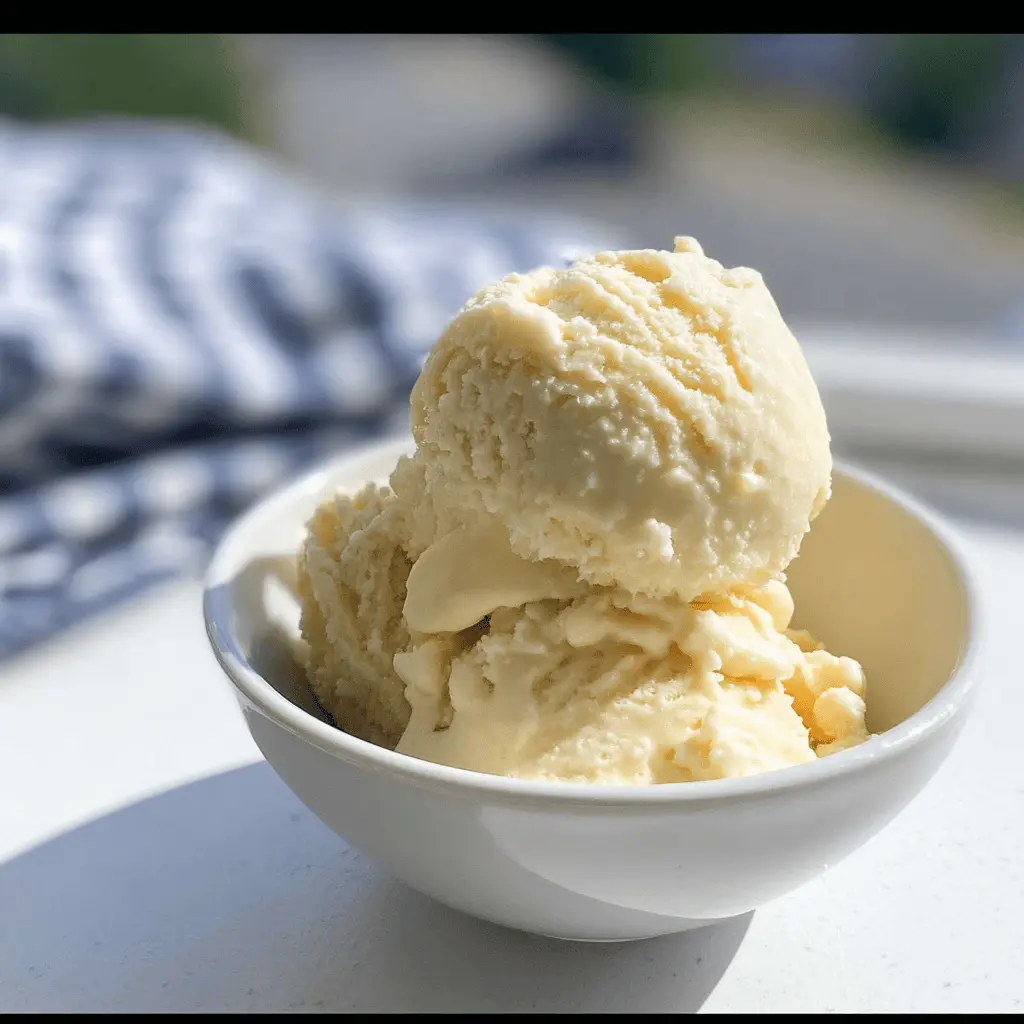
Key Ingredients & Tips
- Source Quality Raw Milk: Use fresh, high-quality raw milk from a trusted farm. The natural flavor of the milk is key for this simple recipe.
- Pure Vanilla: A good vanilla bean or pure vanilla extract will highlight the fresh milk flavor beautifully in this simple ice cream.
What You Need
- 2 cups raw whole milk
- 1 cup heavy cream
- 3/4 cup granulated sugar
- 1 vanilla bean, split and scraped (or 2 teaspoons vanilla extract)
- Pinch of salt
⏱️ Time: 20 minutes prep, 5-7 hours freezing🍽️ Yields: 4-6 servings
How to Make It
Step 1: Mix the Raw Milk Ice Cream Base
In a large bowl, combine the raw whole milk, heavy cream, and granulated sugar. If using a vanilla bean, scrape the seeds into the mixture and add the pod as well. Stir until the sugar is fully dissolved. If using vanilla extract, add it now. Add a pinch of salt to balance the flavors.
Step 2: Chill the Mixture Thoroughly
Cover the bowl and place the raw milk ice cream mixture in the refrigerator. Let it chill for at least 2 hours, or until it is very cold. Make sure to remove the vanilla bean pod before you move to the next step.
Step 3: Churn and Set Your Raw Milk Ice Cream
Pour the cold mixture into your ice cream maker and churn according to its instructions, usually about 20-25 minutes. Once it has a soft, frozen consistency, transfer the raw milk ice cream to an airtight container. Freeze for another 3-5 hours to firm up before serving.
📝 Final Note
Since this recipe uses raw milk, enjoy it fresh within a few days for the best quality and safety. Always check local regulations and safety guidelines for raw milk consumption.