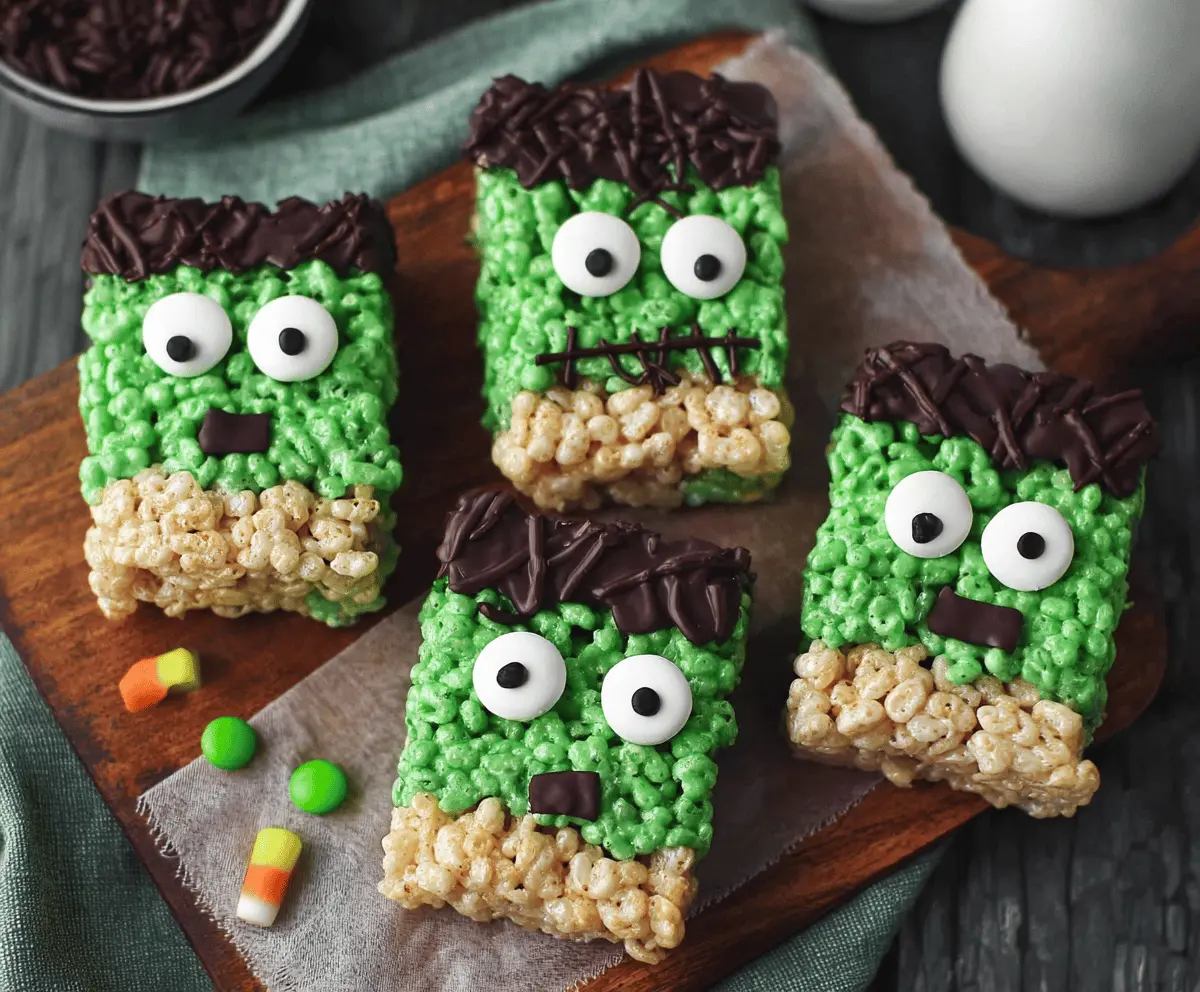
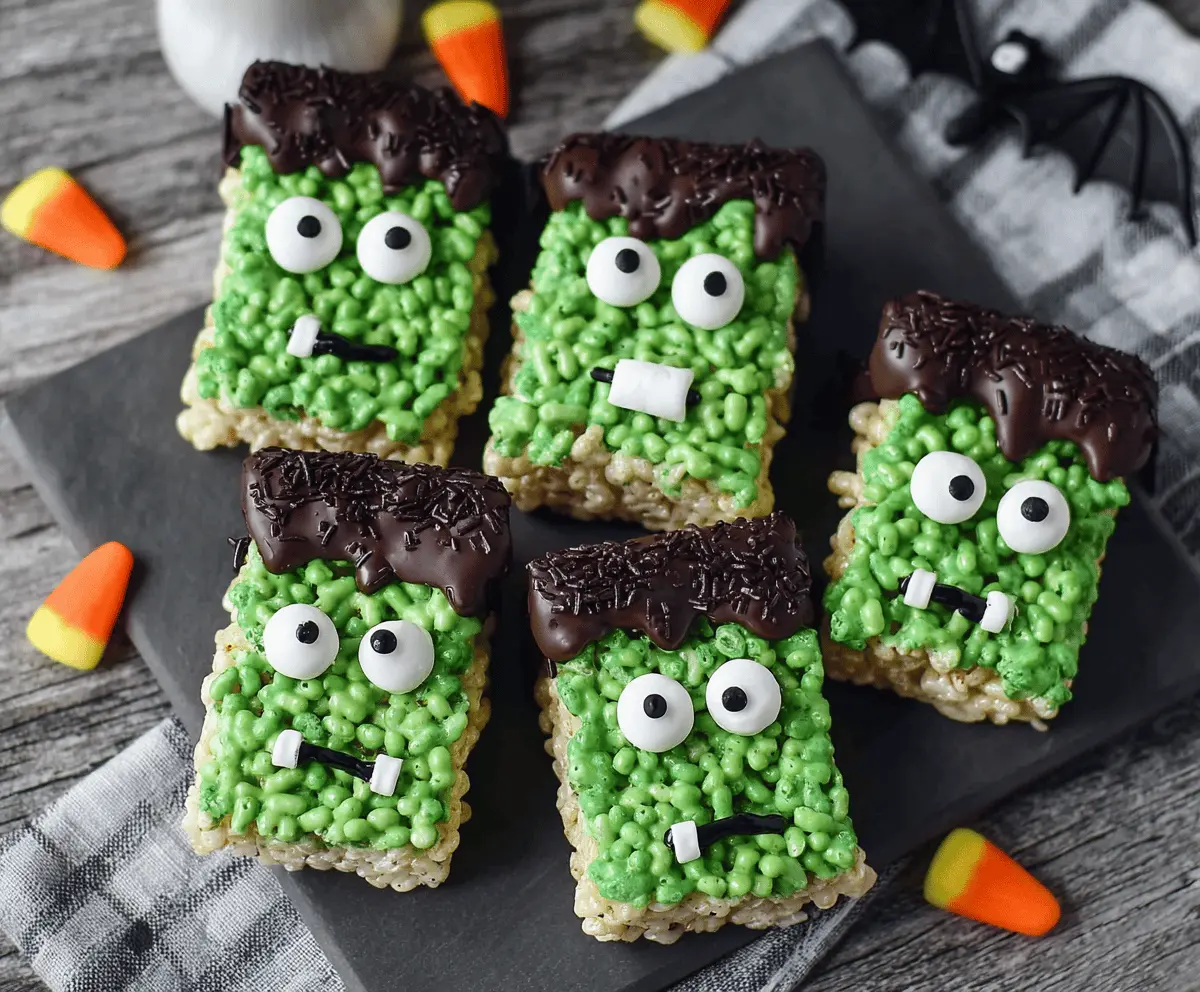
These fun Frankenstein Rice Krispie Treats are perfect for Halloween! With bright green coloring and cute little faces, they’re as tasty as they are spooky.
I love making these with my kids; we have a blast decorating them together! Just be careful – you might find yourself munching on more than one! 😂
They’re super easy to whip up, just mix, shape, and decorate. Perfect for parties or enjoying a treat at home with family. Yum!
Key Ingredients & Substitutions
Rice Krispies Cereal: This is the base for the treats. If you’re in a pinch, you can use any puffed rice cereal. Just make sure it’s crispy enough to hold its shape!
Mini Marshmallows: They give the treats their sweetness. If you have larger marshmallows, you can chop them into smaller pieces. You could also use a marshmallow fluff substitute in a pinch.
Green Food Coloring: This gives it that spooky Frankenstein look! If you don’t have green food coloring, you could blend spirulina powder (just a tiny bit) for a natural color or skip it entirely for a ghostly version.
Chocolate for Hair: I love using semisweet chocolate for its rich flavor. If you prefer white chocolate or need a dairy-free option, you can use dairy-free chocolate chips or melting wafers instead.
Candy Eyeballs: These add a fun element to your treats. If you can’t find them, mini chocolate chips or round candies would work too. You could even draw eyes with icing!
How Do I Get My Rice Krispie Treats to Set Firmly?
The key to perfectly set Rice Krispie treats is pressing them into the pan firmly without overworking them. Here’s how:
- Once mixed, immediately transfer the mixture to your greased pan.
- Using a buttered spatula or your hand (coated in butter), press down gently but firmly to make sure it’s packed tightly.
- Let them cool for at least 30 minutes. If you’re in a hurry, popping them in the fridge for a bit works, just don’t freeze them!
By following these tips, you’ll end up with treats that hold their shape and are easy to decorate. Have fun making these spooky snacks! 🎃
How to Make Frankenstein Rice Krispie Treats
Ingredients You’ll Need:
- 6 cups Rice Krispies cereal
- 3 tablespoons unsalted butter
- 1 package (10 oz) mini marshmallows (about 4 cups)
- Green food coloring
- 6 oz semisweet or dark chocolate (for hair)
- Black sprinkles (for hair texture)
- Candy eyeballs (about 10-12)
- Black licorice strings or black decorating gel (for mouth and stitches)
- Mini marshmallows (cut into small pieces for teeth)
- Nonstick spray or butter (for greasing the pan)
How Much Time Will You Need?
This fun recipe takes about 15 minutes to prepare and roughly 30 minutes to cool and set. So, in about 45 minutes, you can have these spooky treats ready to impress your friends and family!
Step-by-Step Instructions:
1. Prepare the Baking Pan:
Start by greasing a 9×13-inch baking pan lightly with nonstick spray or butter. This will prevent the Rice Krispie treats from sticking to the pan, making it easier to lift them out later.
2. Melt the Butter:
In a large pot, melt the butter over low heat. Let it melt slowly to avoid burning, stirring occasionally for a smooth finish.
3. Mix in the Marshmallows:
Add the mini marshmallows to the pot. Stir continuously until they are fully melted and have a smooth texture. This is where the magic begins!
4. Add Color:
Remove the pot from heat and add green food coloring a few drops at a time. Stir it in until you reach a vibrant green color. This is what will give your treats their spooky Frankenstein appearance!
5. Incorporate the Rice Krispies:
Immediately pour the Rice Krispies cereal into the mixture. Gently stir until all the cereal is evenly coated with that delicious green marshmallow mix.
6. Press the Mixture into the Pan:
Transfer the mixture to the prepared baking pan. Using a buttered spatula or some wax paper, press it firmly and evenly into the pan. Allow it to cool and set completely for about 30 minutes.
7. Cut into Shapes:
Once set, carefully lift out the Rice Krispie slab from the pan and cut it into rectangles. These will be your mini Frankenstein faces!
8. Melt the Chocolate:
Melt the chocolate in a microwave-safe bowl in 30-second intervals, stirring in between until smooth and glossy.
9. Create the Hair:
Dip or spread the top edge of each Rice Krispie rectangle with the melted chocolate for “hair.” While the chocolate is still wet, sprinkle black sprinkles on top for extra texture. Let it set for a bit.
10. Decorate with Eyeballs:
Place candy eyeballs on each Rice Krispie rectangle to give them that fun, spooky look. Be creative with their placement!
11. Add Teeth:
Use small pieces of mini marshmallows as teeth. Attach them with a little melted chocolate or edible glue for extra hold.
12. Final Touches:
Use black licorice strings or black decorating gel to draw mouths and add stitch details on the faces. This is where you can get really creative!
13. Let Everything Set:
Allow all the decorations to set before serving. This ensures everything stays in place when you bite into these deliciously spooky treats.
Enjoy your spooky and delicious Frankenstein Rice Krispie Treats! They’re perfect for Halloween parties or any fun gathering!
Can I Use Different Cereal for This Recipe?
Yes! While Rice Krispies are traditional, you can use any puffed or crispy rice cereal. Just ensure that it has a light and crispy texture for the best results.
How Do I Store Leftover Rice Krispie Treats?
Store any leftovers in an airtight container at room temperature for up to 3 days. If they become stale, you can revive them by briefly warming in the microwave!
Can I Make These Treats Ahead of Time?
Absolutely! You can make the Rice Krispie treats a day or two in advance. Just keep them in an airtight container. If you want to decorate them closer to when you plan to serve them, that’s okay too!
Can I Customize the Decorations?
Definitely! Feel free to get creative with the decorations. You can use different colored sprinkles, candies, or edible markers for unique facial expressions. Have fun with it!