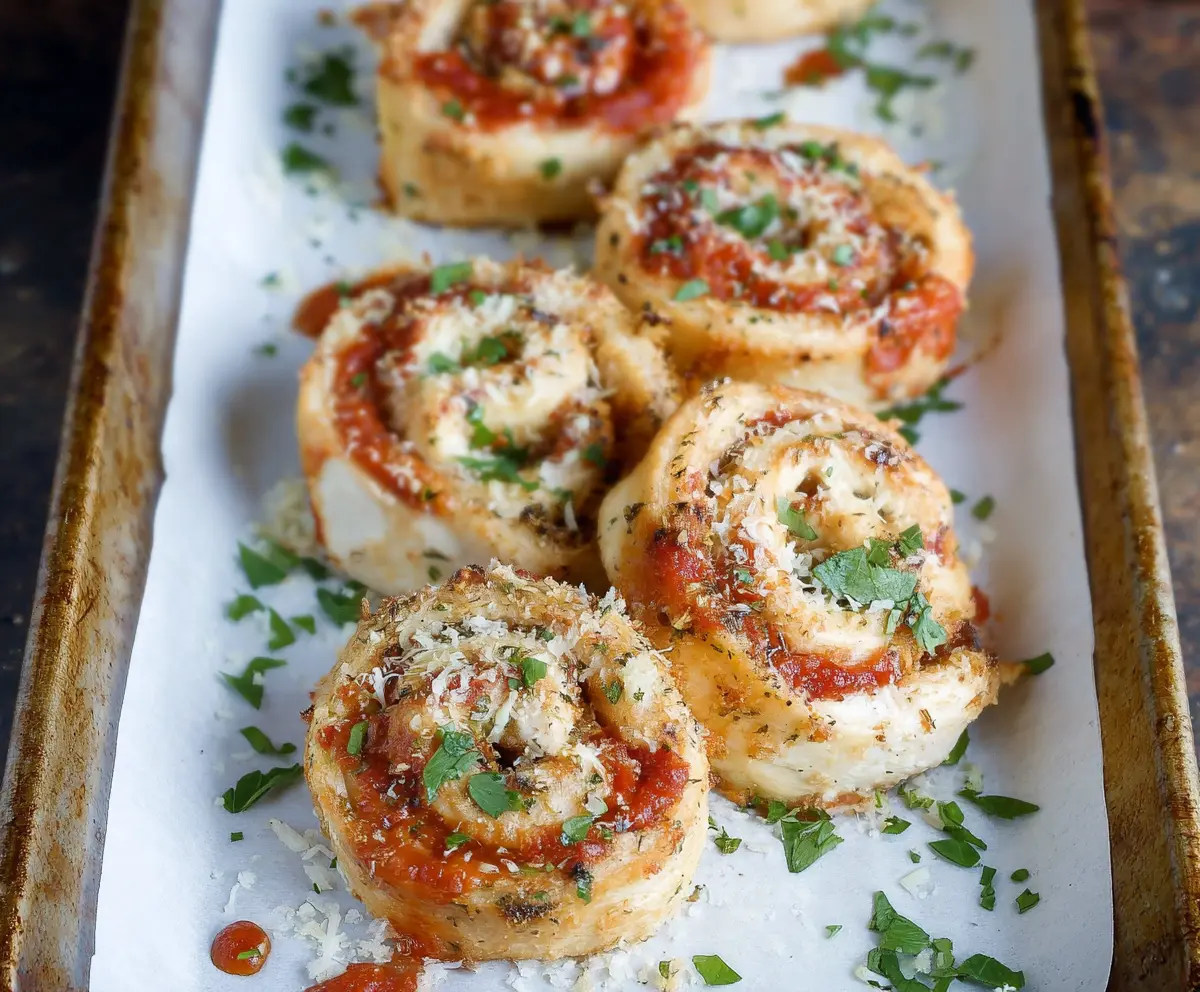
Garlic Parmesan Chicken Pinwheels are a tasty treat that wraps juicy chicken with delicious garlic and cheesy goodness. Each bite is bursting with flavor, perfect for snacks or meals!
These pinwheels are super fun to make. I love rolling them up and slicing them like little sushi! They’re great for parties or just a cozy night at home. Yum! 😋
Key Ingredients & Substitutions
Chicken breasts: Use large, boneless, skinless chicken breasts for easy rolling. If you prefer, thinly sliced chicken cutlets can also work well. They cook faster and are super tender!
Cheeses: I recommend a mix of mozzarella and Parmesan for that perfect creamy texture. If you can’t find these cheeses, try using provolone or even a dairy-free cheese if you’re looking for a vegan option.
Marinara sauce: This adds a nice tang and moisture. If you’re not a fan, pesto or a creamy Alfredo sauce can be delicious alternatives to give a different twist!
Italian seasoning: While store-bought is fine, creating your own mix with dried oregano, thyme, and basil gives a fresher taste. You could even toss in some red pepper flakes for a kick!
How Do I Roll and Slice the Chicken Without Falling Apart?
Rolling the chicken tightly is key to keeping the filling intact. Here are some tips:
- Make sure your chicken is pounded evenly to prevent tearing when rolling.
- Start rolling from the long edge. This gives you a nice tight log.
- Seal the ends by tucking them in slightly as you roll, which helps the filling stay inside.
- Slice gently with a sharp knife to avoid squishing the pinwheels. A serrated knife can work great here!
Following these steps will help ensure your pinwheels turn out neat and delicious every time!

Garlic Parmesan Chicken Pinwheels
Ingredients You’ll Need:
For the Chicken:
- 2 large boneless, skinless chicken breasts
For the Sauce and Toppings:
- 1 cup marinara sauce or pizza sauce
- 1 cup shredded mozzarella cheese
- 1/2 cup grated Parmesan cheese
- 2 cloves garlic, minced
- 1 teaspoon Italian seasoning (or a mix of dried oregano, basil, and thyme)
- 1/4 cup chopped fresh parsley (plus extra for garnish)
- Salt and freshly ground black pepper, to taste
- 1 tablespoon olive oil
For Preparation:
- Parchment paper or plastic wrap (for rolling)
How Much Time Will You Need?
This recipe takes about 15-20 minutes to prep and about 25-30 minutes to bake. That means you can be enjoying these delicious pinwheels in about an hour!
Step-by-Step Instructions:
1. Prepare the Oven and Baking Sheet:
Start by preheating your oven to 375°F (190°C). This is crucial, so the chicken cooks perfectly. While it heats, line a baking sheet with parchment paper. This makes cleanup a breeze!
2. Flatten the Chicken Breasts:
Take each chicken breast and butterfly it by slicing it almost all the way through horizontally, then open it like a book. Then, place the chicken between two large pieces of plastic wrap or parchment paper. Use a meat mallet or rolling pin to pound it to about 1/4 inch thick. This helps ensure even cooking and makes rolling easier!
3. Season the Chicken:
Sprinkle both sides of the flattened chicken with salt, pepper, and Italian seasoning. This adds flavor to the chicken itself before you add the fillings.
4. Add Garlic and Sauce:
Evenly spread the minced garlic across the chicken. Then, pour the marinara sauce over the top, spreading it nicely to ensure every bite has that tasty flavor.
5. Layer on the Cheese and Herbs:
Now it’s time for the magic! Sprinkle shredded mozzarella, grated Parmesan, and chopped parsley evenly over the sauced chicken. These ingredients make it wonderfully cheesy and give it that Italian flair!
6. Roll it Up:
Starting from one of the long edges, carefully roll the chicken tightly into a log-like shape, making sure to encase all the delicious fillings inside. The tighter you can roll it, the better it holds together!
7. Slice into Pinwheels:
With a sharp knife, slice each log into 1 to 1½-inch pieces, which will form the pinwheels. You should get about 4-5 pinwheels from each chicken breast.
8. Arrange on a Baking Sheet:
Place the pinwheels upright on your lined baking sheet. Make sure they are spaced apart so they can bake evenly.
9. Drizzle with Olive Oil:
Lightly drizzle olive oil over the top of each pinwheel. This will help them crisp up and add a nice flavor!
10. Bake:
Slide the baking sheet into your preheated oven and let bake for 25-30 minutes, or until the chicken is fully cooked and the cheese is bubbling. Keep an eye on them!
11. Optional Broiling:
If you want a nice golden color on top, you can broil the pinwheels for an additional 2-3 minutes. Just be sure to watch carefully so they don’t burn!
12. Garnish and Serve:
Before serving, sprinkle some extra Parmesan cheese and fresh parsley on top for an extra touch. Enjoy these savory, cheesy Garlic Parmesan Chicken Pinwheels warm, whether as a fun appetizer, lunch, or delightful dinner treat!
Can I Use Chicken Thighs Instead of Breasts?
Yes! Chicken thighs are delicious and add a richer flavor to the pinwheels. Just make sure to remove the skin and bones before flattening and rolling.
How to Store Leftover Pinwheels?
Store any leftovers in an airtight container in the fridge for up to 3 days. To reheat, simply warm them in the oven at 350°F (175°C) for about 10-15 minutes until heated through.
Can I Freeze These Pinwheels?
Absolutely! Unbaked pinwheels can be frozen for up to 3 months. Just arrange them on a baking sheet to freeze individually, then transfer to a freezer bag. Bake them from frozen, adding an additional 5-10 minutes to the cooking time.
What Can I Serve With Garlic Parmesan Chicken Pinwheels?
These pinwheels pair wonderfully with a fresh salad, garlic bread, or even a side of pasta to soak up the delicious flavors. Enjoy them with marinara for dipping too!