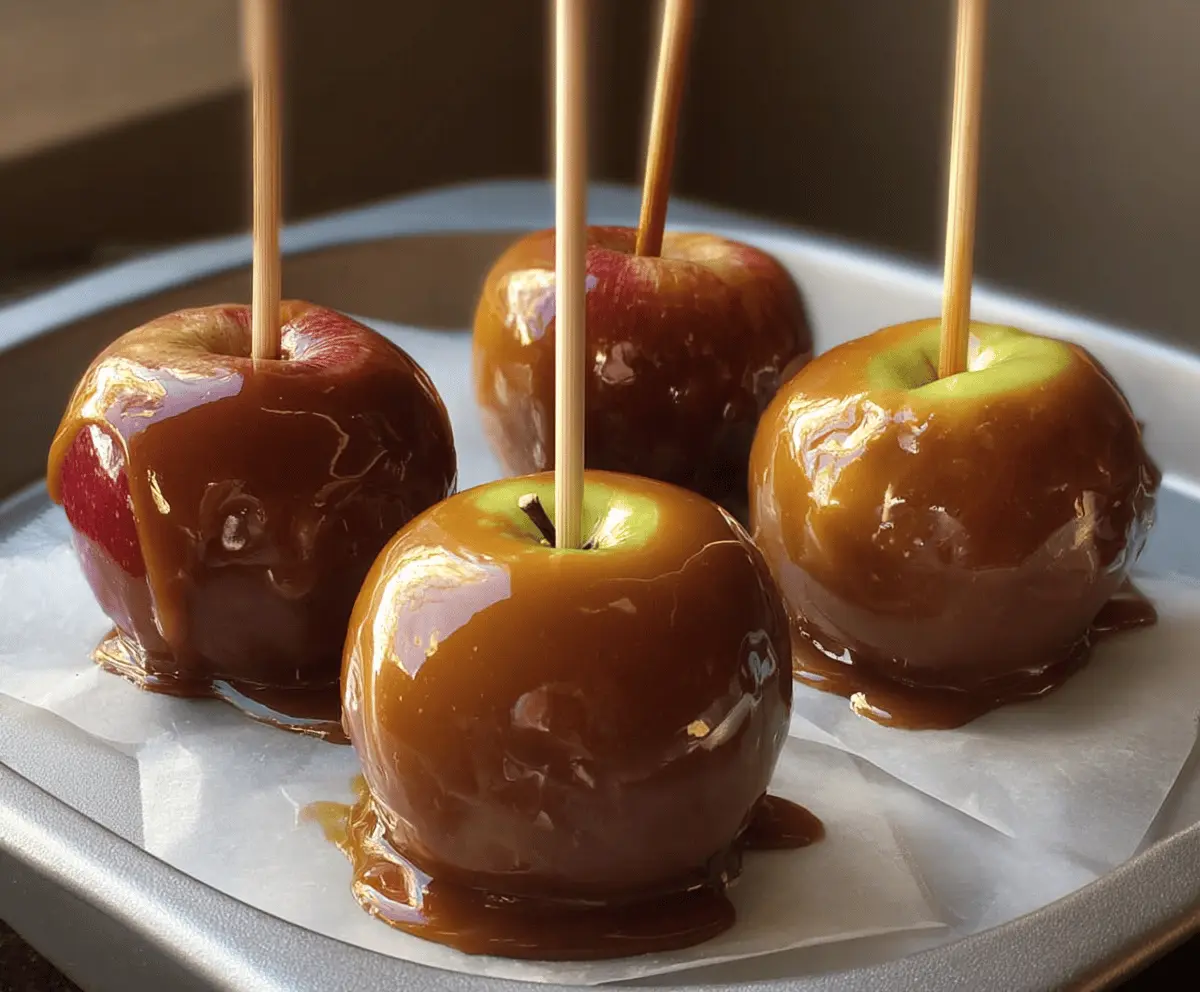
These gluten-free caramel apples are a fun treat that’s perfect for any occasion! Crisp apples are coated in rich, sticky caramel—what’s not to love?
Making these is a blast! Just stick a popstick in the apples, dip them in melted caramel and let them cool. I can’t resist sneaking bites off the apples when they’re done! 🍏
Key Ingredients & Substitutions
Apples: Granny Smith apples are great for their tartness, which balances the sweetness of the caramel. You can also use Fuji, Honeycrisp, or any firm apple. Just make sure they’re fresh for the best crunch!
Granulated Sugar: This is crucial for creating the caramel. If you’re looking for a less processed option, coconut sugar can work, but the color and taste will change slightly.
Butter: Unsalted butter gives the caramel richness. For a dairy-free version, use a plant-based butter substitute. Just ensure it’s suitable for cooking.
Heavy Cream: This adds creaminess to the caramel. Coconut cream can be a great substitute for a dairy-free option, bringing its own unique flavor.
How Do I Make Sure My Caramel Doesn’t Burn?
Caramel can go from perfect to burnt very quickly, so keep an eye on it! Here’s how to manage that:
- Use a heavy-bottomed saucepan to distribute the heat evenly.
- After stirring the sugar and water until dissolved, stop stirring until it boils. This helps prevent crystallization.
- Watch the color closely. As soon as it turns deep amber, take it off the heat to stop the cooking process.
- Pour in the cream carefully to avoid splatters, and keep stirring to combine. This is crucial for a smooth caramel.
With these tips and tricks, you’ll make delicious caramel apples that everyone can enjoy! Have fun with this recipe! 🍏
Gluten Free Caramel Apples
Ingredients You’ll Need:
For the Caramel Apples:
- 5 medium tart apples (Granny Smith or your choice)
- 1 cup (200g) granulated sugar
- 1/4 cup (60ml) water
- 1/2 cup (120ml) heavy cream, warmed
- 4 tablespoons (56g) unsalted butter, cut into pieces
- 1 teaspoon pure vanilla extract
- 1/4 teaspoon salt
- Chopped nuts for topping (optional, ensure gluten-free)
- Wooden sticks or popsicle sticks
How Much Time Will You Need?
This recipe takes about 15 minutes of prep time and about 30 minutes to set. You’ll spend a little time preparing the caramel, but the rest is just letting it cool and enjoy the deliciousness!
Step-by-Step Instructions:
1. Prepare the Apples:
Start by washing the apples thoroughly under cold water and drying them completely with a clean towel. Remove the stems from each apple and insert a wooden stick firmly into the top center. This will be your handle!
2. Line Your Tray:
Take a baking sheet or tray and line it with parchment paper. This will help prevent the caramel apples from sticking, making it easier to take them off later!
3. Make the Caramel:
In a medium heavy-bottomed saucepan, combine the granulated sugar and water over medium heat. Stir gently until the sugar is fully dissolved. Once dissolved, increase the heat to high and let the mixture boil without stirring. Watch carefully as it cooks and turns a deep amber color, which should take about 8-10 minutes. This is important, so don’t wander off!
4. Add the Cream:
Once the caramel reaches that beautiful deep amber color, remove the pan from the heat. Carefully whisk in the warm heavy cream—watch out, it will bubble up vigorously! Then stir in the butter, vanilla extract, and salt until everything is smooth and combined.
5. Coat the Apples:
Let the caramel cool for a couple of minutes until it thickens slightly but is still pourable. Dip each apple into the warm caramel, making sure to tilt the pan as needed for an even coat. Allow any excess caramel to drip back into the pan.
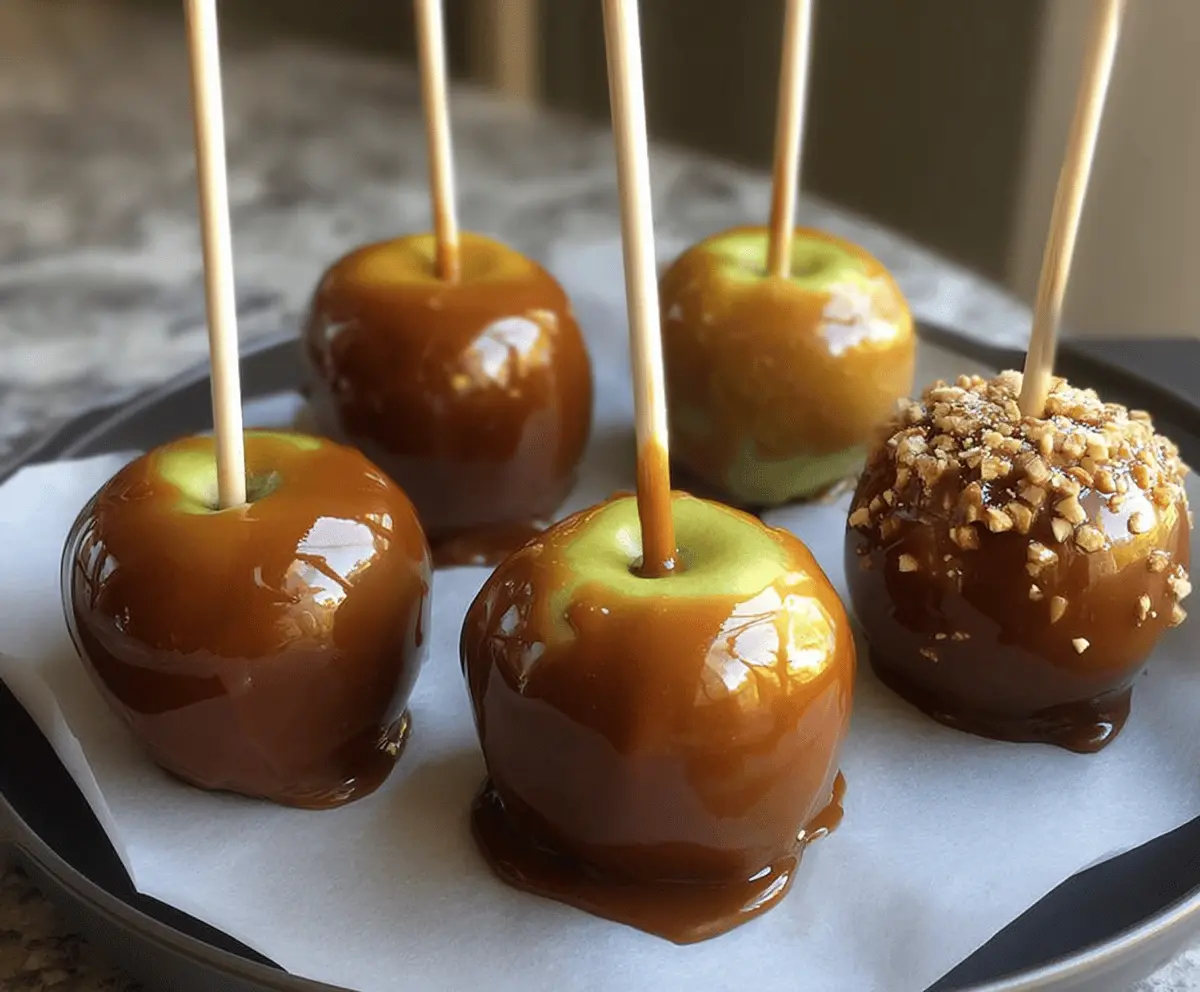
6. Add Toppings:
If you’re feeling festive, now’s the time to sprinkle or roll the caramel-coated apples in chopped nuts for an extra crunch. But you can keep them plain if you prefer!
7. Set the Caramel Apples:
Carefully place the caramel apples onto the parchment-lined tray. Let the caramel set at room temperature for at least 30 minutes. If you want them to set faster, pop them in the refrigerator for a bit.
8. Enjoy!
Once the caramel is set, it’s time to enjoy your delicious gluten-free caramel apples! Perfect for sharing or for a tasty solo treat. Enjoy the sweet treats!
These apples are a wonderful way to celebrate any occasion without worrying about gluten. Happy indulging! 🍏
Can I Use Different Types of Apples?
Absolutely! While Granny Smith apples are classic for their tartness, you can use any firm variety like Fuji, Honeycrisp, or Braeburn. Choose apples that are fresh for the best crunch and flavor.
How Do I Store Leftover Caramel Apples?
Store leftover caramel apples in an airtight container in the refrigerator for up to 3 days. To keep the apples looking nice and prevent them from getting too sticky, you can place them on parchment paper within the container.
What Should I Do If the Caramel is Too Thick?
If your caramel thickens too much while cooling, just gently reheat it over low heat. Stir in a splash of heavy cream to loosen it up if needed, making sure it’s smooth before dipping your apples again.
Can I Make These Caramel Apples Dairy-Free?
Yes! To make dairy-free caramel apples, substitute the unsalted butter with a plant-based butter and use coconut cream or another non-dairy cream alternative for the heavy cream. Just check labels to ensure everything is gluten-free!