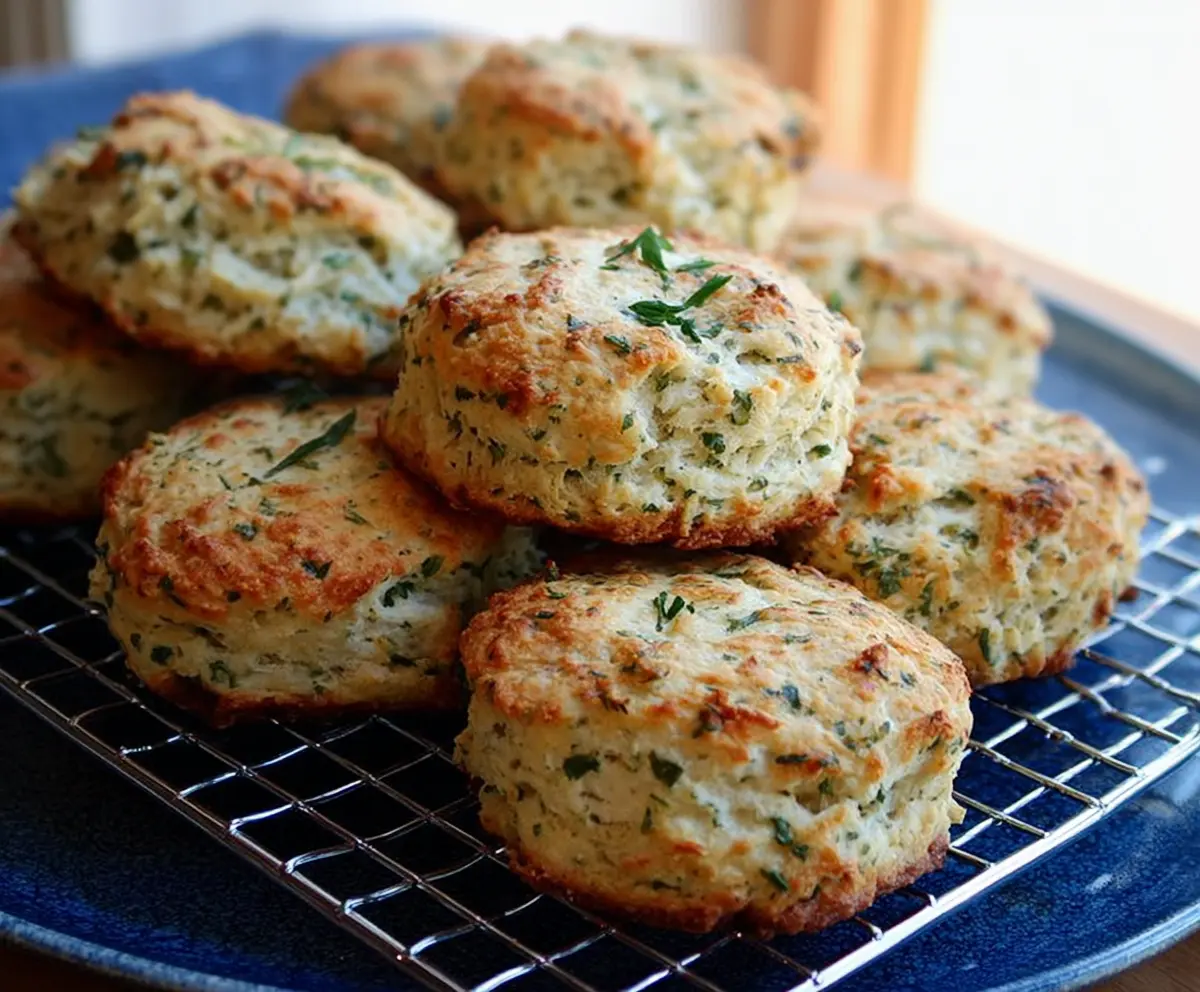
These herbed cottage cheese biscuits are fluffy and full of flavor! With a mix of fresh herbs and creamy cottage cheese, they are perfect for breakfast or any snack time.
They’re so easy to make, and the smell while baking is heavenly! I love having them warm with a little butter—just makes everything better, doesn’t it? 😋
Key Ingredients & Substitutions
All-purpose Flour: This forms the base of the biscuits. You could use whole wheat flour for a healthier option, but the texture might be a tad denser. I usually stick to all-purpose for that classic fluffy biscuit.
Cottage Cheese: Small curd is best for a smooth texture. If you’re avoiding dairy, use a dairy-free alternative like tofu blended until creamy. It won’t have the same flavor, but it works in a pinch!
Fresh Herbs: Parsley, chives, and thyme add wonderful flavor. If you don’t have fresh herbs, feel free to use dried herbs, but reduce the amount to about 1 teaspoon, as dried herbs are more potent.
Butter: Cold unsalted butter is key for flaky layers. You can substitute with vegan butter for a dairy-free version. I find using butter gives the best flavor, but coconut oil can work too!
How Do I Get My Biscuits Extra Fluffy?
Getting those biscuits nice and fluffy relies on a couple of techniques. First, keep your butter cold. This helps create pockets of air in the biscuits as they bake which makes them rise beautifully.
- After mixing the butter into the flour, avoid overmixing the dough. Just fold until you see no dry flour.
- When shaping the biscuits, pat the dough gently instead of rolling it out. This avoids squishing the air you’ve built up.
- Lastly, no twisting when cutting out biscuits; pressing straight down keeps those layers intact.
Following these tips will give you delightful biscuits that are soft on the inside and slightly crispy on the outside! Enjoy baking!
Herbed Cottage Cheese Biscuits
Ingredients You’ll Need:
- 2 cups all-purpose flour
- 1 tablespoon baking powder
- 1 teaspoon salt
- 1/2 teaspoon baking soda
- 1 cup cottage cheese (small curd preferred)
- 1/2 cup unsalted butter, cold and cut into small pieces
- 2 large eggs
- 1/2 cup buttermilk (plus extra if needed)
- 2–3 tablespoons fresh herbs, finely chopped (such as parsley, chives, thyme)
- Optional: Additional butter for brushing top after baking
How Much Time Will You Need?
Preparation will take about 15 minutes, and baking will take around 12–15 minutes. In total, you should set aside about 30 minutes to have these delicious biscuits ready to enjoy!
Step-by-Step Instructions:
1. Preheat the Oven:
First, let’s get that oven going! Preheat it to 425°F (220°C). Prepare a baking sheet by lining it with parchment paper or lightly greasing it. This will help prevent the biscuits from sticking.
2. Mix the Dry Ingredients:
In a large bowl, combine the all-purpose flour, baking powder, salt, and baking soda. Whisk them together so everything is mixed well and fluffy.
3. Incorporate the Butter:
Add the cold butter pieces into the flour mixture. Using a pastry cutter or your fingers, quickly mix the butter into the flour until it looks like coarse crumbs with small pea-sized bits of butter still visible. This will keep the biscuits flaky!
4. Combine the Wet Ingredients:
In a separate bowl, mix together the cottage cheese, eggs, buttermilk, and chopped fresh herbs. This adds flavor and moisture to the biscuits.
5. Combine Wet and Dry Ingredients:
Now, gently fold the wet mixture into the dry ingredients. Mix just until combined; the dough will be somewhat sticky. If it feels too dry, don’t hesitate to add in a bit of buttermilk—just a tablespoon at a time—until it comes together.
6. Shape the Dough:
Turn the dough out onto a lightly floured surface. With your hands, gently pat it into about a 1-inch thickness. Remember—don’t work it too much if you want those biscuits to be nice and fluffy!
7. Cut Out the Biscuits:
Using a biscuit cutter or a glass that’s about 2 to 2¼ inches in diameter, cut out your biscuits. Be sure to press straight down without twisting, to keep their shape intact for baking.
8. Arrange on Baking Sheet:
Place the biscuits on your prepared baking sheet, spacing them about 1 inch apart. If you have scraps, gently gather them together, press, and cut out more biscuits.
9. Bake and Watch Them Rise!
Bake in your preheated oven for 12–15 minutes, or until the tops are golden brown and looking deliciously inviting!
10. Add a Butter Finish (Optional):
If you like, brush warm biscuits with melted butter as soon as they come out of the oven. This adds a lovely flavor and shine!
11. Serve and Enjoy:
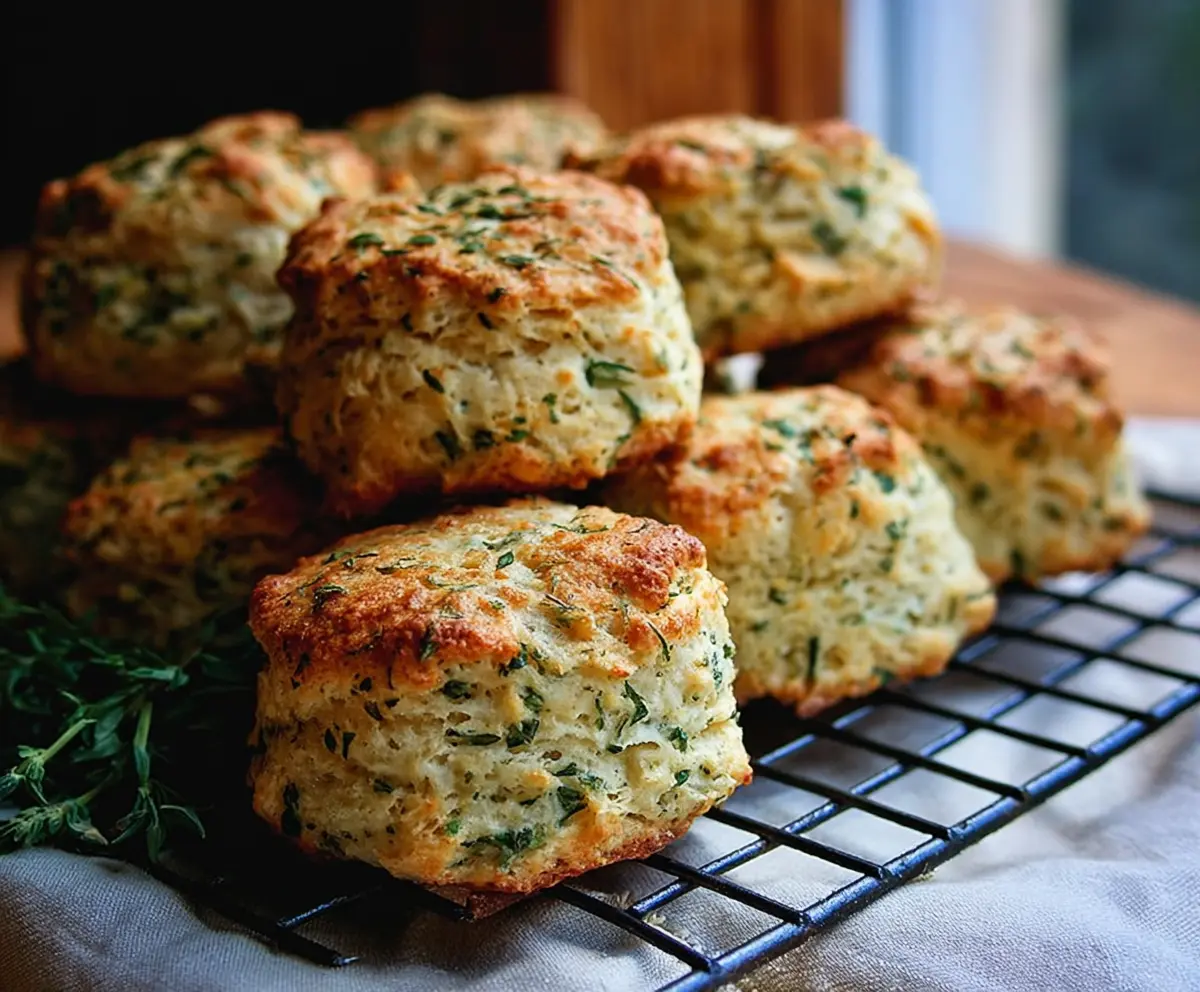
These herbed cottage cheese biscuits are best served warm. They pair beautifully with butter, honey, or any savory spreads you love. Enjoy with friends and family!
With a tender texture and herb-speckled, cheesy goodness, these biscuits are sure to impress anyone lucky enough to have one! Happy baking!
Can I Use Low-Fat Cottage Cheese in This Recipe?
Absolutely! Low-fat cottage cheese will work, but keep in mind that the texture might be slightly less creamy than using full-fat. If you’re looking for a lighter option, this is a great choice!
Can I Make These Biscuits Vegan?
Yes, you can! Substitute the eggs with flax eggs (1 tablespoon ground flaxseed mixed with 2.5 tablespoons water per egg, let sit for about 5 minutes) and use a dairy-free butter and a non-dairy yogurt or a cashew cream instead of cottage cheese. Your biscuits may have a slightly different texture but will remain delicious!
How Should I Store the Leftovers?
Store leftover biscuits in an airtight container at room temperature for up to 2 days. If you want to keep them longer, freeze them wrapped tightly in plastic wrap or in a freezer bag for up to 2 months. Just thaw and warm them in the oven before serving!
What Can I Serve With These Biscuits?
These biscuits are versatile! They can be served as a side with soups, salads, or roasted veggies, or you can enjoy them with honey or butter for breakfast. They also make a great base for breakfast sandwiches!