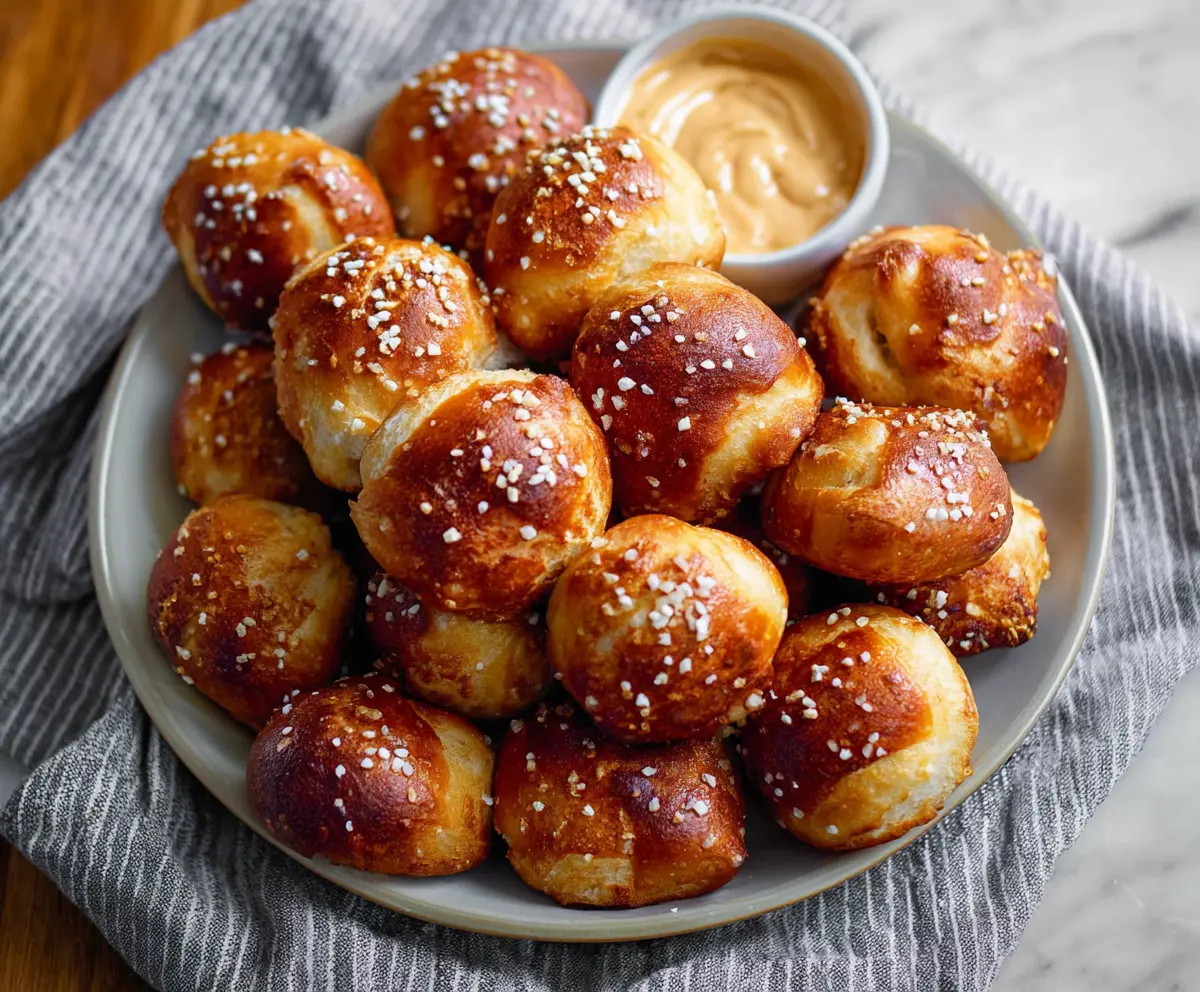
These Homemade Soft Pretzel Bites are warm, chewy, and perfect for a snack! They’re simple to make and only need a few ingredients, including dough and salt.
Get ready to enjoy a fun treat! I love dipping mine in mustard or cheese sauce. Just be careful—your friends might try to steal them right off your plate! 😂
Key Ingredients & Substitutions
Warm Water: The ideal temperature for activating yeast is around 110°F (45°C). If you don’t have a thermometer, it should feel warm but not hot to your touch. Cold water won’t activate the yeast properly, and hot water can kill it.
Active Dry Yeast: If you don’t have active dry yeast, you can use instant yeast instead. Just add it directly to the flour mixture without proofing in water first. Both types of yeast will give great results.
All-Purpose Flour: This is the main ingredient for structure. You can substitute with bread flour for a chewier texture. If you want a gluten-free option, look for a 1:1 gluten-free baking flour blend.
Baking Soda: This ingredient is key for that classic pretzel flavor and dark brown color. There’s no substitute, so make sure to have it on hand!
Coarse Sea Salt: This adds a nice crunch on top of the pretzel bites. If you don’t have coarse sea salt, you can use regular table salt but sprinkle lightly to avoid over-salting.
How Do I Achieve That Perfect Pretzel Texture?
The secret to those soft and chewy pretzel bites lies in the boiling step. Boiling in a baking soda solution gives the pretzels their unique flavor and dark color. Follow these tips for success:
- Bring the water and baking soda to a rolling boil. This helps the pretzel bites to puff up nicely.
- Work with small batches to avoid overcrowding the pot. This ensures even cooking.
- Boil each bite for exactly 30 seconds. Overcooking can make them tough, while undercooking can lead to a doughy texture.
By mastering these steps, your pretzel bites will turn out just right! Happy baking!

How to Make Homemade Soft Pretzel Bites
Ingredients You’ll Need:
For the Dough:
- 1 1/2 cups warm water (110°F/45°C)
- 1 packet active dry yeast (2 1/4 teaspoons)
- 1 tablespoon granulated sugar
- 4 cups all-purpose flour
- 1 teaspoon salt
- 4 tablespoons unsalted butter, melted
For the Boiling Solution:
- 10 cups water
- 2/3 cup baking soda
For Topping:
- Coarse sea salt, for sprinkling
- 1 egg yolk, beaten with 1 tablespoon water (for egg wash)
How Much Time Will You Need?
This recipe takes about 20 minutes to prepare and about 15 minutes to bake. Additionally, you’ll need about 1 hour for the dough to rise. Overall, you can expect to spend about 1 hour and 35 minutes until your delicious pretzel bites are ready to enjoy!
Step-by-Step Instructions:
1. Prepare the Yeast Mixture:
In a large bowl, pour the warm water. Sprinkle the active dry yeast and granulated sugar on top. Give it a gentle stir and let it sit for about 5 minutes until it becomes frothy. This means your yeast is activated and ready to go!
2. Make the Dough:
Add the flour, salt, and melted butter to the frothy yeast mixture. Mix everything together until it’s combined, then knead the dough in the bowl or on a lightly floured surface for about 5–7 minutes until it’s smooth and elastic.
3. Let the Dough Rise:
Grease a bowl lightly with oil and place the dough inside. Cover the bowl with a towel or plastic wrap and find a warm spot in your kitchen. Let the dough rise for about 1 hour, or until it has doubled in size.
4. Preheat the Oven:
While the dough is rising, preheat your oven to 450°F (230°C). Also, line your baking sheets with parchment paper so the pretzel bites don’t stick.
5. Prepare the Boiling Solution:
In a large pot, bring 10 cups of water and the baking soda to a rolling boil. This step is very important for that delicious pretzel flavor!
6. Shape the Pretzel Bites:
Once the dough has risen, punch it down to release any air bubbles. Then, turn it out onto a lightly floured surface. Divide the dough into small pieces and roll each piece into bite-sized balls.
7. Boil the Dough Bites:
Using a slotted spoon, carefully drop a few dough bites into the boiling water at a time. Boil each batch for about 30 seconds. This helps them puff up and gives them that signature pretzel texture. Once boiled, remove them and place them on the prepared baking sheet.
8. Add Egg Wash and Salt:
Brush each pretzel bite with the egg wash. This will give them a beautiful golden color. Then, sprinkle coarse sea salt on top for that classic pretzel flavor.
9. Bake:
Put the baking sheets in the oven and bake for 12–15 minutes or until the pretzel bites are golden brown. Keep an eye on them to make sure they don’t over-bake!
10. Serve:
Once done, take them out of the oven and let them cool slightly. Serve warm with mustard or your favorite dipping sauce. Enjoy your homemade pretzel bites!
Happy baking!
Can I Use Whole Wheat Flour Instead of All-Purpose Flour?
Yes, you can substitute part of the all-purpose flour with whole wheat flour for a healthier option. However, it may change the texture and flavor slightly. For best results, try using a 50/50 mix of all-purpose and whole wheat flour.
What Should I Do If My Dough Doesn’t Rise?
If your dough hasn’t risen, it could be due to the water being too hot or too cold, or the yeast might be expired. Make sure your water is around 110°F (45°C) and consider checking the expiration date on your yeast. If it hasn’t worked, you may need to start with fresh yeast.
How Can I Store Leftover Pretzel Bites?
Store any leftover pretzel bites in an airtight container at room temperature for up to 2 days. For longer storage, you can freeze them in a freezer bag for up to 3 months. Reheat in the oven or toaster oven to restore their softness!
Can I Add Cheese to My Pretzel Bites?
Absolutely! You can add cheese by placing small cubes of cheese inside the dough bites before boiling them. Alternatively, serve them with a cheese dip on the side for delicious flavor!