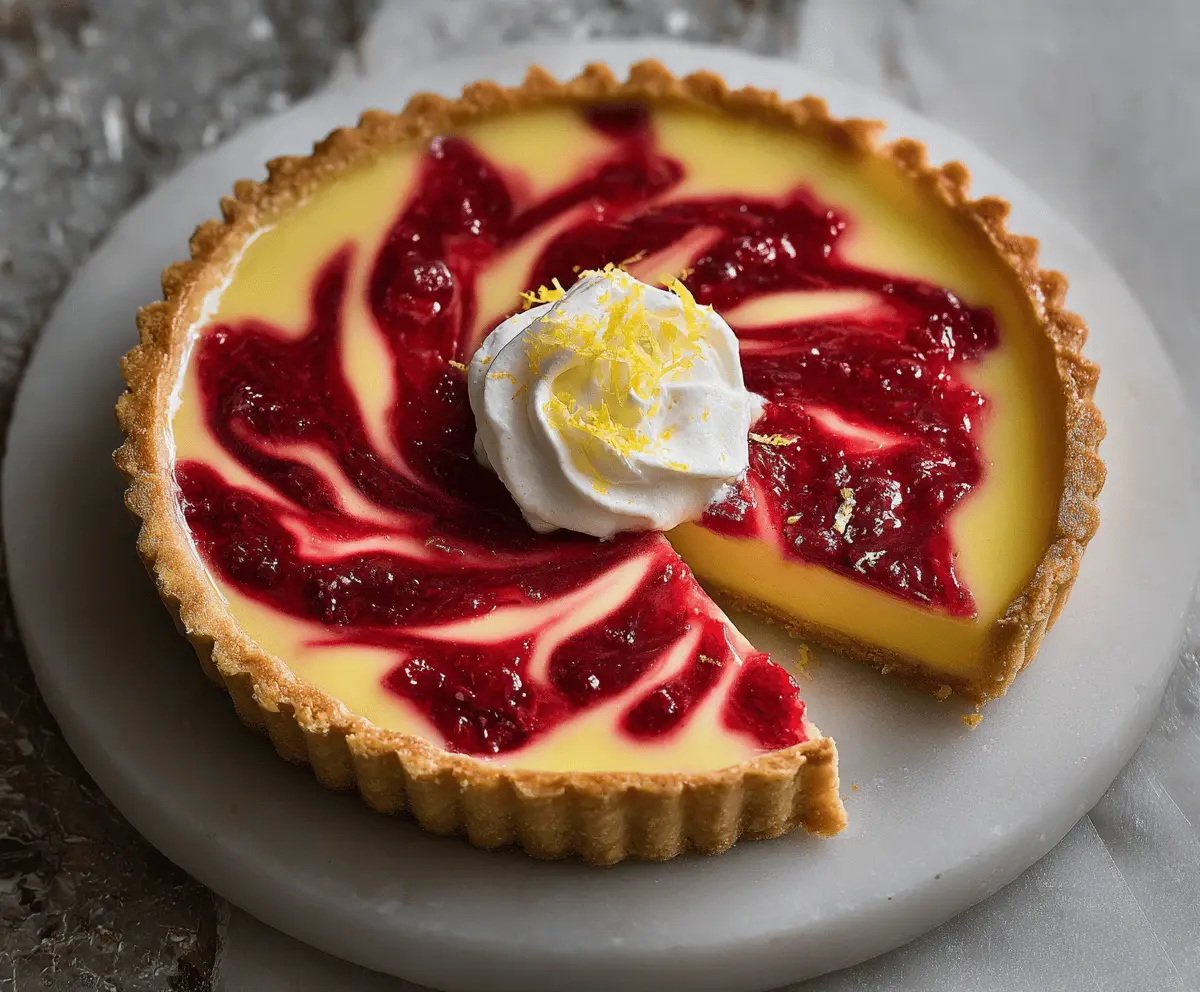
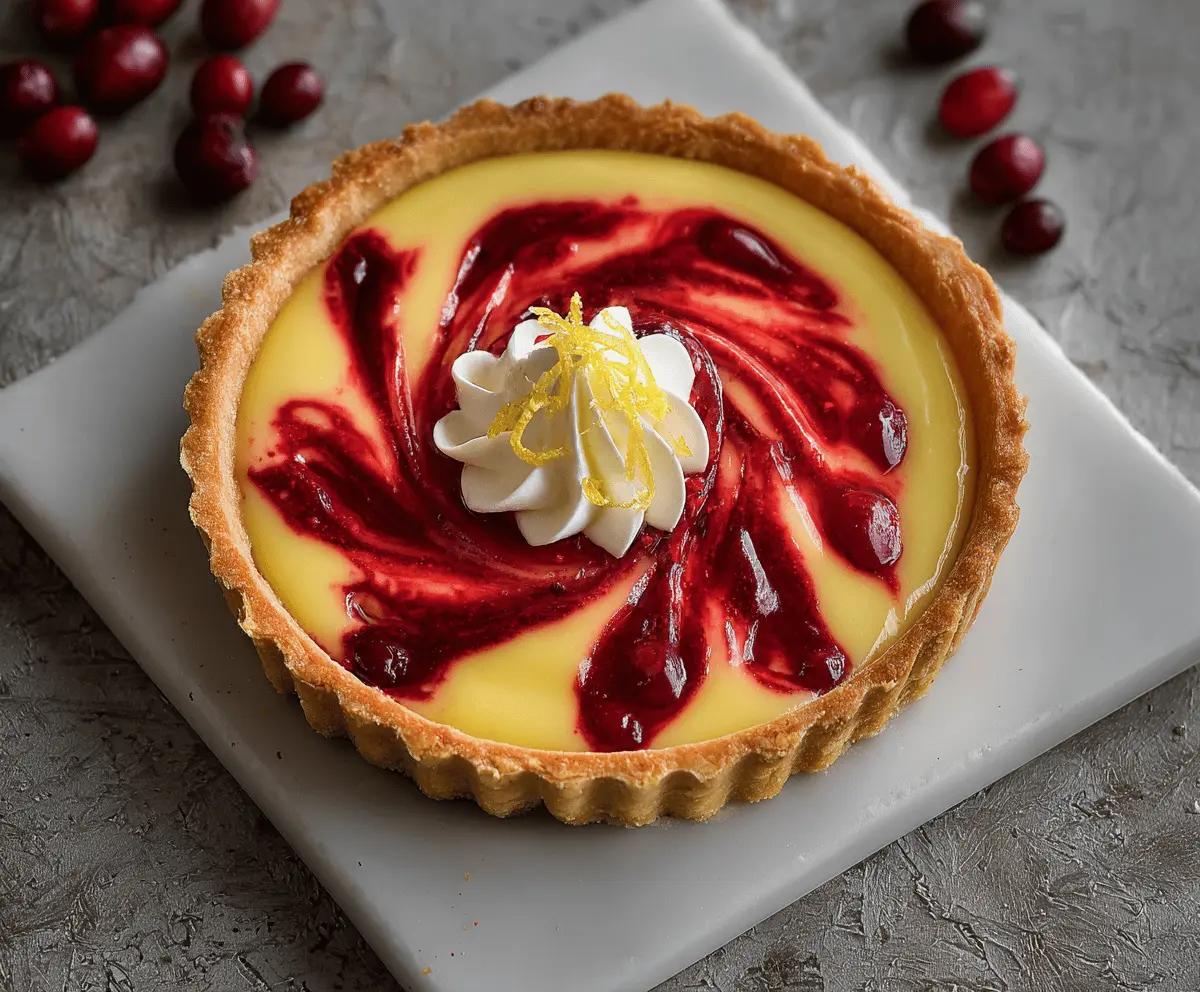
This Lemon Cranberry Tart is a zesty treat with a crunchy crust and a sweet-tart filling. The bright flavors of lemon and cranberry make it a refreshing dessert everyone will love!
Making this tart is a fun adventure! I enjoy how the bright colors pop on the plate. It’s perfect for gatherings or just a special day at home—because who doesn’t need a yummy tart now and then? 😋
Key Ingredients & Substitutions
All-purpose flour: This forms the base of the crust. If you need a gluten-free option, try using a gluten-free flour blend. I’ve used almond flour in the past for added flavor, and it works nicely too!
Unsalted butter: Make sure it’s cold for a flaky crust! If you’re dairy-free, you can substitute with coconut oil or a plant-based butter. I’ve done this, and it still comes out great!
Granulated sugar: This sweetens both the crust and filling. If you’re cutting down on sugar, consider using a sugar substitute like stevia or coconut sugar, but test the sweetness to fit your taste!
Fresh lemon juice and zest: Fresh is best for flavor! If you’re short on lemons, bottled lemon juice works, but I suggest adding a bit of extra zest to brighten the taste.
Cranberries: Fresh is ideal, but frozen cranberries work just as well! If cranberries aren’t available, you can substitute with blueberries or raspberries for a different flavor twist.
How Do I Make the Perfect Tart Crust?
The tart crust is crucial for holding all that delicious filling, so pay close attention to this step. Start by pulsing the flour, sugar, and salt until combined, then add cold butter. The key is to keep everything cold to achieve that flakiness!
- Use a food processor for ease, but if you don’t have one, you can use a pastry cutter or even your fingers to mix the butter in.
- Always chill the dough for at least an hour; this makes it easier to roll out and helps prevent shrinking during baking.
- When pre-baking, use pie weights or dried beans to keep the crust from puffing up. Remove them halfway through to let the base cook properly.
With these tips, you’ll have a fantastic crust ready to hold that amazing lemon filling and cranberry swirl! Enjoy your baking adventure! 😊
How to Make a Refreshing Lemon Cranberry Tart
Ingredients:
For the Crust:
- 1 1/4 cups (160g) all-purpose flour
- 1/2 cup (115g) unsalted butter, cold and cubed
- 1/4 cup (50g) granulated sugar
- 1/4 teaspoon salt
- 1 large egg yolk
- 2-3 tablespoons ice water
For the Lemon Filling:
- 1 cup (200g) granulated sugar
- 3 large eggs
- 1/2 cup (120ml) fresh lemon juice (about 2-3 lemons)
- Zest of 2 lemons
- 1/2 cup (120ml) heavy cream
- 2 tablespoons all-purpose flour
For the Cranberry Swirl:
- 1 cup fresh or frozen cranberries
- 1/3 cup (65g) granulated sugar
- 2 tablespoons water
- 1 teaspoon lemon juice
For Garnish:
- Whipped cream
- Lemon zest
How Much Time Will You Need?
This Lemon Cranberry Tart requires about 1 hour of preparation time and 30-35 minutes of baking time. After baking, let it cool for a bit and then refrigerate for at least 2 hours to fully set. Total time: approximately 4 hours including chilling!
Step-by-Step Instructions:
1. Prepare the Tart Crust:
Start by grabbing a food processor! Pulse the flour, sugar, and salt together until combined. Next, add the cold cubed butter and pulse until it looks like coarse crumbs. Then, add the egg yolk and 2 tablespoons of ice water, pulsing until the dough starts to come together. If it looks too dry, add more water one teaspoon at a time.
Once mixed, turn the dough out onto a floured surface and shape it into a disk. Wrap it in plastic wrap and pop it in the fridge for at least 1 hour.
2. Pre-bake the Crust:
After the dough has chilled, roll it out to fit a 9-inch tart pan with a removable bottom. Press it into the pan and trim any excess. Prick the bottom with a fork to prevent bubbling.
Let the crust chill for another 20 minutes. Preheat your oven to 350°F (175°C). Line the crust with parchment paper and fill it with pie weights or dried beans. Bake for 15 minutes, then remove the weights and parchment and bake for another 10 minutes, until it’s golden. Let it cool for a moment!
3. Make the Cranberry Swirl:
In a small saucepan, mix together the cranberries, sugar, water, and lemon juice. Cook it over medium heat, stirring now and then, until the cranberries burst and the mixture thickens, about 10 minutes. Remove from heat and let cool. If you want a smoother sauce, blend it a little!
4. Prepare the Lemon Filling:
In a large bowl, whisk together the sugar and flour. Then beat in the eggs until the mixture is smooth. Stir in the lemon juice, zest, and heavy cream until everything is nicely combined.
5. Assemble the Tart:
Pour the lemon filling into your cooled tart crust. Next, blob the cranberry sauce on top in small spoonfuls. Don’t forget to grab a toothpick or a knife to gently swirl the cranberry into the lemon filling, creating beautiful patterns.
6. Bake:
Pop the tart in the oven at 325°F (160°C) and bake for 30-35 minutes, or until the filling is just set but still a bit jiggly in the center. Once baked, let it cool to room temperature, then refrigerate for at least 2 hours to fully set.
7. Serve:
It’s finally time to enjoy your masterpiece! Garnish slices with whipped cream and lemon zest for that cute finishing touch. Slice it up and indulge in the bright flavors of your Lemon Cranberry Tart!
With its crisp, buttery crust and creamy filling featuring zesty lemon and sweet, tangy cranberries, this tart is sure to be a hit at any occasion! Enjoy! 🍋❤️
Can I Use Frozen Cranberries Instead of Fresh?
Absolutely! Frozen cranberries work just as well as fresh ones. Just remember to thaw them beforehand and drain any excess liquid to avoid a watery swirl in your tart.
What If I Don’t Have Heavy Cream?
If you don’t have heavy cream on hand, you can substitute it with full-fat coconut milk for a dairy-free option or use whole milk mixed with a bit of melted butter to mimic the fat content.
How Can I Make the Tart Ahead of Time?
You can definitely prepare this tart ahead of time! It keeps well in the fridge for up to 3 days. Make it a day in advance for the best flavor, allowing the filling to set properly and all the ingredients to meld beautifully.
How Should I Store Leftovers?
Store any leftovers in an airtight container in the refrigerator for up to 3 days. To maintain the best texture, avoid stacking the slices directly on top of each other when storing.