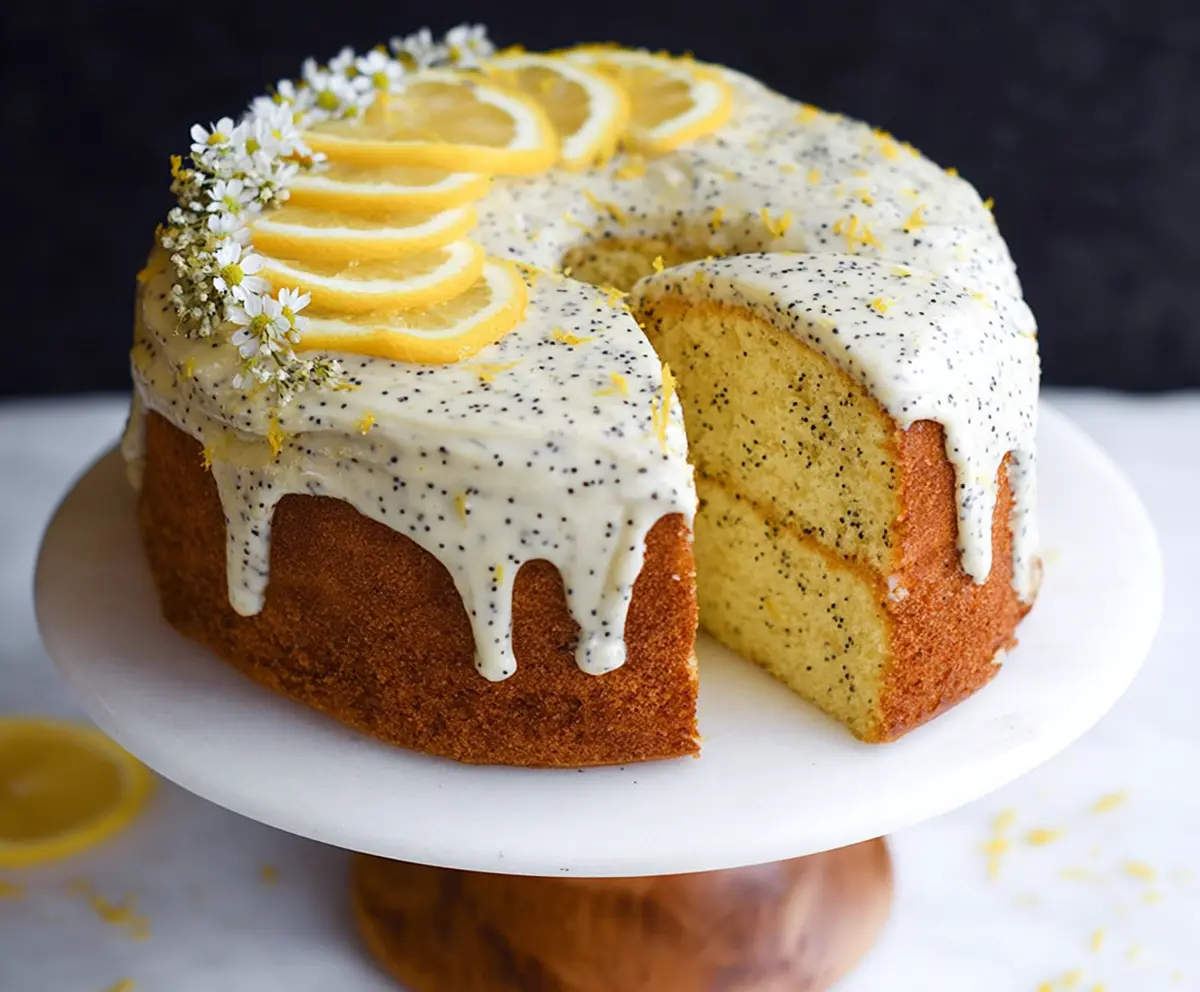
This Lemon Poppy Seed Cake is a zesty delight that combines tangy lemon with crunchy poppy seeds. It’s light, moist, and perfect for any occasion!
Baking this cake always puts a smile on my face. The fresh lemon smell fills the kitchen, and I just can’t resist a slice with tea! It’s such a joyful treat! 🍰
Key Ingredients & Substitutions
Poppy Seeds: These are the star in this cake for that delightful crunch. If you can’t find them, you can leave them out or substitute with chia seeds for a similar texture.
Buttermilk: This ingredient adds moisture and acidity. If you don’t have buttermilk, mix 1 tablespoon of vinegar or lemon juice into 1 cup of milk and let it sit for 5 minutes to thicken.
Unsalted Butter: I recommend sticking to unsalted, as it lets you control the saltiness of your cake. However, if you’re in a pinch, you can use salted butter and just reduce the added salt in the recipe.
Lemon Zest and Juice: Fresh is best for both! If you can’t find fresh lemons, bottled lemon juice works, but fresh zest is irreplaceable. Consider using oranges for a different twist.
How Do I Ensure My Cake is Fluffy and Light?
Getting that light, fluffy texture comes down to a few key techniques. Start with soft butter to cream well with sugar. This aerates the mixture, making it lighter.
- Beat the butter and sugar together until it’s pale and fluffy, about 3-4 minutes. This is crucial!
- Add the eggs one at a time, beating well after each addition to incorporate air.
- When mixing dry ingredients and buttermilk, do it alternately to keep the batter light. Avoid overmixing, as this can make the cake dense.
How to Make Lemon Poppy Seed Cake
Ingredients You’ll Need:
For the Cake:
- 2 ½ cups all-purpose flour
- 2 ½ tsp baking powder
- ½ tsp baking soda
- ½ tsp salt
- 1 tbsp poppy seeds
- 1 cup unsalted butter, softened
- 1 ¾ cups granulated sugar
- 4 large eggs
- 1 tsp vanilla extract
- 1 cup buttermilk
- Zest of 2 lemons
- ¼ cup fresh lemon juice
For the Lemon Glaze:
- 1 ½ cups powdered sugar
- 2-3 tbsp fresh lemon juice (adjust for desired consistency)
- 1 tsp poppy seeds (optional)
- Lemon zest for garnish
For Decoration (Optional):
- Thin slices of lemon
- Edible flowers or small white flowers for garnish
How Much Time Will You Need?
This recipe involves about 20 minutes for prep and 45-55 minutes for baking, plus a cooling time of about 15 minutes in the pan. Altogether, you’ll spend a little over an hour to bake this delightful cake!
Step-by-Step Instructions:
1. Preheat and Prepare:
Start by preheating your oven to 350°F (175°C). Grease and flour a bundt pan or tube pan to ensure your cake comes out easily after baking.
2. Mix the Dry Ingredients:
In a medium bowl, whisk together the flour, baking powder, baking soda, salt, and poppy seeds. This will help to evenly distribute the leavening agents. Set this bowl aside for now.
3. Cream the Butter and Sugar:
In a large bowl, use an electric mixer to cream the softened butter and granulated sugar together until the mixture is light and fluffy—this should take about 3-4 minutes. This step is crucial for a nice texture!
4. Add Eggs and Flavor:
Now, add the eggs one at a time, mixing well after each addition. Then, add in the vanilla extract, lemon zest, and lemon juice, mixing until everything is combined.
5. Combine Dry Ingredients and Buttermilk:
Gradually add the flour mixture and buttermilk to the butter mixture, starting and ending with the dry ingredients. Mix gently until just combined. Be careful not to overmix; you want the cake to be light and fluffy!
6. Pour and Smooth:
Carefully pour the cake batter into the prepared pan. Use a spatula to smooth the top so it’s even.
7. Bake the Cake:
Place the pan in the preheated oven and bake for about 45-55 minutes. You’ll know it’s done when a toothpick inserted in the center comes out clean.
8. Cool the Cake:
Once baked, remove the cake from the oven and let it cool in the pan for 15 minutes. After that, invert the cake onto a wire rack to cool completely.
9. Make the Lemon Glaze:
While the cake is cooling, prepare the glaze. In a bowl, whisk together the powdered sugar, fresh lemon juice, and poppy seeds (if using) until the mixture is smooth. Adjust the glaze to your desired consistency by adding more lemon juice or powdered sugar if needed.
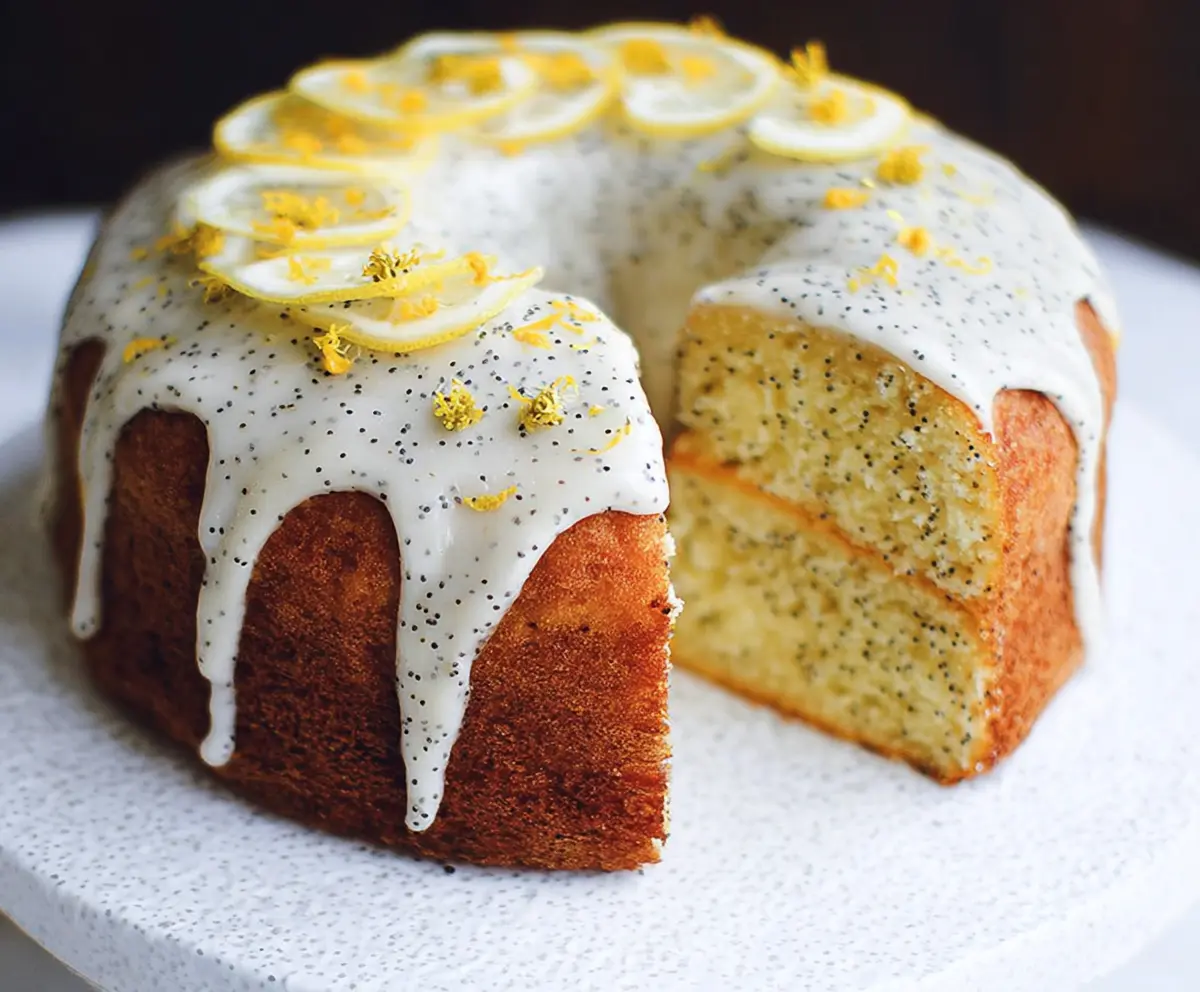
10. Drizzle and Garnish:
When the cake is completely cooled, drizzle the lemon glaze generously over the top, allowing it to drip down the sides. Get creative with your presentation!
11. Add Final Touches:
If you’d like, garnish your cake with thin slices of lemon, edible flowers, and a sprinkle of lemon zest for a beautiful finish.
12. Serve and Enjoy!
Slice the cake and serve it up! Enjoy the bright, citrusy flavor hugged by the delightful crunch of poppy seeds along with the sweet glaze. Perfect for any occasion!
Can I Use a Different Type of Flour?
Yes, you can use cake flour for a finer texture or whole wheat flour for a denser and nuttier flavor. If using whole wheat, consider adding an extra tablespoon of liquid as it tends to absorb more moisture.
How Can I Store Leftover Cake?
Store any leftovers in an airtight container at room temperature for up to 3 days or in the fridge for up to a week. You can also freeze the cake for up to 3 months – just wrap it tightly in plastic wrap and foil before freezing!
What If I Don’t Have Fresh Lemons?
If fresh lemons aren’t available, bottled lemon juice will work, but for the best flavor, try to use lemon zest from other citrus fruits like limes or oranges for a twist.
Can I Make the Cake Ahead of Time?
Absolutely! You can bake the cake a day in advance and glaze it just before serving to keep it fresh and moist. Store it in the fridge if you make it a day ahead, and let it sit at room temperature for a while before serving.