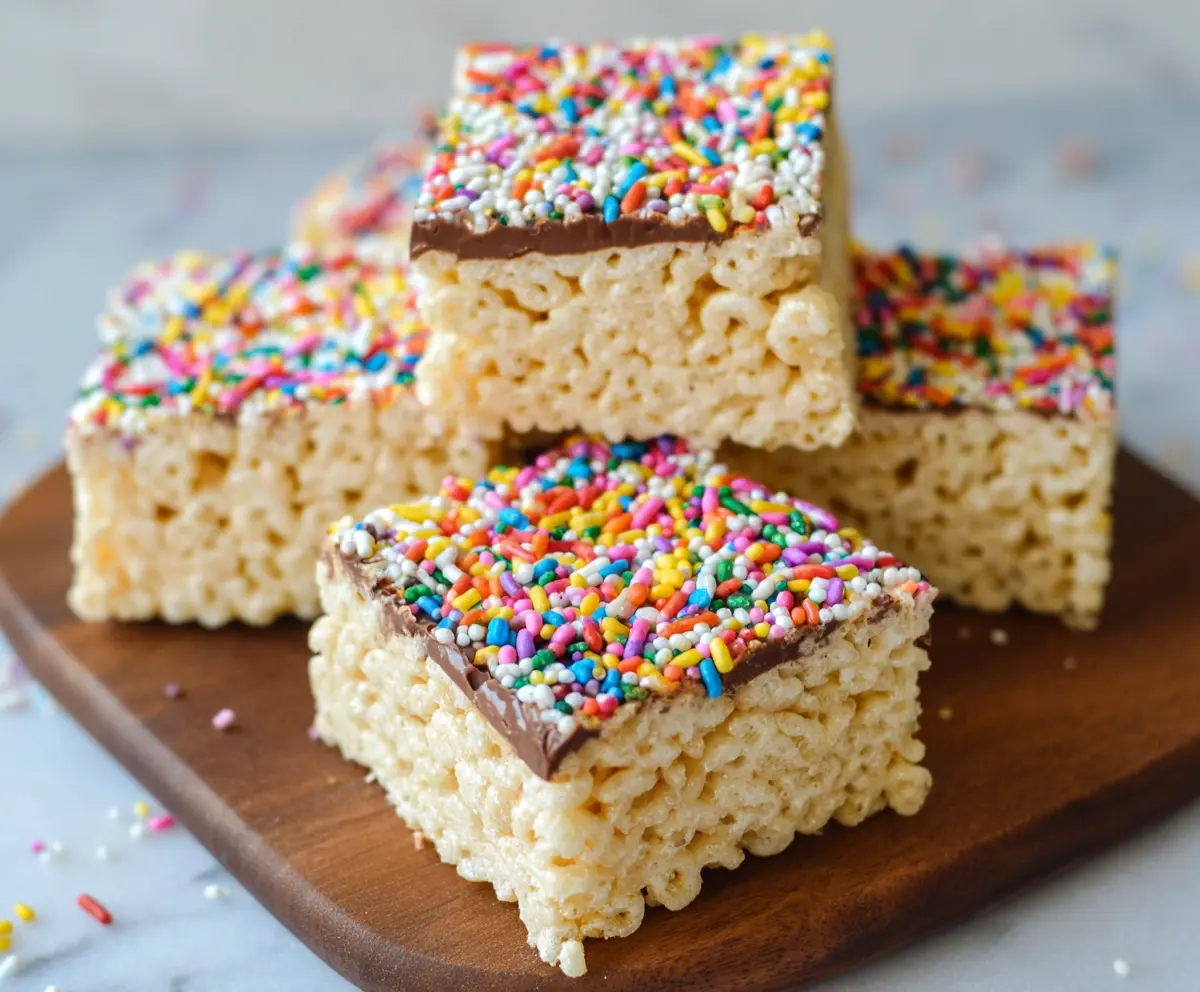
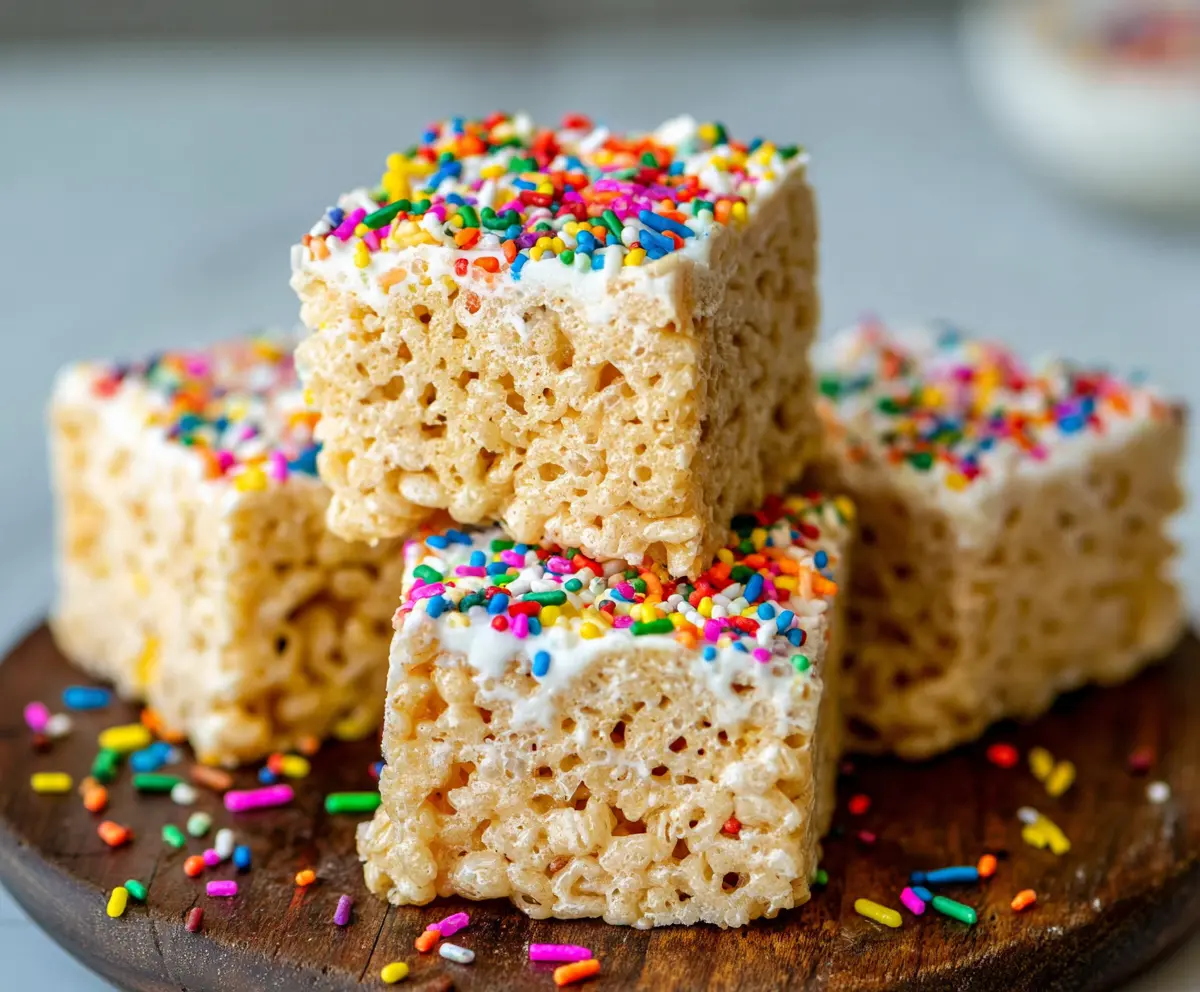
These Protein Rice Krispie Treats are a tasty twist on the classic snack. They combine crunchy rice cereal with protein powder and marshmallows for a fun, chewy treat!
Who knew something so easy could also be a little healthier? I love these for a quick pick-me-up or a sweet reward after a workout. Plus, they won’t last long with how delicious they are! 😋
Key Ingredients & Substitutions
Crispy Rice Cereal: The classic choice is Rice Krispies, but you can use any puffed rice cereal. For a gluten-free version, check labels to ensure the cereal is certified gluten-free.
Mini Marshmallows: These give that familiar chewy texture. If you prefer a healthier option, you can use homemade marshmallows or try a sugar-free alternative if managing sugar intake.
Protein Powder: Vanilla protein powder adds flavor and boosts nutrition. You can substitute with chocolate-flavored powder for a richer taste, or omit it entirely if you prefer a lighter treat.
Semi-Sweet Chocolate Chips: I love using semi-sweet, but dark chocolate or even white chocolate chips work nicely too! If you’re avoiding chocolate, consider using a drizzle of nut butter instead.
How Can I Make Sure My Rice Krispie Treats Stay Firm?
Getting that perfect firmness without falling apart is key to great Rice Krispie Treats. Here are some helpful tips:
- Make sure the butter and marshmallows are fully melted and well combined for a sticky, cohesive mixture.
- When folding in the rice cereal, act quickly but gently to avoid crushing the cereal.
- Press the mixture firmly into the pan. Use a spatula or even your hands (lightly greased) to pack it down securely.
- Let the treats cool completely for at least 30 minutes before cutting. This helps them set up nicely!
Protein Rice Krispie Treats
Ingredients You’ll Need:
For the Treat Base:
- 6 cups crispy rice cereal (e.g., Rice Krispies)
- 3 cups mini marshmallows
- 3 tablespoons unsalted butter
- ½ cup vanilla protein powder (whey or plant-based)
- 1 teaspoon vanilla extract
For the Topping:
- ½ cup semi-sweet chocolate chips
- Sprinkles (for garnish)
Time Estimate:
This recipe will take about 10 minutes of prep time, plus an additional 30 minutes for the treats to cool and set. In total, you’ll be done in about 40 minutes, and then you’re ready to enjoy your delicious treats!
Step-by-Step Instructions:
1. Prepare Your Pan:
Start by lightly greasing a 9×13 inch baking pan with some cooking spray or butter. This will help prevent the treats from sticking when you’re ready to slice them!
2. Melt the Butter:
Next, grab a large saucepan and place it on low heat. Add the butter and stir until it’s completely melted.
3. Add the Marshmallows:
Once the butter is melted, toss in the mini marshmallows. Keep stirring continuously until everything is melted and smooth. You want a gooey mixture that looks delicious!
4. Mix in Protein Powder:
Remove the saucepan from the heat and add the vanilla extract and protein powder. Stir until everything is mixed well and forms a thick mixture.
5. Fold in the Cereal:
Quickly fold in the crispy rice cereal with a spatula, making sure every piece is evenly coated with the marshmallow mixture. This will give your treats that chewy texture we love!
6. Press the Mixture into the Pan:
Transfer the mixture into your prepared pan and press it down evenly and firmly. You can use a spatula or a piece of wax paper to help with this step.
7. Melt the Chocolate:
In a microwave-safe bowl, microwave the chocolate chips in 15-second intervals, stirring in between each until they are fully melted and smooth.
8. Add the Chocolate Topping:
Pour the melted chocolate over the pressed rice cereal mixture and spread it evenly across the top using a spatula.
9. Sprinkle with Fun:
Before the chocolate sets, add colorful sprinkles on top for that extra fun touch!
10. Cool and Set:
Allow the treats to cool at room temperature for about 30 minutes or until the chocolate is firm to the touch.
11. Slice and Serve:
Once fully cooled, slice the treats into squares and enjoy! Store any leftovers in an airtight container to keep them fresh.
Enjoy your protein-packed, fun, and colorful Rice Krispie Treats! They are perfect for a snack or a quick energy boost any time of the day!
Can I Use Different Types of Protein Powder?
Absolutely! While vanilla protein powder is recommended for flavor, you can use chocolate, unflavored, or other flavored proteins based on your preference. Just keep in mind that the flavor will vary slightly depending on your choice.
How Can I Store These Treats?
Store your Protein Rice Krispie Treats in an airtight container at room temperature for up to 4 days. If you want to keep them longer, you can refrigerate them for up to a week, but be aware that they may harden slightly in the fridge.
Can I Make These Treats Dairy-Free?
Yes, simply substitute the unsalted butter with a dairy-free alternative, like coconut oil or a plant-based butter. Also, make sure to use dairy-free chocolate chips if you want to keep it dairy-free throughout!
What Should I Do If My Mixture is Too Sticky?
If the mixture feels too sticky, you can lightly grease your hands or spatula with cooking spray to help you press it into the pan without getting too much on your fingers. Additionally, ensure that you’re using the correct amounts of each ingredient for the right texture.