Fall is here, and you know what that means: pumpkin everything! I love this time of year because it brings so many comforting treats. Today, I’m sharing two amazing pumpkin cheesecake bar recipes that are perfect for any gathering.
These bars combine the creamy texture of cheesecake with the warm spices of pumpkin. They are easy to make and always a hit with family and friends. Get ready to bake some delightful pumpkin desserts!
Jump to Recipe:
Pumpkin Cheesecake Bars: A Fall Favorite
These simple pumpkin cheesecake bars are creamy and full of warming fall spices. They have a delicious graham cracker crust and a smooth, spiced pumpkin cheesecake layer that everyone will enjoy.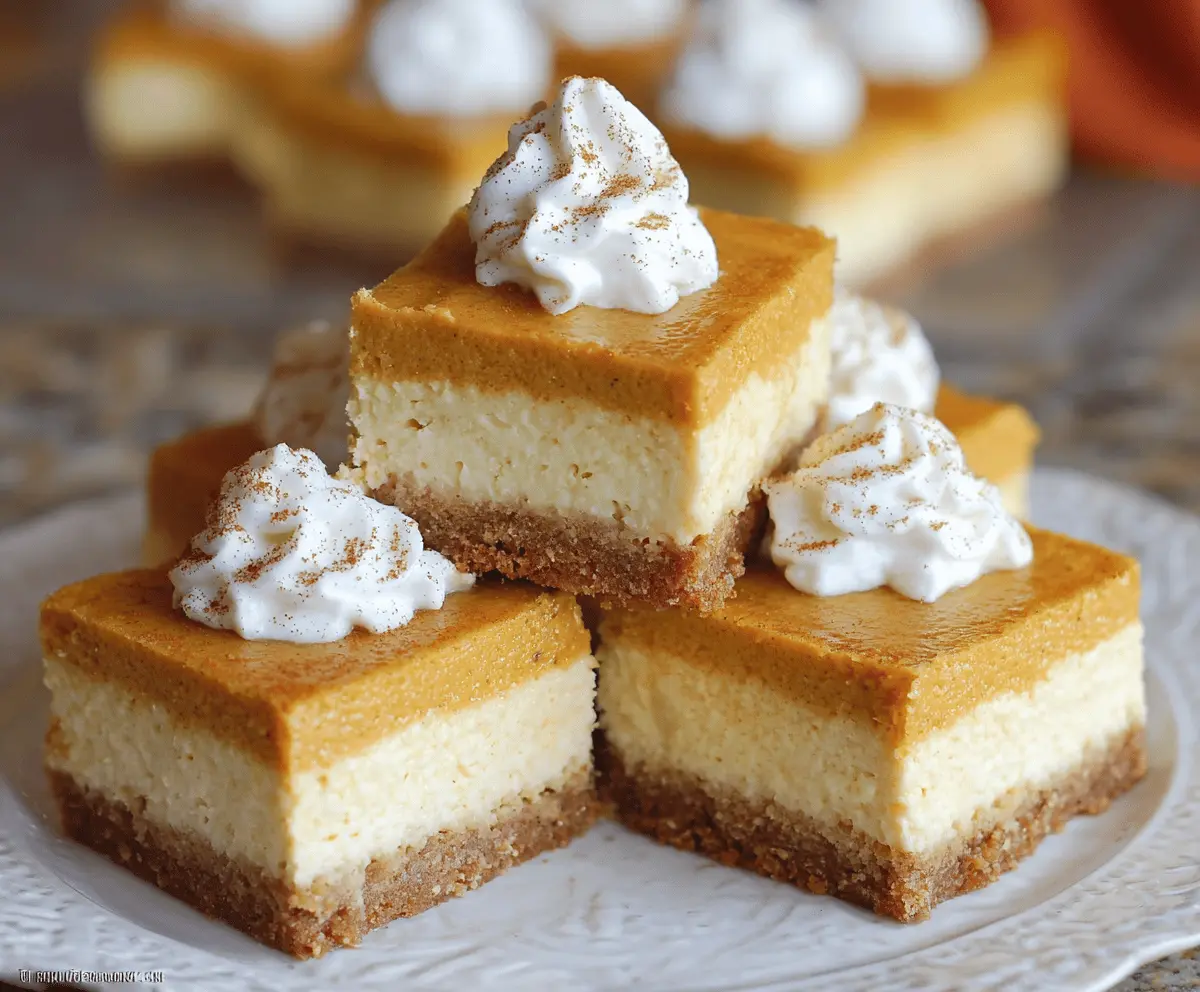
Key Ingredients & Tips for Pumpkin Cheesecake Bars
- Cream Cheese: Use full-fat block cream cheese, not the spreadable kind, for the best, firm cheesecake texture. Make sure it’s softened to room temperature for a smooth filling.
- Pumpkin Puree: Use plain pumpkin puree, not pumpkin pie filling. The latter already has spices and sugar, which can change the recipe’s balance.
- Spices: A blend of cinnamon, nutmeg, ginger, and cloves gives these bars their classic fall taste. Adjust amounts to your preference for a stronger or milder flavor.
What You Need to Make Pumpkin Cheesecake Bars
- 1 ½ cups graham cracker crumbs
- ¼ cup melted butter
- 2 (8-ounce) packages cream cheese, softened
- ¾ cup granulated sugar
- ½ cup pumpkin puree
- 1 large egg
- 1 teaspoon vanilla extract
- ½ teaspoon cinnamon
- ¼ teaspoon nutmeg
⏱️ Time: 50 mins + chill🍽️ Yields: 16 squares
How to Make Pumpkin Cheesecake Bars
Step 1: Make the Crust Base
Preheat your oven to 350°F (175°C). Line an 8×8 inch baking pan with parchment paper, leaving an overhang on the sides for easy lifting. Mix graham cracker crumbs and melted butter, then press this mixture evenly into the bottom of the prepared pan.
Step 2: Create the Cheesecake Filling
In a large bowl, beat the softened cream cheese and sugar until smooth. Add the pumpkin puree, egg, vanilla extract, cinnamon, and nutmeg. Beat until just combined and smooth. Be careful not to overmix.
Step 3: Bake and Cool Thoroughly
Pour the pumpkin cheesecake mixture over the crust. Bake for 30-35 minutes, or until the edges are set but the center still jiggles a little. Let it cool completely on a wire rack, then chill in the refrigerator for at least 4 hours before slicing and serving.
📝 Final Note on Serving
For clean slices, wipe your knife with a warm, damp cloth between each cut. Store leftover bars in an airtight container in the refrigerator for up to 3-4 days.
Pumpkin Pie Cheesecake Bars: Double the Pumpkin Fun
These bars offer a lovely combination of classic pumpkin pie flavors and creamy cheesecake. They feature a spiced pie crust base and a rich pumpkin cheesecake layer, making them a festive treat for any season.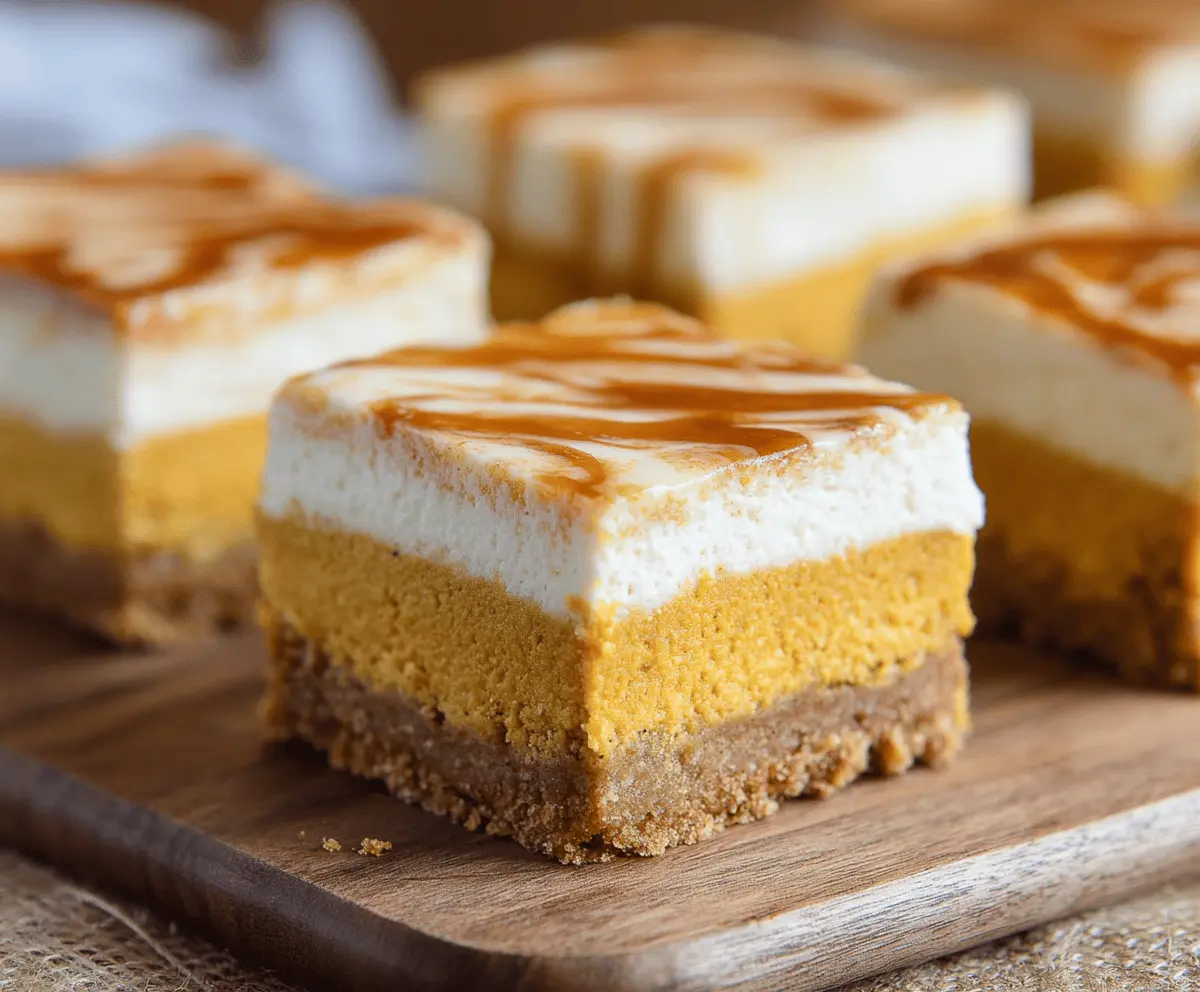
Key Ingredients & Tips for Pumpkin Pie Cheesecake Bars
- Pie Crust: You can use a store-bought pie crust for simplicity, or make your own from scratch. Ensure it’s par-baked if the recipe calls for it to prevent a soggy bottom.
- Pumpkin Pie Spice: This pre-mixed spice blend simplifies seasoning. If you don’t have it, a mix of cinnamon, ginger, nutmeg, and allspice works well as a substitute.
- Sweetener: Using brown sugar in the pumpkin layer adds a deeper, more caramel-like taste that complements the pumpkin flavors nicely.
What You Need to Make Pumpkin Pie Cheesecake Bars
- 1 store-bought pie crust, or homemade
- 2 (8-ounce) packages cream cheese, softened
- ¾ cup packed brown sugar
- ½ cup pumpkin puree
- 1 large egg
- 1 teaspoon vanilla extract
- 1 teaspoon pumpkin pie spice
⏱️ Time: 60 mins + chill🍽️ Yields: 12 slices
How to Make Pumpkin Pie Cheesecake Bars
Step 1: Prep the Pie Crust
Preheat your oven to 375°F (190°C). Press the pie crust into a 9-inch pie plate or a square baking dish. Lightly prick the bottom with a fork, then bake for 10-12 minutes until lightly golden. Let it cool slightly while you prepare the filling.
Step 2: Mix the Pumpkin Cheesecake
In a mixing bowl, beat the softened cream cheese and brown sugar until light and fluffy. Stir in the pumpkin puree, egg, vanilla extract, and pumpkin pie spice. Mix until just smooth.
Step 3: Bake Until Set
Pour the pumpkin cheesecake mixture into the cooled, par-baked pie crust. Reduce the oven temperature to 325°F (160°C). Bake for 40-45 minutes, or until the center is mostly set with a slight jiggle. Let it cool completely, then chill for at least 6 hours, or overnight, before cutting.
📝 Final Note on Serving
These bars are wonderful with a dollop of whipped cream or a sprinkle of extra pumpkin pie spice before serving. Keep them refrigerated for lasting freshness.