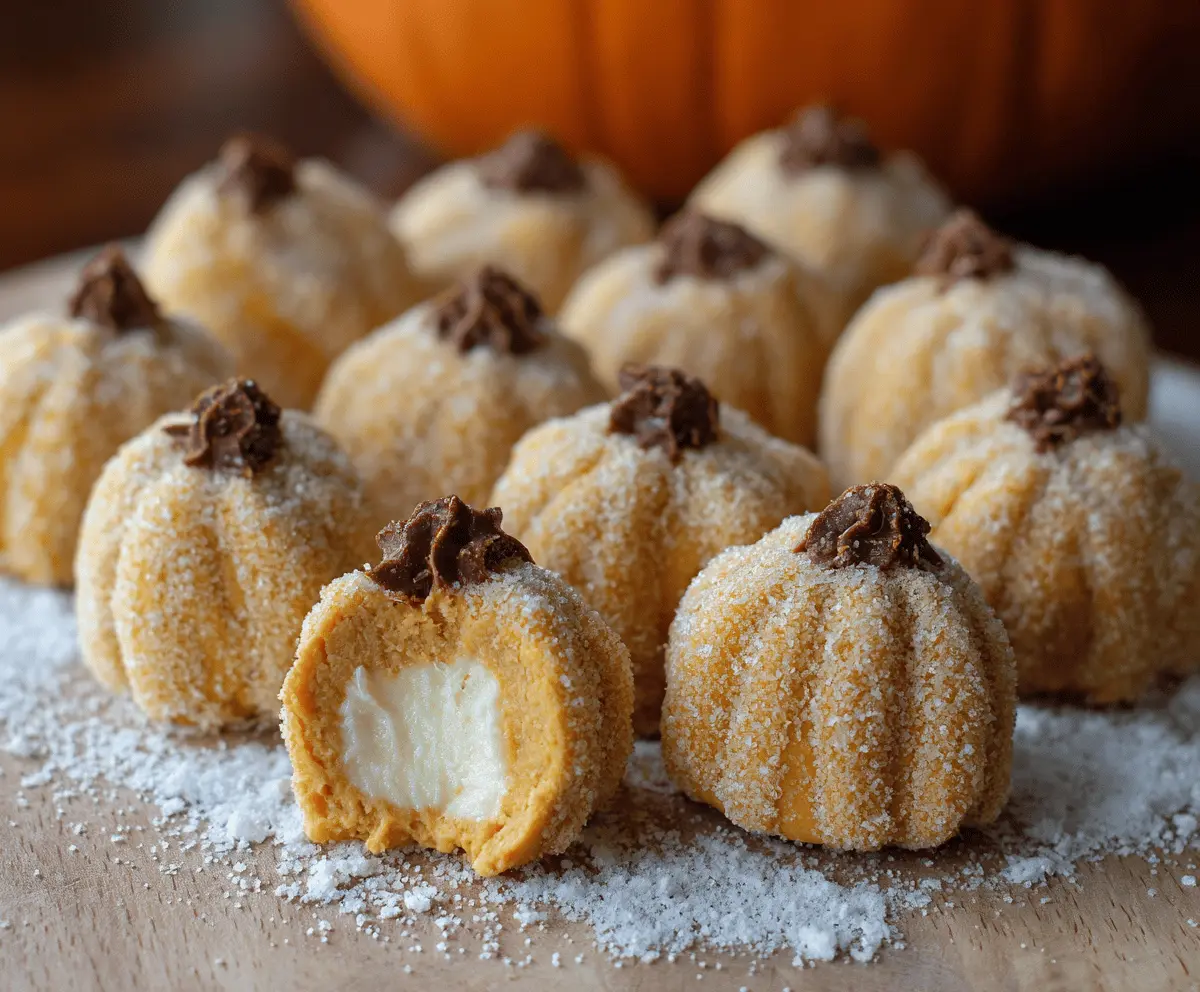
These Pumpkin Cheesecake Truffles are little bites of joy! With creamy cheesecake and a cozy pumpkin spice flavor, they make a perfect treat for fall. Yum!
I find them irresistible—it’s hard to stop at just one! They’re super easy to make, and they look adorable on any dessert table. Plus, they taste like a hug in a bite! 🎃
Key Ingredients & Substitutions
Cream Cheese: This gives the truffles their rich and creamy texture. If you’re looking for a lighter option, consider using reduced-fat cream cheese or even Greek yogurt for a tangy twist!
Canned Pumpkin Puree: Fresh pumpkin works great too! Just roast and puree it, but make sure to drain excess water. If pumpkin isn’t available, butternut squash puree can also serve as a solid substitute!
Powdered Sugar: This keeps the truffle sweet and smooth. If you’re aiming for less sugar, try using a sugar alternative like erythritol or coconut sugar—it’s a great way to lighten things up without losing sweetness!
Graham Crackers: They add crunch and flavor. For a gluten-free option, use gluten-free graham crackers or crushed nuts, like almond flour, instead.
Chocolate Chips: The ‘pumpkin stem’ can be made with semi-sweet or milk chocolate. You can even use dark chocolate for a richer flavor or dairy-free chocolate if you’re vegan!
How Do I Shape the Truffles into Pumpkins?
Shaping these truffles can seem tricky, but it’s all about patience and technique! Here’s how to get those perfect pumpkin forms:
- Use about a tablespoon of the graham cracker mixture to form the outer pumpkin shell. Flatten it before placing the cream cheese filling inside.
- For a neat, pumpkin look, pinch the edges together to create small ridges. You can do this with your fingers or use a silicone mold if you have one.
- After covering the filling completely, roll them gently into shape. This helps maintain the pumpkin structure without squishing the filling out!
Chilling the truffles for about an hour after shaping lets them firm up nicely, making them easier to handle and eat!
How to Make Pumpkin Cheesecake Truffles
Ingredients You’ll Need:
For the Truffles:
- 8 oz (225g) cream cheese, softened
- 1 cup canned pumpkin puree
- 1 cup powdered sugar, divided (3/4 cup + 1/4 cup)
- 1 tsp pumpkin pie spice
- 1 tsp vanilla extract
- 16 graham crackers, finely crushed (about 1 1/2 cups crumbs)
- 1/2 cup unsalted butter, melted
For Coating:
- 1/2 cup granulated sugar
- 1/2 cup finely crushed graham cracker crumbs
- 1/2 cup chocolate chips or chocolate melts (for the pumpkin stem)
How Much Time Will You Need?
This delightful recipe takes about 30 minutes of preparation time, plus at least 1 hour to chill in the refrigerator. In total, plan for around 1 hour and 30 minutes to have these delicious treats ready for serving!
Step-by-Step Instructions:
1. Mix Your Filling:
In a large mixing bowl, combine the softened cream cheese, pumpkin puree, 3/4 cup of powdered sugar, pumpkin pie spice, and vanilla extract. Using a hand mixer, beat until everything is smooth and well combined. This is the creamy center of your truffles!
2. Prepare the Graham Cracker Mixture:
In another bowl, mix together the finely crushed graham crackers, melted butter, and the remaining 1/4 cup of powdered sugar. Stir until the mixture is well blended and crumbly. This will be used for both the outer shell and the inner filling of your truffles.
3. Assemble the Truffles:
Divide the graham cracker mixture into two portions—one half for the outer shell and one half for the inner filling. Take about a tablespoon of the graham cracker crumb mixture and flatten it in your hand or on a work surface. Place a small spoonful of the cream cheese mixture in the center.
4. Shape the Truffles:
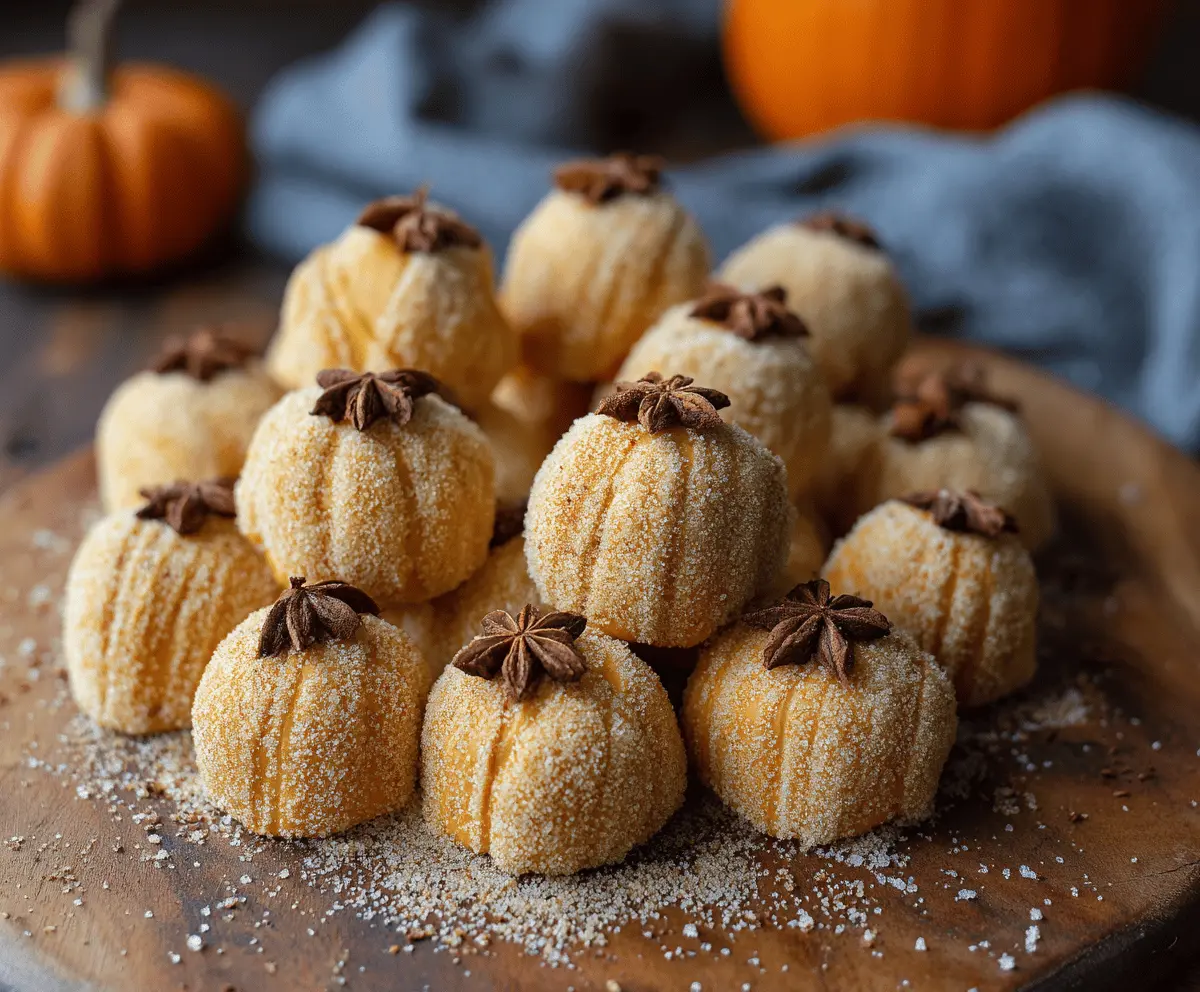
Top the cream cheese mixture with a slightly smaller amount of plain cream cheese mixture to mimic the pumpkin’s white center. Gently cover this with the pumpkin-spiced graham cracker mixture to form a small pumpkin shape. Pinch and mold gently to create ridges like a real pumpkin, or use a small pumpkin-shaped mold if you have one!
5. Create the Coating:
Roll each shaped truffle in a mixture of granulated sugar and crushed graham cracker crumbs for a sweet, textured coating. This step adds both flavor and a festive touch!
6. Repeat and Finish:
Continue shaping and coating the remaining truffles until you have about 12 to 15 delicious bites. Once done, melt the chocolate chips or melts in a microwave-safe bowl. Using a piping bag or a small spoon, add a dollop of melted chocolate on top of each truffle to resemble the pumpkin stem.
7. Chill and Serve:
Place the truffles on a tray and chill them in the refrigerator for at least 1 hour to firm up. They’ll be easier to handle and taste even better after chilling!
8. Final Touches:
Optionally, you can dust some extra powdered sugar around the truffles before serving for an extra festive look. Enjoy these lovely pumpkin-shaped treats that are perfect for any fall celebration!
Can I Use Fresh Pumpkin Instead of Canned?
Absolutely! If you’re using fresh pumpkin, make sure to roast it and puree it well, draining any excess moisture. It adds a deliciously fresh flavor to your truffles!
How Do I Store Leftover Truffles?
Place any leftover truffles in an airtight container and store them in the refrigerator for up to 5 days. They can also be frozen for longer storage—just ensure they’re wrapped tightly to prevent freezer burn!
Can I Customize the Flavor?
Of course! You can experiment with spices, adding a bit of cinnamon or nutmeg for extra warmth. You can also swap out the chocolate for white chocolate or omit it entirely if you prefer a simpler look!
What If the Mixture Is Too Soft?
If your mixture feels too soft to shape, refrigerate it for about 30 minutes to firm it up. Chilling the mixture helps the truffles hold their shape better during the forming process.