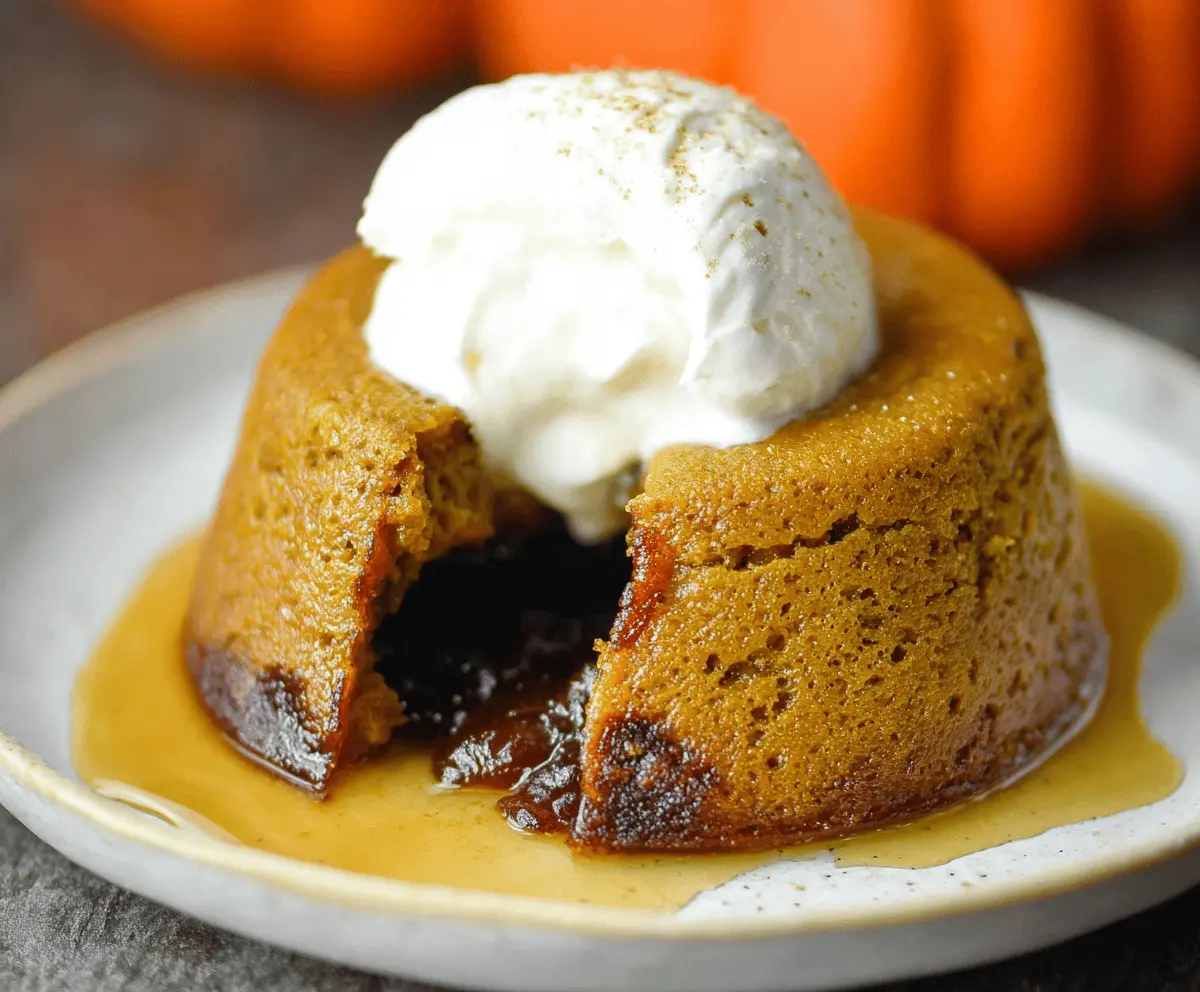
Pumpkin Lava Cake is a warm and gooey dessert that’s perfect for fall. It combines rich chocolate with creamy pumpkin in a way that makes your taste buds dance!
It’s like a hug in dessert form! The chocolate center is so luscious, you might want to keep this recipe a secret—sharing might be hard! 🍰
I love serving this cake with a scoop of vanilla ice cream on top. It adds the perfect coolness to the warm, melty filling. Enjoy each delicious bite!
Key Ingredients & Substitutions
Chocolate: Semisweet or bittersweet chocolate is perfect for this recipe. If you prefer, you can swap it with dark chocolate for a richer flavor. Milk chocolate could also work, especially if you like sweeter desserts.
Pumpkin Puree: Make sure to use pure pumpkin puree, not the spicy pumpkin pie filling. If fresh pumpkin is available, you can roast and puree it yourself. Canned pumpkin is easy and convenient and works just as well.
Flour: All-purpose flour is standard here, but for a gluten-free option, you can use a 1-to-1 gluten-free flour blend. It usually doesn’t compromise the texture much in baked goods.
Spices: Cinnamon, nutmeg, ginger, and cloves add depth of flavor. Feel free to adjust the spices according to your taste. If you don’t have a specific spice, omit it or substitute with pumpkin pie spice mix.
How Do I Ensure My Lava Cake Has a Melty Center?
Getting that perfect gooey center is key for a lava cake! Here are some tips to help you succeed:
- Be careful not to overbake. The edges should be set, while the center remains soft and jiggly. It’s better to underbake slightly than to overbake!
- Use a timer, but keep an eye on your cakes. Ovens can vary in temperature, so check them a minute or two early.
- Let them rest in the ramekins for about 5 minutes after baking. This helps them firm up slightly but still keeps the center molten.
- If you’re unsure, you can test one by carefully opening one before serving. If it flows nicely, you are in good shape!
How to Make Pumpkin Lava Cake
Ingredients You’ll Need:
For The Cake:
- 4 oz (115g) semisweet or bittersweet chocolate, chopped
- 1/4 cup (4 tbsp) unsalted butter
- 1/2 cup pumpkin puree (not pumpkin pie filling)
- 1/4 cup granulated sugar
- 1/4 cup brown sugar, packed
- 1/2 tsp vanilla extract
- 2 large eggs
- 1/2 cup all-purpose flour
- 1/2 tsp ground cinnamon
- 1/4 tsp ground nutmeg
- 1/4 tsp ground ginger
- 1/8 tsp ground cloves (optional)
- Pinch of salt
For Serving:
- Powdered sugar (for dusting)
- Ground cinnamon (for dusting)
- Vanilla ice cream or whipped cream, for serving
How Much Time Will You Need?
This recipe takes about 15 minutes to prepare and around 18-22 minutes to bake. After baking, you’ll need 5 minutes to cool the cakes, making the total time approximately 40 minutes to enjoy a delicious warm dessert!
Step-by-Step Instructions:
1. Prepare the Ramekins:
Start by preheating your oven to 350°F (175°C). Grease and lightly flour four 6-ounce ramekins or custard cups. This will help your cakes come out smoothly. Arrange the ramekins on a baking sheet for easy handling.
2. Melt the Chocolate and Butter:
In a microwave-safe bowl, combine the chopped chocolate and butter. Microwave them together in 20-second bursts, stirring in between until they are totally melted and smooth. Let the mixture cool slightly while you prep the other ingredients.
3. Mix the Pumpkin Base:
In a large mixing bowl, whisk together the pumpkin puree, granulated sugar, brown sugar, and vanilla extract until smooth. Make sure there are no lumps, as this will help the texture of your cake.
4. Add the Eggs:
Add the eggs, one at a time, into the pumpkin mixture while whisking well after each addition. This helps incorporate them fully and gives your cake the right structure.
5. Combine Chocolate with Pumpkin Mixture:
Slowly add the melted chocolate and butter mixture into the pumpkin-egg mixture, whisking until everything is well combined.
6. Combine Dry Ingredients:
In another bowl, sift together the flour, cinnamon, nutmeg, ginger, cloves (if using), and salt. This will help distribute the spices evenly throughout your batter.
7. Mix Wet and Dry Ingredients:
Now, gently fold the dry ingredients into the wet ingredients. Mix until they are just combined—be careful not to overmix or your cakes might turn out tough.
8. Fill the Ramekins:
Evenly divide the batter among the prepared ramekins, filling each about three-quarters full to allow room for rising.
9. Bake the Cakes:
Put the baking sheet in the oven and bake the cakes for 18-22 minutes. You want the edges to be set but the centers should still look soft and a bit jiggly—that’s what gives the lava effect!
10. Cool and Release the Cakes:
After baking, take the cakes out of the oven and let them cool in the ramekins for about 5 minutes. Then, run a thin knife around the edges to loosen them. Carefully invert each cake onto a serving plate.
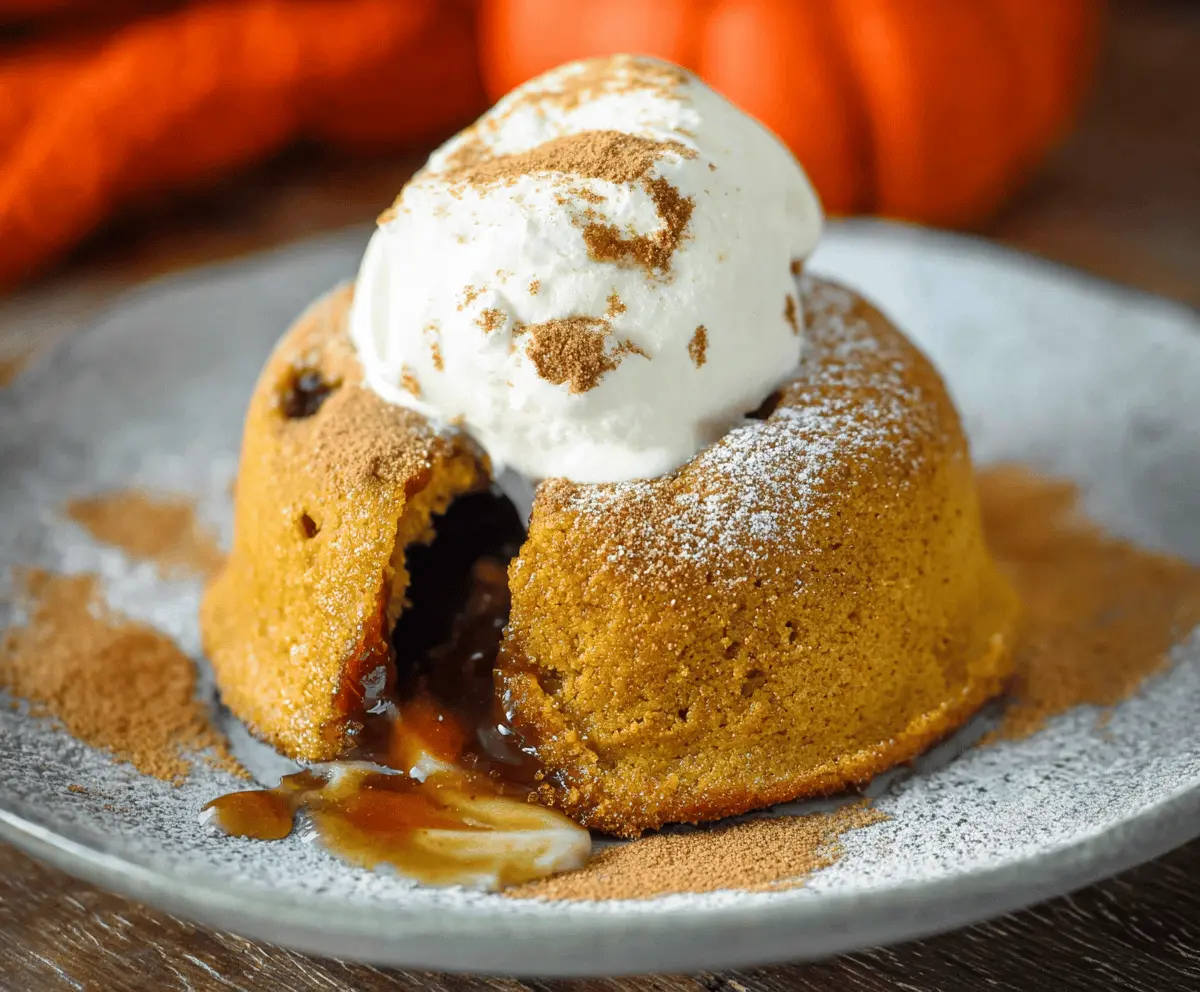
11. Dust and Serve:
Dust the warm cakes lightly with powdered sugar and a sprinkle of cinnamon for a lovely finishing touch. Top with a scoop of vanilla ice cream or a dollop of whipped cream, and enjoy immediately while the center is still melty!
This Pumpkin Lava Cake is a delightful way to celebrate the flavors of fall with warm, gooey goodness. Enjoy every bite! 🎃🍫
Can I Use Canned Pumpkin Instead of Fresh?
Absolutely! Canned pumpkin puree is a convenient and tasty choice for this recipe. Just make sure to choose 100% pure pumpkin and not pumpkin pie filling, which has added sugars and spices.
Can I Make These Cakes in Advance?
You can prepare the batter in advance and refrigerate it for up to a day. When ready to bake, let the batter come to room temperature for about 30 minutes before pouring it into the ramekins and baking as directed.
How Do I Store Leftovers?
If you have any leftovers, store them in an airtight container in the refrigerator for up to 2 days. To reheat, pop them in the microwave for about 20-30 seconds or until warmed through. Enjoy the molten center again!
Can I Freeze Pumpkin Lava Cakes?
Yes, you can freeze the unbaked batter in the ramekins! Just wrap the ramekins tightly in plastic wrap and foil. When you’re ready to bake, bake directly from frozen, adding a few extra minutes to the baking time.