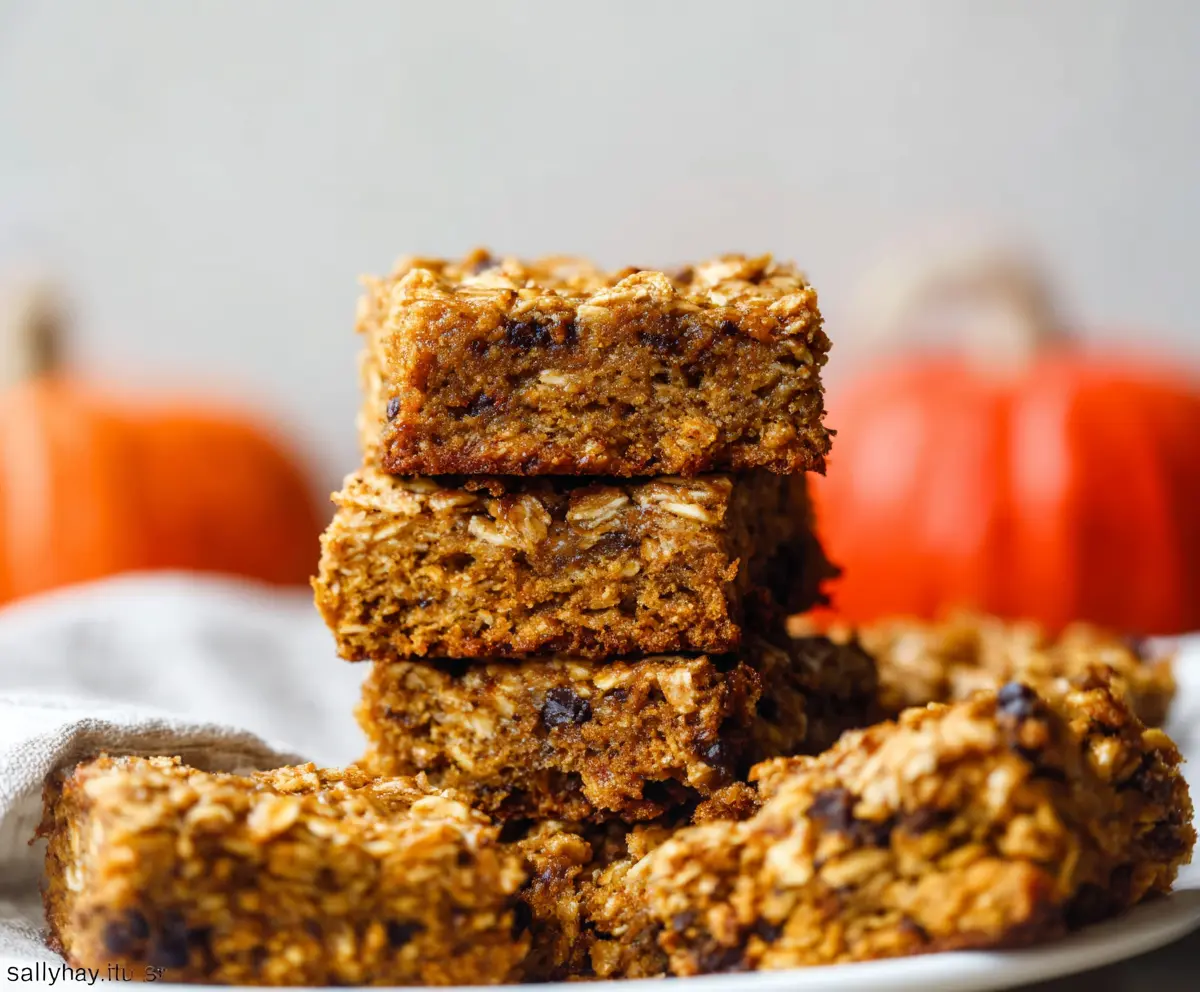
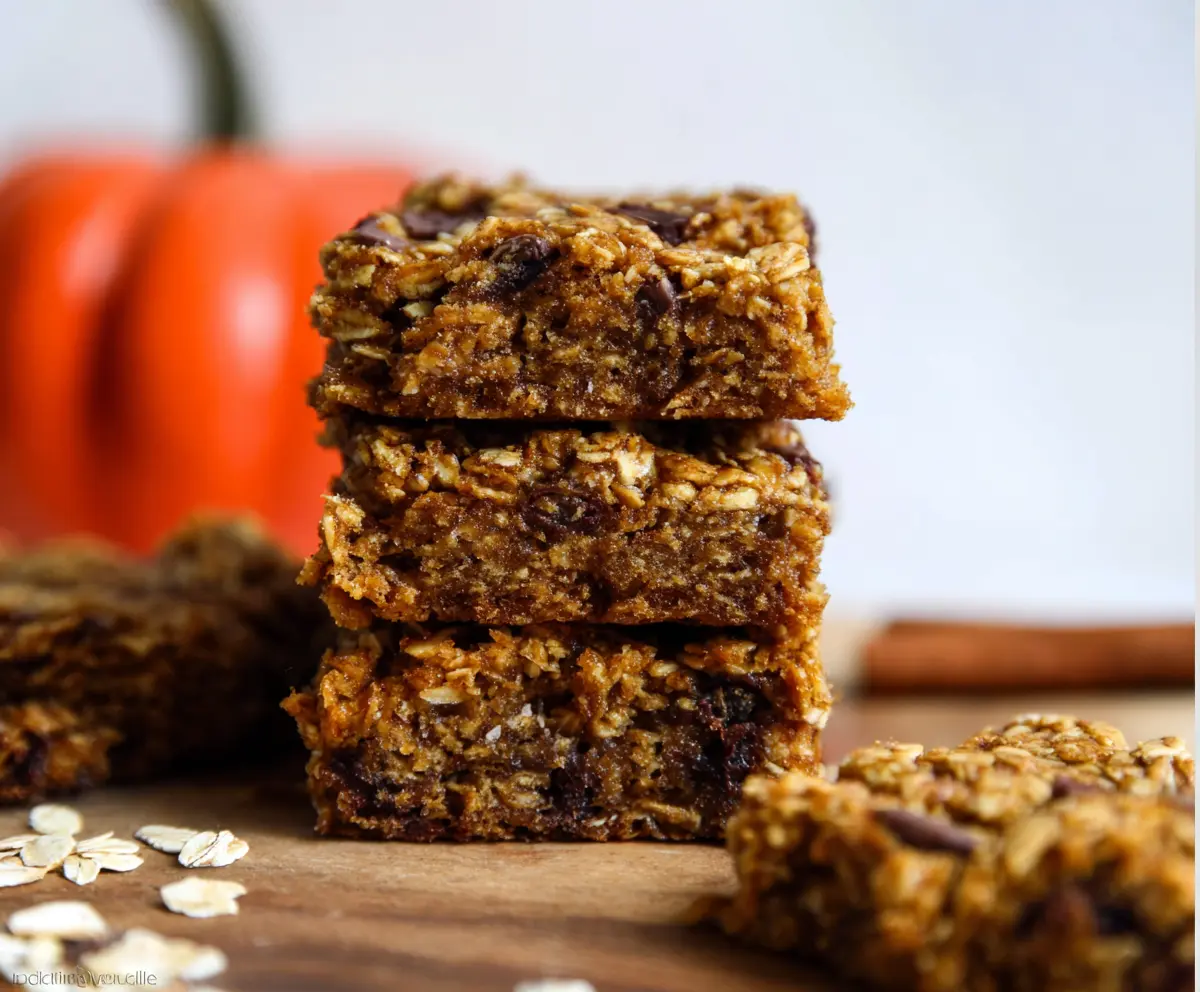
These Pumpkin Oatmeal Bars are warm and tasty, filled with pumpkin puree and oats. Perfect for a cozy snack or breakfast treat!
They smell amazing while baking! I love grabbing one with my morning coffee. With the added goodness of oats, they’re good for you too—what a win! 🎃
Key Ingredients & Substitutions
Pumpkin Puree: Make sure to use canned pumpkin puree, not pumpkin pie filling, for the right texture and flavor. If you’re feeling adventurous, homemade pumpkin puree works too! Just roast and blend fresh pumpkin.
Oats: Old-fashioned rolled oats give these bars a great chewy texture. If you’re gluten-sensitive, choose certified gluten-free oats instead. Quick oats can work in a pinch but may make the bars softer.
Flour: Whole wheat flour adds nutrients and a hearty flavor, but feel free to use all-purpose flour if that’s what you have on hand. You could also try oat flour or almond flour for a gluten-free option!
Sweeteners: Brown sugar gives a rich flavor, but you can replace it with coconut sugar or just use extra honey or maple syrup. Reduce the liquid slightly if you use all liquid sweeteners.
Spices: The spices are essential for that warm pumpkin flavor. If you don’t have all of them, ground cinnamon alone is good enough to create a tasty result. Try adding nutmeg and cloves for an even richer spice profile!
How Can You Ensure Your Bars Are Moist and Delicious?
Getting the right moisture in your bars can be tricky. Using canned pumpkin provides a good base, but don’t skip the eggs—they’re important for moisture and binding. If you want an egg substitute, consider using flaxseed meal mixed with water or applesauce.
- Mix wet and dry ingredients separately before combining to avoid overmixing, which can make the bars dense.
- Keep an eye on the baking time; overbaking can lead to dry bars. They should look set but still soft in the center when you pull them out.
- Let them cool completely before cutting. This step helps them firm up and makes cutting easier!
Enjoy your baking! These bars are a perfect, healthy treat to savor anytime. 😊
How to Make Pumpkin Oatmeal Bars
Ingredients You’ll Need:
Basic Ingredients:
- 1 cup canned pumpkin puree (not pumpkin pie filling)
- 2 large eggs
- 1/2 cup brown sugar, packed
- 1/2 cup honey or maple syrup
- 1/3 cup unsweetened applesauce
- 1 teaspoon vanilla extract
Dry Ingredients:
- 1 1/2 cups old-fashioned rolled oats
- 1 cup whole wheat flour (or all-purpose flour)
- 1 teaspoon baking powder
- 1/2 teaspoon baking soda
- 1 teaspoon ground cinnamon
- 1/2 teaspoon ground ginger
- 1/4 teaspoon ground nutmeg
- 1/4 teaspoon salt
Optional Add-ins:
- 1/2 cup mini chocolate chips or raisins
How Much Time Will You Need?
This recipe takes about 10 minutes to prepare and 25-30 minutes to bake. You’ll need some cool-down time too, so all in all, expect about 45 minutes to an hour before you can enjoy these delicious bars!
Step-by-Step Instructions:
1. Preheat the Oven and Prepare the Pan:
First things first, preheat your oven to 350°F (175°C). Take an 8×8-inch baking pan and line it with parchment paper or give it a light grease to prevent sticking.
2. Mix the Wet Ingredients:
In a large bowl, add the pumpkin puree, eggs, brown sugar, honey (or maple syrup), applesauce, and vanilla extract. Whisk everything together until it’s nice and smooth. This gives your bars a rich, sweet base!
3. Combine the Dry Ingredients:
In another bowl, mix together the rolled oats, flour, baking powder, baking soda, cinnamon, ginger, nutmeg, and salt. Make sure it’s evenly mixed so your bars have that great spice flavor throughout!
4. Combine Wet and Dry Ingredients:
Now, take the dry mixture and gradually add it to the wet ingredients. Stir gently until everything is just combined. Don’t overmix; a few lumps are okay!
5. Add Any Extras:
If you’re using mini chocolate chips or raisins, fold them into the batter now. This is where the fun happens—feel free to be generous!
6. Spread the Batter:
Pour the batter into your prepared baking pan. Use a spatula to spread it out evenly and smooth the top as best you can.
7. Bake Your Bars:
Slide the pan into the preheated oven and bake for 25-30 minutes. You’ll know they’re ready when a toothpick inserted into the center comes out clean. Keep an eye on them to avoid overbaking!
8. Cool and Cut:
Let the bars cool completely in the pan on a wire rack. This step helps the bars firm up, making them easier to cut. Once cooled, cut them into squares.
9. Serve and Enjoy:
Now it’s time to dig in! Enjoy your delicious and moist Pumpkin Oatmeal Bars as a snack, breakfast, or dessert. They’ll stay fresh in an airtight container for several days, if they last that long!
These bars are not just tasty but also filled with the warm flavors of the season. Perfect for sharing, or just keeping all to yourself! Happy baking! 🎃
Can I Use Fresh Pumpkin Instead of Canned?
Absolutely! Just make sure to roast and puree the fresh pumpkin before using it in the recipe. You’ll need about 1 cup of pureed fresh pumpkin to match the canned version.
How Can I Make These Bars Vegan?
To make this recipe vegan, substitute the eggs with flax eggs—mix 1 tablespoon of ground flaxseed with 3 tablespoons of water for each egg, and let it sit for a few minutes until it thickens. You can also replace honey with maple syrup for a completely plant-based sweetener!
Can I Freeze These Bars?
Yes, these bars freeze well! After they’ve cooled, wrap them individually in plastic wrap, then place them in a freezer-safe bag or container. They’ll keep for up to 3 months. Thaw them overnight in the refrigerator before enjoying!
What Can I Substitute for Applesauce?
If you don’t have applesauce on hand, you can use mashed bananas or an equal amount of yogurt (dairy or non-dairy) as a substitute. Both options will add moisture and a bit of sweetness!