These pumpkin scones are a cozy treat, bursting with fall flavors! Made with sweet pumpkin and warm spices, they’re perfect for breakfast or a snack.
They’re so easy to whip up, and your kitchen will smell amazing! I love drizzling a bit of icing on top for that extra sweetness. What’s your favorite way to enjoy scones?
Key Ingredients & Substitutions
All-Purpose Flour: This is your base. If you’re looking for a gluten-free option, try a 1:1 gluten-free flour blend. I’ve used whole wheat with great results for more fiber!
Pumpkin Puree: Canned pumpkin works best, but homemade puree is another option. Just remember to drain excess water. For a change, sweet potato or butternut squash puree can give similar flavors.
Spices: Cinnamon and nutmeg are essential for that warm pumpkin pie taste. If you don’t have ground cloves or ginger, feel free to omit them or swap in pumpkin pie spice for a blend.
Butter: Cold unsalted butter creates flaky layers. For a dairy-free option, use coconut oil or a plant-based butter—a bit softer is okay in these recipes.
How Do I Ensure My Scones Are Fluffy and Tender?
Getting scones just right can be tricky. Here are my tips for achieving a fluffy texture:
- Chill Your Ingredients: Use cold butter and cream. This helps create steam when baking, leading to a light texture.
- Don’t Overmix: Once you add the wet and dry ingredients, mix just until combined. Overmixing leads to dense scones.
- Shape Gently: Instead of rolling out, pat the dough into a circle. This keeps more air in the mixture.
- Watch the Oven: Keep an eye on your scones while they bake. They’re done when golden brown and a toothpick comes out clean!
How to Make Pumpkin Scones
Ingredients You’ll Need:
Dry Ingredients:
- 2 cups all-purpose flour
- 1/2 cup granulated sugar
- 1 tbsp baking powder
- 1/2 tsp baking soda
- 1/2 tsp salt
- 1 tsp ground cinnamon
- 1/2 tsp ground nutmeg
- 1/4 tsp ground cloves
- 1/4 tsp ground ginger
Wet Ingredients:
- 6 tbsp cold unsalted butter, cut into small cubes
- 3/4 cup canned pumpkin puree (not pumpkin pie filling)
- 1 large egg
- 1 tsp vanilla extract
- 1/4 cup heavy cream (plus more for brushing)
For the Optional Glaze:
- 1/2 cup powdered sugar
- 1-2 tbsp milk or cream
- 1/4 tsp vanilla extract
How Much Time Will You Need?
This recipe takes about 10 minutes to prepare and 18-22 minutes to bake. You’ll spend a little time mixing and shaping the dough before they bake to golden perfection. Once they cool, a quick drizzle of glaze is all it takes to make them extra special!
Step-by-Step Instructions:
1. Preheat Your Oven:
Start by preheating your oven to 400°F (200°C). While it heats, line a baking sheet with parchment paper or a silicone baking mat to prevent sticking.
2. Mix Dry Ingredients:
In a large bowl, whisk together the flour, sugar, baking powder, baking soda, salt, and all the delicious spices (cinnamon, nutmeg, cloves, and ginger). This blend creates a wonderful fall flavor!
3. Cut in the Butter:
Add the cold butter cubes to the bowl. Using a pastry cutter or your fingers, mix the butter into the flour mixture until it resembles coarse crumbs with some pea-sized pieces. This will keep your scones flaky!
4. Combine Wet Ingredients:
In a separate bowl, whisk together the pumpkin puree, egg, vanilla extract, and heavy cream until well mixed. The mix should be smooth and creamy.
5. Combine Wet and Dry Mixtures:
Pour the pumpkin mixture into the dry ingredients. Gently stir with a spatula or wooden spoon until just combined. The dough will be sticky but will hold together—be careful not to overmix!
6. Shape the Dough:
Turn the dough out onto a lightly floured surface. Gently pat it into a circle about 1-inch thick. This keeps it airy and fluffy.
7. Cut the Scones:
Using a sharp knife, cut the circle into 6-8 wedges. Make sure to cut straight down to help the scones rise evenly.
8. Transfer to Baking Sheet:
Carefully transfer the wedges to the prepared baking sheet, placing them a few inches apart to allow room for spreading.
9. Brush with Cream:
Lightly brush the tops of the scones with additional heavy cream for a lovely golden finish.
10. Bake:
Put the scones in the oven and bake for 18-22 minutes, or until they’re golden brown. A toothpick inserted into the center should come out clean.
11. Cool and Transfer:
Once baked, remove the scones from the oven and allow them to cool on the baking sheet for a few minutes. Then, transfer them to a wire rack to cool completely.
12. Optional Glaze:
If you’d like to add a glaze, whisk together the powdered sugar, milk or cream, and vanilla until smooth. Drizzle this over the cooled scones for an extra touch of sweetness.
13. Enjoy!
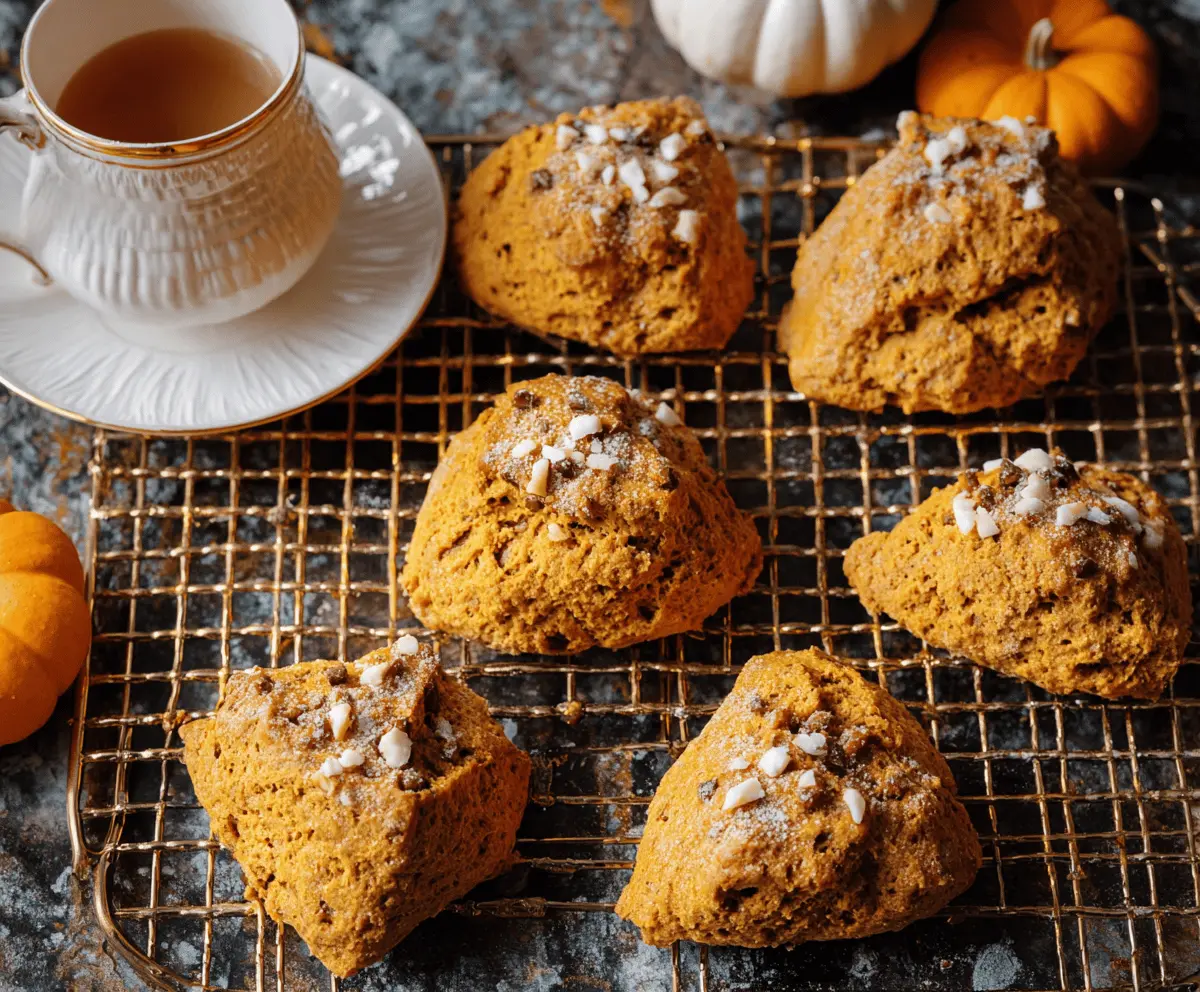
Serve your pumpkin scones warm or at room temperature, perhaps with a cup of tea or coffee. Enjoy the lovely flavors and aromas with family or friends!
Feel free to add any personal touches or variations to customize the recipe to your liking! Enjoy baking!

Can I Use Fresh Pumpkin Instead of Canned Pumpkin Puree?
Absolutely! If you decide to use fresh pumpkin, make sure to roast and puree it first. Remember to drain any excess liquid to avoid making your scones too wet.
How Can I Make These Scones More Flavorful?
For an extra flavor boost, consider adding chocolate chips, nuts, or dried cranberries to the dough. You can also increase the spice amounts slightly for a more robust taste.
Can I Freeze Pumpkin Scones?
Yes, you can freeze them! Once baked and cooled, wrap individual scones tightly in plastic wrap and store them in an airtight container. They can last up to 3 months in the freezer. To enjoy, simply reheat in the oven or microwave.
What’s the Best Way to Store Leftover Scones?
Store leftover scones in an airtight container at room temperature for up to 2 days. If you prefer, you can refrigerate them to extend freshness, though they might lose a bit of their flakiness. Reheat before serving for the best texture!