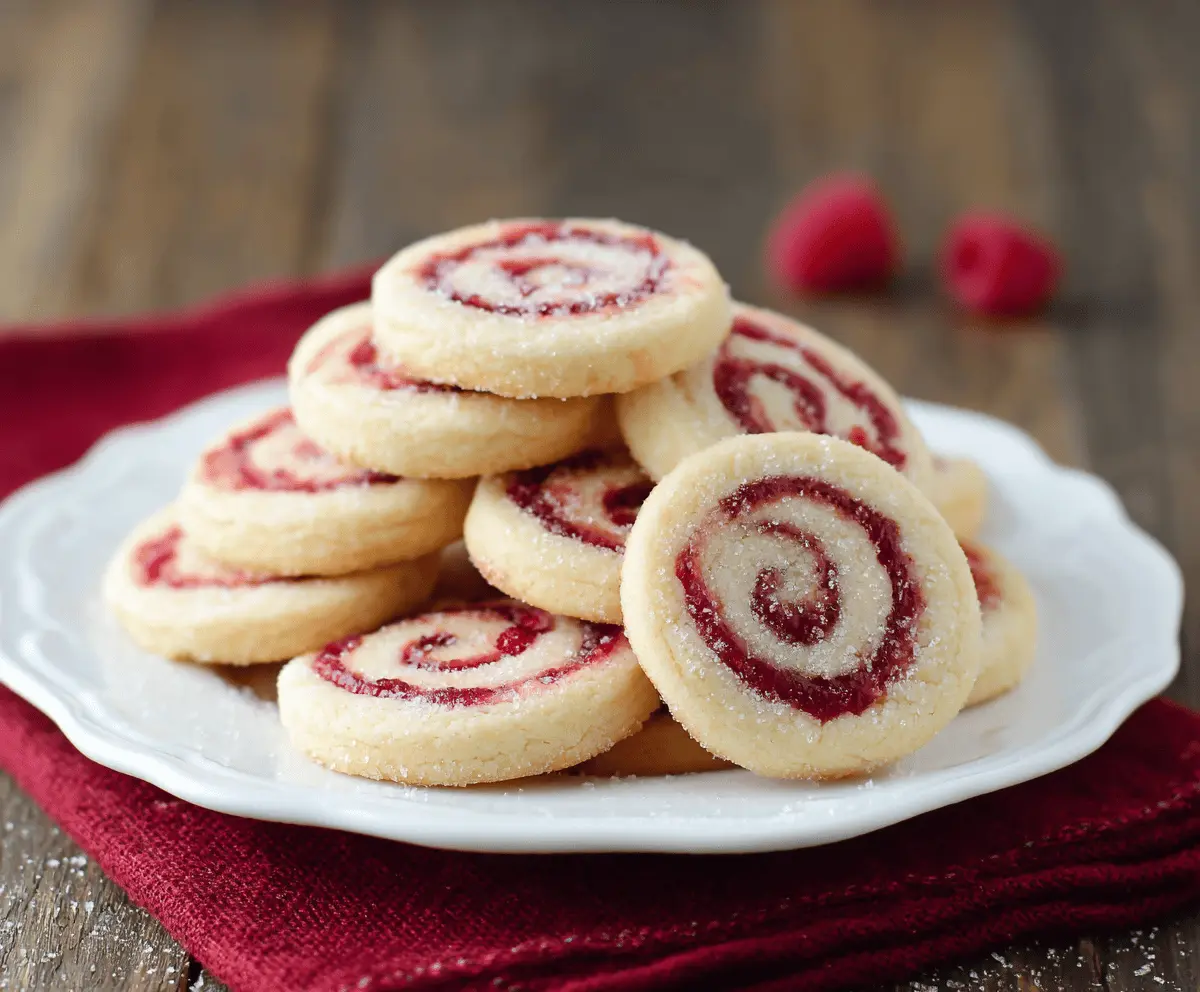
These Raspberry Swirl Cookies are a tasty treat with a beautiful twist! Soft cookies are swirled with sweet raspberry jam, creating a delightful color and flavor that makes them special.
They’re perfect for tea time or as a snack when you need a little pick-me-up. I love making a batch to share with friends—though sometimes, I keep them all to myself! 😋
Key Ingredients & Substitutions
Unsalted Butter: This is key for a tender cookie. If you’re out of unsalted butter, you can use the same amount of salted butter but omit the added salt from the recipe.
Granulated Sugar: This helps with sweetness and gives cookies a nice texture. For a healthier option, you can use coconut sugar or even brown sugar for a different flavor profile.
Raspberry Jam: While raspberry is a classic choice, feel free to substitute it with any other berry jam like strawberry, blueberry, or even a mixed berry blend. Choose smooth jams for easier spreading.
All-Purpose Flour: If you need a gluten-free option, you can use a gluten-free flour blend. Just make sure it has xanthan gum for the best texture!
What’s the Best Way to Roll and Swirl the Cookies?
Rolling the dough and creating that beautiful swirl can be tricky! Here’s how to do it right:
- Make sure the dough is chilled; this will make it easier to roll without sticking.
- When spreading the jam, use an offset spatula for even coverage.
- Roll tightly from the long side to ensure the swirl is prominent; keep it as even as possible.
- Use a sharp knife to slice the logs, which helps keep the swirls intact.
Don’t worry if they’re not perfect; they’ll still taste amazing! Happy baking!

How to Make Raspberry Swirl Cookies
Ingredients You’ll Need:
- 1 cup (226g) unsalted butter, at room temperature
- 3/4 cup (150g) granulated sugar, plus extra for rolling
- 1 large egg
- 1 tsp vanilla extract
- 2 1/2 cups (315g) all-purpose flour
- 1/2 tsp baking powder
- 1/4 tsp salt
- 1/2 cup raspberry jam (preferably smooth or lightly strained for easy spreading)
How Much Time Will You Need?
This recipe takes about 15-20 minutes to prepare and about 10-12 minutes to bake. Don’t forget to allow at least 2 hours for chilling the dough, so it’s firm enough to slice. All in all, you’re looking at about 2 hours and 30 minutes from start to finish, most of which is hands-off time while the dough chills!
Step-by-Step Instructions:
1. Creaming the Butter and Sugar:
In a large mixing bowl, start by creaming together the softened butter with 3/4 cup granulated sugar. Use an electric mixer if you have one, and beat it until the mixture is light and fluffy, which should take about 3 to 5 minutes. This step is important for a light texture in the cookies!
2. Mixing in the Egg and Vanilla:
Next, add in the egg and 1 teaspoon of vanilla extract. Continue to beat the mixture until it’s fully combined and smooth. You want everything to be well incorporated before moving on!
3. Combining the Dry Ingredients:
In a separate bowl, whisk together 2 1/2 cups of all-purpose flour, 1/2 teaspoon of baking powder, and 1/4 teaspoon of salt. This helps distribute the baking powder and salt evenly throughout the cookie dough.
4. Forming the Dough:
Gradually add the dry mixture to your butter mixture. Stir until a smooth dough forms. The dough should feel soft but not stick to your fingers—if it’s too sticky, pop it in the fridge for a few minutes to chill a little bit.
5. Rolling Out the Dough:
Once your dough is ready, divide it into two equal halves. On a lightly floured surface, roll each half into a rectangle around 9 by 7 inches. Aim for even thickness to help them bake evenly!
6. Spreading the Jam:
Now it’s time for the fun part—spreading the raspberry jam! Take half of the raspberry jam and spread it evenly across one rectangle of dough. Leave a small border around the edges so the jam doesn’t ooze out when you roll it up.
7. Rolling the Dough:
Starting from the long side, gently roll up the dough tightly to form a log. Make sure it’s as tight and even as possible for a nice swirl. Repeat this process with the second half of dough and the jam.
8. Chilling the Rolls:
Wrap each log in plastic wrap and place them in the fridge. Chill for at least 2 hours, or until they are firm enough to slice easily.
9. Prepping to Bake:
When you’re ready to bake, preheat your oven to 350°F (175°C). Line your baking sheets with parchment paper for easy cleanup!
10. Slicing the Cookies:
Take the chilled logs out of the fridge and using a sharp knife, slice them into 1/4-inch thick rounds. Place these dough slices on your prepared baking sheets, leaving about an inch of space between each cookie.
11. Rolling in Sugar:
For an extra sweet touch, roll each cookie slice in some granulated sugar before placing them on the baking sheet. This will give them a lovely sparkle and added sweetness!
12. Baking Time:
Pop the cookies in the oven and bake for about 10 to 12 minutes. You’re looking for the edges to be slightly golden and the centers to be set. Keep an eye on them, as baking times may vary slightly.
13. Cooling Down:
Once baked, let the cookies cool on the baking sheet for about 5 minutes. Then, gently transfer them to a wire rack to cool completely. This helps them firm up and makes them easier to handle.
Enjoy these delightful, tender Raspberry Swirl Cookies that are sure to impress family and friends! They can be stored in an airtight container at room temperature for up to a week—if they last that long!
Can I Use Frozen Butter for This Recipe?
It’s best to use softened butter for this recipe to ensure proper creaming with the sugar, which contributes to the texture of the cookies. If you’re short on time, you can grate frozen butter and then let it sit at room temperature for about 10-15 minutes until softened.
What If I Don’t Have Raspberry Jam?
No worries! You can substitute raspberry jam with any other fruit jam or preserve, such as strawberry, blueberry, or apricot. Just make sure it’s smooth for easier spreading!
How Should I Store Leftover Cookies?
Store any leftover cookies in an airtight container at room temperature for up to a week. If you want to keep them fresh longer, you can refrigerate them or freeze them for up to 3 months—just make sure to separate layers with parchment paper!
Can I Make This Dough Ahead of Time?
Absolutely! You can prepare the dough and form the logs, then wrap them tightly and store in the refrigerator for up to 2 days before slicing and baking. Alternatively, you can freeze the logs and bake from frozen—just add a minute or two to the baking time.