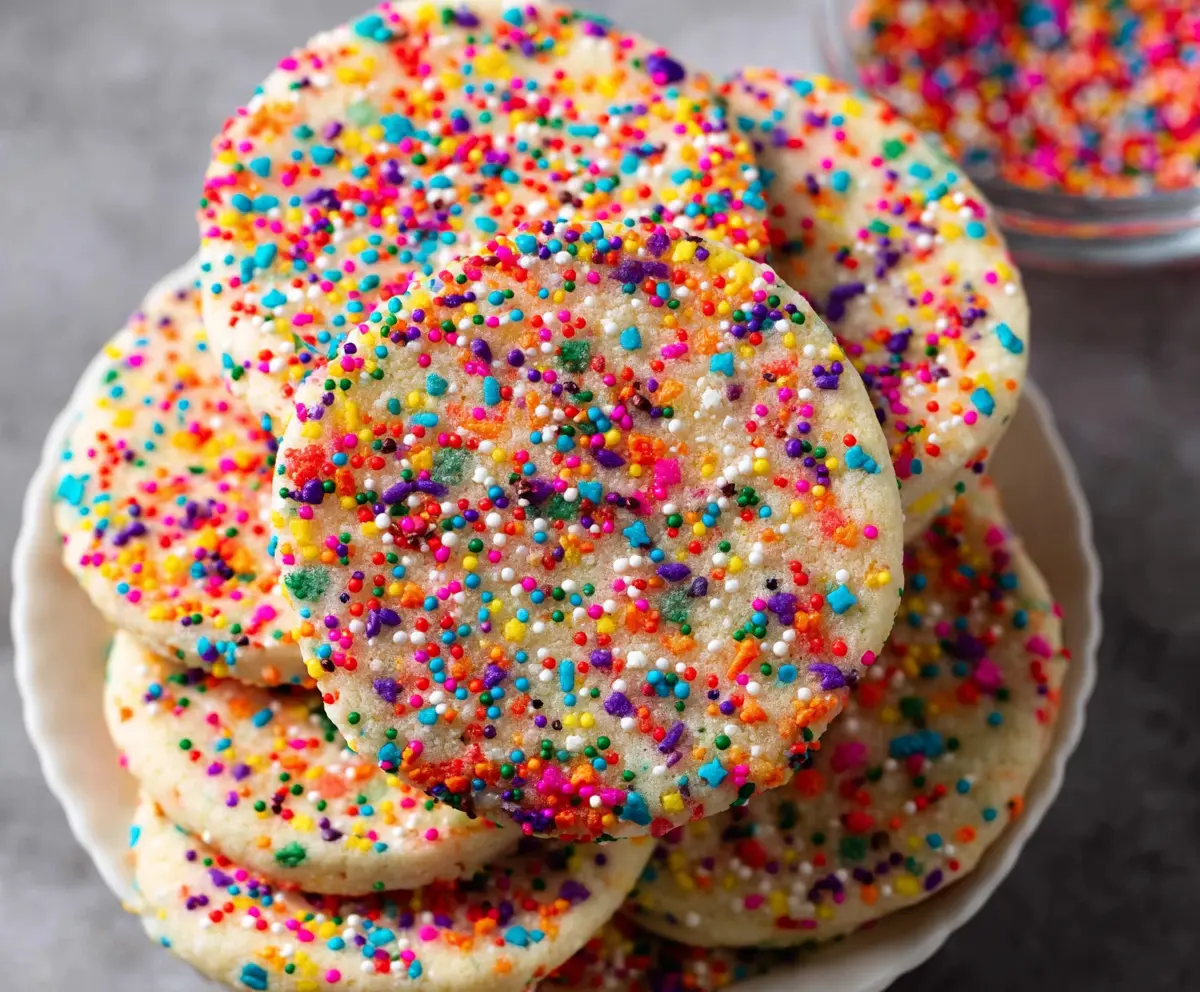
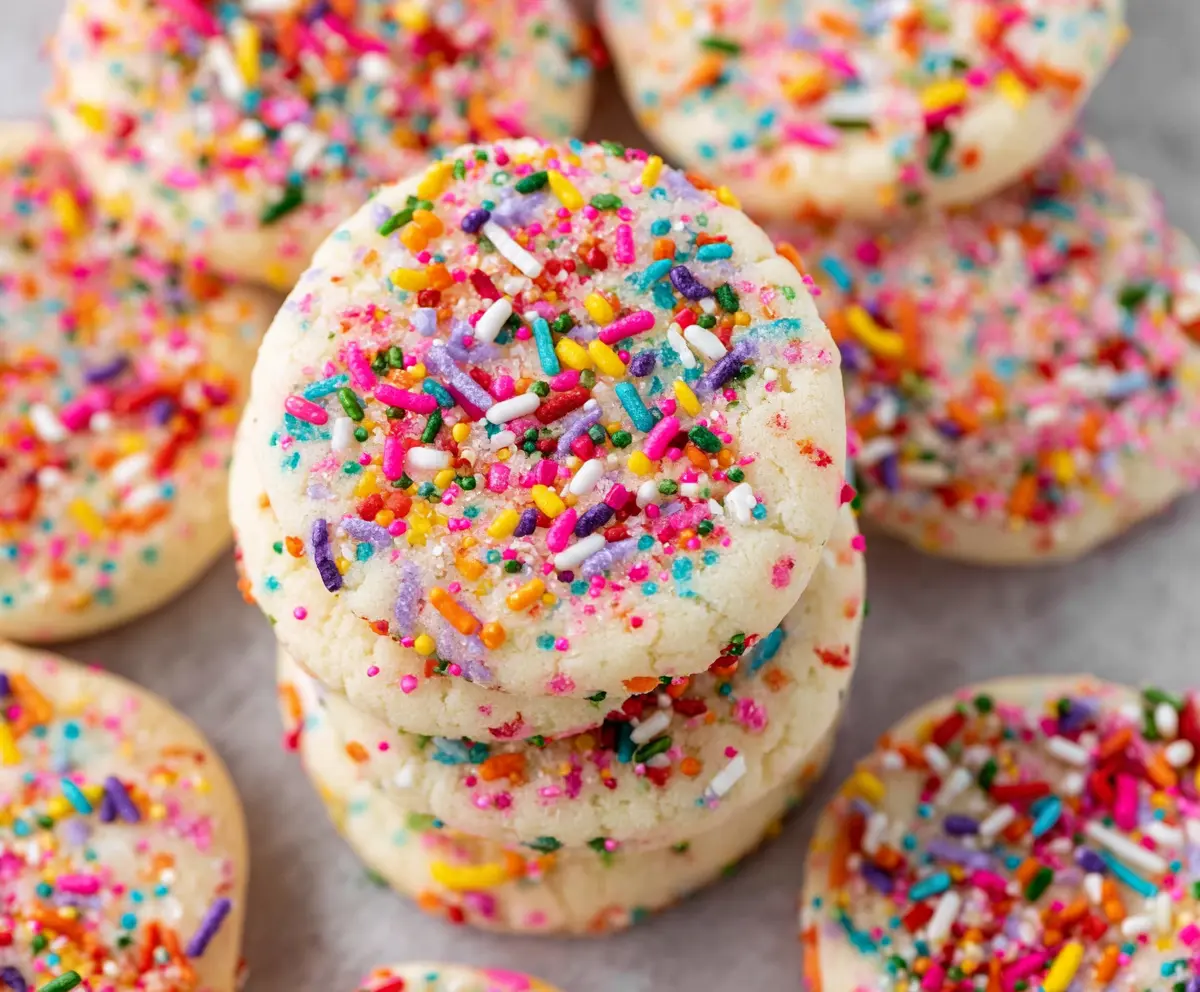
Sprinkle sugar cookies are soft, buttery treats that are perfect for any occasion! With colorful sprinkles on top, they add a fun twist to a classic cookie.
Making these cookies is a breeze! I love rolling the dough in sprinkles before baking—it’s like confetti for my taste buds! They’re great for sharing or just keeping all to yourself. 😉
Key Ingredients & Substitutions
All-Purpose Flour: This is the base of your cookies, providing structure and texture. If you need a gluten-free option, you can substitute with a 1:1 gluten-free flour blend.
Butter: Unsalted butter is key for controlling the salt level. If you’re dairy-free, try using a vegan butter stick or coconut oil for a similar texture, but surf on the flavor side.
Sugar: Granulated sugar gives sweetness and helps with spreading. Light brown sugar can be substituted for half to add a subtle molasses flavor and softness.
Sprinkles: Rainbow sprinkles make these cookies fun! Feel free to mix it up with seasonal sprinkles or use chocolate chips if you prefer a different look and taste.
How Do You Achieve the Perfect Cookie Texture?
Getting the texture just right requires attention during the mixing process. Here are some tips:
- When creaming butter and sugar, mix until light and fluffy. This introduces air, helping your cookies rise.
- Don’t overmix once you add the flour. Just mix until combined to keep your cookies tender.
- For a soft cookie, don’t skip the chilling. If dough is too soft to handle, refrigerate it for 30 minutes.
- Watch your baking time! Soft cookies will look slightly underbaked in the center—this is okay as they continue to cook on the baking sheet.
Following these tips will help ensure your sprinkle sugar cookies come out perfectly textured every time. Happy baking!
Sprinkle Sugar Cookies
Ingredients You’ll Need:
- 2 ¾ cups all-purpose flour
- 1 teaspoon baking soda
- ½ teaspoon baking powder
- 1 cup unsalted butter, softened
- 1 ½ cups granulated sugar
- 1 large egg
- 1 teaspoon vanilla extract
- ½ teaspoon almond extract (optional)
- 3 to 4 tablespoons milk
- ½ cup rainbow sprinkles, plus extra for coating
How Much Time Will You Need?
This cookie recipe takes about 15 minutes for prep and about 10 minutes for baking, making the total time around 25 minutes. Just a little time for a lot of fun and deliciousness!
Step-by-Step Instructions:
1. Preheat the Oven:
First things first! Preheat your oven to 375°F (190°C). While that’s heating up, line your baking sheets with parchment paper or silicone baking mats to prevent sticking.
2. Make the Dry Mix:
In a medium bowl, whisk together the all-purpose flour, baking soda, and baking powder. Mixing these dry ingredients together helps evenly distribute the leavening agents. Set this bowl aside for later.
3. Cream Butter and Sugar:
In a large bowl, use an electric mixer to cream the softened butter and granulated sugar together until it’s smooth and fluffy—this should take about 2-3 minutes. It’s the creamy base for your cookie!
4. Mix in the Wet Ingredients:
Add in the egg, vanilla extract, and if you’re using it, the almond extract. Beat these ingredients together until they’re well combined and smooth.
5. Combine the Dry and Wet Mixes:
Now, gradually add the dry mix into the wet mix. Do this slowly, mixing on low speed until just combined. We want smooth dough, so don’t overdo it!
6. Adjust the Dough Consistency:
Add the milk one tablespoon at a time until your dough comes together nicely and has a smooth, firm but slightly soft consistency. You want it to be easy to work with but not too sticky.
7. Fold in the Sprinkles:
Gently fold in ½ cup of those vibrant rainbow sprinkles into the dough. We’re getting closer to cookie time!
8. Shape the Cookies:
Scoop tablespoon-sized portions of the dough and roll each scoop into a ball in your hands. They should be nice and round!
9. Coat in Sprinkles:
On a plate, spread out more sprinkles. Roll each dough ball in the sprinkles so they are generously coated—this is the fun part!
10. Place on Baking Sheets:
Arrange the sprinkle-covered dough balls on the lined baking sheets, about 2 inches apart. Flatten each ball slightly using your palm or the bottom of a glass, so they have a nice shape as they bake.
11. Baking Time:
Bake your cookies in the preheated oven for about 8-10 minutes. Keep an eye on them; they should be just starting to turn golden at the edges while the center still looks soft—that’s perfect!
12. Cool and Enjoy:
Once you take them out of the oven, let the cookies sit on the baking sheet for 5 minutes. Then, transfer them to a wire rack to cool completely. And there you go, colorful sprinkle sugar cookies ready to share (or not!).
Enjoy your colorful, buttery sprinkle sugar cookies! They’re perfect with milk or as a cheerful treat anytime.
Can I Use Different Types of Sprinkles?
Absolutely! Feel free to experiment with different types of sprinkles such as chocolate chips, nonpareils, or seasonal-themed sprinkles to match any occasion. Just keep in mind that this may slightly alter the flavor and texture.
How Do I Store Leftover Cookies?
Store any leftover cookies in an airtight container at room temperature for up to 5 days. For longer storage, you can freeze the cookies for up to 3 months. Just make sure to layer them between parchment paper to prevent sticking!
What If My Dough Is Too Sticky?
If your dough feels too sticky, try chilling it in the refrigerator for 30 minutes. This will firm it up, making it easier to shape and roll in sprinkles. Adding a little more flour can also help if it remains sticky.
Can I Make This Recipe Vegan?
Yes! To make these cookies vegan, replace the egg with a flax egg (1 tablespoon ground flaxseed mixed with 2.5 tablespoons water, let it sit for 5 minutes) and use a plant-based butter substitute. They will still turn out delicious!