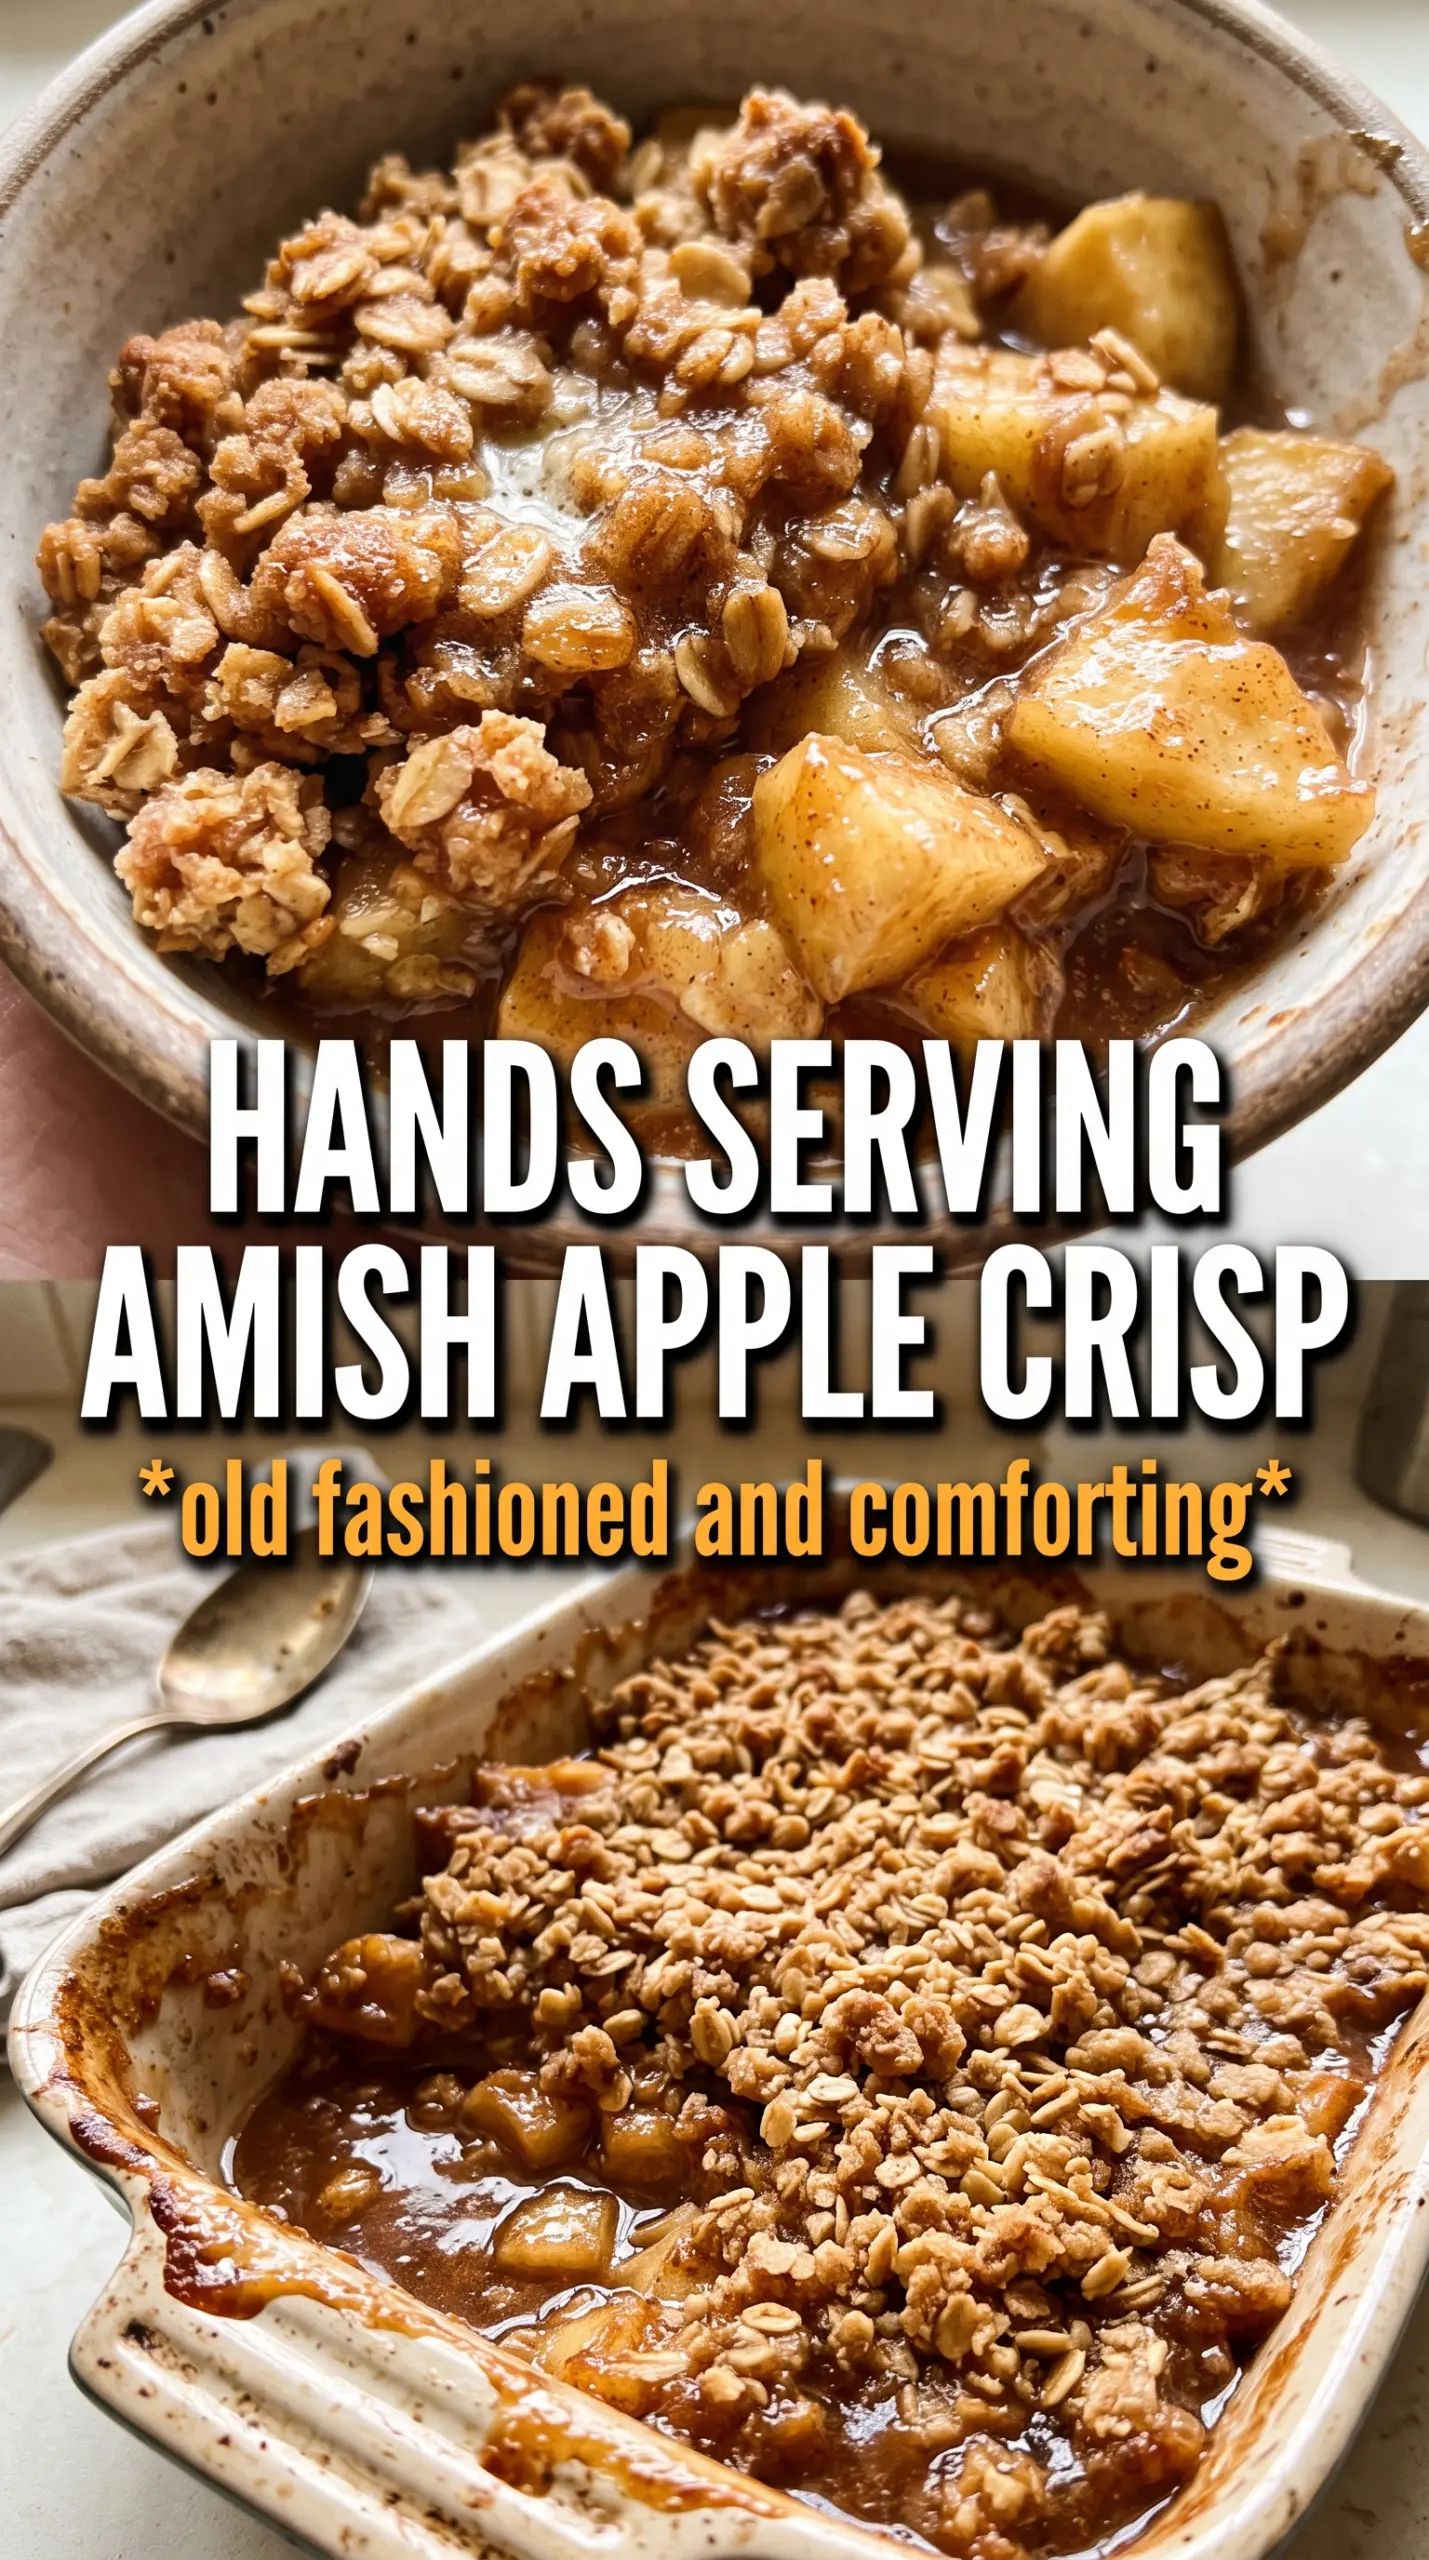
Amish apple crisp bakes into a deep, spoonable dessert with a thick oat crumble and tender apples that turn jammy underneath. The topping gets crisp at the edges, a little chewy in the middle, and sturdy enough to stand up to a scoop of vanilla ice cream without collapsing into crumbs the second it hits the plate.
What makes this version work is the balance. The apples are lightly sugared and tossed with flour, so the juices thicken instead of flooding the pan. The topping uses both oats and a generous amount of brown sugar, which gives you that old-fashioned crumble with a caramel note and the kind of texture that feels closer to a bakery streusel than a thin sprinkle.
Below, I’ve included the little details that keep the topping clumpy, the filling thick, and the whole dessert easy to serve. If your apple crisps have ever turned watery or soggy on top, the notes in this post will help.
The topping baked up thick and crunchy, and the apple filling set up after 15 minutes exactly like you said. Mine needed the full 55 minutes for the juices to bubble at the edges, but it was worth the wait.
Save this Amish apple crisp for the nights when you want a thick brown sugar crumble and a bubbling apple filling that holds its shape.
The Secret to a Crisp Topping That Stays Craggy
The mistake that ruins a lot of apple crisp is treating the topping like pie dough. You want clumps, not a smooth, blended layer. When the butter stays cold and you work it in just until you get uneven crumbs and some bigger pieces, those pieces bake into browned ridges instead of melting into a pasty blanket.
The other thing that matters here is how thick the topping goes on. A generous layer is part of the charm, but it should still look rough and irregular. If you pack it down like a crust, the steam from the apples can trap underneath and soften the whole top before it has a chance to brown.
- Cold butter — This is what creates the crisp, craggy texture. Warm butter blends in too evenly and you lose the crumbly peaks that bake up golden.
- Lard or extra butter — Traditional lard gives the crumble a shorter, more rustic bite. Extra butter works fine if that’s what you have, but the texture will be a little richer and less flaky.
- Rolled oats — Old-fashioned oats hold their shape and add chew. Quick oats break down faster and make the topping denser.
- Apples — Use firm baking apples. Soft apples turn mushy before the topping is done, and that’s how you end up with apple soup under crumbs.
What Each Ingredient Is Actually Doing in the Pan
- Apples — You need enough to build a deep layer, because they cook down a lot. Tart-sweet apples like Honeycrisp, Braeburn, Jonagold, or Granny Smith mixes keep the filling from tasting flat.
- Flour in the filling — This is the thickener. Without it, the apples release juice and the bottom turns loose and watery instead of glossy and spoonable.
- Brown sugar — Brown sugar gives the filling a deeper caramel note and helps the topping brown. If you swap it for all white sugar, the dessert tastes cleaner but less rich.
- Lemon juice — It keeps the apples from tasting dull and helps balance the sweetness. Don’t skip it unless your apples are already very tart.
- Oats, flour, and sugar in the crumble — Flour holds the crumble together, oats add structure, and sugar helps it brown and crisp. That trio is what makes this topping thick enough to stand on its own.
- Cinnamon, nutmeg, and allspice — Cinnamon leads, but the other spices keep the filling from tasting one-note. The nutmeg and allspice are subtle, and they should stay in the background.
How to Bake It So the Apples Set and the Top Stays Crunchy
Building the Apple Layer
Toss the sliced apples with the sugars, spices, flour, and lemon juice until every slice looks lightly coated. Then spread them in a deep, even layer in the pan. If the apples mound too high in the center, the middle takes too long to bubble and the edges overcook before the filling is ready.
Cutting in the Topping
Work the cold butter into the dry crumble ingredients with your hands until you see a mix of sandy bits and larger clumps. Stop before it looks uniform. If the mixture turns pasty, the butter warmed up too much and the topping will bake up heavy instead of crisp.
Baking Until the Edges Bubble
Bake until the topping is deeply golden and you see the filling bubbling all around the edges of the pan. That bubbling matters more than the clock. It tells you the flour in the filling has cooked enough to thicken; if you pull it early, the apples can taste right but the juices will still be thin.
Letting It Rest Before Serving
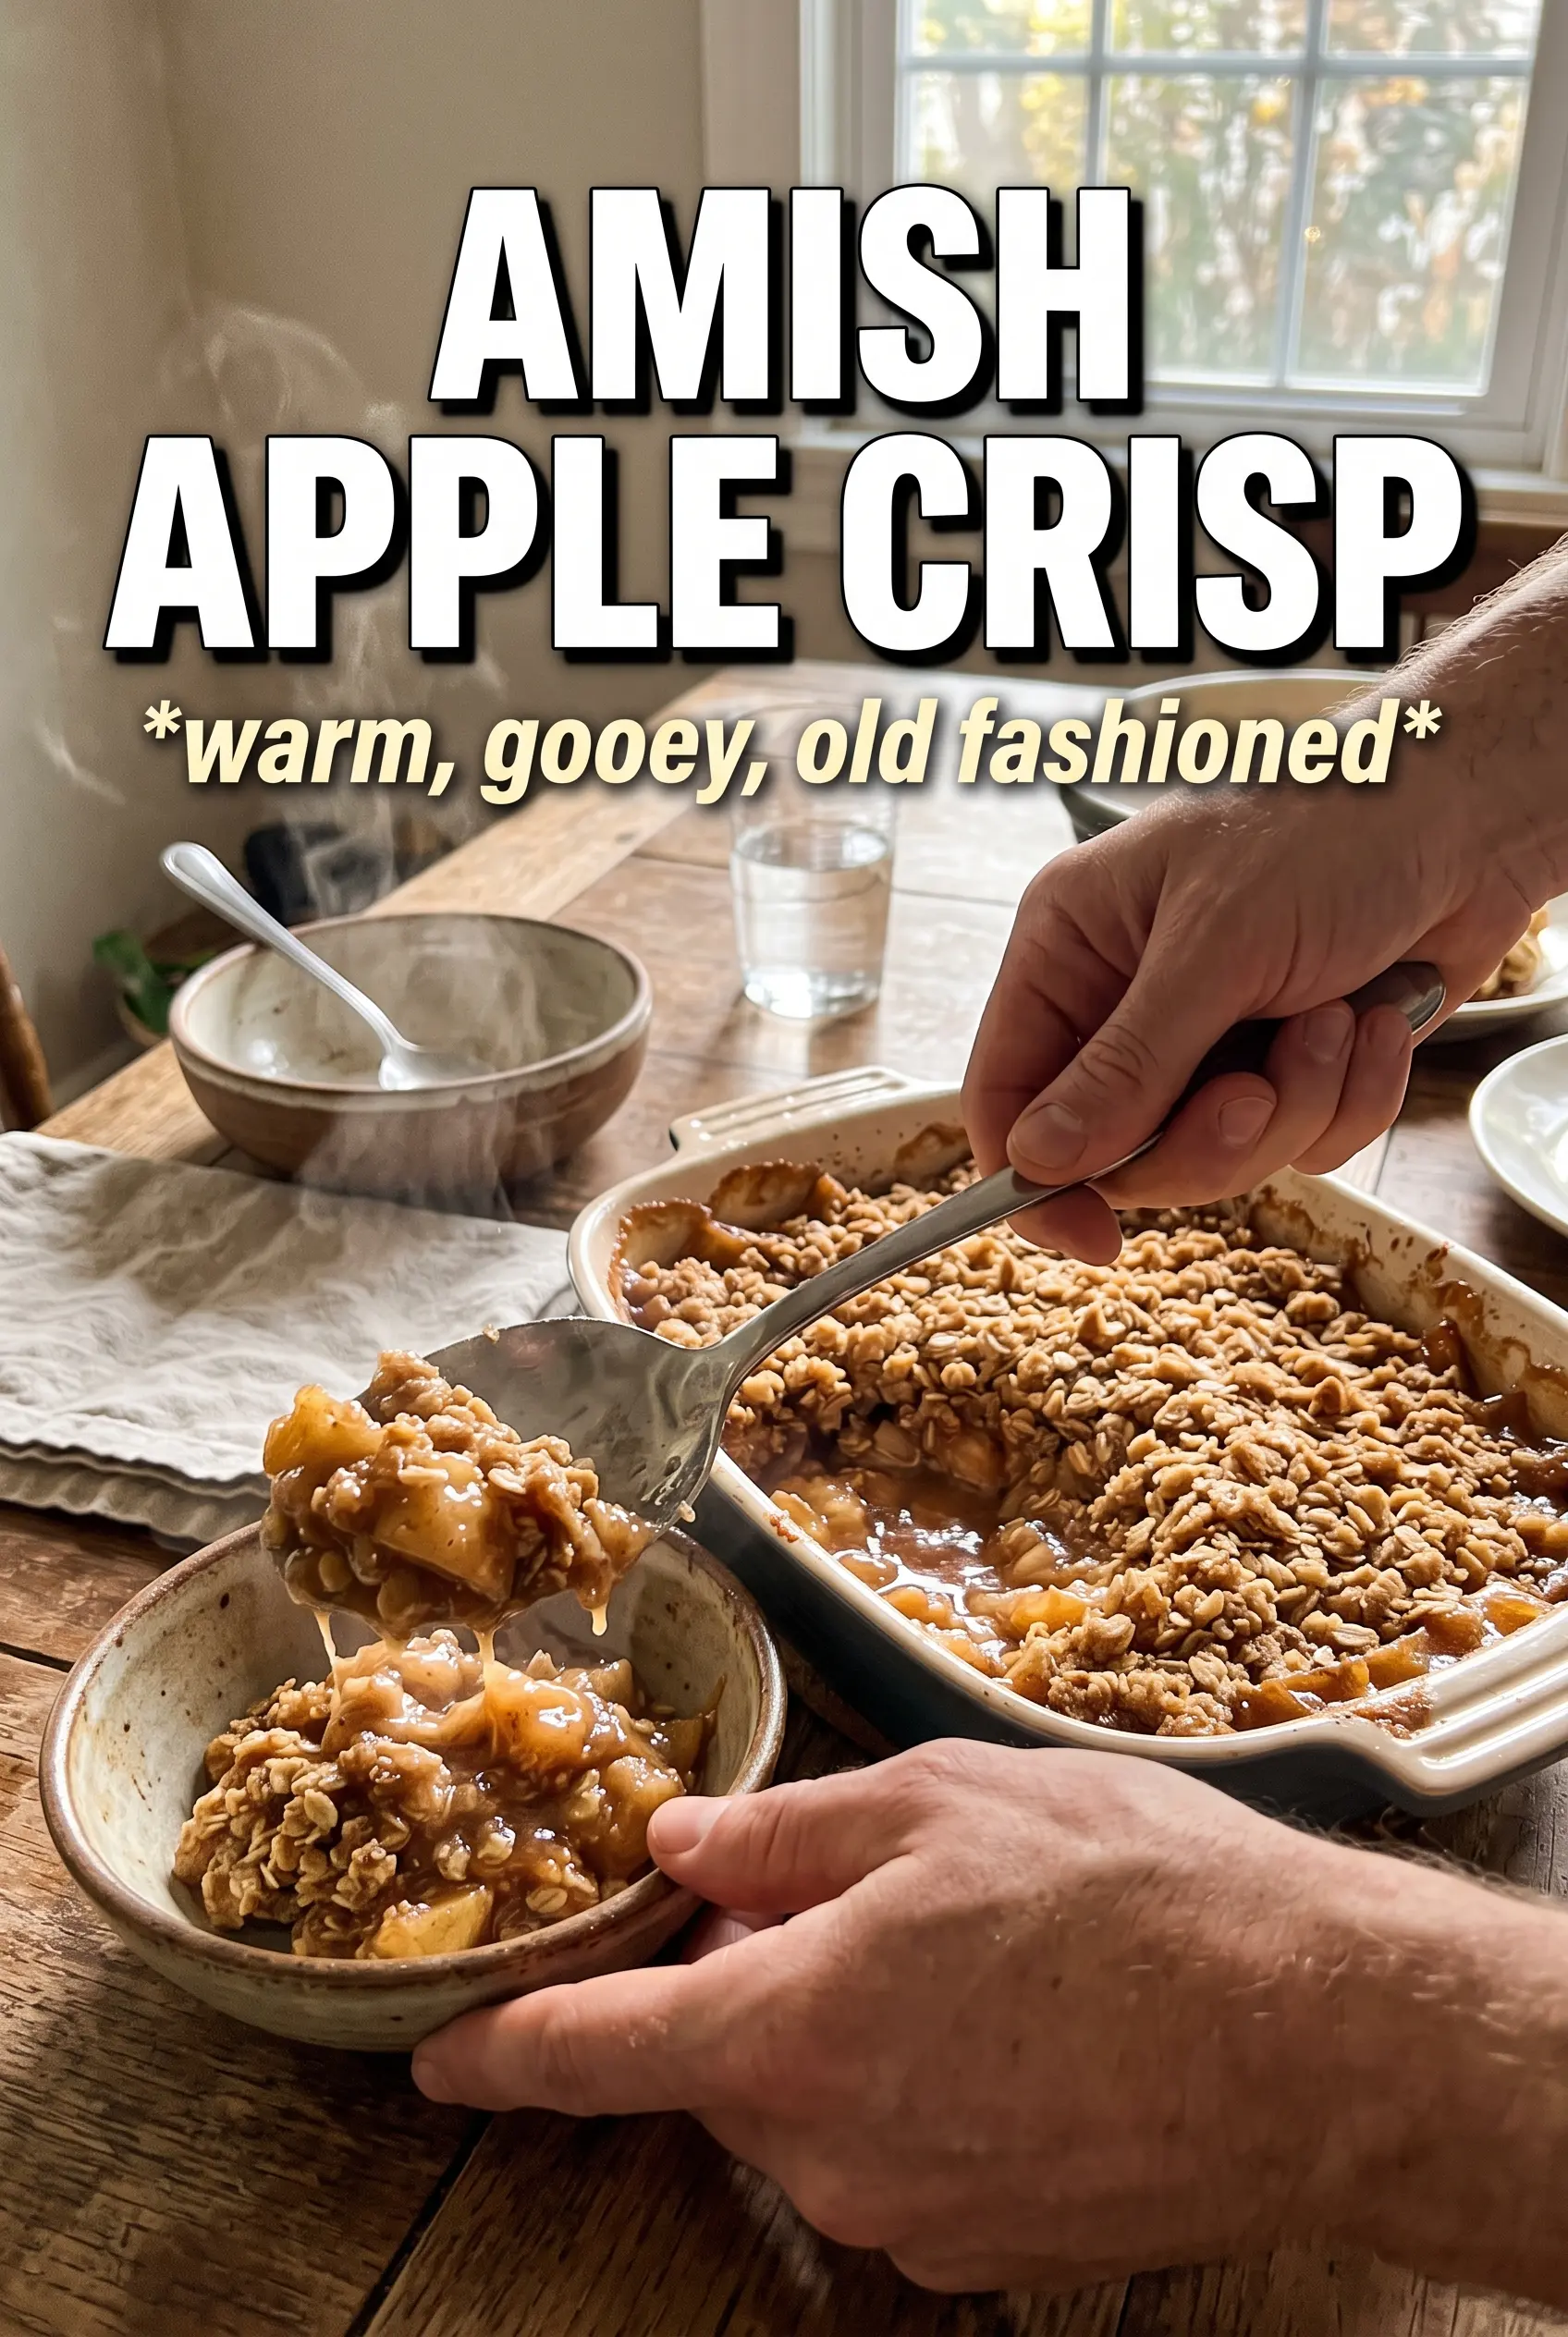
Give the crisp 15 minutes before scooping. The filling tightens as it cools, and that short rest keeps the serving spoon from sliding through a pool of hot juice. It will still be warm, but the fruit will hold together much better.
How I’d Adjust This Amish Apple Crisp for Different Kitchens
Dairy-Free Version
Use all butter substitute or plant-based sticks in place of the butter. You’ll still get a crisp topping, but the flavor will be a little less rich and the crumble may brown a touch faster, so start checking the pan near the end of the bake time.
No Lard, All Butter
Skip the lard and use an extra 1/2 cup of cold butter. The topping will still bake up beautifully, just with a slightly softer, more buttery crumble instead of the old-fashioned short texture lard gives.
Gluten-Free Swap
Use a 1:1 gluten-free flour blend in both the filling and topping, and make sure your oats are certified gluten-free. The texture will be a little more delicate, but the crisp still bakes up well if you don’t overmix the topping.
Making It Ahead
Assemble the crisp, cover it, and refrigerate it for up to 24 hours before baking. The topping may brown a little more slowly from the cold start, so give it a few extra minutes in the oven and wait for the filling to bubble all the way around the pan.
Storage and Reheating
- Refrigerator: Store leftovers covered for up to 4 days. The topping softens in the fridge, but the flavor stays excellent.
- Freezer: Freeze baked crisp in portions or as a whole pan, tightly wrapped, for up to 2 months. Thaw in the refrigerator before reheating.
- Reheating: Warm in a 325F oven until heated through and the top re-crisps, about 15 to 20 minutes. The microwave will heat the filling, but it turns the crumble soft.
Answers to the Questions Worth Asking
Amish Apple Crisp
Ingredients
Equipment
Method
- Preheat the oven to 350F and grease a large 10x15 roasting pan or 9x13 baking dish for easy release.
- Toss the apple slices with both sugars, cinnamon, nutmeg, allspice, flour, and lemon juice until the apples look evenly coated, then spread them in the pan in a deep layer.
- In a bowl, combine the flour, rolled oats, both sugars, cinnamon, and salt.
- Cut the cold butter (and lard if using) into the dry mixture with your hands until large crumbly clumps form.
- Spread the crumble thickly over the apples and press very gently so the topping stays in clumps.
- Bake for 50-55 minutes at 350F until the topping is deeply golden and the apple filling bubbles all around.
- Rest for 15 minutes before serving so the filling sets and slices hold together.
- Serve warm with vanilla ice cream and a pour of cold heavy cream.