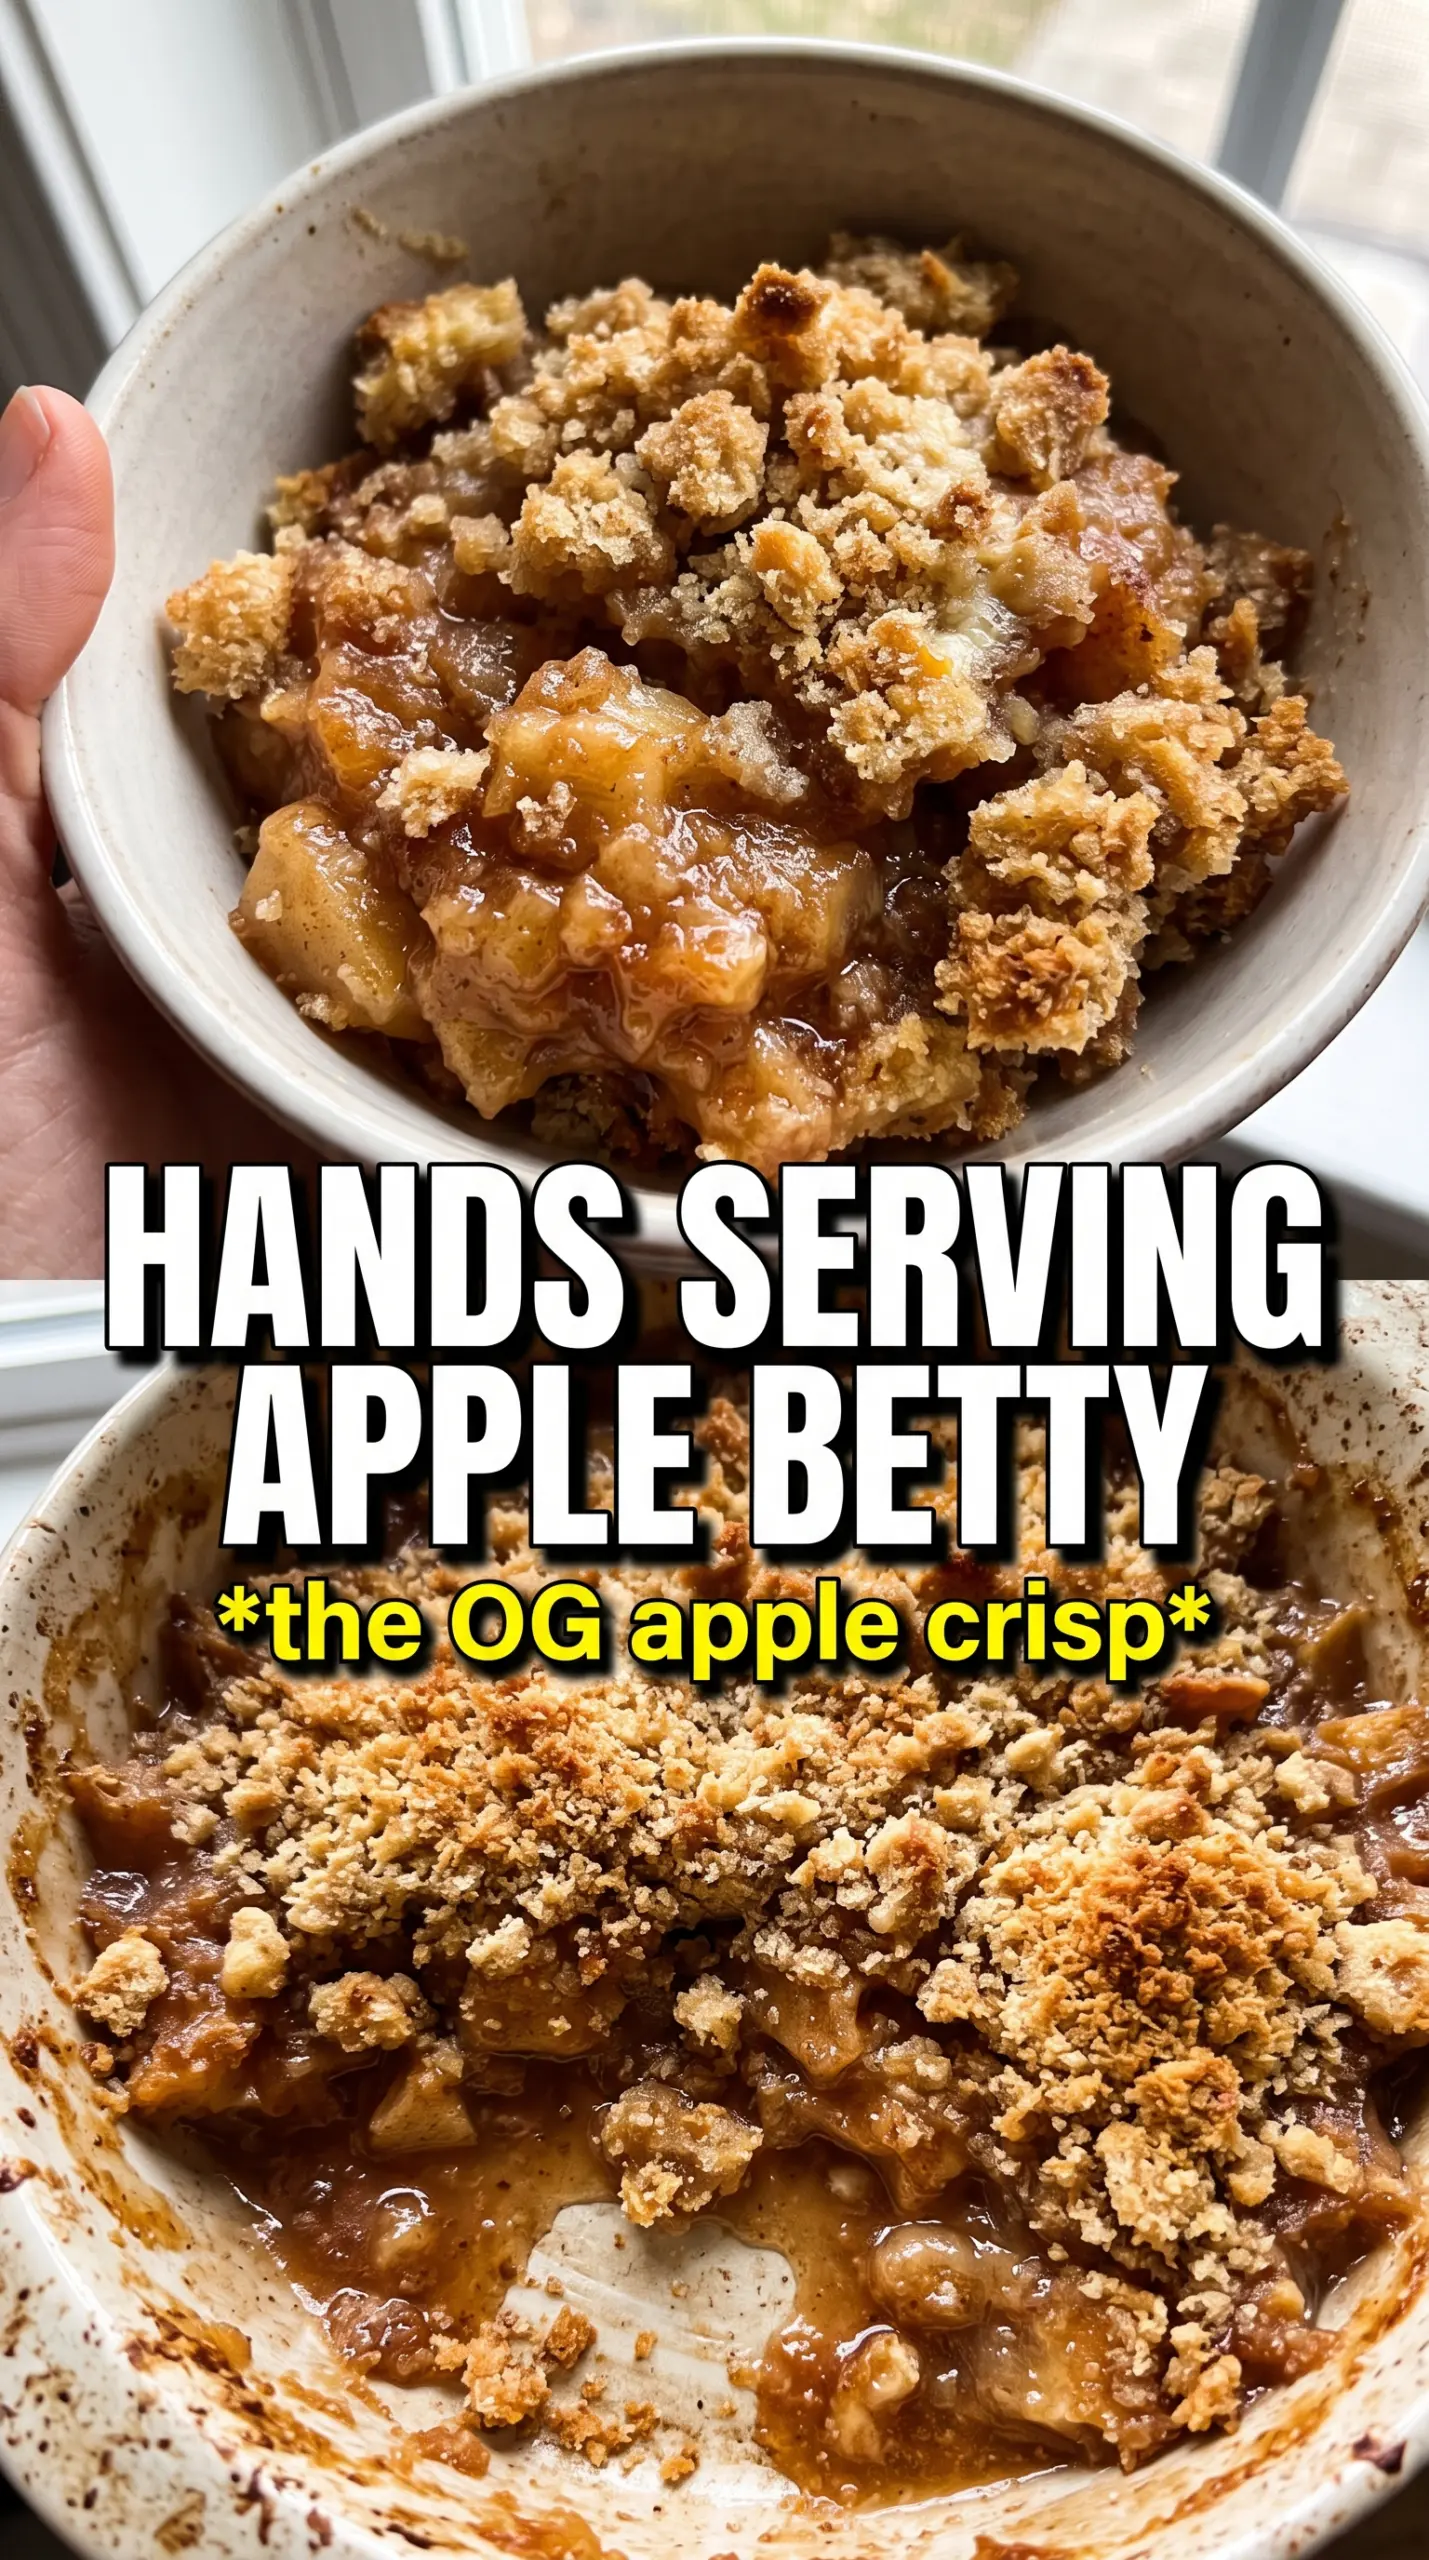
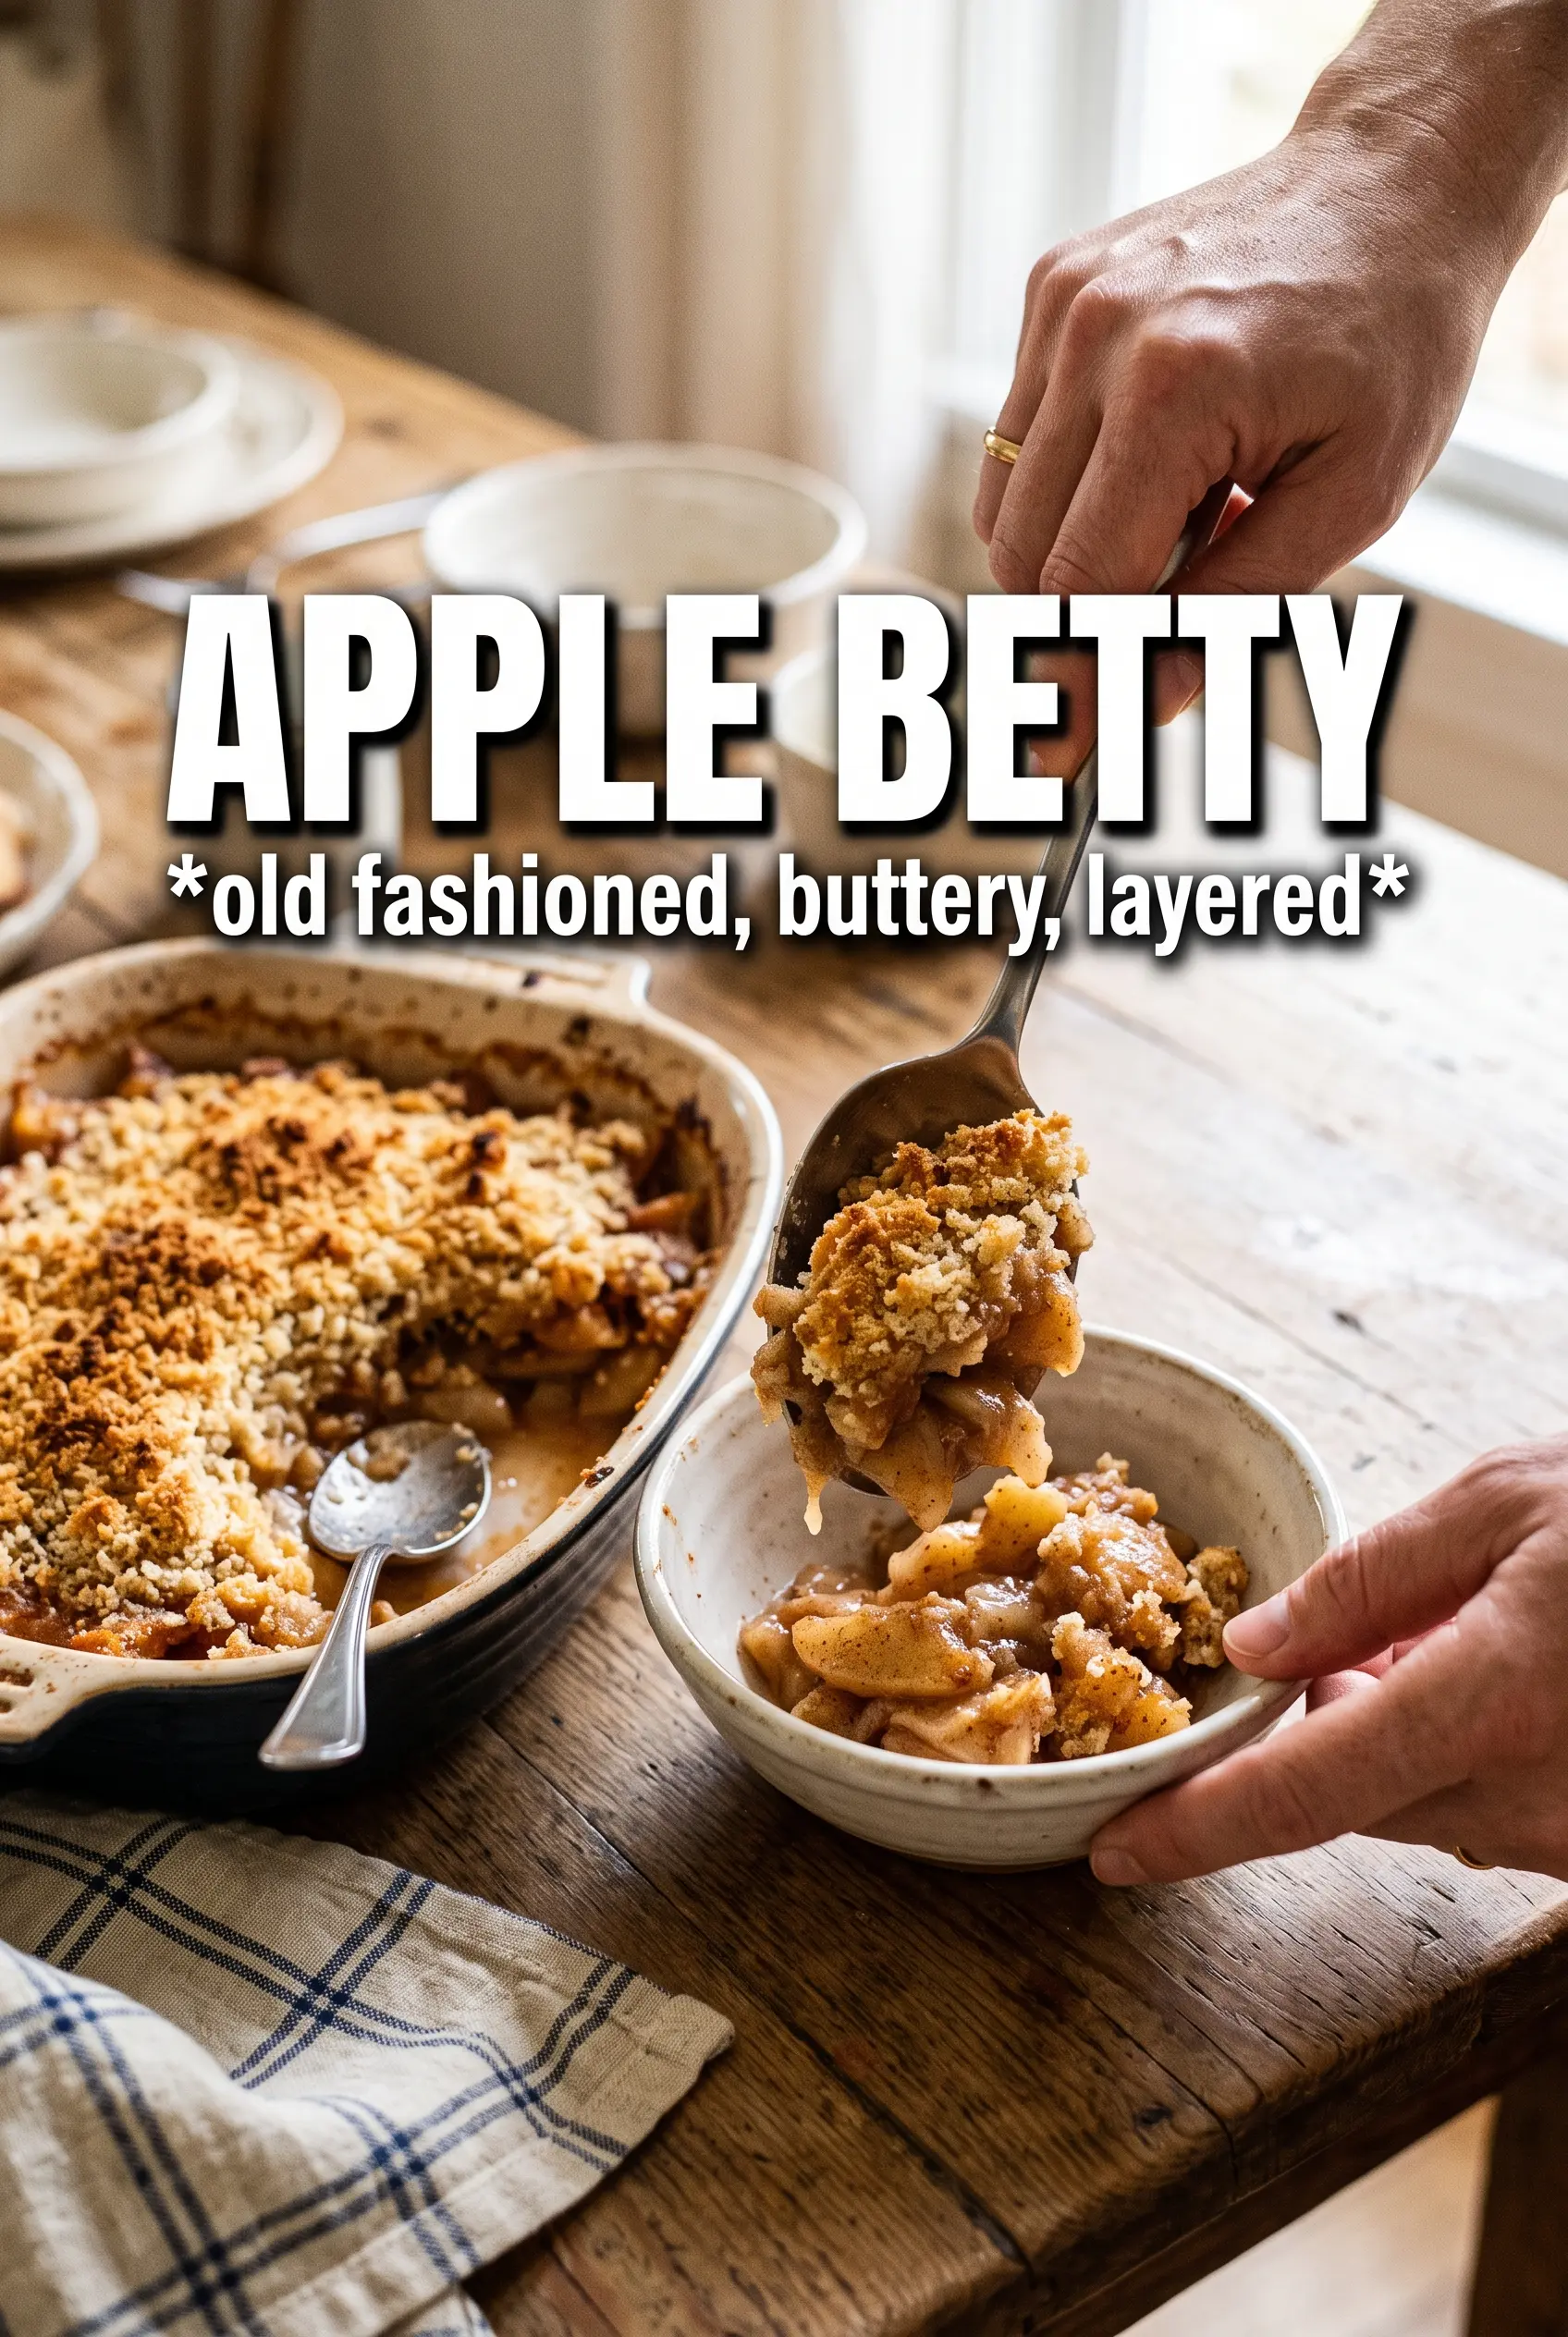
Apple Betty bakes up with a crackly, butter-rich topping and tender spiced apples underneath, and the contrast is what keeps people coming back for a second spoonful. The top turns deeply golden and crisp while the fruit softens into a spoonable layer that tastes like baked apples and brown sugar in the best possible way.
What makes this version work is the bread crumb topping. Day-old breadcrumbs soak up the melted butter without turning heavy, so they bake into a crisp, nubbly crust instead of a soggy lid. The apple mixture gets a little lemon juice and zest, which keeps the flavor bright and stops the dessert from tasting flat once the sugar and spice melt together.
Below, I’ll show you how to keep the layers distinct, which apples hold their shape best, and how to serve it so the topping stays crisp for as long as possible.
The breadcrumb topping stayed crisp all the way through dessert, and the apples baked down into soft layers without turning mushy. I served it with vanilla ice cream and my husband went back for a second bowl before I’d even cleared the table.
Save this Apple Betty for the nights when you want crisp buttered crumbs, tender baked apples, and a warm dessert that goes straight to the table.
The Trick to Keeping the Crumb Topping Crisp Under Soft Apples
Apple Betty can turn soggy when the fruit and crumbs are layered too tightly or when the topping starts out too dry. The fix is simple: every crumb needs to be coated in butter before it goes into the dish, and the apples need just enough liquid to steam and soften without flooding the pan. That balance is what gives you distinct layers instead of a casserole that eats like applesauce with bread on top.
The other thing that matters is thickness. Thin apple slices cook through at the same rate, so you don’t end up with firm pieces buried under soft ones. If the top is browning too quickly before the apples are tender, cover it loosely with foil for the last stretch of baking and let the fruit finish underneath.
- Day-old breadcrumbs — Fresh bread works best when it’s slightly stale because it absorbs the butter without clumping. If yours are very soft, spread them on a tray for a few minutes in a low oven first.
- Butter — Melted butter is what makes the topping crisp and rich. Don’t cut this back too far or the crumbs bake up dusty instead of bronzed.
- Apples — Use a mix that holds shape, like Granny Smith, Honeycrisp, or Braeburn. A soft-only apple can collapse before the topping is finished.
- Lemon juice and zest — They keep the filling bright and stop the dessert from tasting one-note. The zest matters here because it lifts the whole pan without making it sour.
What Each Ingredient Is Actually Doing in This Recipe
- Primary ingredient (the star) — Quality matters most. Choose the best you can find.
- Cooking medium (oil, butter, or broth) — This carries flavors and prevents dryness.
- Seasonings (salt, pepper, spices, herbs) — Layer flavors so nothing overpowers. Build depth gradually.
- Aromatics (garlic, onion, herbs) — Cook with fat to bloom flavors. Become the foundation.
- Supporting ingredients — Complement the main ingredient without overpowering it.
- Sauce or liquid (if applicable) — Brings flavors together. Balance richness with acid.
- Acid (lemon, vinegar, wine, or other) — Brightens and prevents flat-tasting results.
- Final finish (garnish, glaze, or sauce) — Prevents one-dimensional taste and adds visual appeal.
Building the Layers So Every Spoonful Tastes Balanced
Coating the Crumbs First
Toss the breadcrumbs with the melted butter until every piece looks lightly damp and evenly moistened. You want them glossy, not swimming. If pockets of dry crumbs remain, they’ll bake pale and dusty while the buttered ones turn crisp, which throws off the texture in the finished dish.
Seasoning the Apples
Mix the apple slices with brown sugar, cinnamon, nutmeg, allspice, lemon juice, and lemon zest until the fruit looks evenly coated. The sugar should start drawing out a little moisture, but not enough to puddle immediately. If you let this sit too long before assembling, the apples release too much juice and the bottom layers can get wet.
Stacking for the Right Bake
Spread one-third of the crumbs in the dish, add half the apples, drizzle with half the cider, then repeat and finish with the last layer of crumbs. That order matters because the middle layer helps keep the fruit from sinking into a dense bottom. Press the top down only very lightly; packing it hard stops air from moving through the crumbs and robs you of that crisp crust.
Baking Until the Top Shatters
Bake until the top is deeply golden and the apples are tender when pierced with a knife. You’re looking for bubbling at the edges and a crust that sounds crisp when tapped. If the top looks done but the apples still feel firm, let it bake a little longer under loose foil rather than raising the heat, which can dry out the topping before the fruit finishes.
How to Adapt Apple Betty Without Losing the Texture
Make it dairy-free
Use a plant-based butter substitute that melts cleanly and has a similar fat content. The topping won’t taste quite as rich, but it will still crisp if the substitute behaves like butter and you coat the crumbs evenly.
Swap the apples by season
If you don’t have all one variety, mix tart and sweet apples for better flavor depth. Soft apples alone can bake down too much, while very firm apples can stay a little stubborn in the center unless you slice them thinly.
Make it gluten-free
Use gluten-free bread to make the crumbs and dry them well before tossing with butter. The texture will be a little more delicate, but you’ll still get a crisp top if the crumbs are coarse rather than finely ground.
Add a deeper caramel note
Replace a few tablespoons of the brown sugar with dark brown sugar. It adds a little molasses backbone and makes the apples taste warmer, but too much will push the dessert toward sticky instead of clean and fruity.
Storage and Reheating
- Refrigerator: Store covered for up to 4 days. The topping softens as it sits, but the flavor stays good.
- Freezer: It freezes fairly well in a tightly wrapped baking dish or airtight container for up to 2 months. Thaw overnight in the refrigerator before reheating.
- Reheating: Rewarm in a 325F oven until hot, about 15-20 minutes for a smaller portion. The oven brings the crumbs back to life; the microwave will make the topping soft.
Questions I Get Asked About This Recipe
Apple Betty
Ingredients
Equipment
Method
- Preheat oven to 375°F and grease a 9x13 baking dish so the betty releases cleanly after baking.
- Toss the fresh breadcrumbs with the melted unsalted butter until evenly coated, then set aside and look for crumbs that are glossy and fully buttered.
- Mix the thinly sliced apples with brown sugar, cinnamon, nutmeg, allspice, lemon juice, and lemon zest until the apple slices look evenly speckled and slightly glossy.
- Spread 1/3 of the buttered breadcrumbs in the bottom of the greased dish to create a crisp base layer.
- Layer half the apple mixture over the breadcrumbs, then drizzle with half the apple cider or water so there’s moisture between layers.
- Repeat by adding another layer of breadcrumbs, then add the remaining apples and drizzle with the remaining apple cider or water.
- Finish with the final layer of breadcrumbs on top for a golden, crunchy crust.
- Bake for 40–45 minutes at 375°F until the top is deeply golden and crispy and the apples are tender, with the edges bubbling slightly.
- Let cool briefly, then serve warm with vanilla ice cream or heavy cream for a creamy contrast to the crisp topping.