Apple Crisp Baked Apples land somewhere between a warm baked apple and a proper crisp, which is exactly why they disappear fast. The apples soften into a spoonable center while the oat topping turns golden and crunchy, and the whole thing gets just enough caramelized edges to taste like dessert was actually planned. Served warm with ice cream, they give you the same comfort as apple crisp without needing to bake a full pan.
What makes this version work is the contrast. The apples stay intact because you core from the top and leave the bottom sealed, so the filling stays right where it belongs instead of leaking into the pan. The cold butter in the crumble matters too; it melts slowly in the oven and gives you those clumpy, crisp bits instead of a sandy topping. A little cider in the baking dish helps the apples steam gently while the tops brown.
Below you’ll find the small details that keep the crumble crisp, the apples tender, and the filling from turning watery. There’s also a few smart swaps if you need to work with what you have on hand.
The apples held their shape and the oat topping baked up crisp instead of soggy. I used Braeburns and the caramel sauce in the middle made them taste like apple crisp in a single serving.
Save these apple crisp baked apples for the nights when you want warm apple dessert without making a whole pan of crisp.
The Trick to Keeping the Apples Intact While They Bake
The biggest mistake with baked apples is coring too aggressively. If you take out the base, the filling melts straight into the dish and the apple collapses before the topping has a chance to brown. Leaving the bottom intact gives the apple a little shell to hold the cinnamon sugar, butter, and crumble while the heat works through the flesh from the top down.
Honeycrisp and Braeburn both hold up well because they soften without turning mealy. Softer apples can work, but they’ll slump more and lose that clean stuffed-apple look. The goal here is tender, not mushy. You want the knife to slide in easily, but the apple should still stand when you lift it with a spoon.
- Core from the top only — A melon baller or small paring knife helps you carve a deep cavity without punching through the bottom.
- Use firm baking apples — They keep their shape and give the best texture contrast against the crumble.
- Let the cider steam the fruit — The liquid in the pan keeps the bottoms from drying out and encourages even baking.
What Each Ingredient Is Actually Doing in the Filling and Crumble
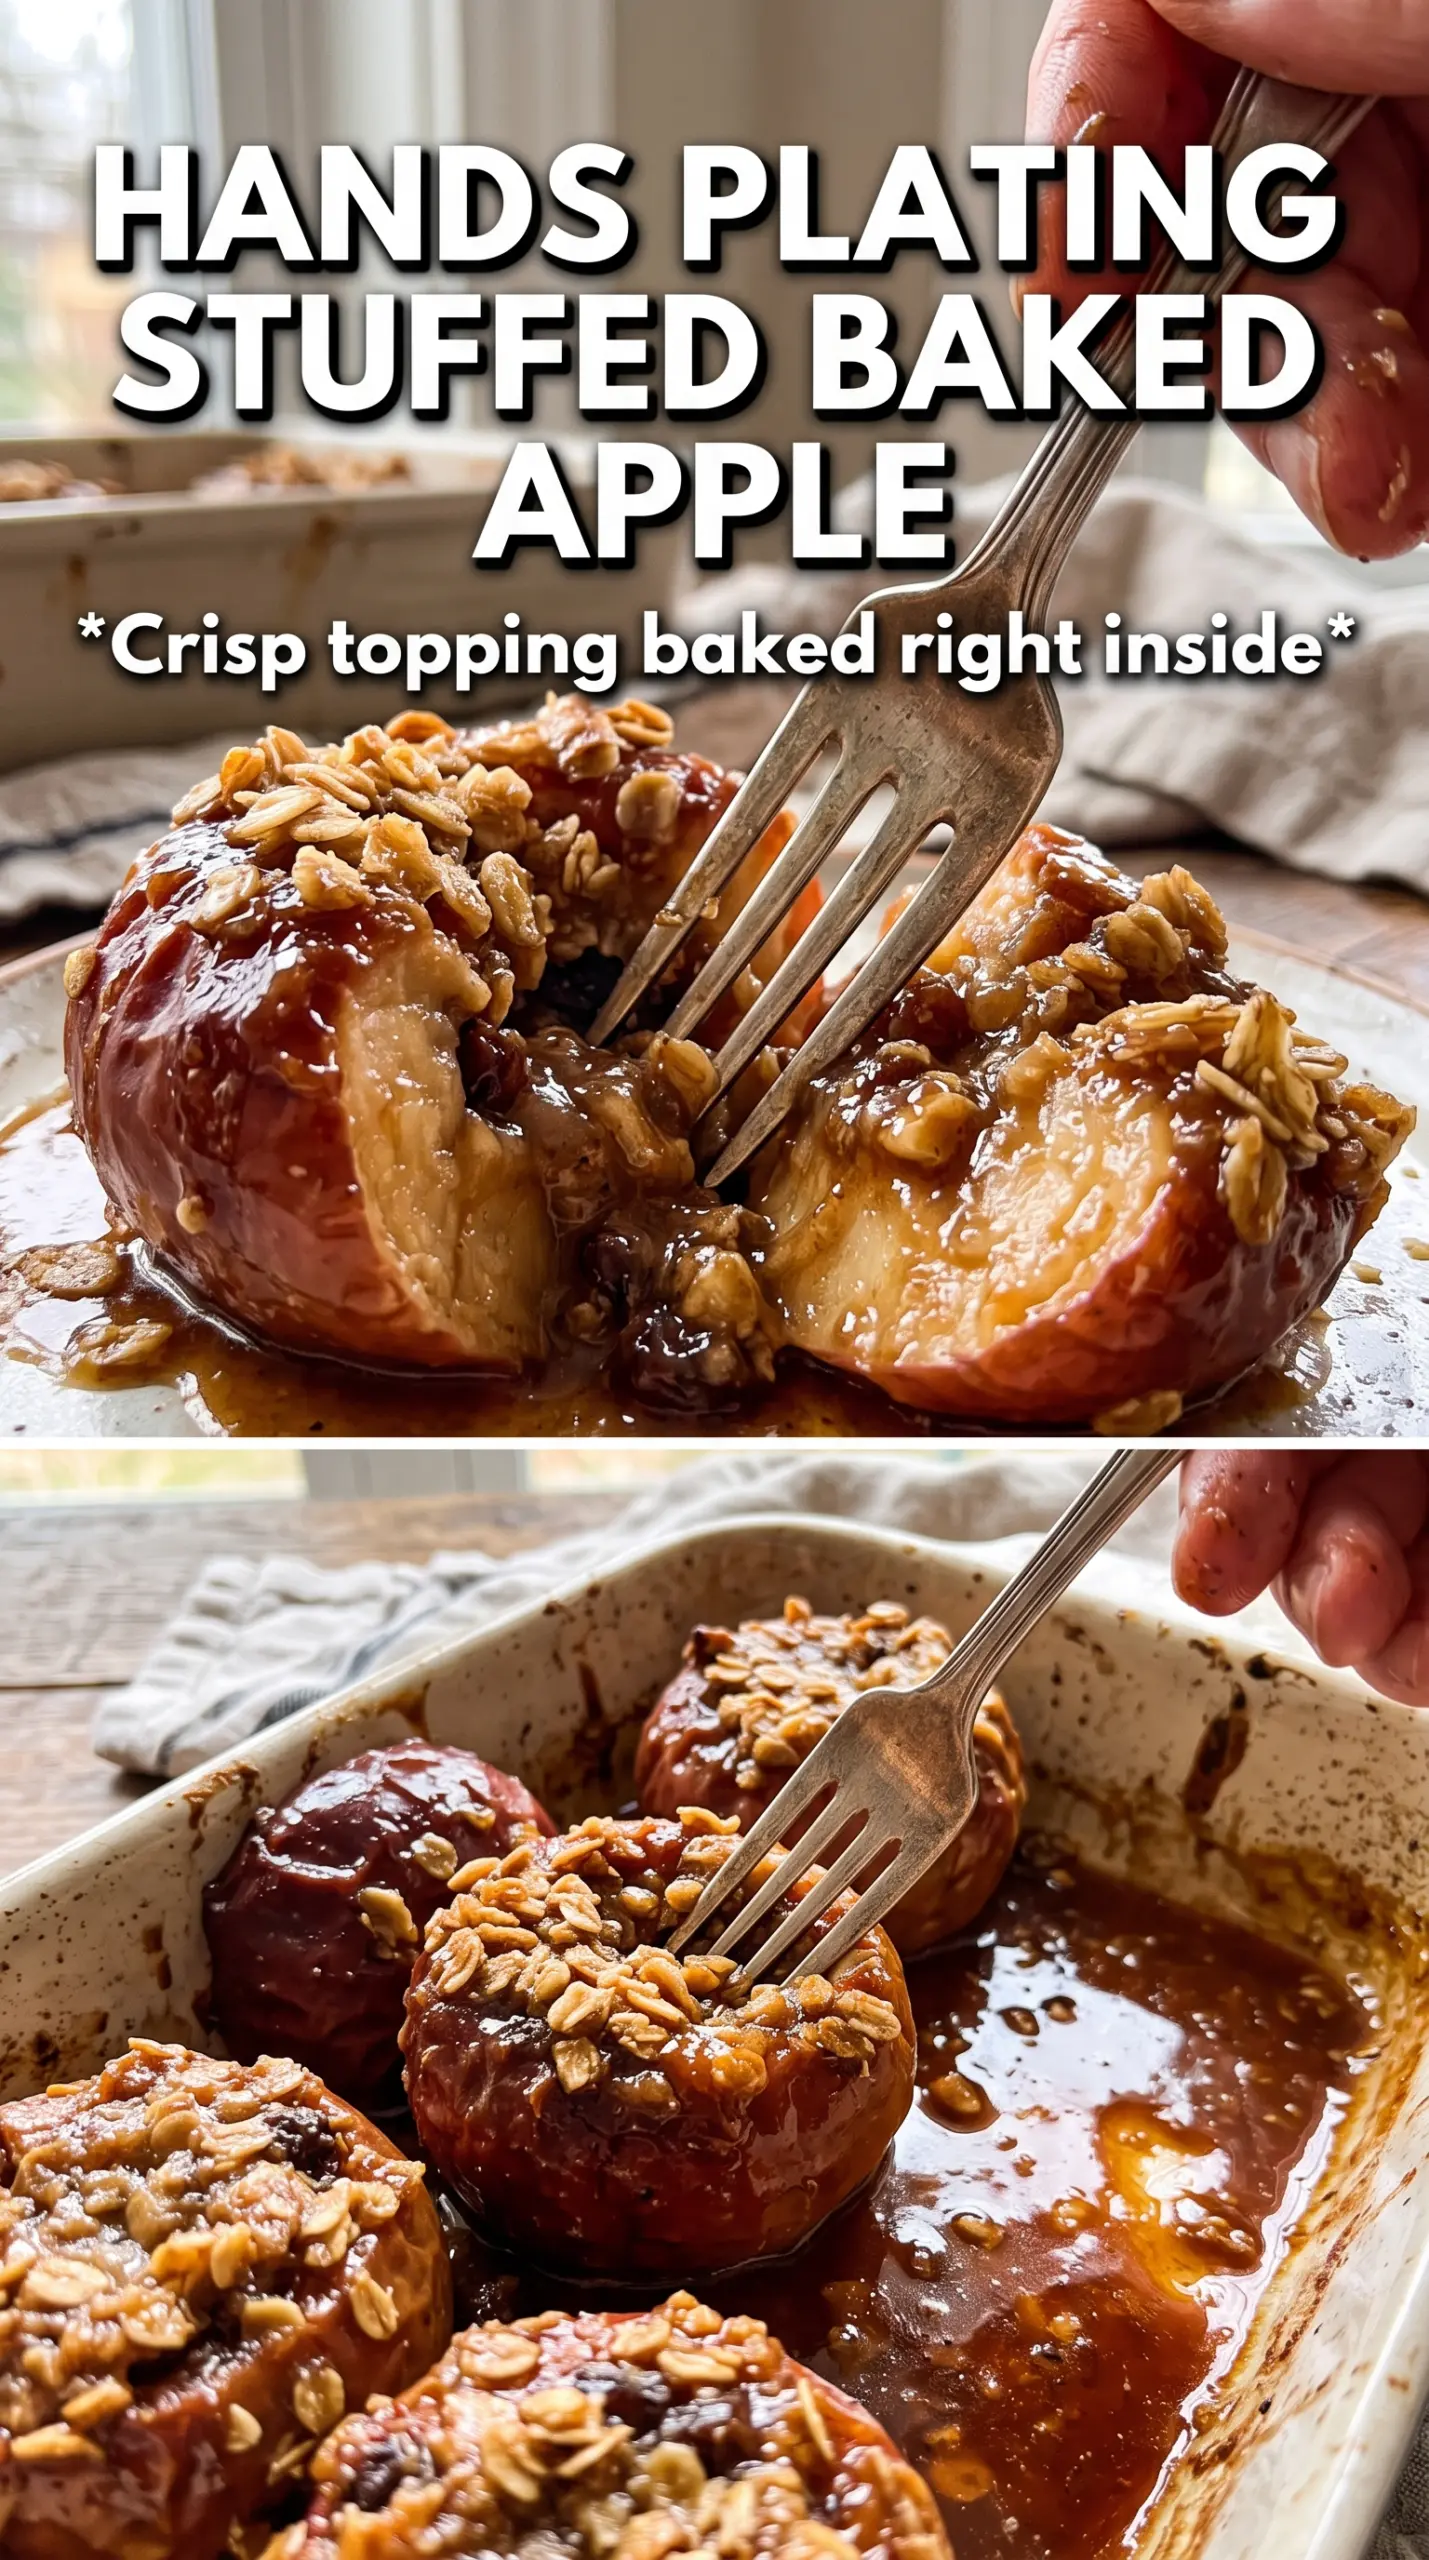
- Apples — These are the structure of the dessert, so choose firm ones with good flavor. Honeycrisp brings sweetness and a juicy bite; Braeburn gives a little more tartness and stays pleasantly firm.
- Rolled oats — Old-fashioned oats give the crumble that classic crisp texture. Quick oats can work in a pinch, but the topping will be tighter and less nubbly.
- All-purpose flour — This helps bind the topping so it bakes into clumps instead of loose crumbs. You can swap in a 1:1 gluten-free baking blend if needed, but the texture may be a little more delicate.
- Brown sugar — It melts into the apples and the crumble with a deeper caramel note than white sugar. The small amount inside each apple sweetens the center without making it overly syrupy.
- Cold butter — Cold cubes are what create a crisp, craggy topping. If the butter is soft, the crumble turns paste-like before it bakes.
- Apple cider or water — Cider adds a little extra apple flavor and a hint of tang. Water works fine if that’s what you have; the dish just tastes a touch cleaner and less rich.
Building the Crumble So It Bakes Up Crisp, Not Sandy
Start with the topping before you fill the apples
Mix the oats, flour, brown sugar, cinnamon, nutmeg, and salt first, then cut in the cold butter until the mixture looks like damp pebbles and small clumps. If you keep working it until it looks uniform, the topping loses the rough texture that makes a crisp topping worth eating. You want pieces of butter still visible. Those are the pockets that melt and brown.
Pack the filling where it counts
Use the brown sugar and cinnamon in the cavities, then tuck in a piece of butter before piling the crumble on top. The butter in the center melts into the apple as it bakes, which keeps the inside rich and glossy. Don’t overfill the cavity with loose crumble before the butter goes in, or the sugar can spill out and scorch on the pan.
Bake until the apple gives, not until it collapses
At 375°F, the apples need about 35 to 40 minutes, depending on their size and how dense they are. The crumble should be deeply golden and the apple should pierce easily with a paring knife, but the skin should still hold its shape. If the topping is browning too fast, lay a loose piece of foil over the pan for the last 10 minutes.
Make It Dairy-Free
Use a plant-based butter that’s meant for baking. The topping will still clump and brown, though it may set a little softer than with dairy butter. Skip the ice cream or use a dairy-free vanilla scoop at serving.
Make It Gluten-Free
Swap the all-purpose flour for a 1:1 gluten-free baking blend and use certified gluten-free oats. The topping keeps the same rustic crunch, though it may be a touch more fragile when you scoop the apples out of the dish.
Use Pears Instead of Apples
Firm Bosc pears work well if you want a softer, floral version of this dessert. They bake faster than apples, so start checking around 28 to 30 minutes. The texture is silkier and a little less structured, which is great if you like a gentler filling.
Add Chopped Pecans
A handful of finely chopped pecans in the crumble gives the topping a deeper toastiness and a little extra crunch. Keep the pieces small so they don’t fall off the apples while serving. This works especially well if you’re serving the dessert without ice cream.
Storage and Reheating
- Refrigerator: Store leftovers covered for up to 3 days. The topping softens a bit, but the flavor holds up well.
- Freezer: Freezing works, though the apple texture turns softer after thawing. Wrap each apple well and freeze for up to 1 month for the best result.
- Reheating: Warm in a 325°F oven until heated through, about 15 minutes. The oven brings the crumble back better than the microwave, which tends to make the topping limp and the apples watery.
Answers to the Questions Worth Asking
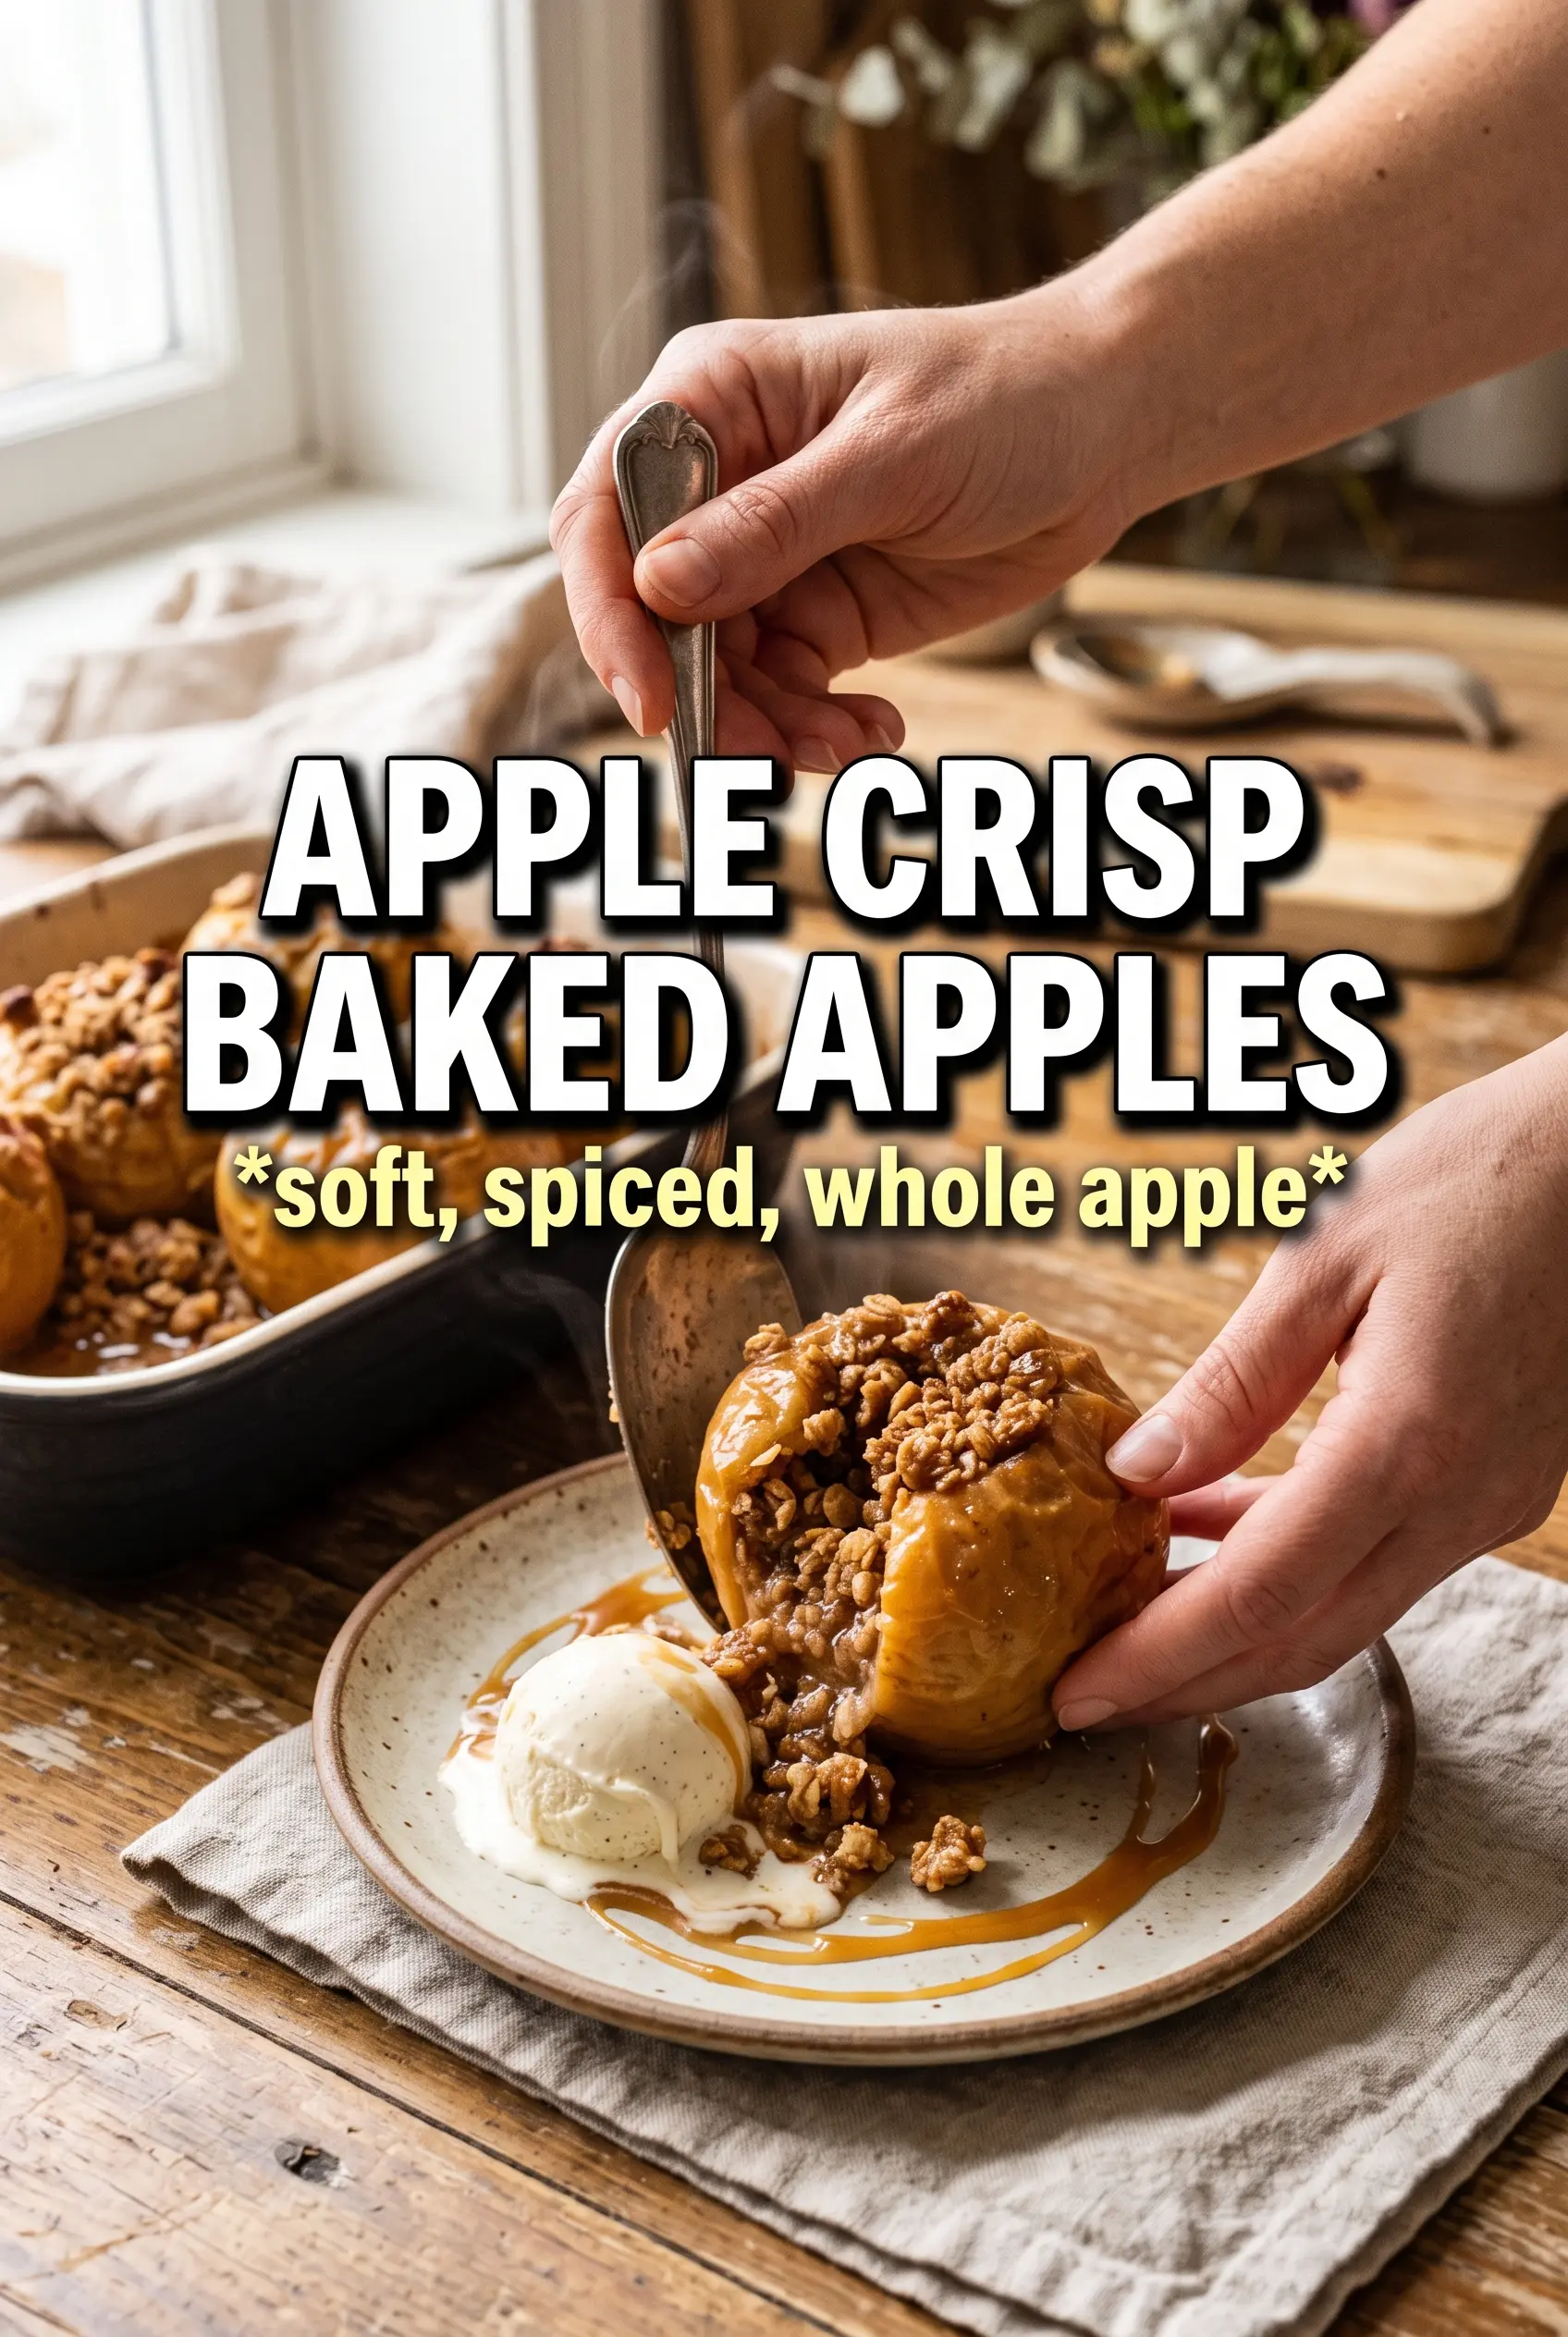
Apple Crisp Baked Apples
Ingredients
Equipment
Method
- Preheat the oven to 375F and pour apple cider into the bottom of a baking dish to create baking steam and prevent sticking.
- Core the apples from the top, leaving the bottom intact, to create a cavity about 1-1/2 inches wide.
- Mix brown sugar (for apple cavities) with cinnamon (for apple cavities), then place a pinch into each apple followed by one piece of unsalted butter cut into 6 pieces.
- Combine rolled oats, all-purpose flour, brown sugar (packed), cinnamon, nutmeg, and salt in a bowl, then cut in cold cubed butter until the mixture looks clumpy.
- Pack the crumble into and over the top of each apple so the topping mounds high above the rim.
- Bake at 375F for 35-40 minutes until the apples are tender and the crumble is golden, with visible caramelized edges around the apples.
- Serve immediately with vanilla ice cream and caramel sauce while the topping is crisp.