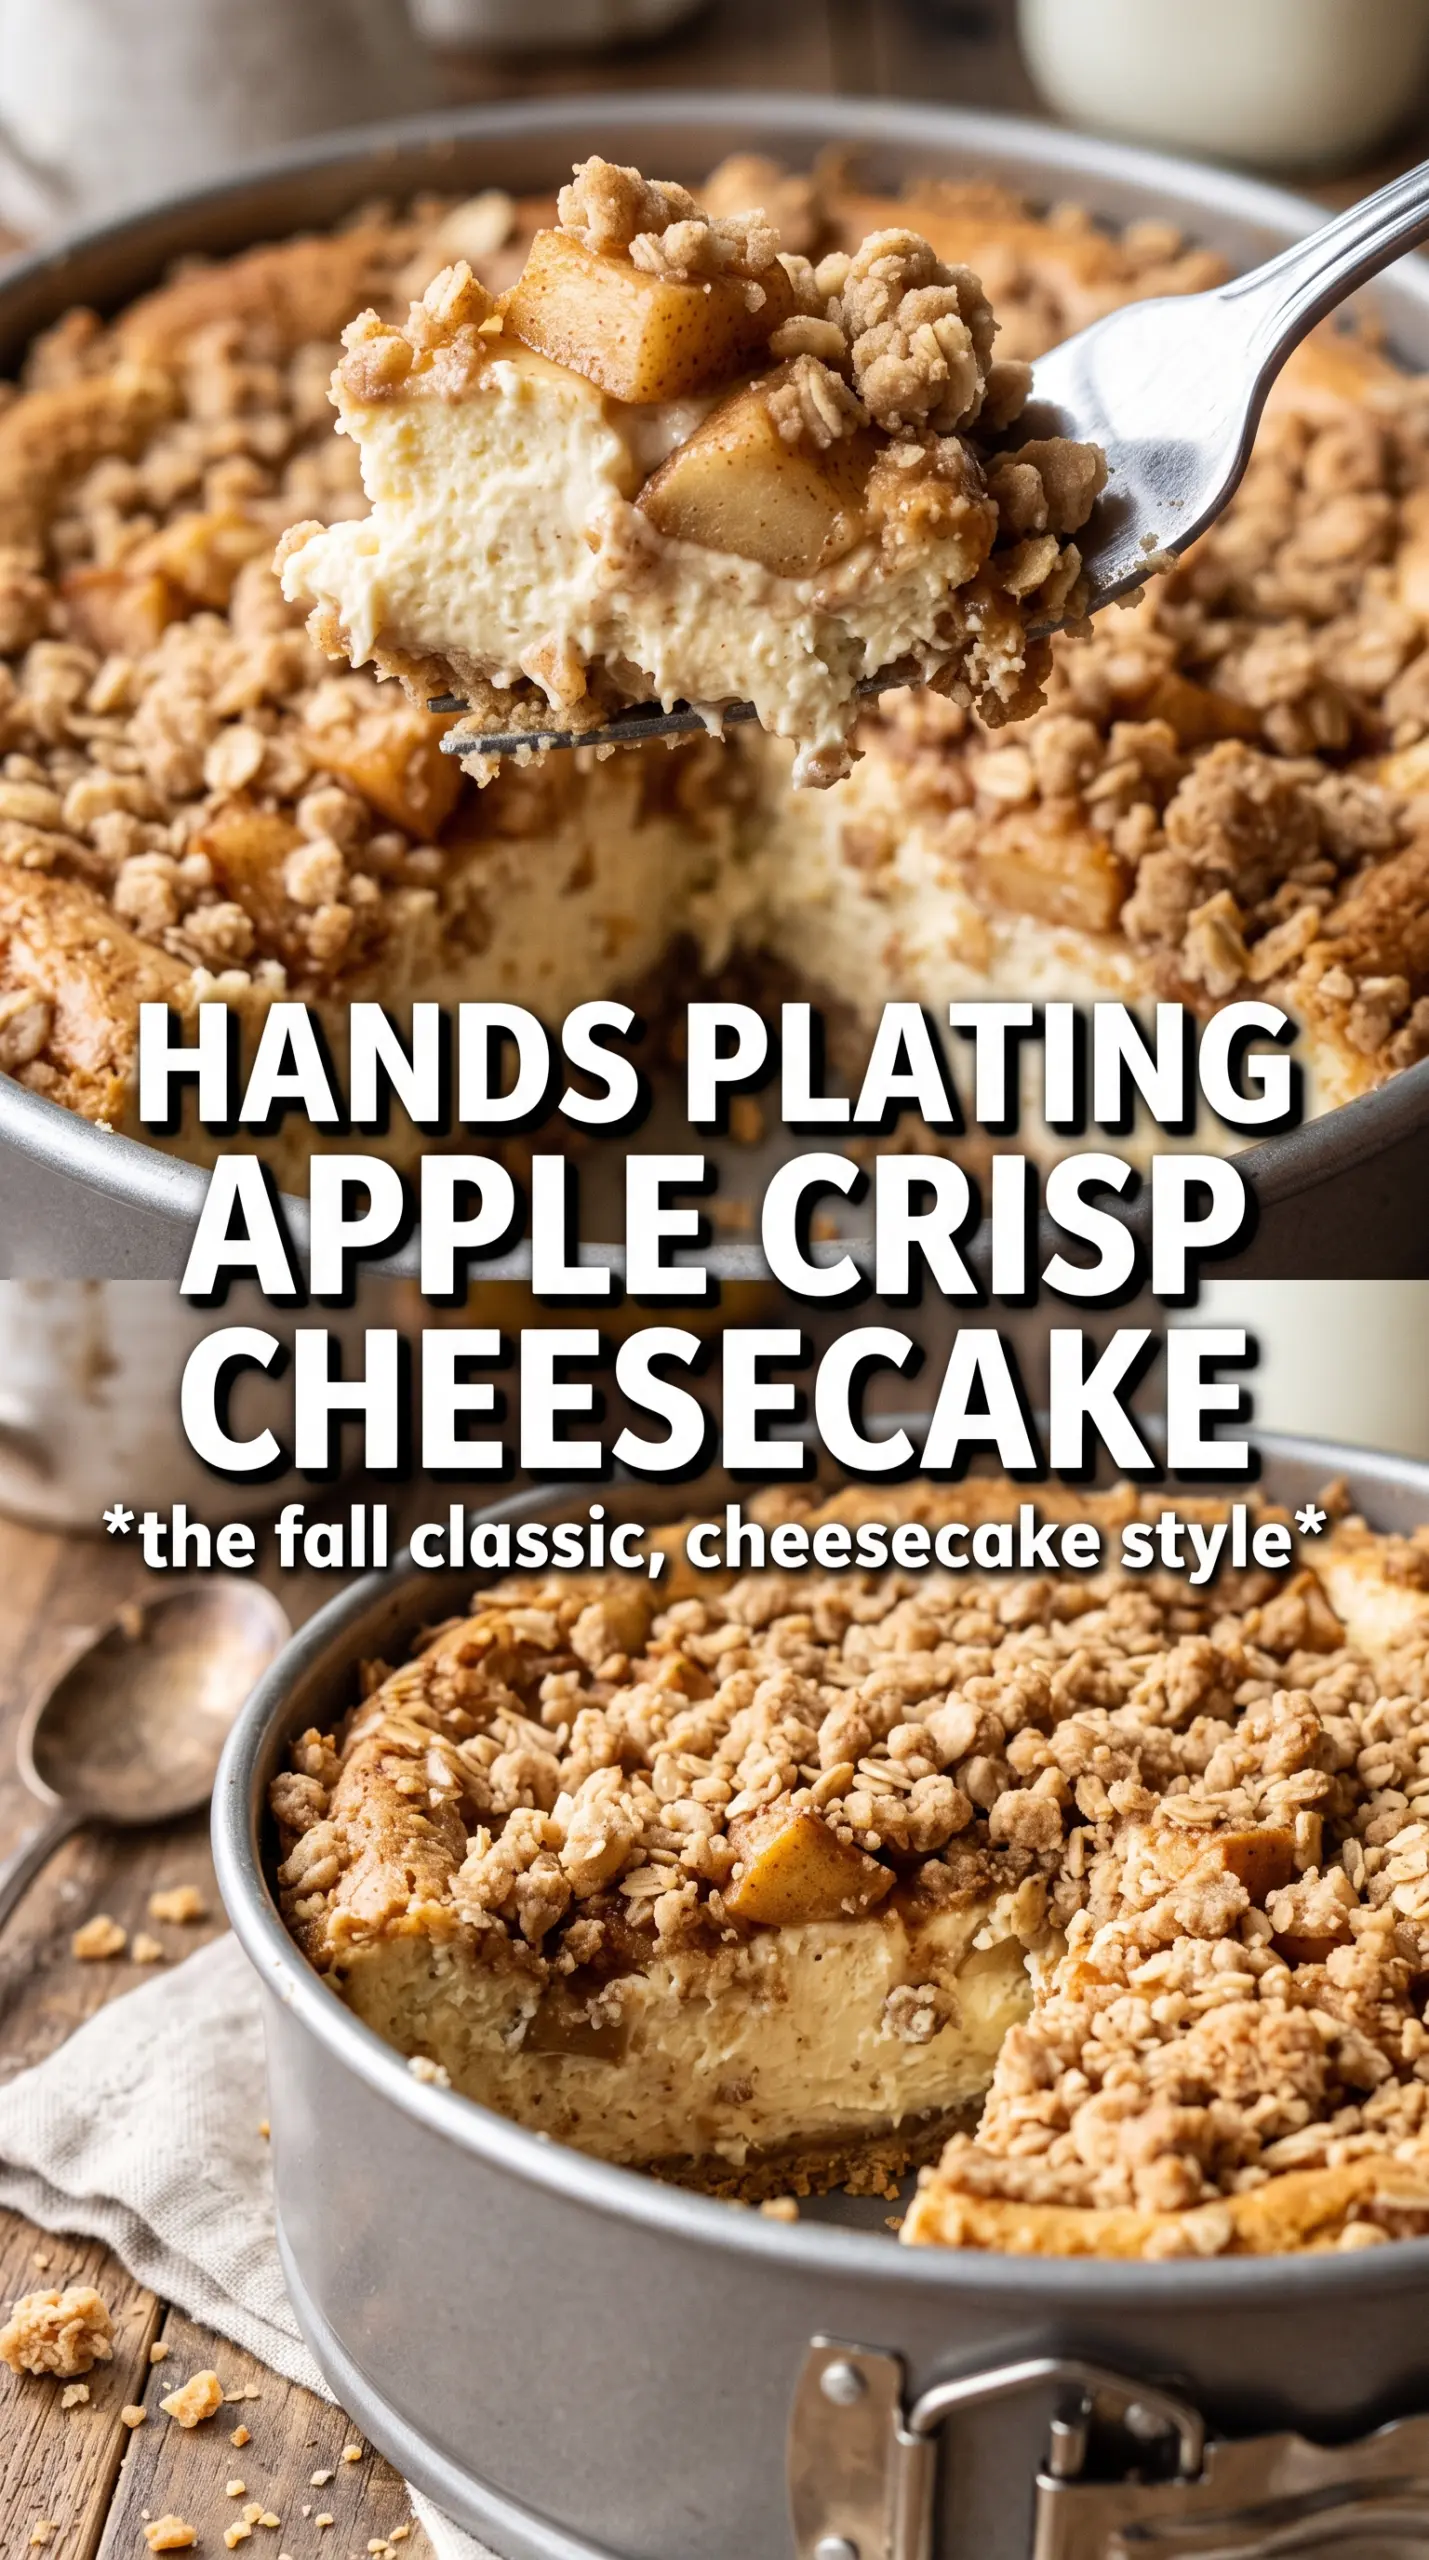
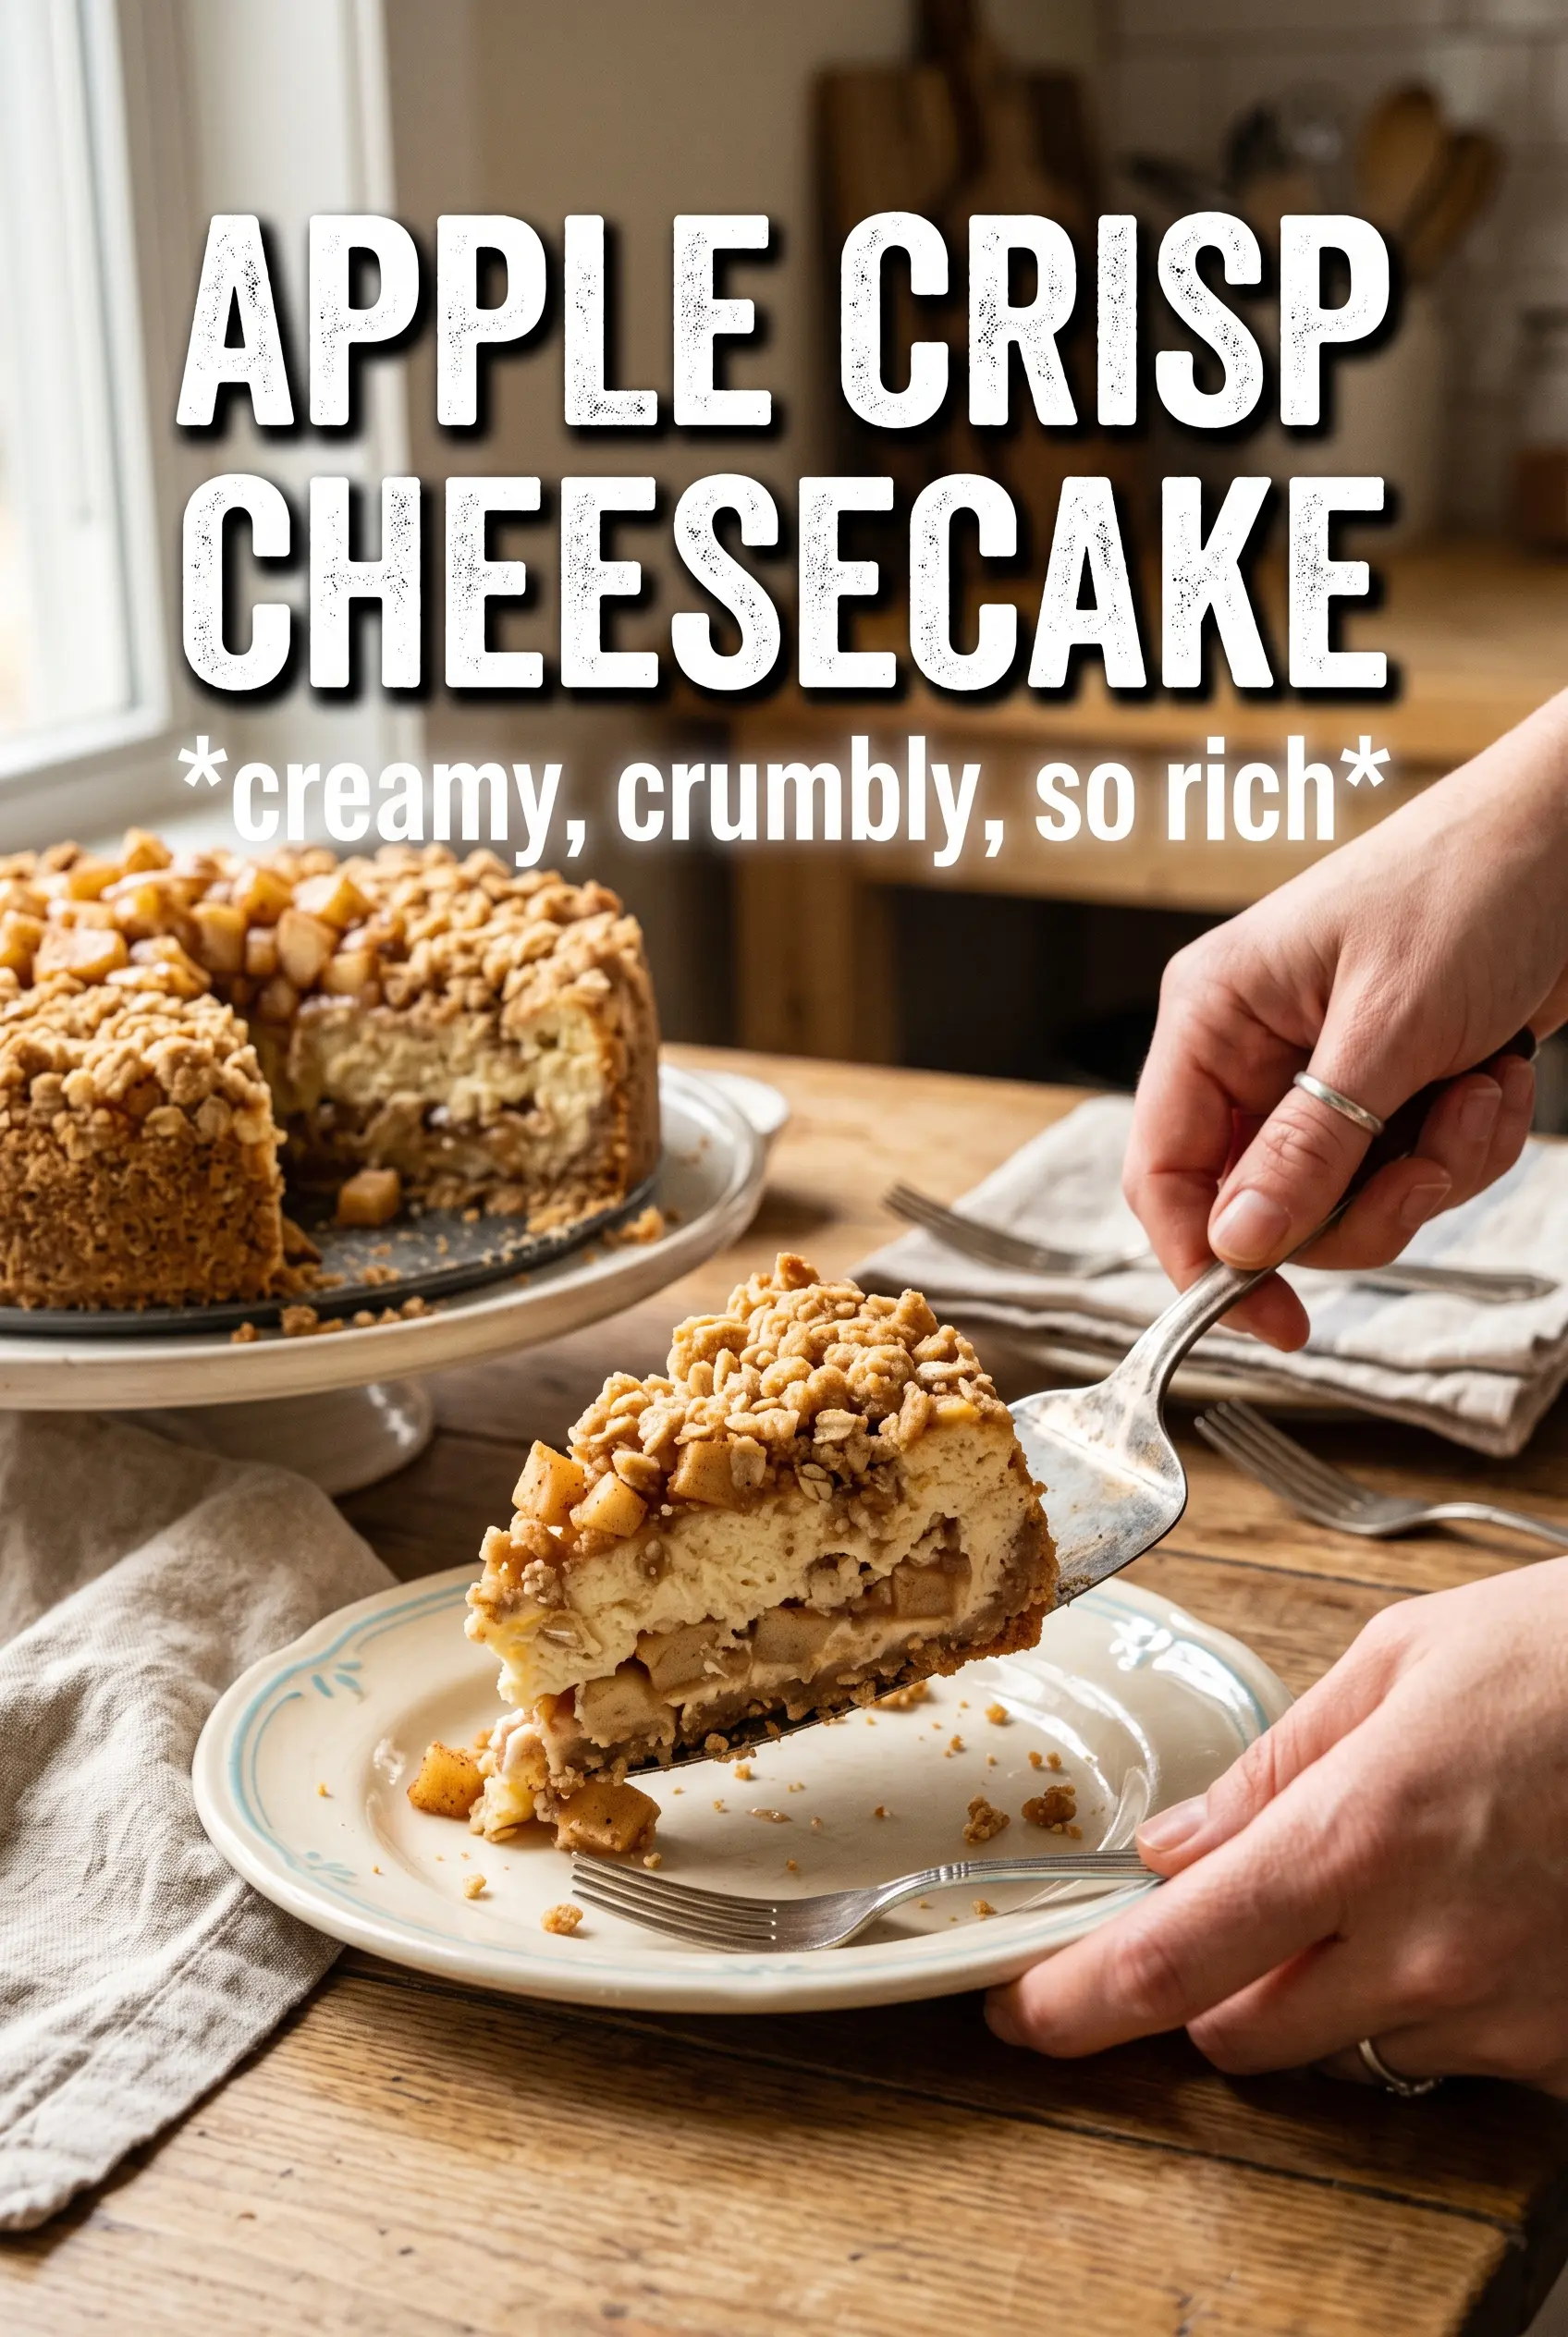
Apple Crisp Cheesecake lands in that sweet spot where a classic baked cheesecake gets a little more texture, a little more warmth, and a lot more personality. The graham cracker crust stays sturdy under the creamy filling, the spiced apples soften into a tender middle layer, and the oat crumble bakes into a golden cap that gives each slice a proper crunch. It cuts cleanly after chilling, which matters here because the layers need time to set into neat, distinct stripes.
The key is treating each part like its own small recipe instead of rushing everything into one bowl. The apples get cooked first so they won’t leak juice into the cheesecake, the cream cheese needs to be beaten until completely smooth before the eggs go in, and the oat topping stays cold enough to bake up crumbly instead of sandy. The water bath isn’t optional if you want that slow, even bake and a cheesecake that doesn’t crack down the center.
Below you’ll find the small details that make the texture work, plus a few swaps if you need to adjust the crust, the dairy, or the fruit.
The apples stayed tucked into a neat layer and the oat topping turned crisp instead of soggy. I chilled it overnight and every slice came out clean.
Love the creamy layers and crisp oat topping? Save this Apple Crisp Cheesecake for the next time you want a dessert with clean slices and real texture.
The Part That Keeps the Layers From Turning Muddy
Apple Crisp Cheesecake works because each layer has enough structure to stay separate after baking. The mistake most people make is adding raw apples straight onto the cheesecake batter, which releases too much moisture and turns the middle soft and uneven. Cooking the apples first takes care of that problem and also concentrates the cinnamon and brown sugar so the fruit tastes like apple pie instead of boiled fruit.
The other trap is overmixing the filling once the eggs go in. Beat the cream cheese and sugar until smooth first, then mix in the eggs one at a time just until combined. Too much air gives you a puffed cheesecake that sinks as it cools, and too much mixing makes the texture less satiny. The water bath helps the custard bake gently, which is what keeps the top smooth and the center from splitting before the chill sets it.
- Cream cheese — Full-fat blocks give you the dense, creamy body this dessert needs. Tub-style cream cheese is softer and can make the filling looser, especially with the apple layer on top.
- Sour cream — This keeps the filling tangy and helps it slice with a softer, silkier finish. Full-fat sour cream gives the best result, but plain Greek yogurt works in a pinch; expect a slightly sharper taste.
- Apples — A firmer baking apple like Honeycrisp, Granny Smith, or Jonagold holds its shape after the quick sauté. Very soft apples turn mushy and disappear into the cheesecake.
- Rolled oats — These are what give the topping its crisp, rustic texture. Quick oats will work, but the crumble comes out finer and less defined.
What Each Ingredient Is Actually Doing in This Recipe
- Primary ingredient (the star) — Quality matters most. Choose the best you can find.
- Cooking medium (oil, butter, or broth) — This carries flavors and prevents dryness.
- Seasonings (salt, pepper, spices, herbs) — Layer flavors so nothing overpowers. Build depth gradually.
- Aromatics (garlic, onion, herbs) — Cook with fat to bloom flavors. Become the foundation.
- Supporting ingredients — Complement the main ingredient without overpowering it.
- Sauce or liquid (if applicable) — Brings flavors together. Balance richness with acid.
- Acid (lemon, vinegar, wine, or other) — Brightens and prevents flat-tasting results.
- Final finish (garnish, glaze, or sauce) — Prevents one-dimensional taste and adds visual appeal.
Building the Cheesecake So It Bakes Cleanly
Pressing and Pre-Baking the Crust
Mix the graham crumbs, sugar, and melted butter until the texture looks like damp sand, then press it firmly into the bottom of the springform pan. A flat-bottomed glass helps, but the real goal is an even, compact layer that won’t crumble when you slice the finished cake. Bake it for 8 minutes so the butter sets and the crust can hold up under the filling without going soggy.
Softening the Apples First
Cook the diced apples with butter, brown sugar, and cinnamon just until they soften at the edges and the pan smells like apple pie. You don’t want them cooked down into sauce; a little bite is what keeps the apple layer from disappearing into the cheesecake. Let them cool before layering, because hot apples can start loosening the filling before the cake even reaches the oven.
Making a Smooth Filling
Beat the cream cheese and sugar until no lumps remain, then add the eggs one at a time, followed by sour cream, vanilla, and cinnamon. Stop mixing as soon as the batter looks smooth and glossy. If you keep beating after the eggs go in, the filling picks up too much air and bakes with cracks or a soufflé-like rise that falls later.
Finishing with the Crumble
Cut the cold butter into the oat, flour, brown sugar, and cinnamon mixture until you have clumps ranging from pea-size to marble-size. That mix of sizes is what bakes into both crunch and nooks that catch the apple juices. Scatter it loosely over the apples instead of packing it down, or it will bake into a dense lid instead of a crisp topping.
Bake until the edges are set and the center still has a slight wobble when you nudge the pan. A cheesecake this size should not look fully firm in the oven; it finishes setting as it cools and chills. Let it cool completely at room temperature before refrigerating, or condensation will collect on top and soften the crumble.
Make It Gluten-Free Without Losing the Crunch
Use gluten-free graham-style crumbs in the crust and swap the all-purpose flour in the topping for a cup-for-cup gluten-free blend. The texture stays close to the original, though the crumble may bake a little more tender than crisp. Let it cool completely so the topping has time to firm up.
Dairy-Free Version That Still Slices Well
Use dairy-free cream cheese, plant-based butter, and a thick unsweetened dairy-free yogurt in place of the sour cream. The filling will be a touch softer and a little less tangy, so chill it the full 6 hours before slicing. Choose a brand that bakes well rather than a whipped spread.
Apple and Pear Blend for a Softer Fruit Layer
Replace one apple with a firm pear if you want a softer, more floral fruit layer. Pears cook down faster, so cut them into slightly larger pieces than the apples and stop the sauté as soon as the fruit begins to release juice. The result is gentler and juicier, not as tart.
Storage and Reheating
- Refrigerator: Store covered for up to 5 days. The crumble softens slightly after day one, but the flavor stays good.
- Freezer: Freeze whole or in slices, wrapped tightly, for up to 2 months. Thaw overnight in the refrigerator; freezing works well, though the topping loses some crunch.
- Reheating: Serve chilled or let a slice sit at room temperature for 20 to 30 minutes. Microwaving warms the filling unevenly and turns the crumble soft, so skip it unless you don’t mind a looser texture.
Answers to the Questions Worth Asking
Apple Crisp Cheesecake
Ingredients
Equipment
Method
- Preheat oven to 325F, then press graham cracker crumbs, sugar, and melted unsalted butter into a 9-inch springform pan. Bake for 8 minutes and set aside.
- Cook diced apples with 1 tablespoon butter, brown sugar, and cinnamon for 5 minutes over heat until softened. Cool completely before assembling.
- Beat cream cheese and granulated sugar until smooth, then add eggs one at a time. Mix in sour cream, vanilla, and cinnamon until fully combined.
- Pour the cheesecake filling over the baked crust, then top with the cooked apples. Scatter the oat crisp topping over the apples.
- Bake in a water bath at 325F for 60-65 minutes until the center is just set. Transfer to a rack and cool completely.
- Refrigerate for 6 hours before releasing from the springform pan and slicing. Chill until firm enough to cut cleanly.