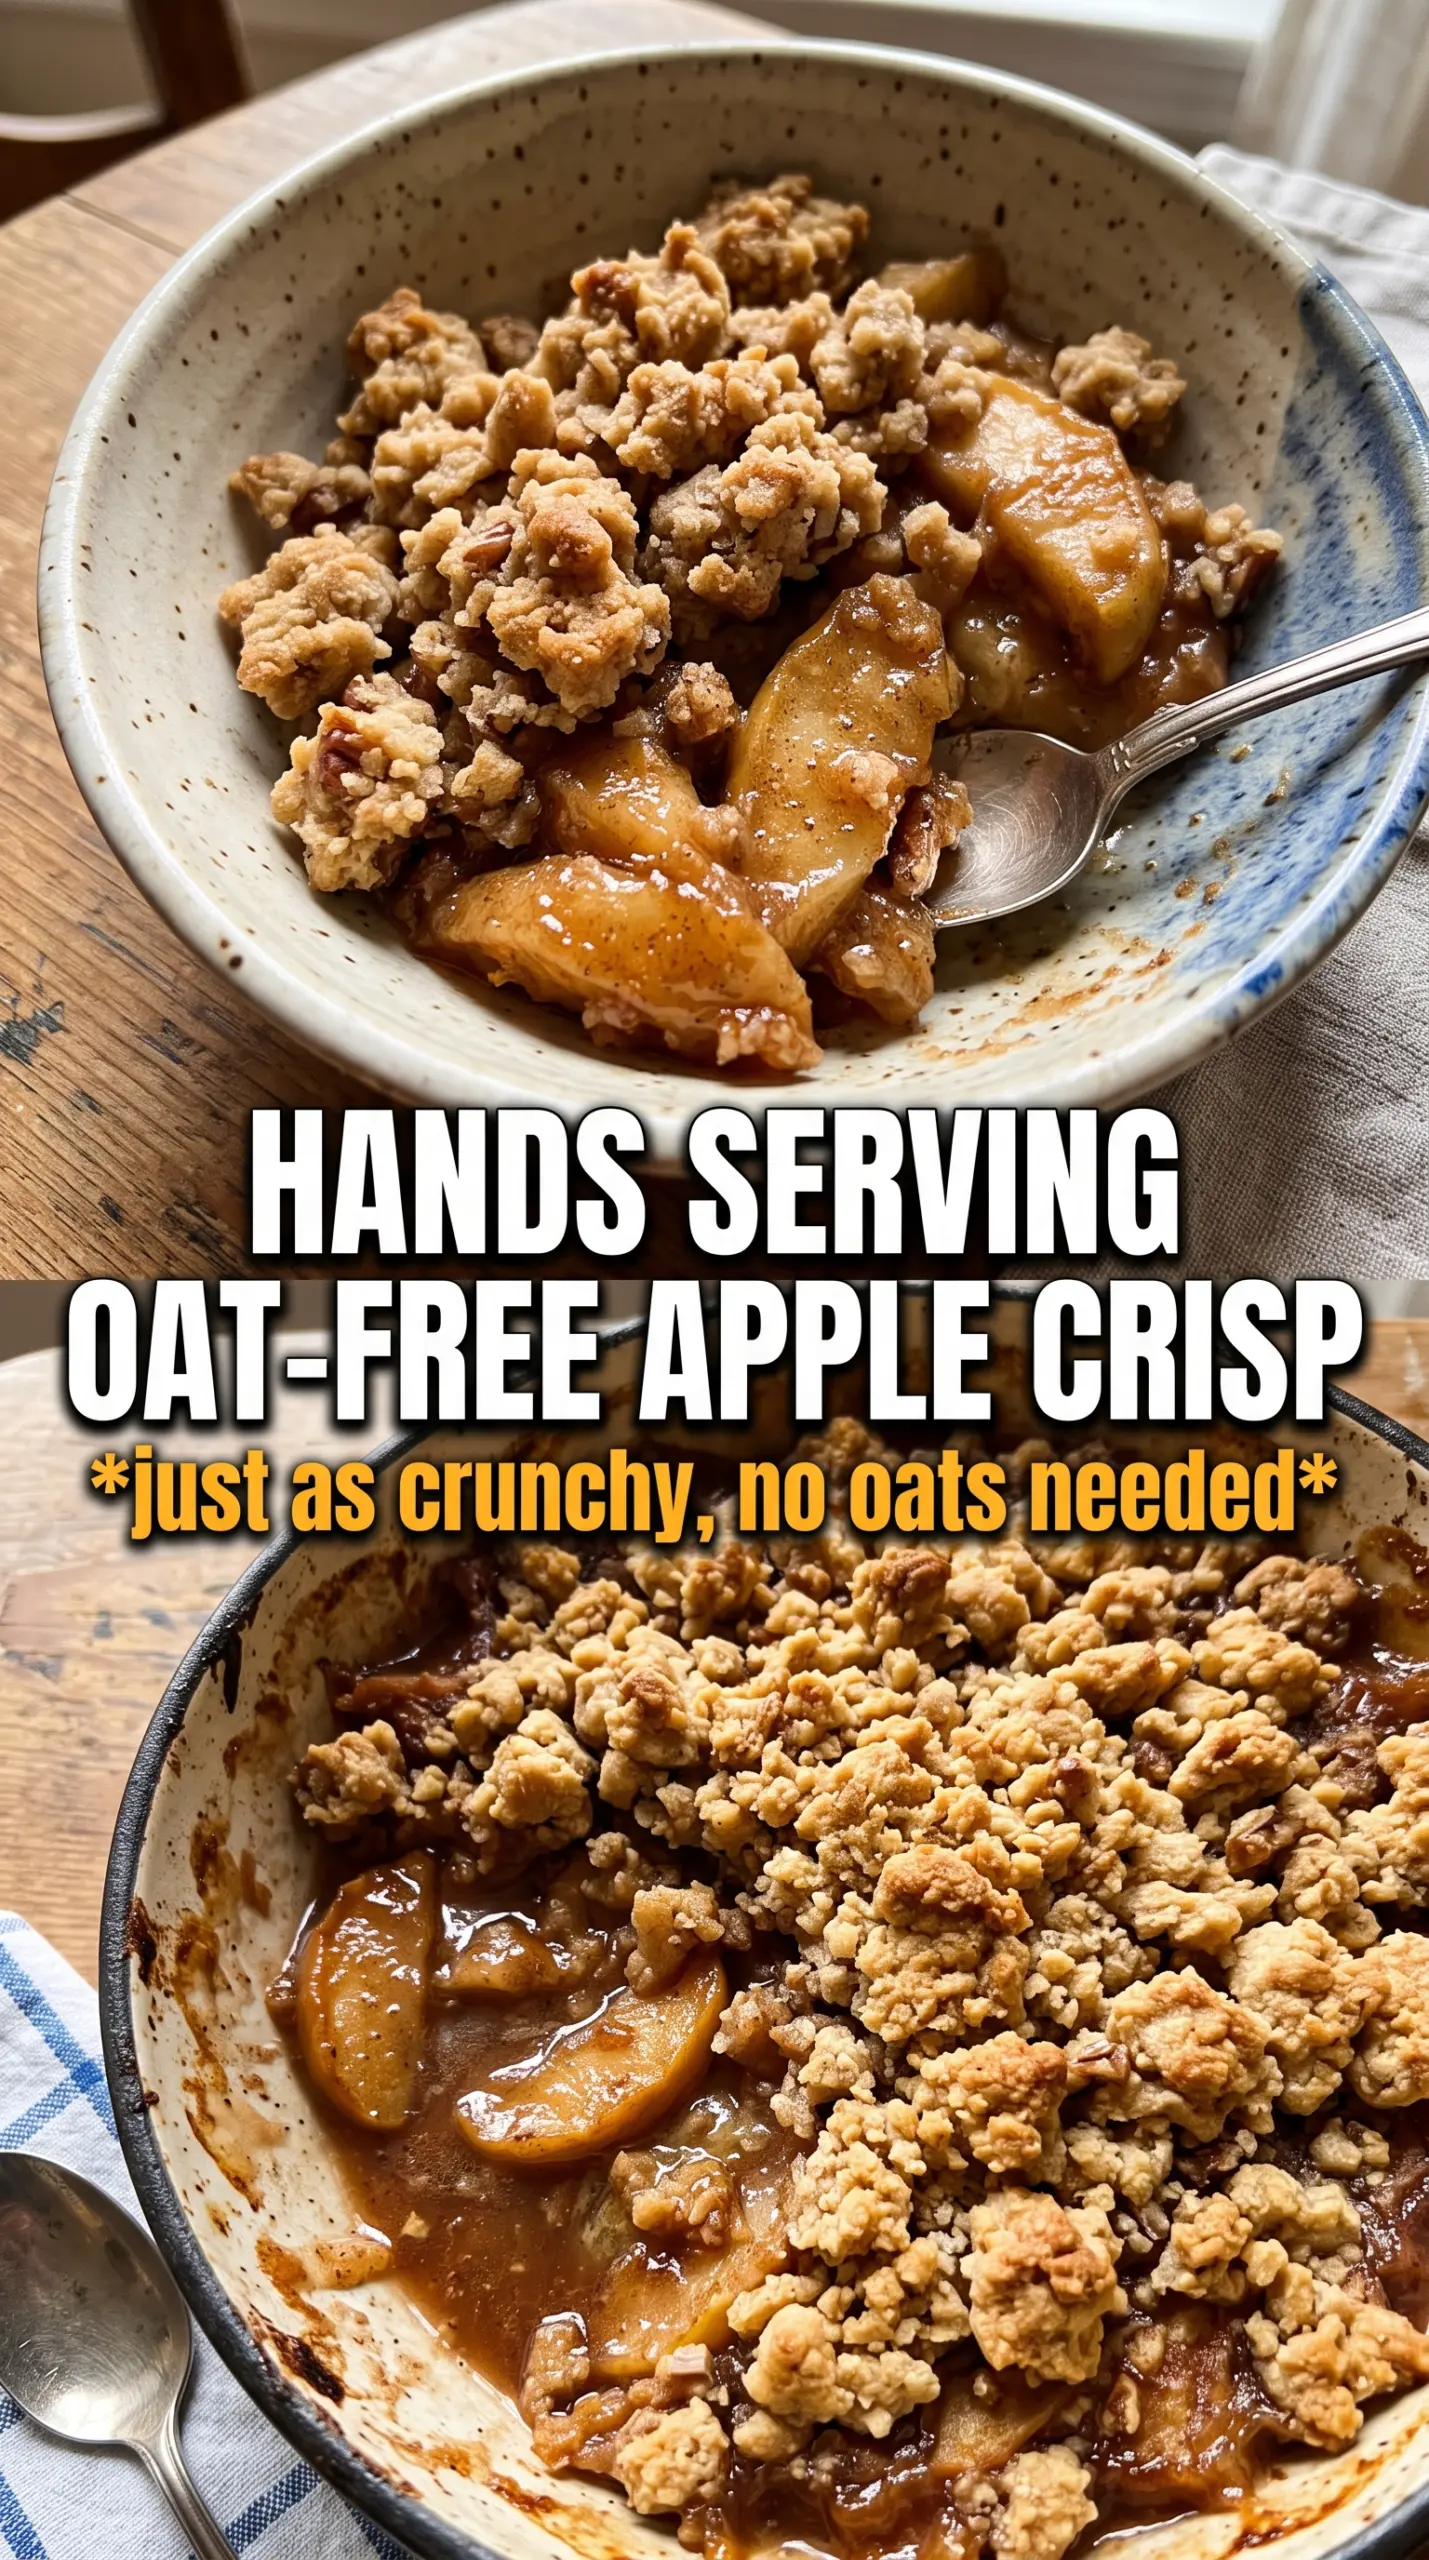
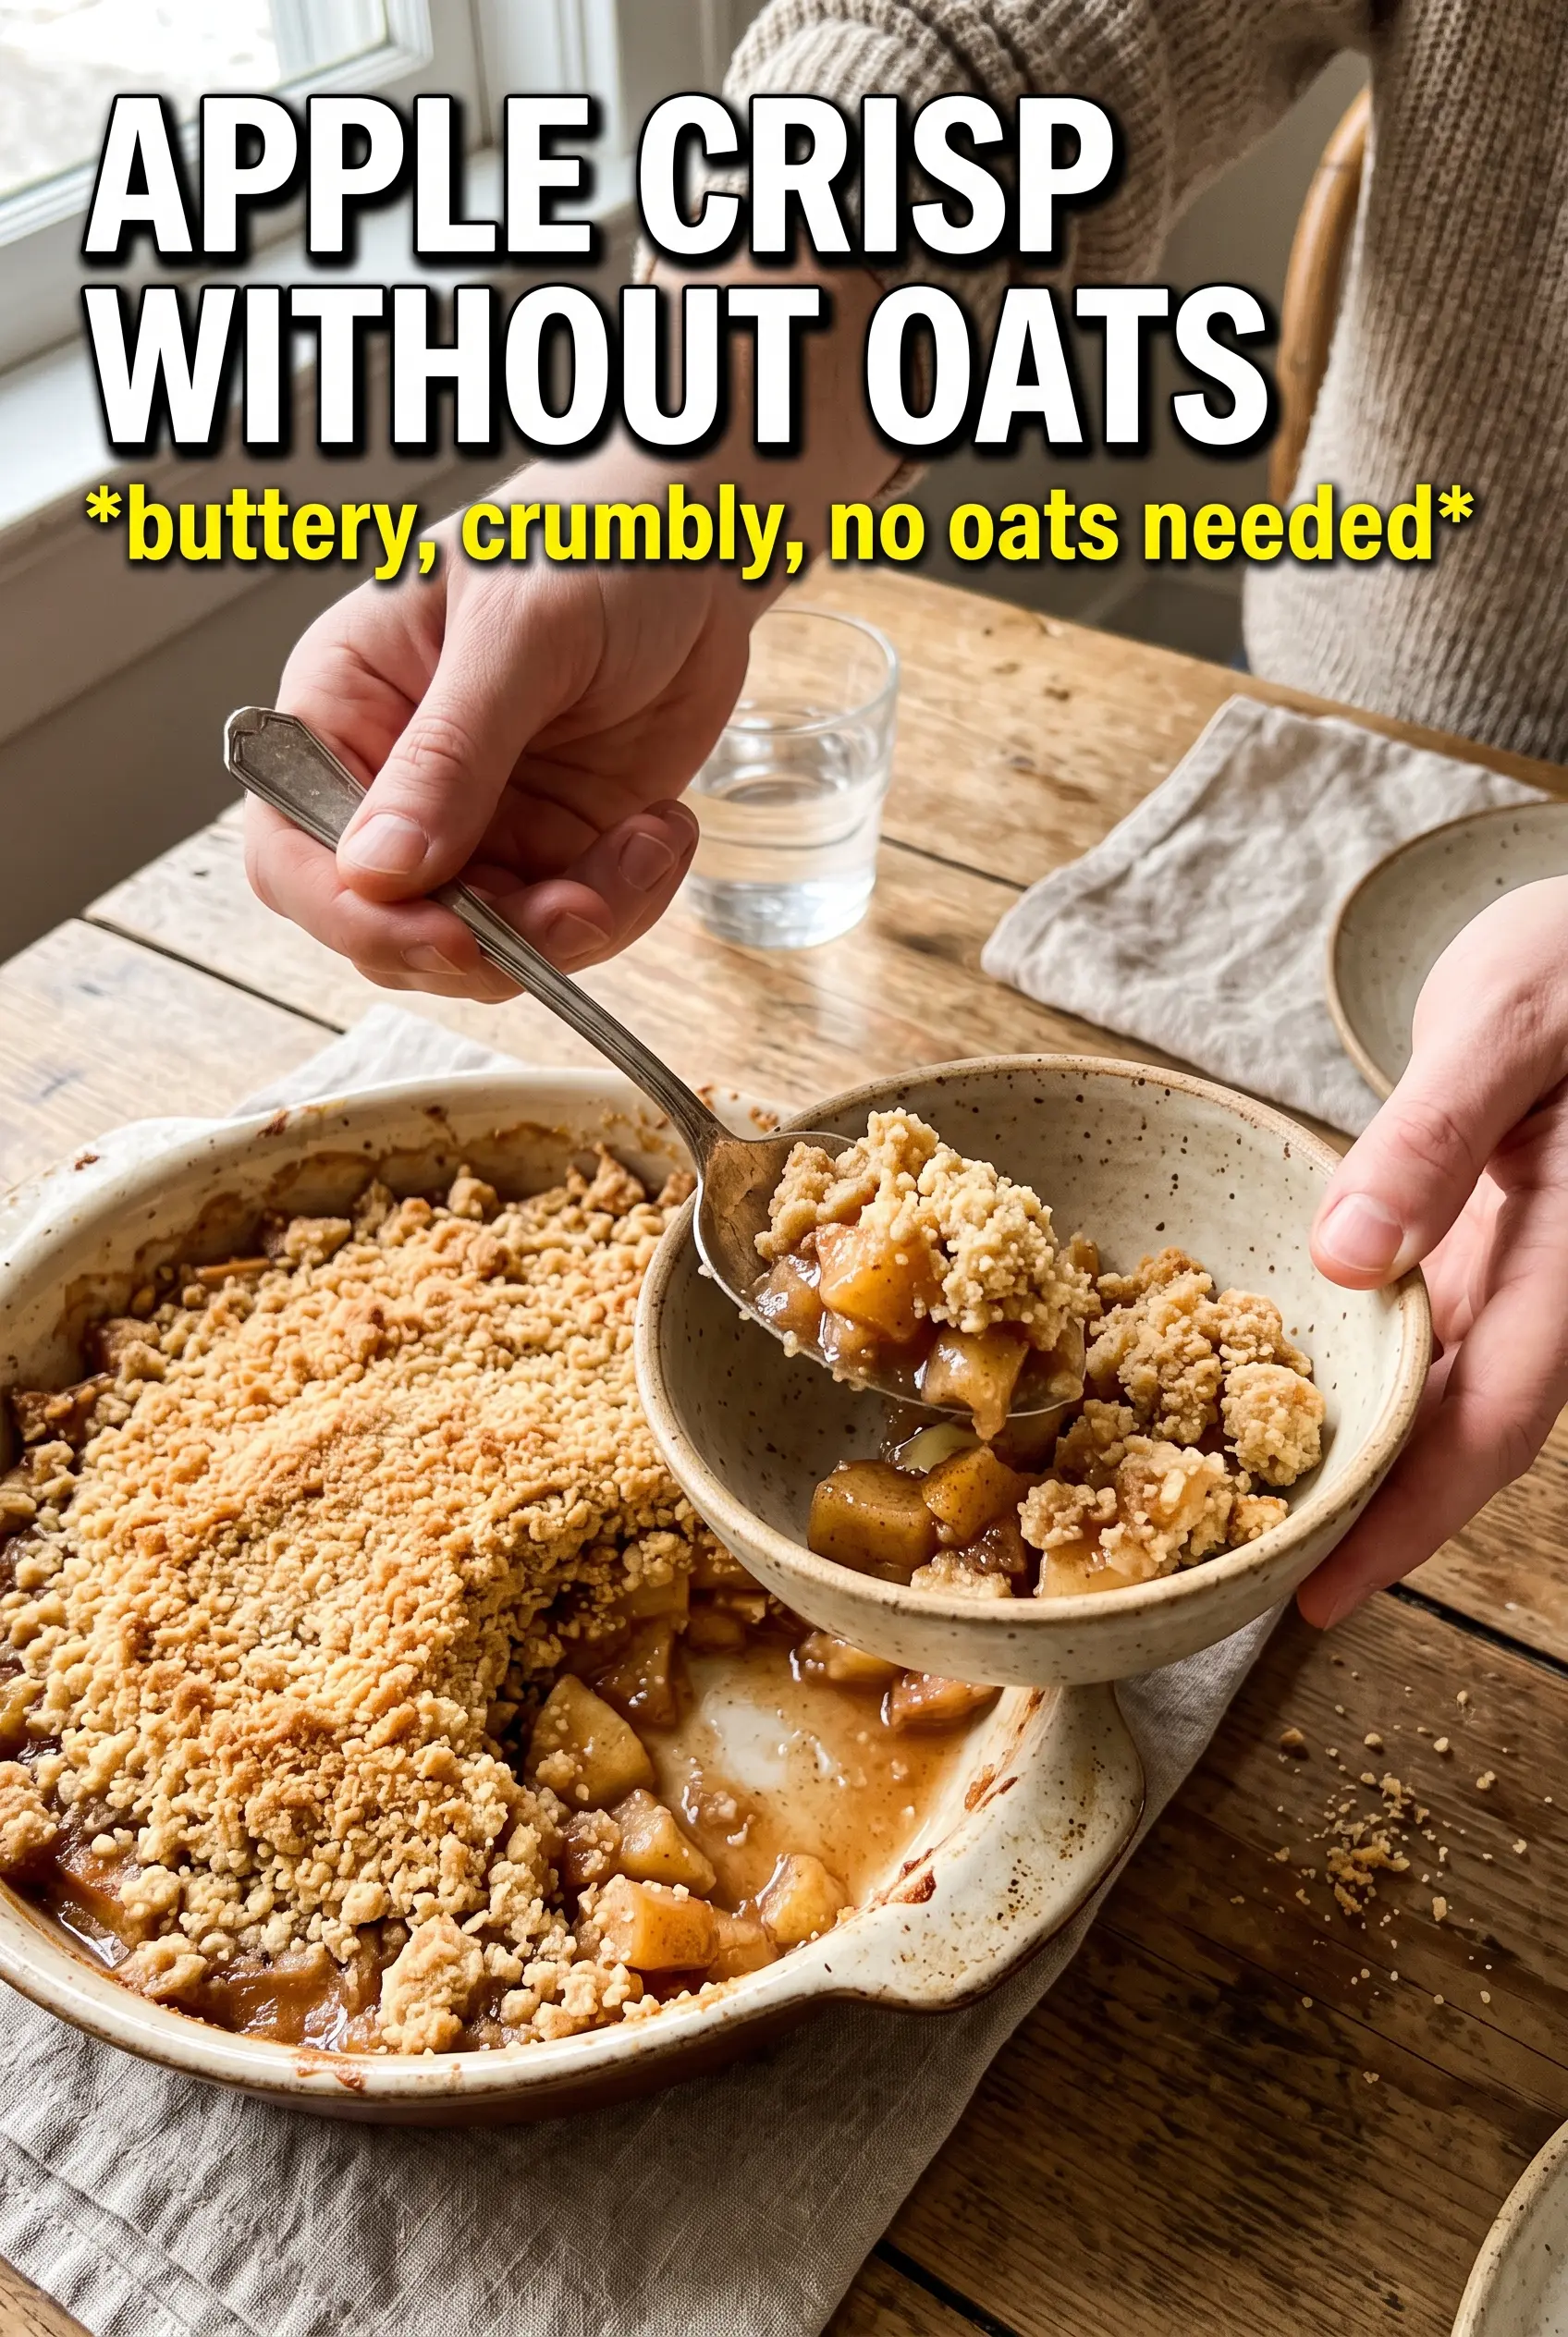
Apple crisp without oats lands with a thicker, sandier topping than the usual version, and that’s exactly why I keep coming back to it. The apples soften into a bubbling cinnamon filling while the top bakes into a golden, buttery crumble with crisp edges and a tender middle. It scoops cleanly, holds its texture, and doesn’t turn soft as fast as oat toppings can.
The trick is in the balance of flour, sugar, and cold butter. Flour gives the topping that shortbread-like bite, brown sugar brings deeper caramel notes, and the cold butter has to stay in pieces long enough to bake into clumps instead of melting into paste. The cornstarch in the filling matters too; it thickens the juices so the dessert tastes glossy and spoonable instead of watery.
Below, I’ll show you the small details that keep the topping crisp and the apples from going soupy, plus a few smart ways to adapt it if you want nuts, a dairy-free version, or a different apple mix.
The crumble stayed sandy and crisp all the way through, and the apple filling thickened up beautifully instead of pooling at the bottom. I made it for Sunday dinner and my family kept sneaking spoonfuls from the pan.
Apple crisp without oats with that crisp, sandy topping is the one to keep handy for any apple dessert craving.
The Crisp Topping Needs Cold Butter, Not Just Good Intentions
The biggest mistake with oat-free crisp is treating the topping like a loose streusel and expecting it to bake up crunchy on its own. It won’t. Without oats, the flour mixture needs cold butter cut in until you get large sandy clumps, not a smooth dough, because those uneven pieces are what bake into texture. If the butter gets too warm, the topping melts flat and turns dense instead of crisp.
The apples also need a little structure. Cornstarch catches the juices released in the oven, and that matters even more here because the flour topping doesn’t absorb moisture the way oats do. You want bubbling around the edges and a filling that looks glossy, not thin and runny.
- Cold butter — This is what creates the crunch. Cube it first and work fast so the pieces stay distinct until they hit the oven.
- Cornstarch — It thickens the apple juices without making the filling gummy. Arrowroot can work in a pinch, but cornstarch gives the most reliable set.
- Brown sugar — It adds moisture and helps the topping clump. All granulated sugar will make the crumble drier and more brittle.
- Pecans or walnuts — Optional, but they add extra bite and keep the topping from feeling too uniform. Chop them roughly so you still get noticeable crunch.
What Each Ingredient Is Actually Doing in the Pan
- Apples — Use a mix if you can. Tart apples hold their shape while sweeter ones turn soft and jammy, and that gives the filling a better balance.
- Lemon juice — It keeps the apples from tasting flat and helps the flavor stay bright after baking. Fresh lemon is worth using here.
- Flour — This replaces the oat structure and gives the topping a short, crumbly bite. All-purpose flour works best because it bakes into clumps without becoming heavy.
- Butter — Unsalted butter is ideal so you control the seasoning. If you only have salted butter, reduce the added salt a little and keep the butter cold.
- Vanilla ice cream — It’s not just for serving. The cold cream melting into the warm crisp is part of what makes each bite work.
Building the Filling Before the Topping Starts Melting
Coating the Apples Evenly
Toss the sliced apples with sugar, cinnamon, nutmeg, cornstarch, and lemon juice until every piece looks lightly coated. If you see dry patches of cornstarch, they’ll bake into chalky spots in the filling, so keep tossing until the mixture looks evenly glossy. Spread the apples into the dish in an even layer so they cook at the same rate.
Cutting the Butter Into the Crumble
Mix the flour, sugars, spices, and salt first, then cut in the cold butter until the mixture looks like damp sand with a few bigger clumps. Those clumps are what you want; they bake into the crisp, nubby texture that makes this dessert feel special. If the mixture starts to smear together, stop and chill it for a few minutes before continuing.
Baking Until the Edges Bubble
Scatter the topping evenly over the apples and bake until the top is deep golden and the filling is bubbling around the edges. That bubbling matters more than the clock, because it tells you the cornstarch has thickened the juices. If the top browns too quickly, lay a loose piece of foil over it for the last stretch.
Letting It Rest Before Serving
Give the crisp about 10 minutes after it comes out of the oven. The filling sets up during that rest, and if you scoop it immediately, the juices will run everywhere. Warm is the goal here, not blazing hot, especially once the ice cream goes on top.
How to Adapt This Apple Crisp Without Oats for Different Pans and Diets
Gluten-Free Version
Swap the all-purpose flour for a good 1:1 gluten-free baking blend. You’ll still get a crisp topping, though it may be a touch more delicate and sandy. Don’t use almond flour alone here; it won’t give the same clumpy crumble.
Dairy-Free Crisp
Use a plant-based butter block that bakes like real butter, not a soft tub spread. The topping won’t taste exactly the same, but you’ll still get the same sandy clumps and a crisp finish if the substitute stays cold.
Nuts or No Nuts
Leave the pecans or walnuts out if you want a smoother topping. The crisp still works, but the texture becomes more uniform and a little less rustic. If you add them, toast them first for a deeper flavor.
Storage and Reheating
- Refrigerator: Store covered for up to 4 days. The topping softens a bit, but the flavor stays good.
- Freezer: It freezes well after baking. Cool completely, wrap tightly, and freeze for up to 2 months.
- Reheating: Warm individual portions in the oven at 350F until heated through. The microwave works for speed, but it softens the topping, so use the oven if you want the best texture.
Answers to the Questions Worth Asking
Apple Crisp Without Oats
Ingredients
Equipment
Method
- Preheat oven to 375F and grease a 9x13 baking dish so the apples don’t stick.
- In a mixing bowl, toss apple slices with granulated sugar, cinnamon, nutmeg, cornstarch, and lemon juice until evenly coated.
- Spread the coated apples into the greased baking dish in a single, even layer.
- In another bowl, combine all-purpose flour, both sugars, cinnamon, nutmeg, and salt.
- Cut in the cold cubed butter until the mixture forms large sandy clumps.
- If using, stir in chopped pecans or walnuts, then scatter the crumble evenly over the apples.
- Bake 40-45 minutes at 375F until the topping is golden and the filling bubbles at the edges.
- Rest 10 minutes so the filling thickens slightly for cleaner servings.
- Serve warm with vanilla ice cream.