Bubbling cinnamon apples tucked under a thick oat crumble are the kind of dessert that disappears fast, and this apple crisp earns that reaction every time. The topping bakes up with crisp, caramelized edges and bigger buttery clumps in the middle, while the fruit underneath turns tender without collapsing into applesauce. A spoonful should give you both textures at once: soft fruit, crunchy crumble, and a little syrupy juice at the bottom of the dish.
The trick is using apples that hold their shape and cutting the butter into the topping just enough to leave uneven pieces. That’s what gives you those nubbly crags that brown well instead of a sandy lid that bakes up flat. Cornstarch helps the juices thicken as the apples bake, so the filling stays spoonable instead of runny.
Below, I’ll walk through the apple mix, the crumble texture, and the one rest time that keeps the filling from running all over the pan. I also included a few smart swaps in case you want to adjust the sweetness or make it dairy-free.
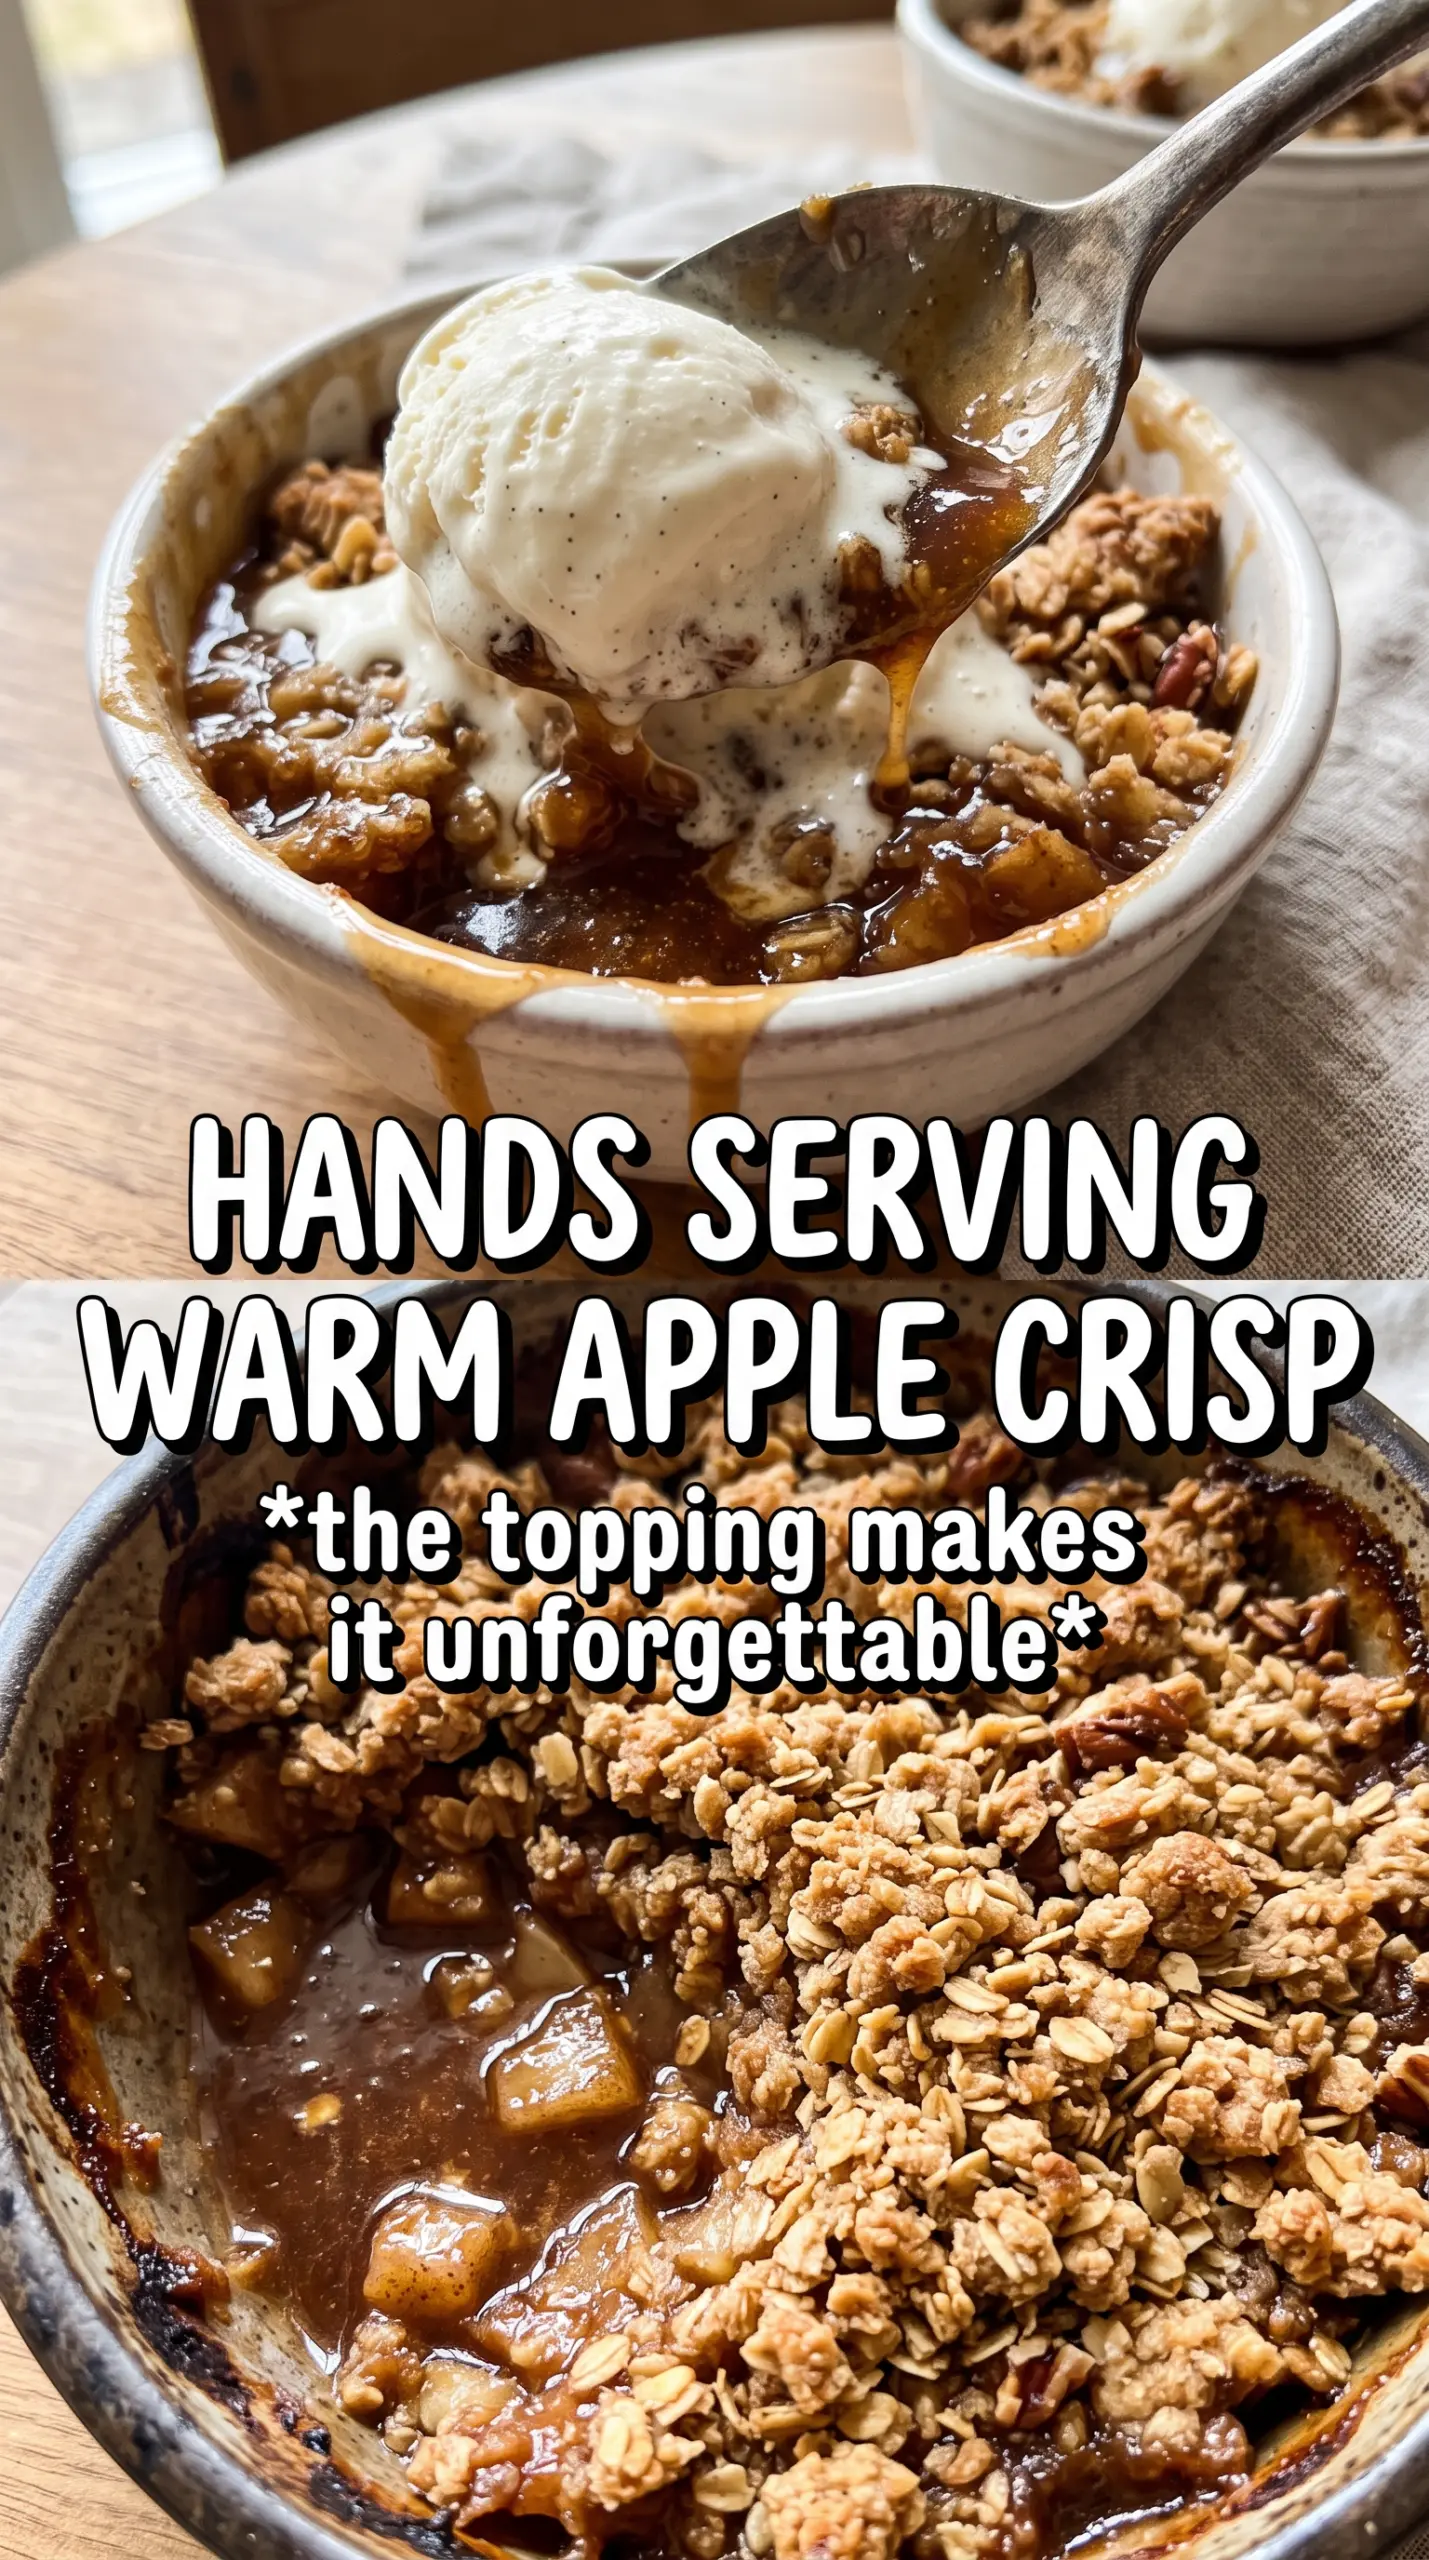
The filling thickened up perfectly and the topping stayed crisp even after we served it with ice cream. I used half Granny Smith and half Honeycrisp like the recipe said, and the flavor was spot on.
Save this apple crisp for the nights when you want a bubbling fruit dessert with a thick oat crumble and vanilla ice cream on top.
The Reason the Crumble Stays Crisp Instead of Turning Soggy
Apple crisp goes wrong when the topping absorbs too much juice before it has a chance to bake, or when the butter melts too fast and turns the oat mixture into a paste. The fix is a cold-butter crumble with enough flour to hold it together, but not so much that it bakes up dry and cakey. You want visible bits of butter throughout the mixture so the topping can form those browned pockets and crisp edges in the oven.
The other piece that matters is the apple layer. Sliced apples need a little cornstarch and lemon juice, but they also need enough space to vent as they bake. If you pack them too tightly, the filling steams instead of bubbling, and the topping can soften from trapped moisture. A 9×13 dish gives the apples room to settle into a thick, even layer.
- Cold butter keeps the topping chunky. If it softens before baking, you lose the crisp crags that make this dessert worth serving.
- Cornstarch thickens the apple juices as they heat, which keeps the filling glossy and spoonable instead of watery.
- Granny Smith + Honeycrisp gives you both structure and sweetness. All tart apples can taste sharp, and all sweet apples can bake down too soft.
What the Apples and Oats Are Actually Doing Here
The apple mix is more than just fruit and sugar. The granulated sugar helps draw out the juices, the brown sugar brings a deeper caramel note, and the lemon juice keeps the filling from tasting flat. Cinnamon and nutmeg should support the apples, not bury them, so don’t push the spice beyond the amounts here unless you want the fruit to disappear under warm spice.
The topping is built around old-fashioned rolled oats, not quick oats. Rolled oats keep their shape and bake into a crisp, nubby crust; quick oats turn too soft and pasty. All-purpose flour gives the crumble enough structure to hold together in little clusters, while the brown sugar helps the topping brown deeply and taste toasted instead of plain sweet.
- Rolled oats hold texture. Quick oats soak up fat and moisture too fast, which makes the topping dense.
- Brown sugar in the topping creates deeper color and a subtle molasses note that works with the apples.
- Lemon juice brightens the filling and keeps the fruit flavor from tasting heavy.
Getting the Apples Bubbling Before the Crumble Overbrowns
Build the fruit base first
Toss the sliced apples with both sugars, cinnamon, nutmeg, cornstarch, and lemon juice until every piece is lightly coated. The cornstarch should disappear into the juices instead of clumping at the bottom of the bowl. Spread the apples in the baking dish and level them gently, but don’t press them down hard; you want a loose layer that can bubble up around the edges.
Make a chunky crumble, not a sandy layer
Combine the oats, flour, brown sugar, cinnamon, and salt, then cut in the cold butter until you have uneven pieces ranging from pea-sized to slightly larger. Those bigger bits are what bake into crisp, craggy clusters. If the mixture looks like damp sand, the butter was worked in too far and the topping will bake up flatter and less crisp.
Bake until the filling is visibly active
Scatter the topping evenly over the apples and bake at 375°F until the top is deeply golden and the fruit is bubbling through the edges and in a few spots near the center. Don’t pull it when the topping looks done but the filling is still quiet; that usually means the apples haven’t fully softened and the juices haven’t thickened. The crisp is finished when the topping smells toasted and the bubbling looks thick, not watery.
Let it rest before serving
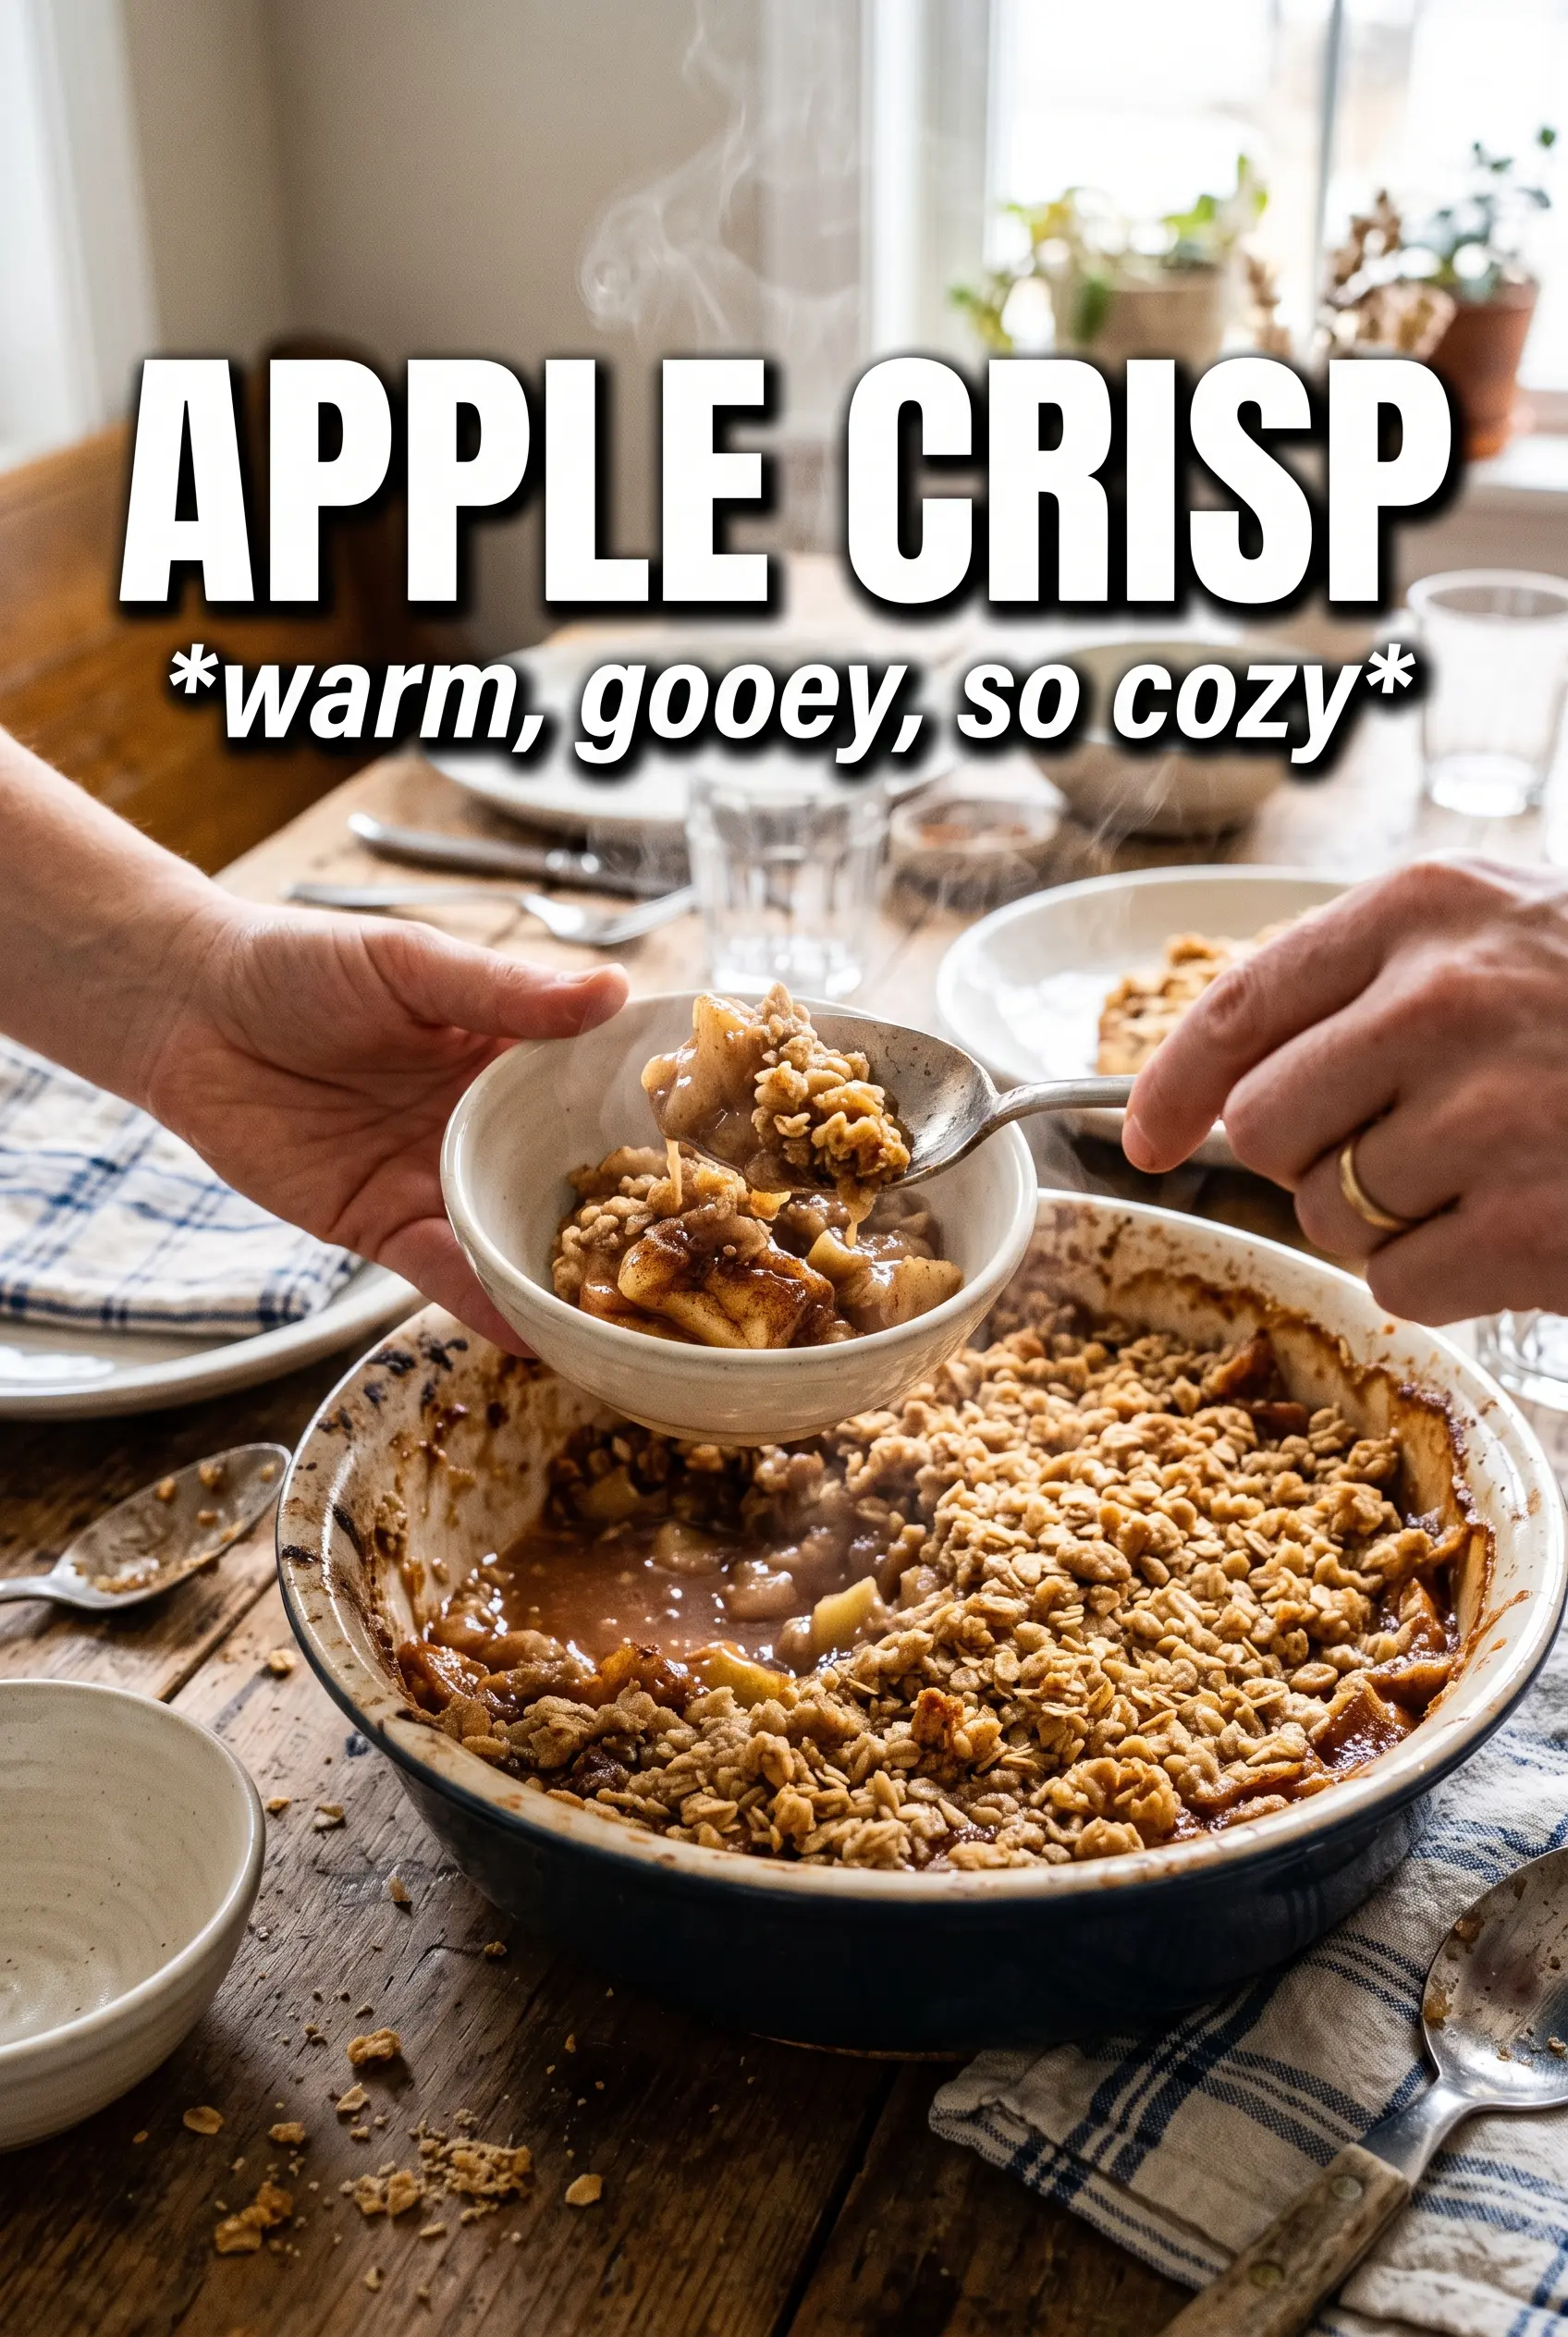
Give the apple crisp about 10 minutes on the counter after baking. That short rest lets the juices settle and thicken a bit, so the first scoop holds together instead of running across the plate. It will still be warm enough for ice cream to melt into the edges.
How to Adapt This Apple Crisp Without Losing the Good Part
Make it dairy-free
Swap the butter for a solid dairy-free baking stick, not soft tub margarine. You still want it cold and cubed so the crumble forms the same way. Coconut oil can work in a pinch, but the topping sets a little more delicately and doesn’t taste as buttery.
Use pears with the apples
Replace up to half the apples with firm pears if that’s what you have. The filling turns softer and a little juicier, so don’t skip the cornstarch. Choose pears that still have structure, or they’ll break down before the topping finishes browning.
Make it gluten-free
Use a good 1:1 gluten-free flour blend in place of the all-purpose flour. The oats are already doing a lot of the texture work, so this swap holds up well as long as your flour blend includes xanthan gum or a similar binder. The topping may brown a touch faster, so start checking a few minutes early.
Make it ahead for dessert later
You can assemble the apple layer and the crumble separately a few hours ahead, then keep both chilled until baking time. Don’t top the apples too early if your kitchen is warm, or the butter will soften and the crumble will lose definition. Once baked, the crisp holds well and reheats nicely for a second round.
Storage and Reheating
- Refrigerator: Store covered for up to 4 days. The topping softens a little in the fridge, but it still tastes great.
- Freezer: Freeze baked portions tightly wrapped for up to 2 months. Thaw in the fridge before reheating for the best texture.
- Reheating: Warm in a 325°F oven until heated through so the topping can re-crisp. The microwave works for speed, but it turns the crumble soft and steamy.
Questions I Get Asked About This Recipe
Apple Crisp
Ingredients
Equipment
Method
- Preheat the oven to 375F and grease a 9x13 baking dish.
- Toss the sliced apples with granulated sugar, brown sugar, cinnamon, nutmeg, cornstarch, and lemon juice, then spread them evenly in the prepared dish.
- Combine rolled oats, all-purpose flour, packed brown sugar, cinnamon, and salt, then cut in the cold cubed butter until large chunky clumps form.
- Scatter the crumble evenly over the apples.
- Bake for 40-45 minutes at 375F until the topping is deeply golden and the apple filling bubbles.
- Rest for 10 minutes before serving warm with vanilla ice cream.