Apple crumble pie lands in that sweet spot between classic and practical: all the comfort of a baked apple pie, with a buttery oat topping that stays crisp instead of going soggy. The crust gives you structure, the filling turns soft and spiced, and the crumble bakes into thick golden clusters that crack under your fork. It’s the kind of dessert people cut into while it’s still warm, then go back for a second slice once they realize how good the topping is.
The trick is managing moisture. The apples release juice as they bake, so the cornstarch has to be mixed in before the pie goes into the oven, not after. That keeps the filling from running all over the plate. Cold butter is just as important in the crumble topping. If it softens too much, you get sandy crumbs instead of those bigger nubby pieces that toast up into the best part of the pie.
Below, I’ll walk you through the small details that keep the topping crisp, the filling thick, and the crust from getting lost under all that fruit. There’s also a useful note on how to keep the top from browning too fast, which is the one thing that can throw people off with crumble pies.
The filling set up beautifully and the crumble stayed crisp even after it cooled. I followed the foil tip at 35 minutes and the top came out deeply golden instead of overbrowned.
Save this apple crumble pie for the kind of dessert that bakes up with a bubbling spiced filling and a thick oat topping that actually stays crisp.
The Filling Needs Thickener Before It Hits the Oven
Apple pie filling fails in one of two ways: it turns watery, or it bakes into a dry pile of fruit with no syrupy body at all. The cornstarch fixes that, but only if it gets mixed evenly with the sugar and apples before the pie goes in. That coating draws out juice as the pie bakes and turns it into a glossy filling instead of a puddle at the bottom of the crust.
The other thing that matters is the apple cut. Slice them evenly so they soften at the same rate, and mound them slightly in the center because they shrink as they bake. If you start with a flat layer, the finished pie looks sunken and the topping can end up sparse in the middle. A little height at the start gives you a better-looking slice later.
What the Apples and Oats Are Each Doing Here
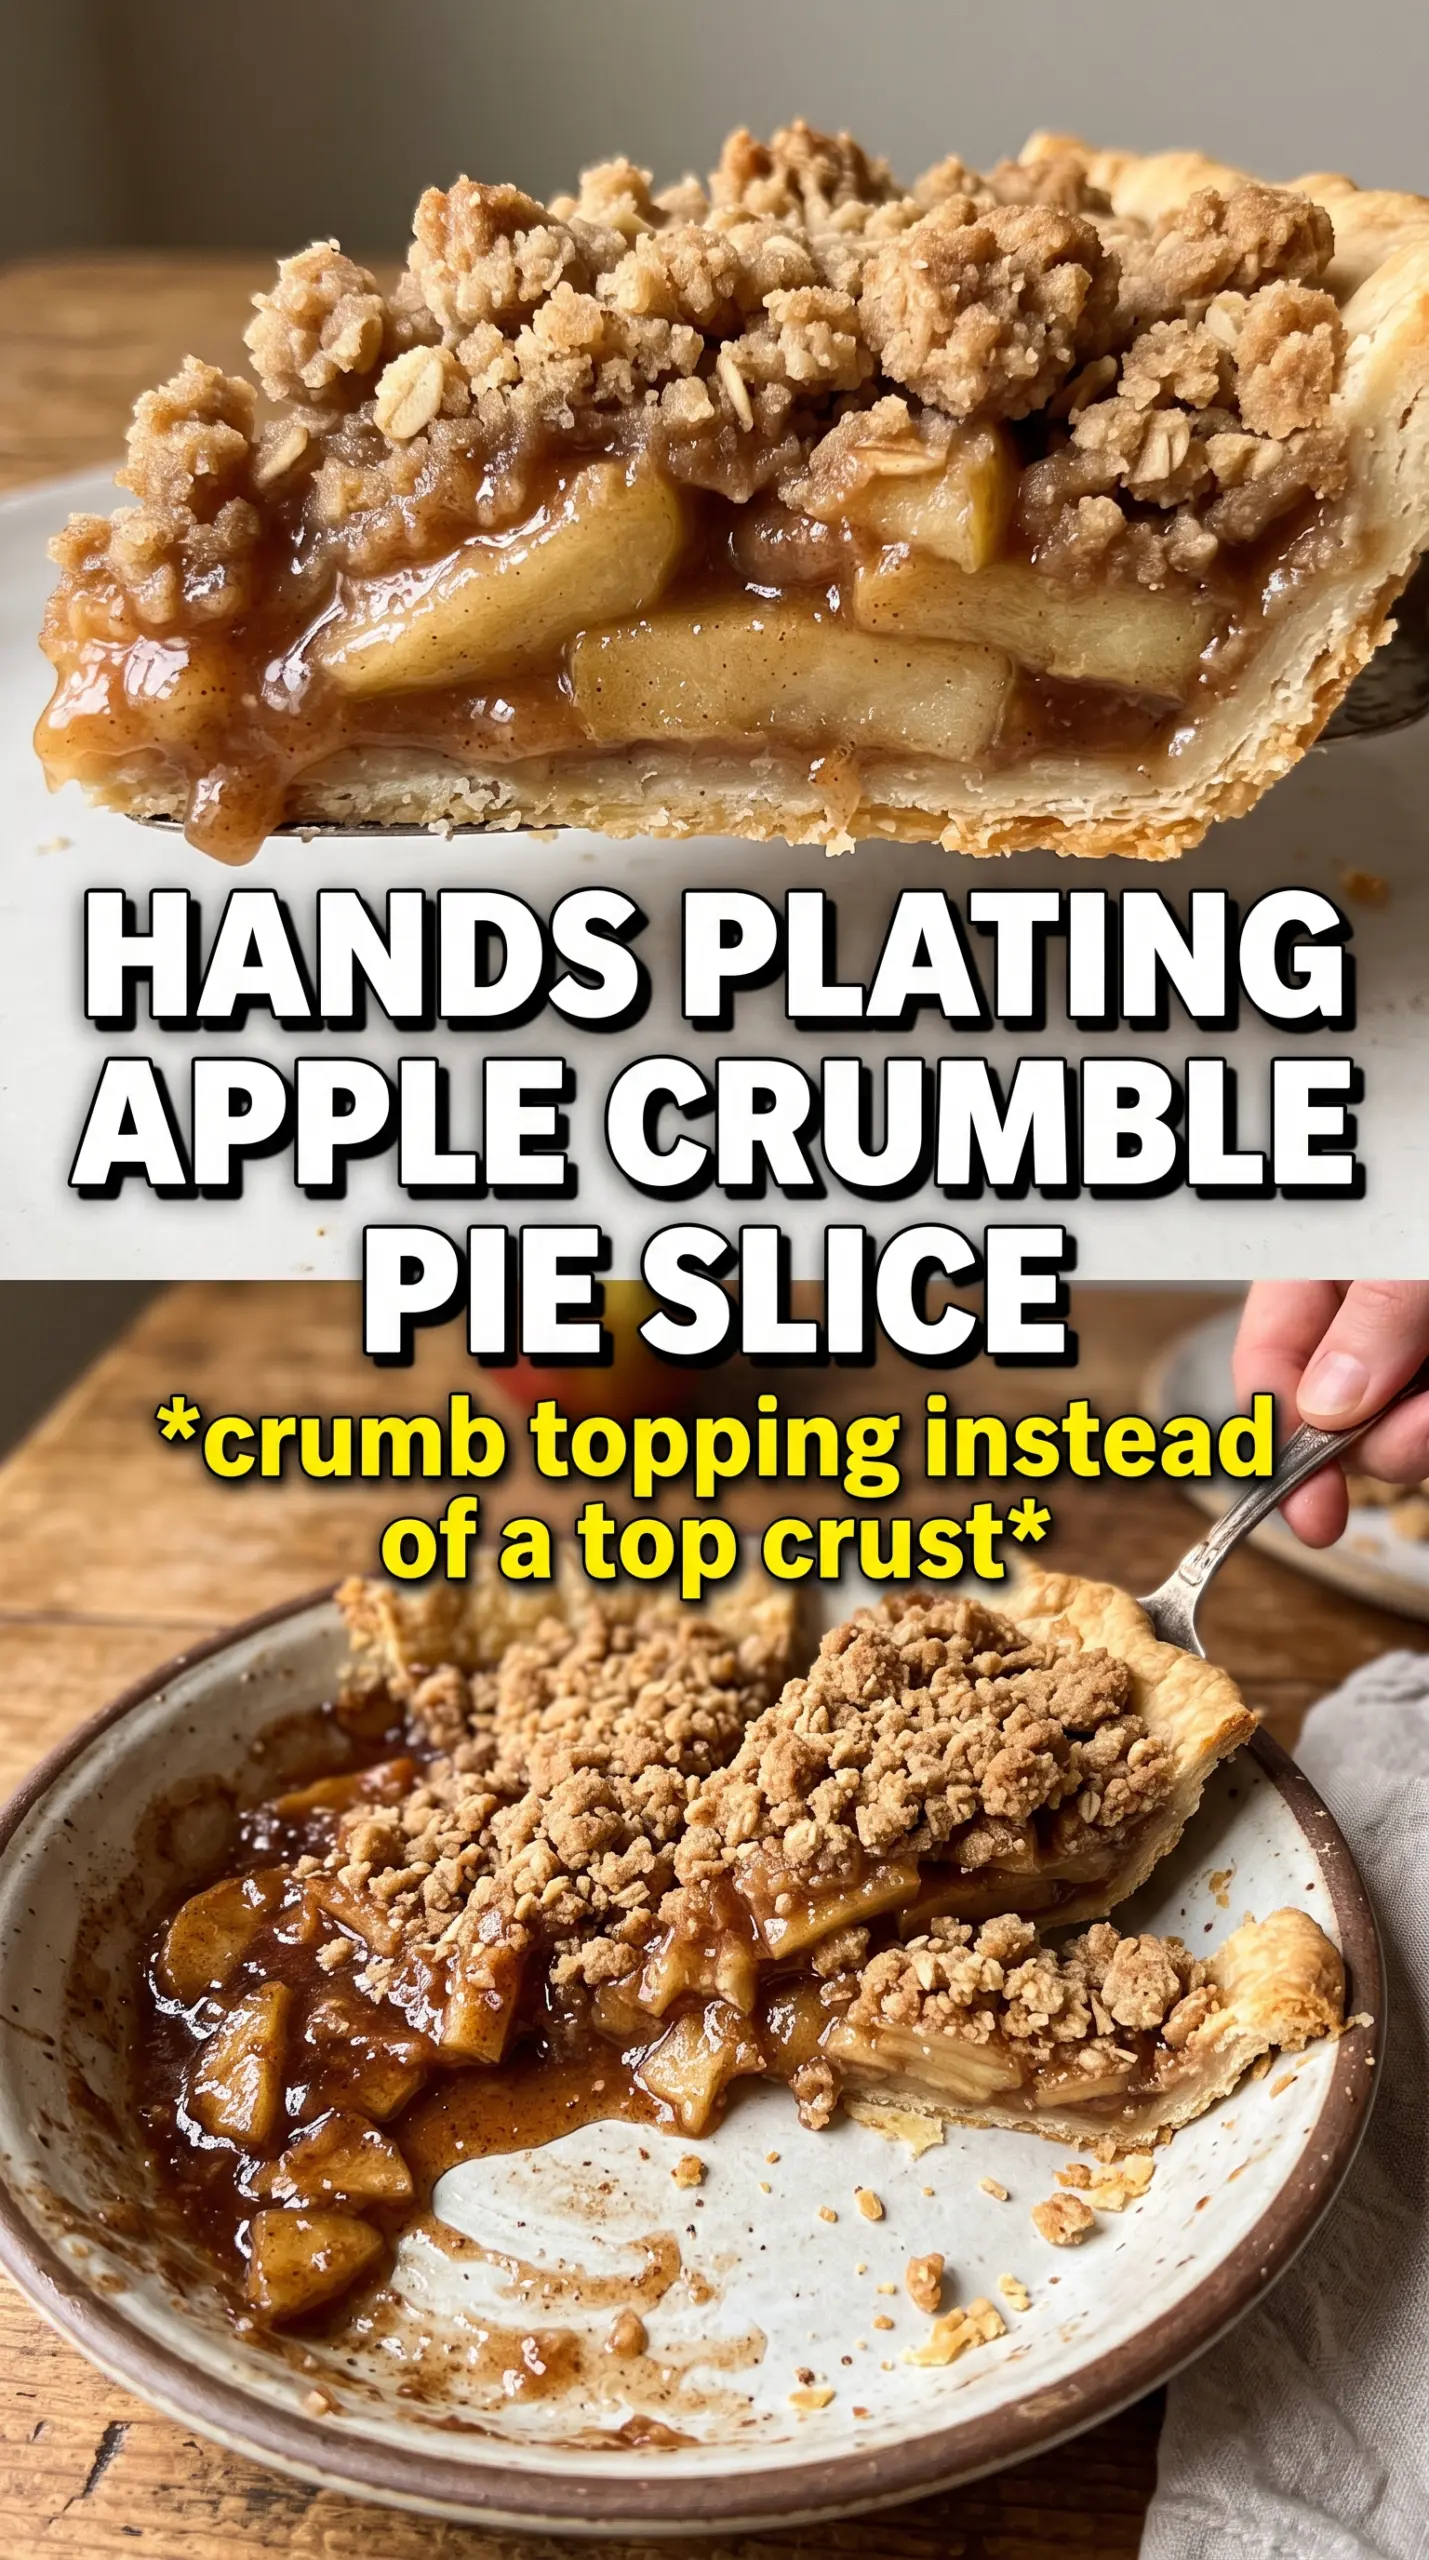
- Apples — Use firm baking apples if you can. They hold their shape and give the pie some structure after baking instead of collapsing into applesauce. If you only have softer apples, mix them with firmer ones so the filling still has texture.
- Cornstarch — This is what turns the apple juices into a sliceable filling. Flour can work in a pinch, but it leaves the filling heavier and a little cloudier. Cornstarch gives you a cleaner set.
- Lemon juice — It keeps the apples from tasting flat and helps balance the sweetness. You won’t taste lemon, but you will notice when it’s missing.
- Rolled oats — They give the topping that craggy, rustic texture. Quick oats make a finer, softer crumble, so use rolled oats if you want bigger clumps and better crunch.
- Cold butter — This is what creates the chunks in the topping. If the butter warms up before baking, the topping melts flat. Cube it cold and cut it in until the mixture looks like rough pebbles with some bigger bits still visible.
Building the Crumble So It Stays Crisp
Getting the Apple Layer Ready
Start by tossing the sliced apples with sugar, cinnamon, nutmeg, cornstarch, and lemon juice until every piece looks lightly coated. You’re not trying to dissolve the sugar; you’re trying to keep the thickener distributed evenly so the filling sets in the oven. Pile the apples into the unbaked shell and mound them a little higher in the center. They’ll settle as they bake, and that small extra height keeps the finished pie from looking hollow.
Cutting in the Butter
Mix the oats, flour, brown sugar, cinnamon, and salt first, then work in the cold butter until chunky clumps form. Stop before the mixture looks uniform. The best crumble has a range of pieces, from sandy bits to larger clusters, and those bigger clusters are what turn deeply golden in the oven. If the butter starts to soften or smear, chill the bowl for a few minutes before you continue.
Baking Until the Filling Bubbles Through
Scatter the crumble generously over the apples and bake at 375°F until the topping is deeply golden and the filling is bubbling at the edges, usually 55 to 65 minutes. Those bubbles matter; they tell you the cornstarch has actually thickened the juices. If the topping is browning too quickly, tent it with foil after about 35 minutes. Don’t cover it too early or the crumble loses the crisp top you worked for.
Letting the Pie Set Before Slicing
Cool the pie for at least an hour before you cut it. That waiting time is what lets the filling firm up enough to hold a clean slice. If you cut too soon, the filling will spill out and the layers won’t stay distinct. Warm pie is great, but a short rest is what turns it from bubbling fruit in a crust into an actual slice of pie.
How to Adapt This Pie When You Need a Different Finish
Make It Gluten-Free
Swap the all-purpose flour in the crumble for a good 1:1 gluten-free baking blend. The texture stays close to the original, though the topping may bake a touch more delicately, so let the pie cool fully before moving slices. The crust needs to be gluten-free too, of course, or the rest of the swap won’t matter.
Use a Dairy-Free Butter Substitute
Use a solid plant-based butter that behaves like sticks of butter, not a soft tub spread. The crumb will still clump and bake up crisp if the fat starts cold. If the substitute is softer than butter, chill the topping for 10 to 15 minutes before baking so it doesn’t melt into a dusty layer.
Lean Into a More Tart Filling
Use a mix of sweet and tart apples instead of all sweet varieties. The pie tastes brighter and less candy-like, and the filling keeps a little more character after baking. If your apples are especially tart, add a spoonful more sugar, but don’t overcorrect or you’ll lose the contrast that makes the pie taste balanced.
Storage and Reheating
- Refrigerator: Cover and refrigerate for up to 4 days. The topping softens a little, but the flavor stays good.
- Freezer: Freeze baked pie slices tightly wrapped, or freeze the whole pie after it cools completely. It keeps well for about 2 months, though the crumble won’t be quite as crisp after thawing.
- Reheating: Warm slices in a 300°F oven until the filling loosens and the top crisps again. The mistake is microwaving it until the crust turns limp and the topping goes chewy.
Answers to the Questions Worth Asking
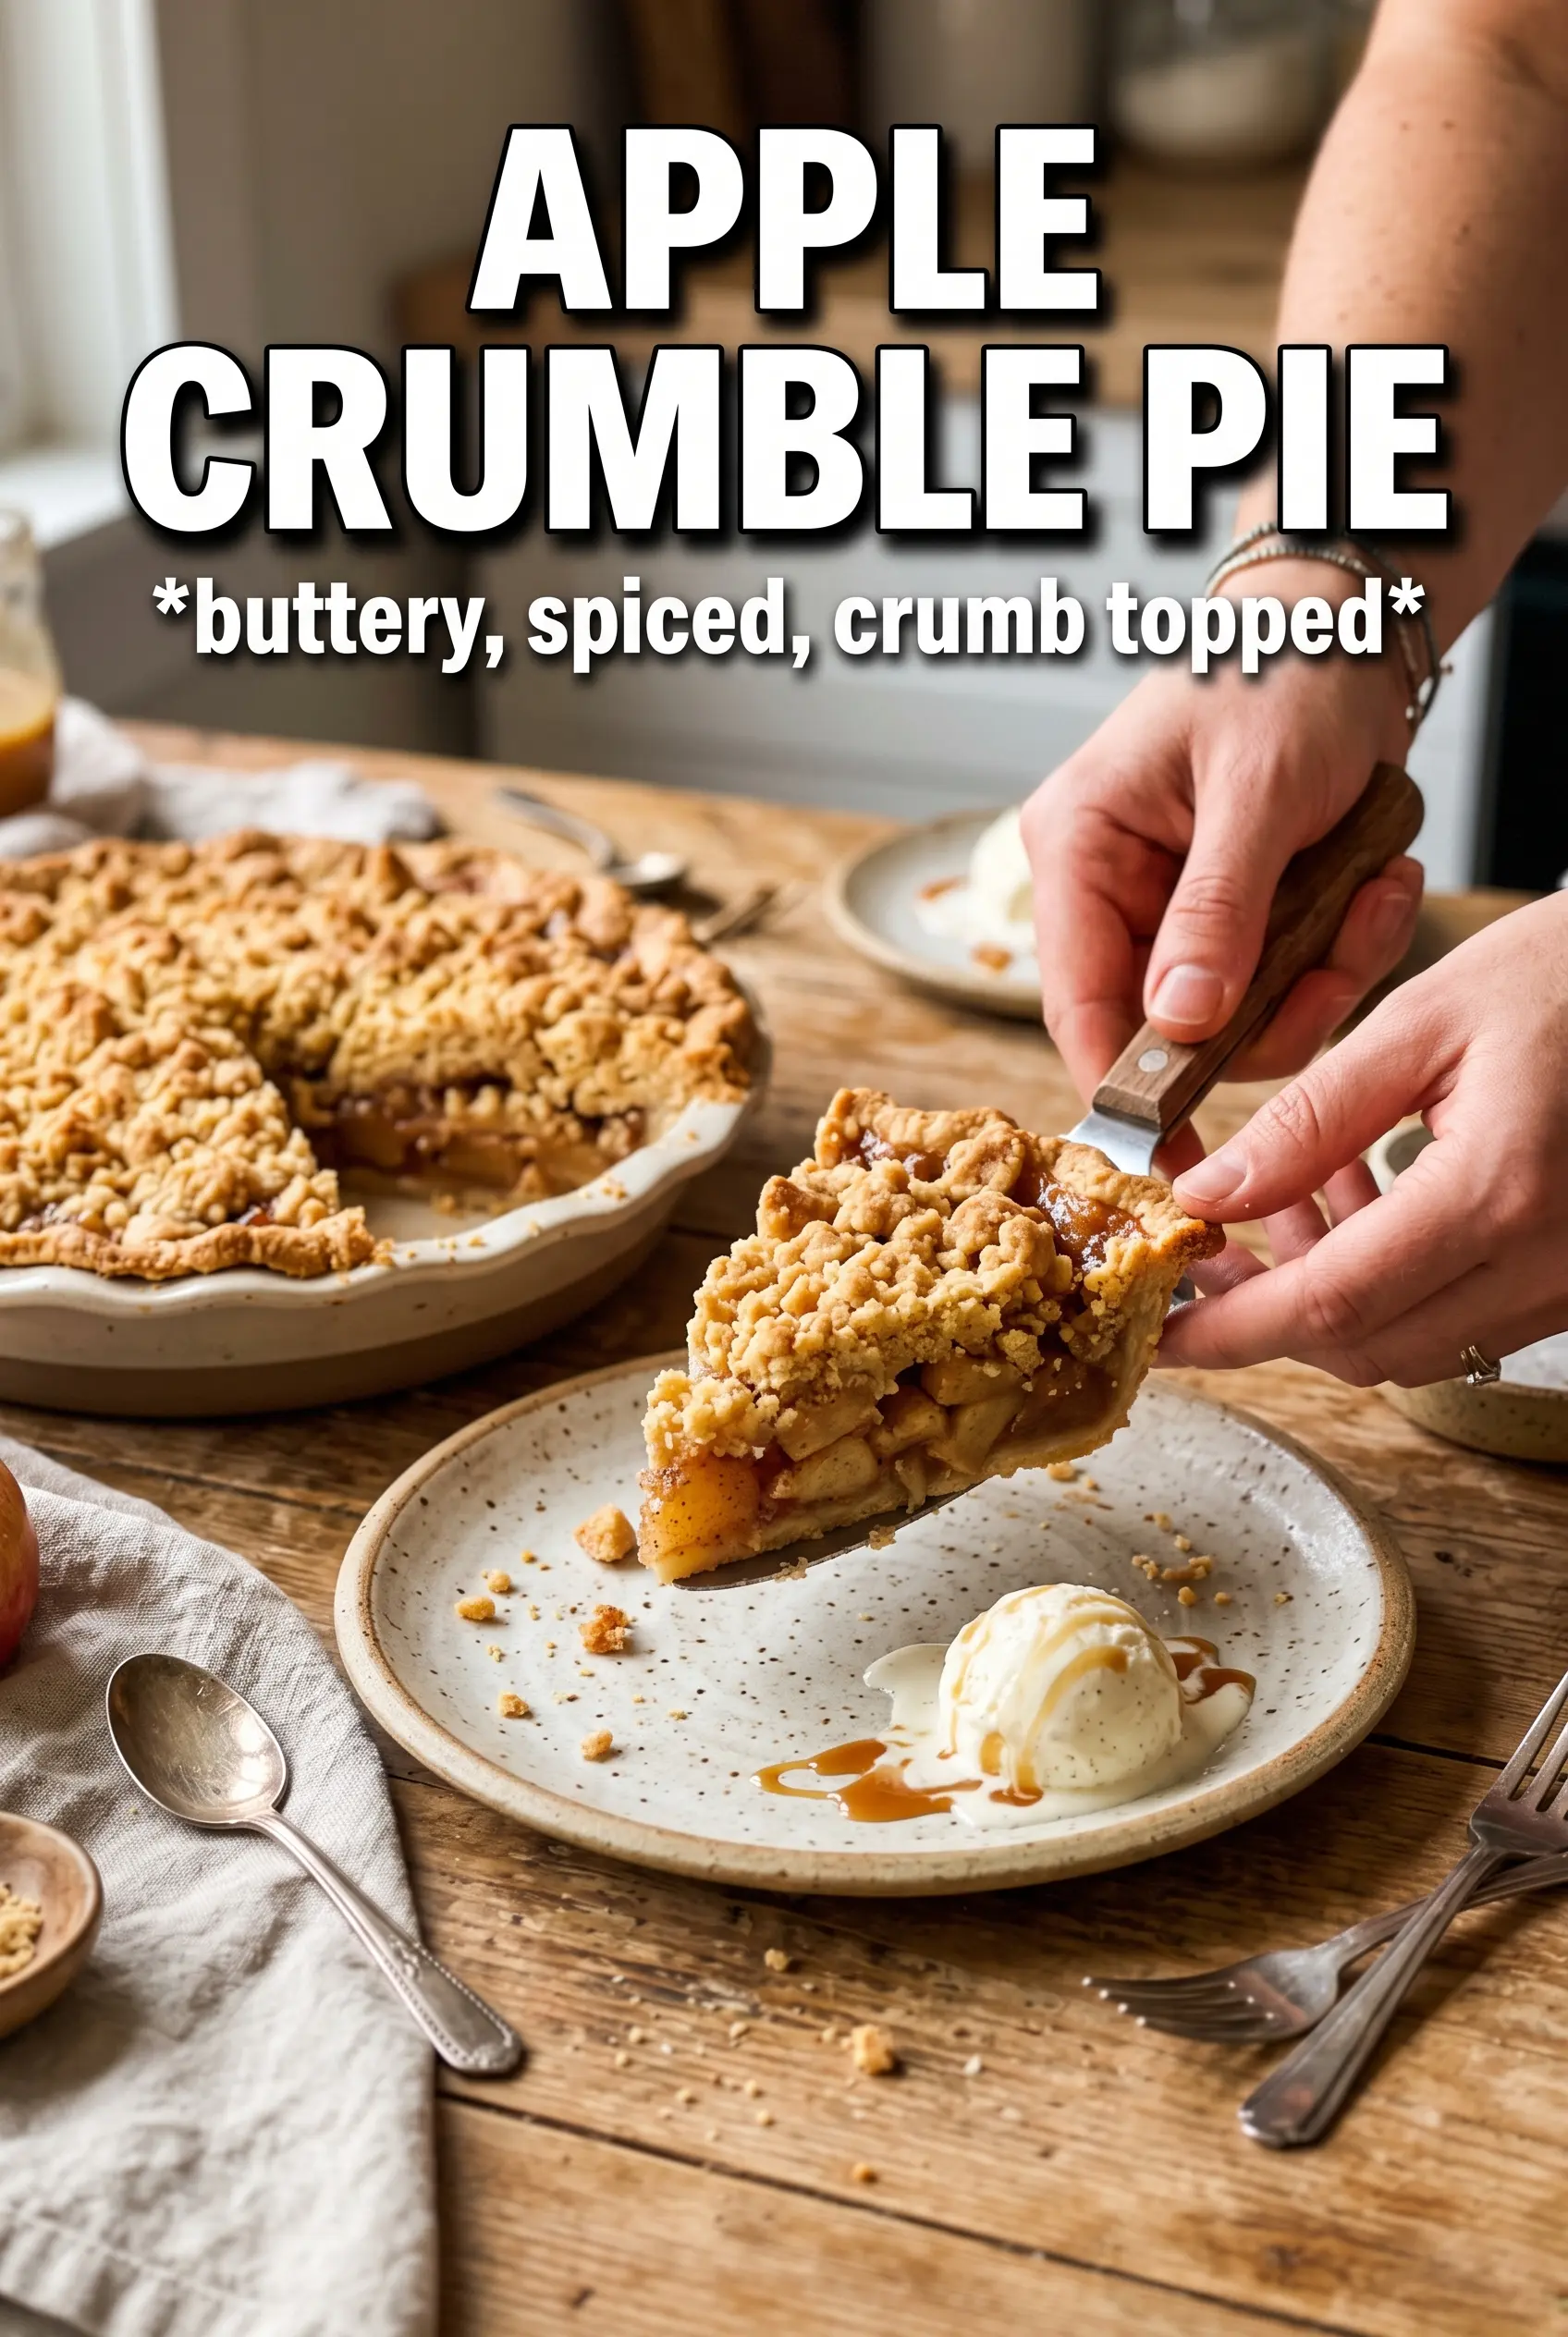
Apple Crumble Pie
Ingredients
Equipment
Method
- Preheat oven to 375F, then fit the unbaked 9-inch pie shell into a 9-inch pie dish and crimp the edges for a sealed rim.
- Crimp edges and position the pie dish on a sheet pan to catch any drips during baking.
- Toss the sliced apples with granulated sugar, cinnamon, nutmeg, cornstarch, and lemon juice until evenly coated, then pile them into the unbaked shell mounding slightly.
- Combine rolled oats, all-purpose flour, brown sugar, cinnamon, and salt, then cut in cold unsalted butter until chunky clumps form.
- Scatter the oat crumble topping over the apple filling, covering generously so the fruit is thickly layered under the crumble.
- Bake at 375F for 55-65 minutes, until the crumble is deeply golden and the filling bubbles through the edges.
- Tent the pie loosely with foil after 35 minutes if the topping browns too quickly to prevent burning.
- Cool the pie at least 1 hour before slicing so the filling sets and the slices hold together.