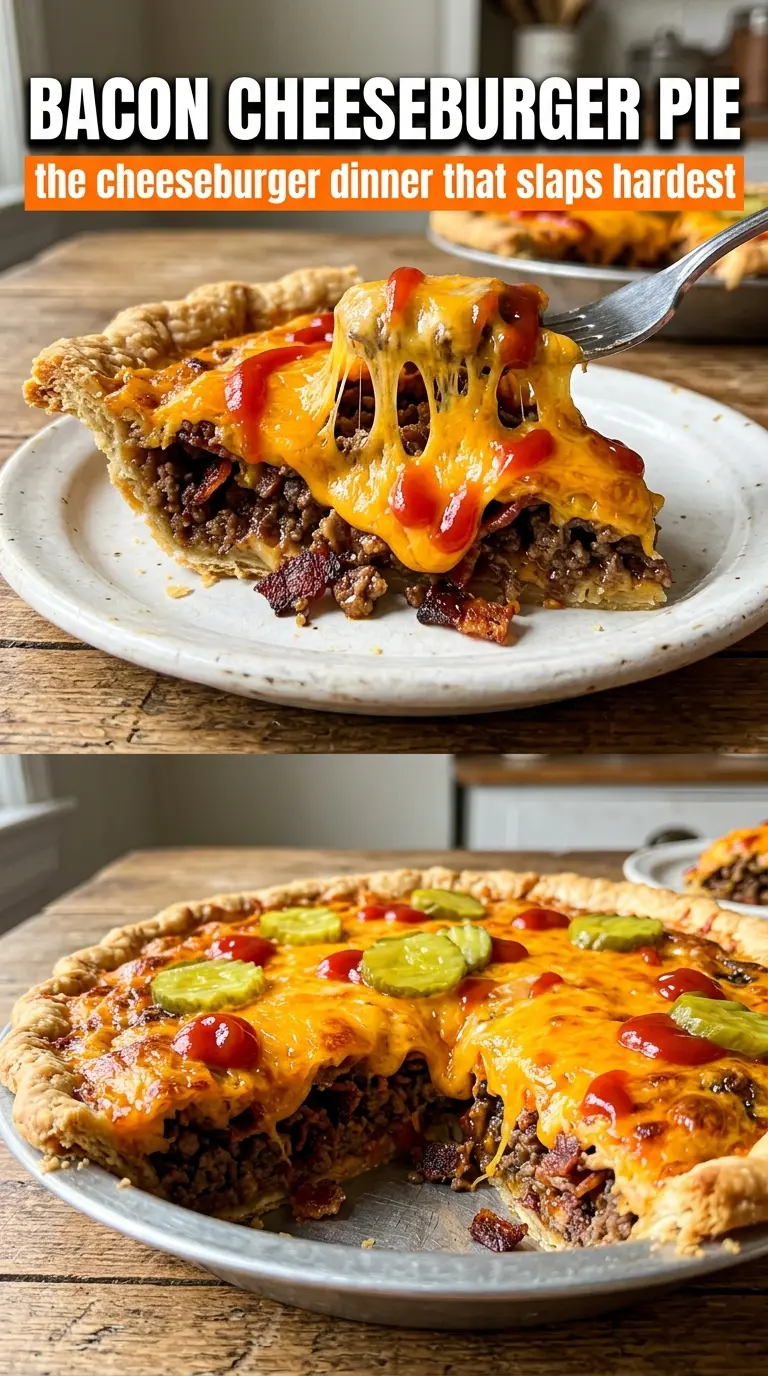
Bacon cheeseburger pie bakes up with all the comfort of a diner-style burger and the ease of a one-pan dinner. The filling stays juicy, the cheese melts into the beef, and the Bisquick custard sets into a tender crust that slices cleanly instead of collapsing on the plate. It’s the kind of baked dinner that feels familiar the first time you make it and earns repeat requests fast.
What makes this version work is the order of the layers. The beef gets seasoned before it goes into the dish, so the flavor is built into every bite, and the bacon goes in with the cheese instead of on top where it can dry out. The Bisquick, eggs, and milk mixture bakes around the filling and turns into a light self-crusting shell that holds everything together without needing a separate pastry base.
Below, I’ve included the one step that keeps the pie from turning greasy, plus a few smart swaps if you want to adapt it for what’s already in your fridge.
The custard set up perfectly and the bacon stayed crispy enough to taste in every slice. I also liked that the cheese went in two layers — it made the whole pie hold together without feeling dry.
Like this bacon cheeseburger pie? Save it to Pinterest for an easy beef dinner with bacon, cheddar, and a golden Bisquick crust.
The Reason the Crust Sets Up Instead of Going Soggy
The mistake most people make with a cheeseburger pie is treating the filling like it’s the whole meal and forgetting that the custard still has to bake through around it. If the beef is too wet or the pan is overloaded with grease, the bottom stays loose and the center takes longer to set. That’s why the fat gets drained after browning and the beef mixture goes into the dish hot but not swimming.
The Bisquick mixture does more than hold everything together. It bakes into a soft, savory shell because the eggs set the structure while the baking mix gives it enough body to slice. You’ll know it’s ready when the center is just set, the top is lightly puffed, and a knife inserted near the middle comes out without raw liquid clinging to it.
What the Bacon, Mustard, and Bisquick Each Bring to the Table
- Ground beef — Use a beef blend with enough fat for flavor, then drain it well after browning. Lean beef works, but it needs the onion, garlic, ketchup, and mustard to keep the filling from tasting flat.
- Bacon — Cook it first and crumble it in at the end so it stays smoky and distinct. If you use thick-cut bacon, chop it a little finer so it distributes through the filling instead of clumping.
- Yellow mustard and ketchup — These give the pie that burger flavor people recognize immediately. The mustard cuts through the richness, and the ketchup adds sweetness and body without making the filling taste like tomato sauce.
- Bisquick, eggs, and milk — This trio is what creates the self-crusting layer. A homemade baking-mix substitute will work in a pinch, but the texture is best when the batter is smooth and poured evenly over the meat.
- Cheddar cheese — Shred it yourself if you can. Pre-shredded cheese works, but freshly shredded cheddar melts more smoothly and gives you those stretchy pockets that make the pie feel like a cheeseburger instead of just a beef bake.
Getting the Layers Set Without Breaking the Pie
Brown the Beef and Cook Off the Moisture
Cook the ground beef and onion together until the meat is no longer pink and the onion has softened and turned translucent. If there’s a lot of fat in the pan, drain it off before you add the garlic, ketchup, mustard, salt, and pepper. The filling should look moist and glossy, not greasy; that’s what keeps the custard from separating underneath.
Build the Burger Flavor Before It Goes Into the Dish
Stir in the garlic, ketchup, mustard, and bacon once the beef is drained. This is where the pie starts tasting like a cheeseburger instead of plain seasoned meat. Add 1 1/2 cups of the cheddar while the beef is still hot so it softens into the filling and helps everything stick together when you spoon it into the pie dish.
Mix the Custard Until It’s Smooth
Whisk the eggs, milk, and Bisquick until there are no dry pockets left and the mixture looks even. Lumps of baking mix can bake into little doughy spots, so take an extra moment here. Pour it slowly over the beef mixture and let it settle into the gaps; don’t stir once it’s in the dish or you’ll disrupt the layers that help the pie set cleanly.
Bake Until the Center Holds
Bake the pie until the top is lightly golden and the center doesn’t slosh when you nudge the pan. If it still looks wet in the middle, give it a few more minutes instead of pulling it early. Add the remaining cheddar near the end so it melts without overbaking, then let the pie rest briefly before slicing so each wedge comes out neat.
How to Adapt This Cheeseburger Pie for What You Have on Hand
Make It Gluten-Free
Use a gluten-free baking mix that behaves like Bisquick and measure it the same way. The filling itself is naturally gluten-free, so the swap only changes the crust texture a little; you’re aiming for a tender, savory set rather than a bready top.
Skip the Bacon and Keep the Smoke
If you don’t want bacon, add a pinch of smoked paprika to the beef after draining. You’ll lose the crisp bits of bacon, but the pie still gets that savory depth that makes it taste fuller and more burger-like.
Swap in Ground Turkey
Ground turkey works if you want a lighter pie, but it needs the full amount of seasoning and cheese to keep it from tasting dry. Use a slightly smaller drain on the pan if the turkey is very lean, because it won’t release as much fat and can dry out faster in the oven.
Storage and Reheating
- Refrigerator: Store leftovers covered for up to 4 days. The custard firms up a little more in the fridge, but the slices still reheat well.
- Freezer: It freezes fairly well in individual slices. Wrap tightly and freeze for up to 2 months, then thaw in the refrigerator before reheating.
- Reheating: Warm slices in a 325°F oven until heated through, or use the microwave in short bursts. If you reheat too hard, the eggs get rubbery and the cheese can turn oily.
Answers to the Questions Worth Asking

Bacon Cheeseburger Pie
Ingredients
Equipment
Method
- Preheat the oven to 400°F and grease a deep 10-inch pie dish.
- Warm the dish briefly while the oven finishes heating so the filling starts setting as soon as it goes in.
- Brown the ground beef with the diced onion, then drain excess fat.
- Add the minced garlic, ketchup, yellow mustard, salt, and pepper, and stir until evenly combined.
- Stir in the cooked, crumbled bacon and 1.5 cups of the shredded cheddar until the cheese begins to melt slightly.
- Spread the beef mixture into the greased pie dish in an even layer.
- Whisk the eggs, milk, and Bisquick baking mix together until smooth, then pour over the beef.
- Bake for 25–30 minutes at 400°F until the top is set and golden.
- Top with the remaining cheddar and bake 5 more minutes until melted and bubbling at the edges.
- Serve hot with ketchup and pickles.