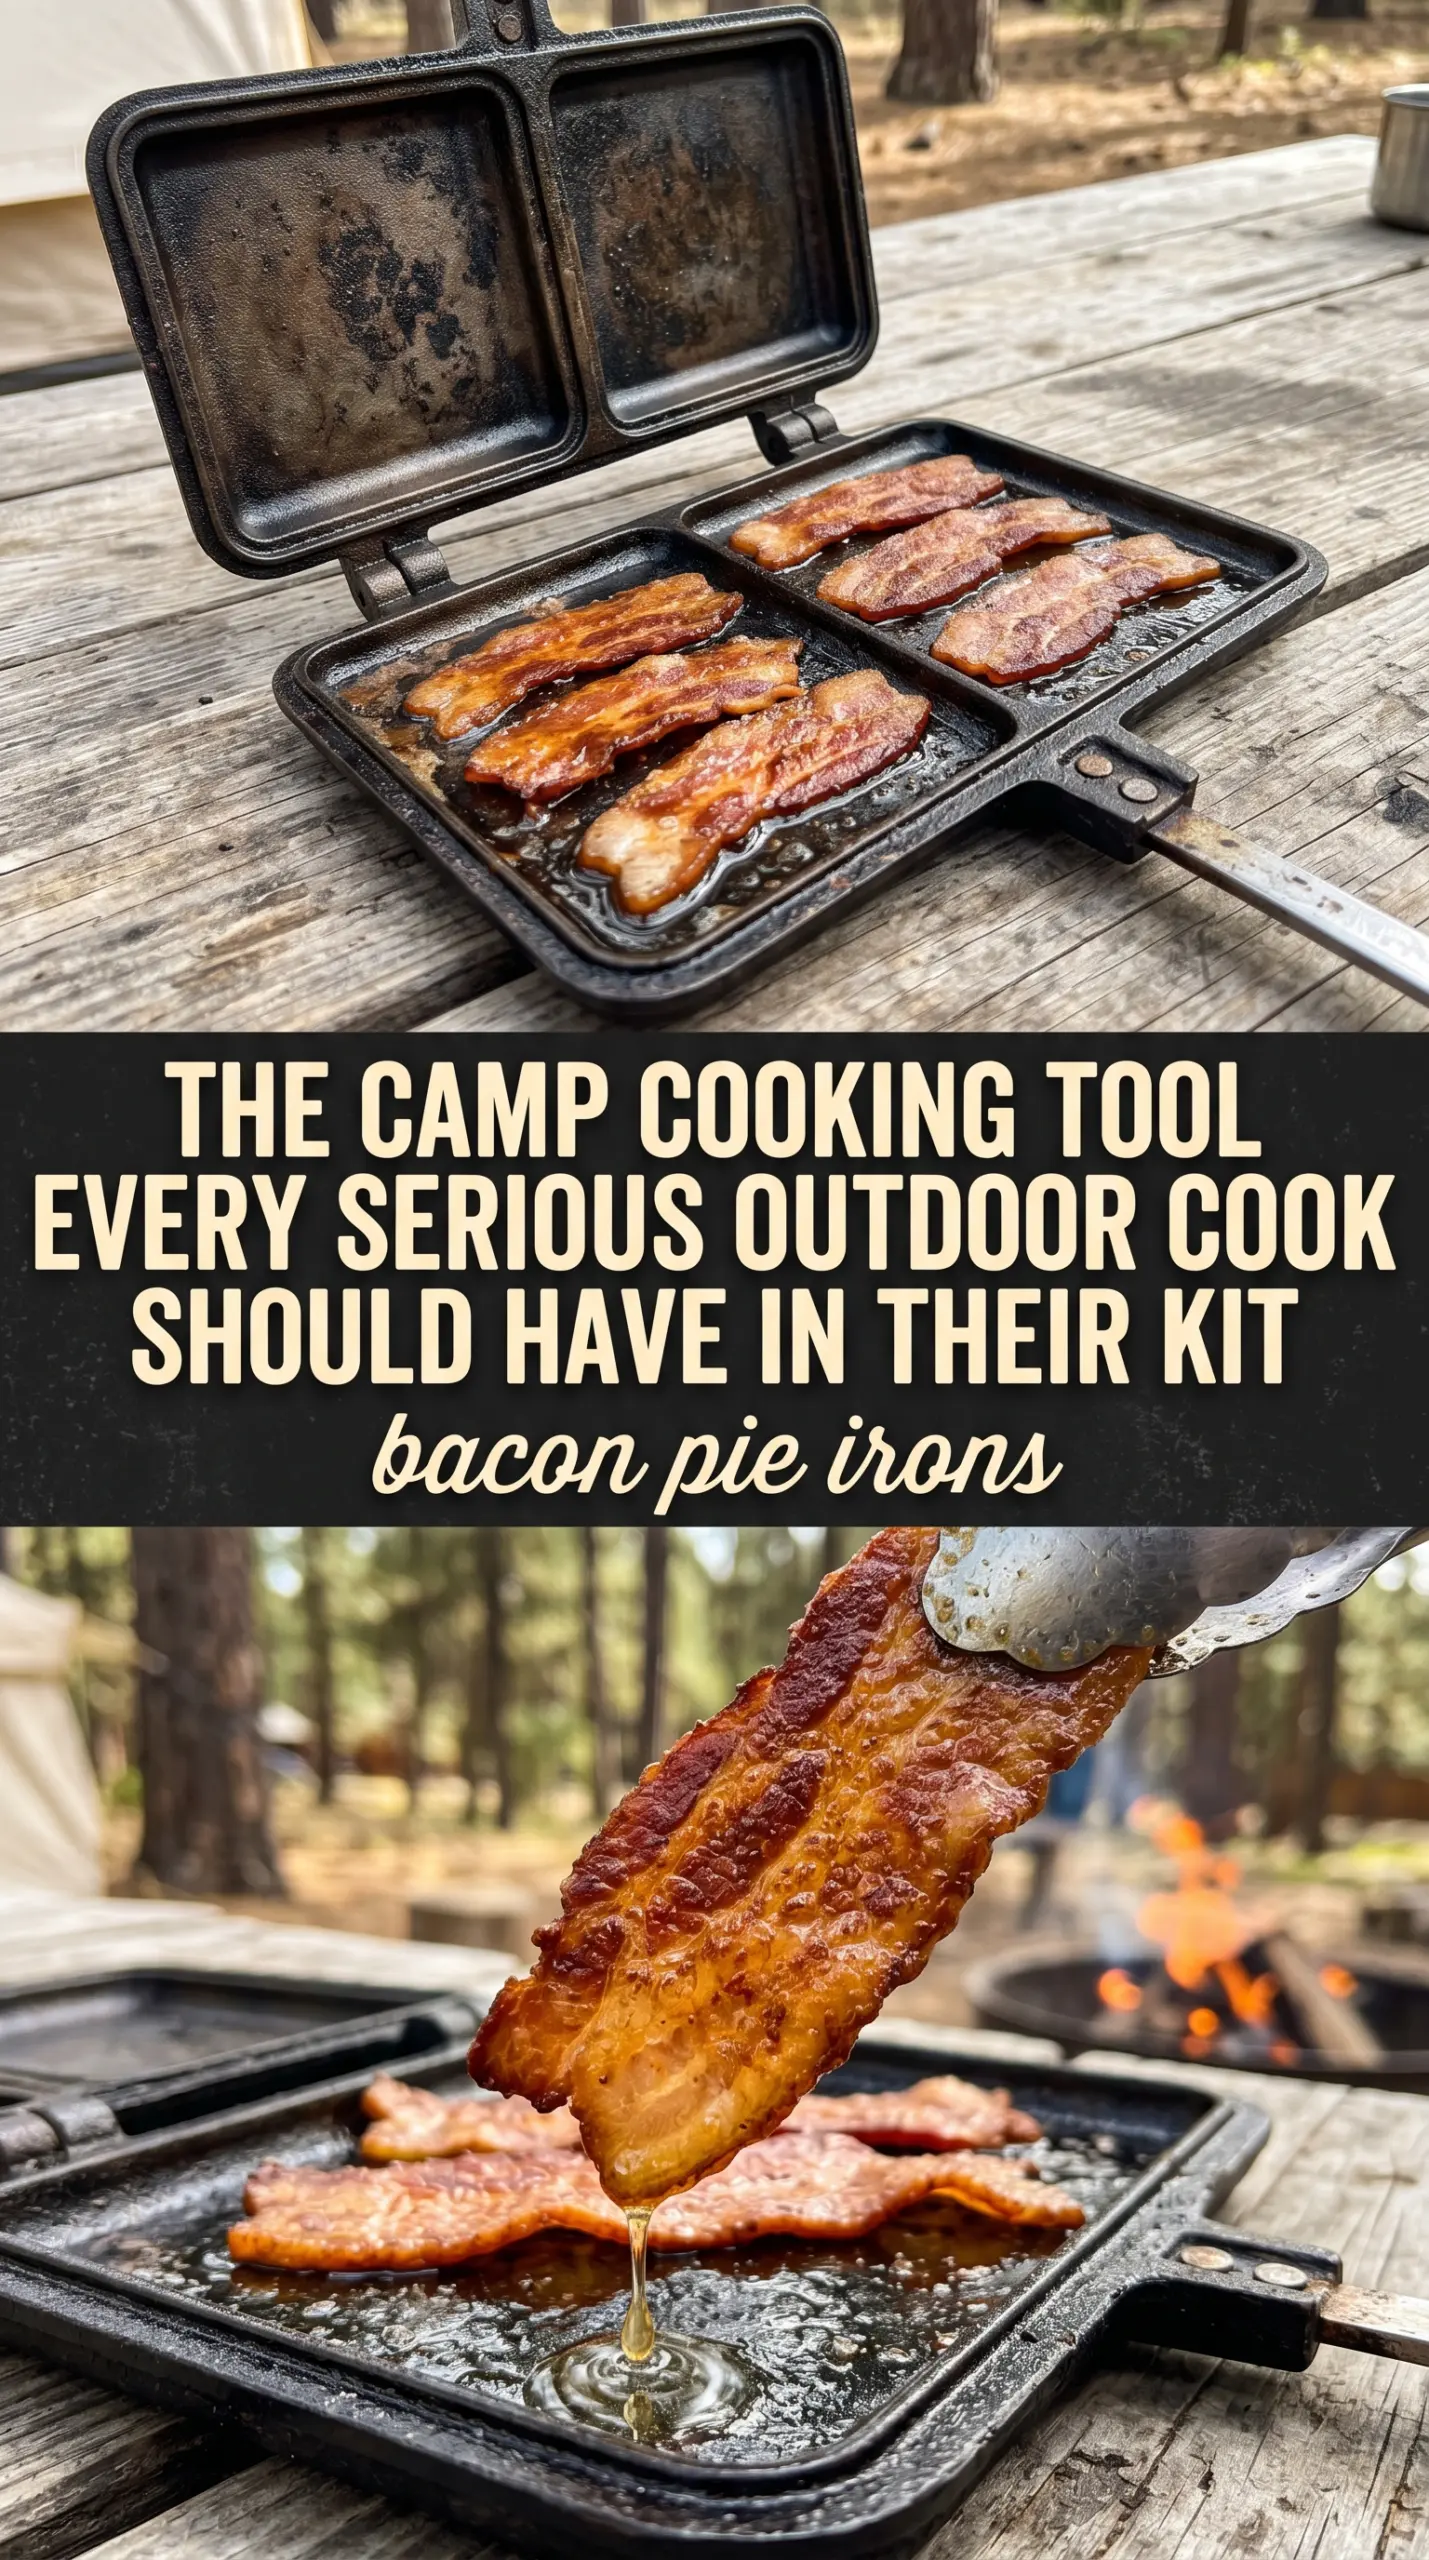
Bacon pie irons deliver the kind of breakfast that disappears fast: crisp, buttery bread on the outside and a hot, cheesy center that feels much bigger than the few ingredients going into it. The bacon stays salty and chewy, the eggs keep the sandwich from drying out, and the cheddar melts into the cracks so every bite tastes like campfire comfort.
What makes this version work is the balance inside the sandwich. Scrambled eggs add softness, but they need the bacon and cheese to keep the filling from turning bland. Buttering the bread on the outside gives you that toasted, even browning in the pie iron, and cooking over coals instead of wild flames keeps the bread from scorching before the cheese has time to melt.
Below, you’ll find the small details that make pie iron sandwiches easier to manage over a fire, plus a few swaps for different bread, cheese, and make-ahead breakfast fillings.
These bacon pie irons are the campfire breakfast worth saving for crispy bread, melty cheese, and a filling that stays tucked inside.
The Trick to Keeping the Filling Inside the Pie Iron
The most common mistake with pie irons is overfilling them. Bacon, eggs, and cheese sound sturdy, but once the heat starts working, everything softens and shifts. Leave a little space around the edges of the bread so the sandwich can seal without forcing filling out into the fire. If you pack it full, the bread browns unevenly and the cheese runs before the crust is set.
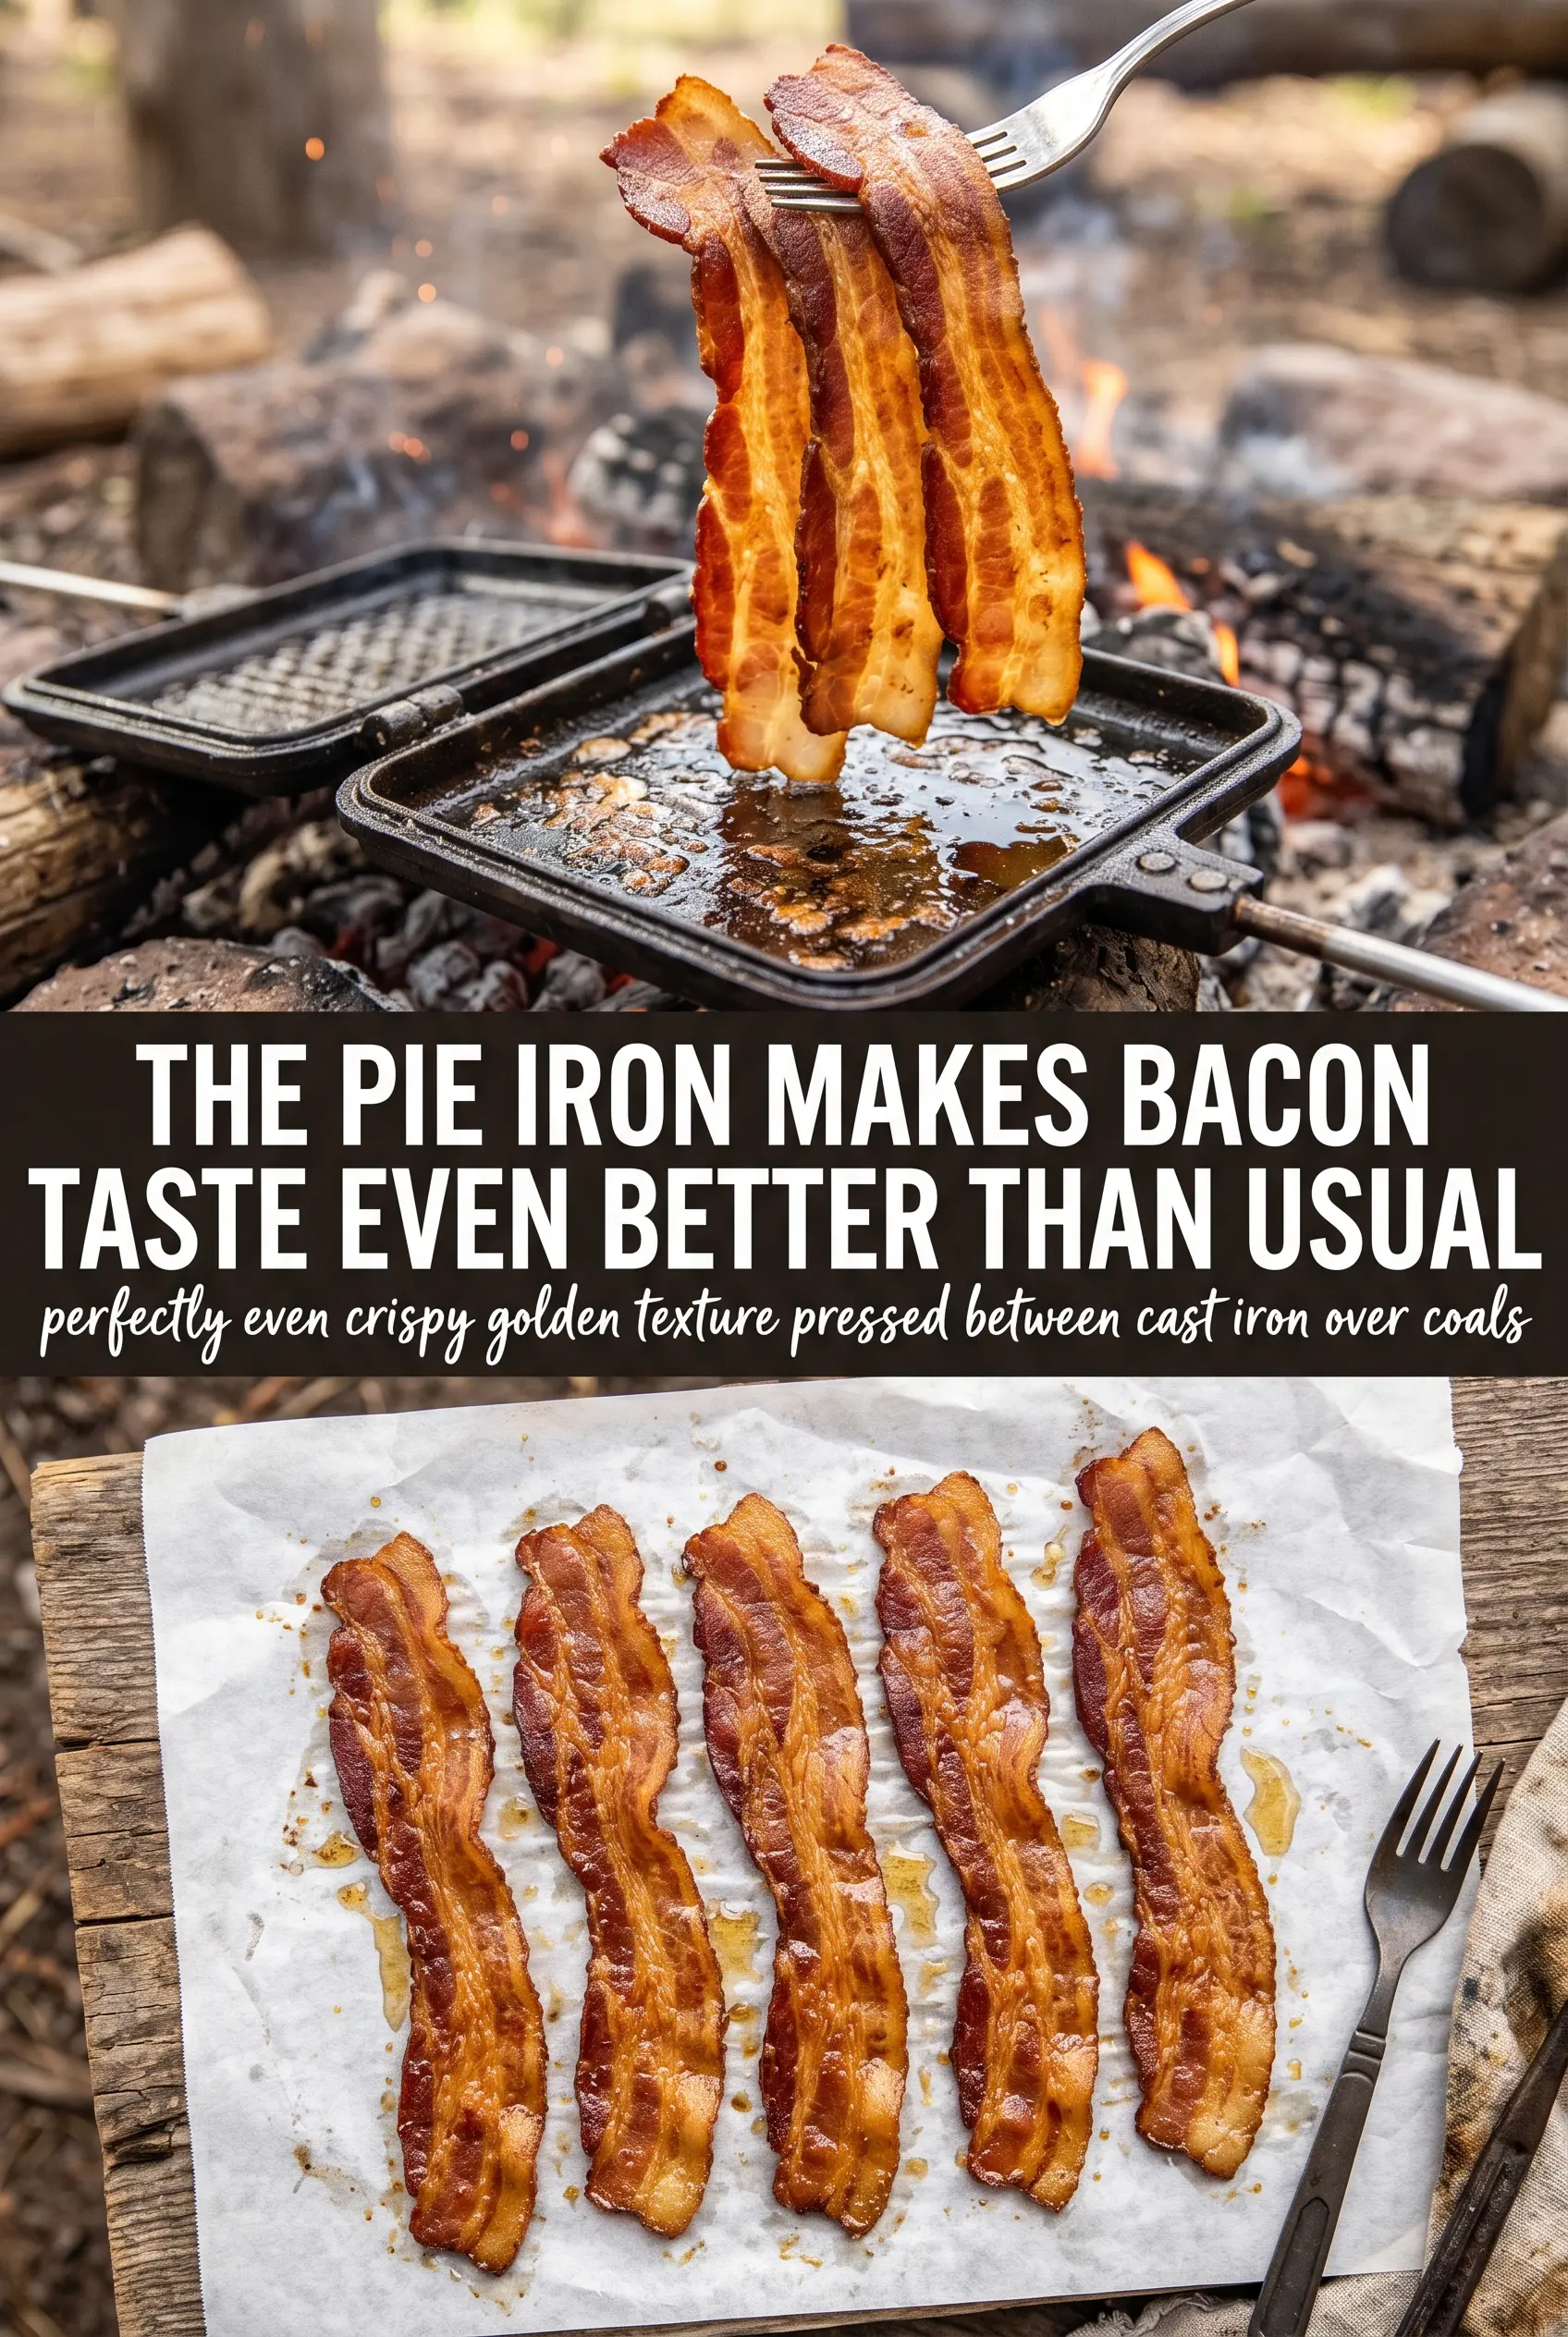
Cooking over hot coals instead of direct flame gives you more control. Flame scorches the outside fast and leaves the center barely warm. Coals let the bread toast at the same pace the cheese melts, which is the difference between a neat sandwich and one that comes back looking stripped and messy.
What Each Ingredient Is Actually Doing in Bacon Pie Irons
- Protein (quality, proper thickness): Good quality protein tastes better. Even thickness ensures even cooking.
- Seasoning (bold, distributed throughout): Don’t be shy with salt and pepper. Quality seasoning elevates everything.
- Oil or fat (protective and flavorful): The fat helps develop crust and carries flavors. Use generously.
- Heat management (appropriate temperature for the protein): Too high and the outside burns before the inside cooks. Too low and it steams.
- Technique (sear, then finish based on thickness): Proper technique creates flavor. Sear for crust, then cook through gently.
- Aromatics and seasonings (garlic, herbs, spices): These add complexity and depth. Distribute them throughout the cooking process.
- Resting time (let it rest before serving): Resting allows juices to reabsorb. This keeps the protein moist and tender.
- Optional: finishing sauce or glaze: A light sauce adds richness without overwhelming. Apply at the very end.
What the Bread, Bacon, and Cheese Are Doing Here
- Bread: Standard sandwich bread works well because it compresses and browns evenly. Thick-cut artisan bread can be used, but it needs a little longer in the pie iron and can crack if it’s too dry.
- Bacon: Cook the bacon before it goes into the sandwich. Raw bacon won’t cook through in the short time the pie iron spends over the coals, and fully cooked bacon keeps the filling from turning greasy.
- Scrambled eggs: Use eggs that are just set, not wet. Loose eggs can leak out and make the bread soggy. Slightly undercooked scrambled eggs finish in the heat of the pie iron.
- Cheddar cheese: Cheddar melts cleanly and adds the sharpness the sandwich needs. Mild cheddar works fine, but a sharper block cheese gives better flavor than pre-shredded cheese, which can melt a little less smoothly.
- Butter: Butter on the outside is what gives the bread that toasted, golden crust. Margarine will work in a pinch, but butter browns better and tastes cleaner against the bacon.
Building the Sandwich So It Browns Before It Burns
Butter the Bread First
Spread butter on one side of every bread slice, all the way to the edges. That outside layer is what crisps against the hot metal, so any bare spots will turn pale and soft. If the butter is too thick, wipe off the excess; a heavy layer can drip into the fire and make the sandwich greasy instead of toasted.
Layer the Filling in a Flat Stack
Set one slice of bread butter-side down in the pie iron, then add the eggs, bacon, and cheese in a compact layer. Keep the filling centered and avoid mounding it high in the middle, since the top slice has to close without forcing the contents apart. The cheese should sit against the eggs so it melts into them instead of sliding away.
Cook Over Coals, Not Flames
Close the pie iron and place it over hot campfire coals for 3 to 4 minutes per side. If the heat is right, the outside will turn deep golden and release from the iron without sticking. If the bread is browning too fast, move it to a cooler spot; if nothing is happening after a few minutes, the heat is too low and the sandwich will dry out before it finishes.
Unmold and Serve Hot
Open the pie iron carefully and lift the sandwich out with a fork or spatula. Let it sit for a minute before cutting so the cheese settles instead of spilling out at the first bite. Pie iron sandwiches are best eaten right away, while the bread is crisp and the center is still hot enough to stretch.
Three Ways to Make Bacon Pie Irons Work for Different Camps
Gluten-Free Bread Swap
Use a sturdy gluten-free sandwich bread that can handle pressing and heat. Softer gluten-free loaves can split at the edges, so keep the filling modest and watch the first side closely since these breads usually brown a little faster.
Dairy-Free Version
Swap the butter for a dairy-free spread that browns well and use a melting dairy-free cheese. The sandwich will still toast up nicely, but the cheese layer may be a little less stretchy and a little more soft than cheddar.
Make It Meatier
Add a slice of ham or a little crumbled sausage alongside the bacon, but keep the total filling thin. More meat gives you a heartier breakfast, yet it also makes the sandwich harder to close and slows the melt inside.
Egg-Free Shortcut
Skip the scrambled eggs and add an extra slice of cheese with a little more bacon for a simpler sandwich. You lose the softer breakfast texture, but the pie iron still holds together well and the result is less likely to leak.
Storage and Reheating
- Refrigerator: Store leftovers in an airtight container for up to 2 days. The bread softens as it sits, so expect less crunch than when it first comes off the iron.
- Freezer: These don’t freeze well once assembled. The eggs and bread both turn watery after thawing, and the texture suffers enough that I don’t recommend it.
- Reheating: Warm in a skillet over low heat or in a 325°F oven until heated through. High heat burns the bread before the center warms, which is the fastest way to ruin the texture.
Questions I Get Asked About This Recipe
Bacon Pie Irons
Ingredients
Equipment
Method
- Butter one side of each bread slice so the outside browns evenly on the pie iron.
- Place one bread slice, butter-side down, in the pie iron.
- Layer scrambled eggs over the bread, then add the cooked bacon.
- Add cheddar cheese on top of the bacon so it melts into the filling.
- Season with salt and pepper to taste.
- Top with the second bread slice, butter-side up, then close the pie iron.
- Cook the closed sandwich over campfire coals for 3-4 minutes per side, until golden and the cheese melts.
- Open the pie iron and remove the sandwich carefully when the bread is toasted and the cheese is fully melted.
- Serve hot immediately for the best cheese stretch and crisp edges.