Big, saucy stuffed shells are one of those dinners that looks like you spent all afternoon in the kitchen, even when the work is straightforward. The filling stays rich and creamy from the ricotta, the beef brings a savory, meaty backbone, and the marinara keeps everything from feeling heavy. Once the mozzarella melts into a bubbling top, you get the kind of pasta bake that disappears fast at the table.
What makes this version work is the balance. The beef is browned with onion and garlic first so the filling starts with real flavor, then it cools before it goes into the ricotta so the cheese stays fluffy instead of turning loose. A little parmesan sharpens the filling, while egg helps it hold together in the shell without becoming firm or dry. The sauce goes under and over the shells, which keeps the pasta tender and gives you those edges where the cheese bakes into the marinara.
Below, I’ve included the little details that matter most: how to keep the shells from tearing, why you want the filling cooled before mixing, and the best way to reheat leftovers without drying out the cheese.
The filling stayed creamy and the shells held their shape perfectly. I loved that the beef was mixed right into the ricotta instead of sitting underneath, and the marinara baked up thick instead of watery.
Save these baked beef and ricotta stuffed shells for a bubbling pasta bake with a creamy filling and plenty of mozzarella.
The Trick to Stuffed Shells That Hold Their Shape Instead of Collapsing
The biggest failure point with stuffed shells is usually the pasta itself. If the shells are cooked too long, they tear when you fill them and turn mushy once they bake. Al dente shells still have enough structure to cradle the filling, and they finish cooking in the sauce without falling apart.
The other place people run into trouble is with the filling temperature. Hot beef can loosen the ricotta and make the mixture greasy, which leads to a filling that slides around instead of setting inside the shell. Let the beef cool for a few minutes after cooking, then mix it in so the cheese stays thick and spoonable.
- Al dente shells — Cook them just until they still have a firm bite. They need to be flexible enough to fill, but not soft enough to split when you handle them.
- Cooled beef mixture — This keeps the ricotta from breaking and helps the filling stay creamy after baking. If the beef is still steaming, wait.
- Two layers of sauce — A little on the bottom prevents sticking, and the rest over the top keeps the shells moist while the mozzarella browns.
What Each Ingredient Is Actually Doing in the Filling
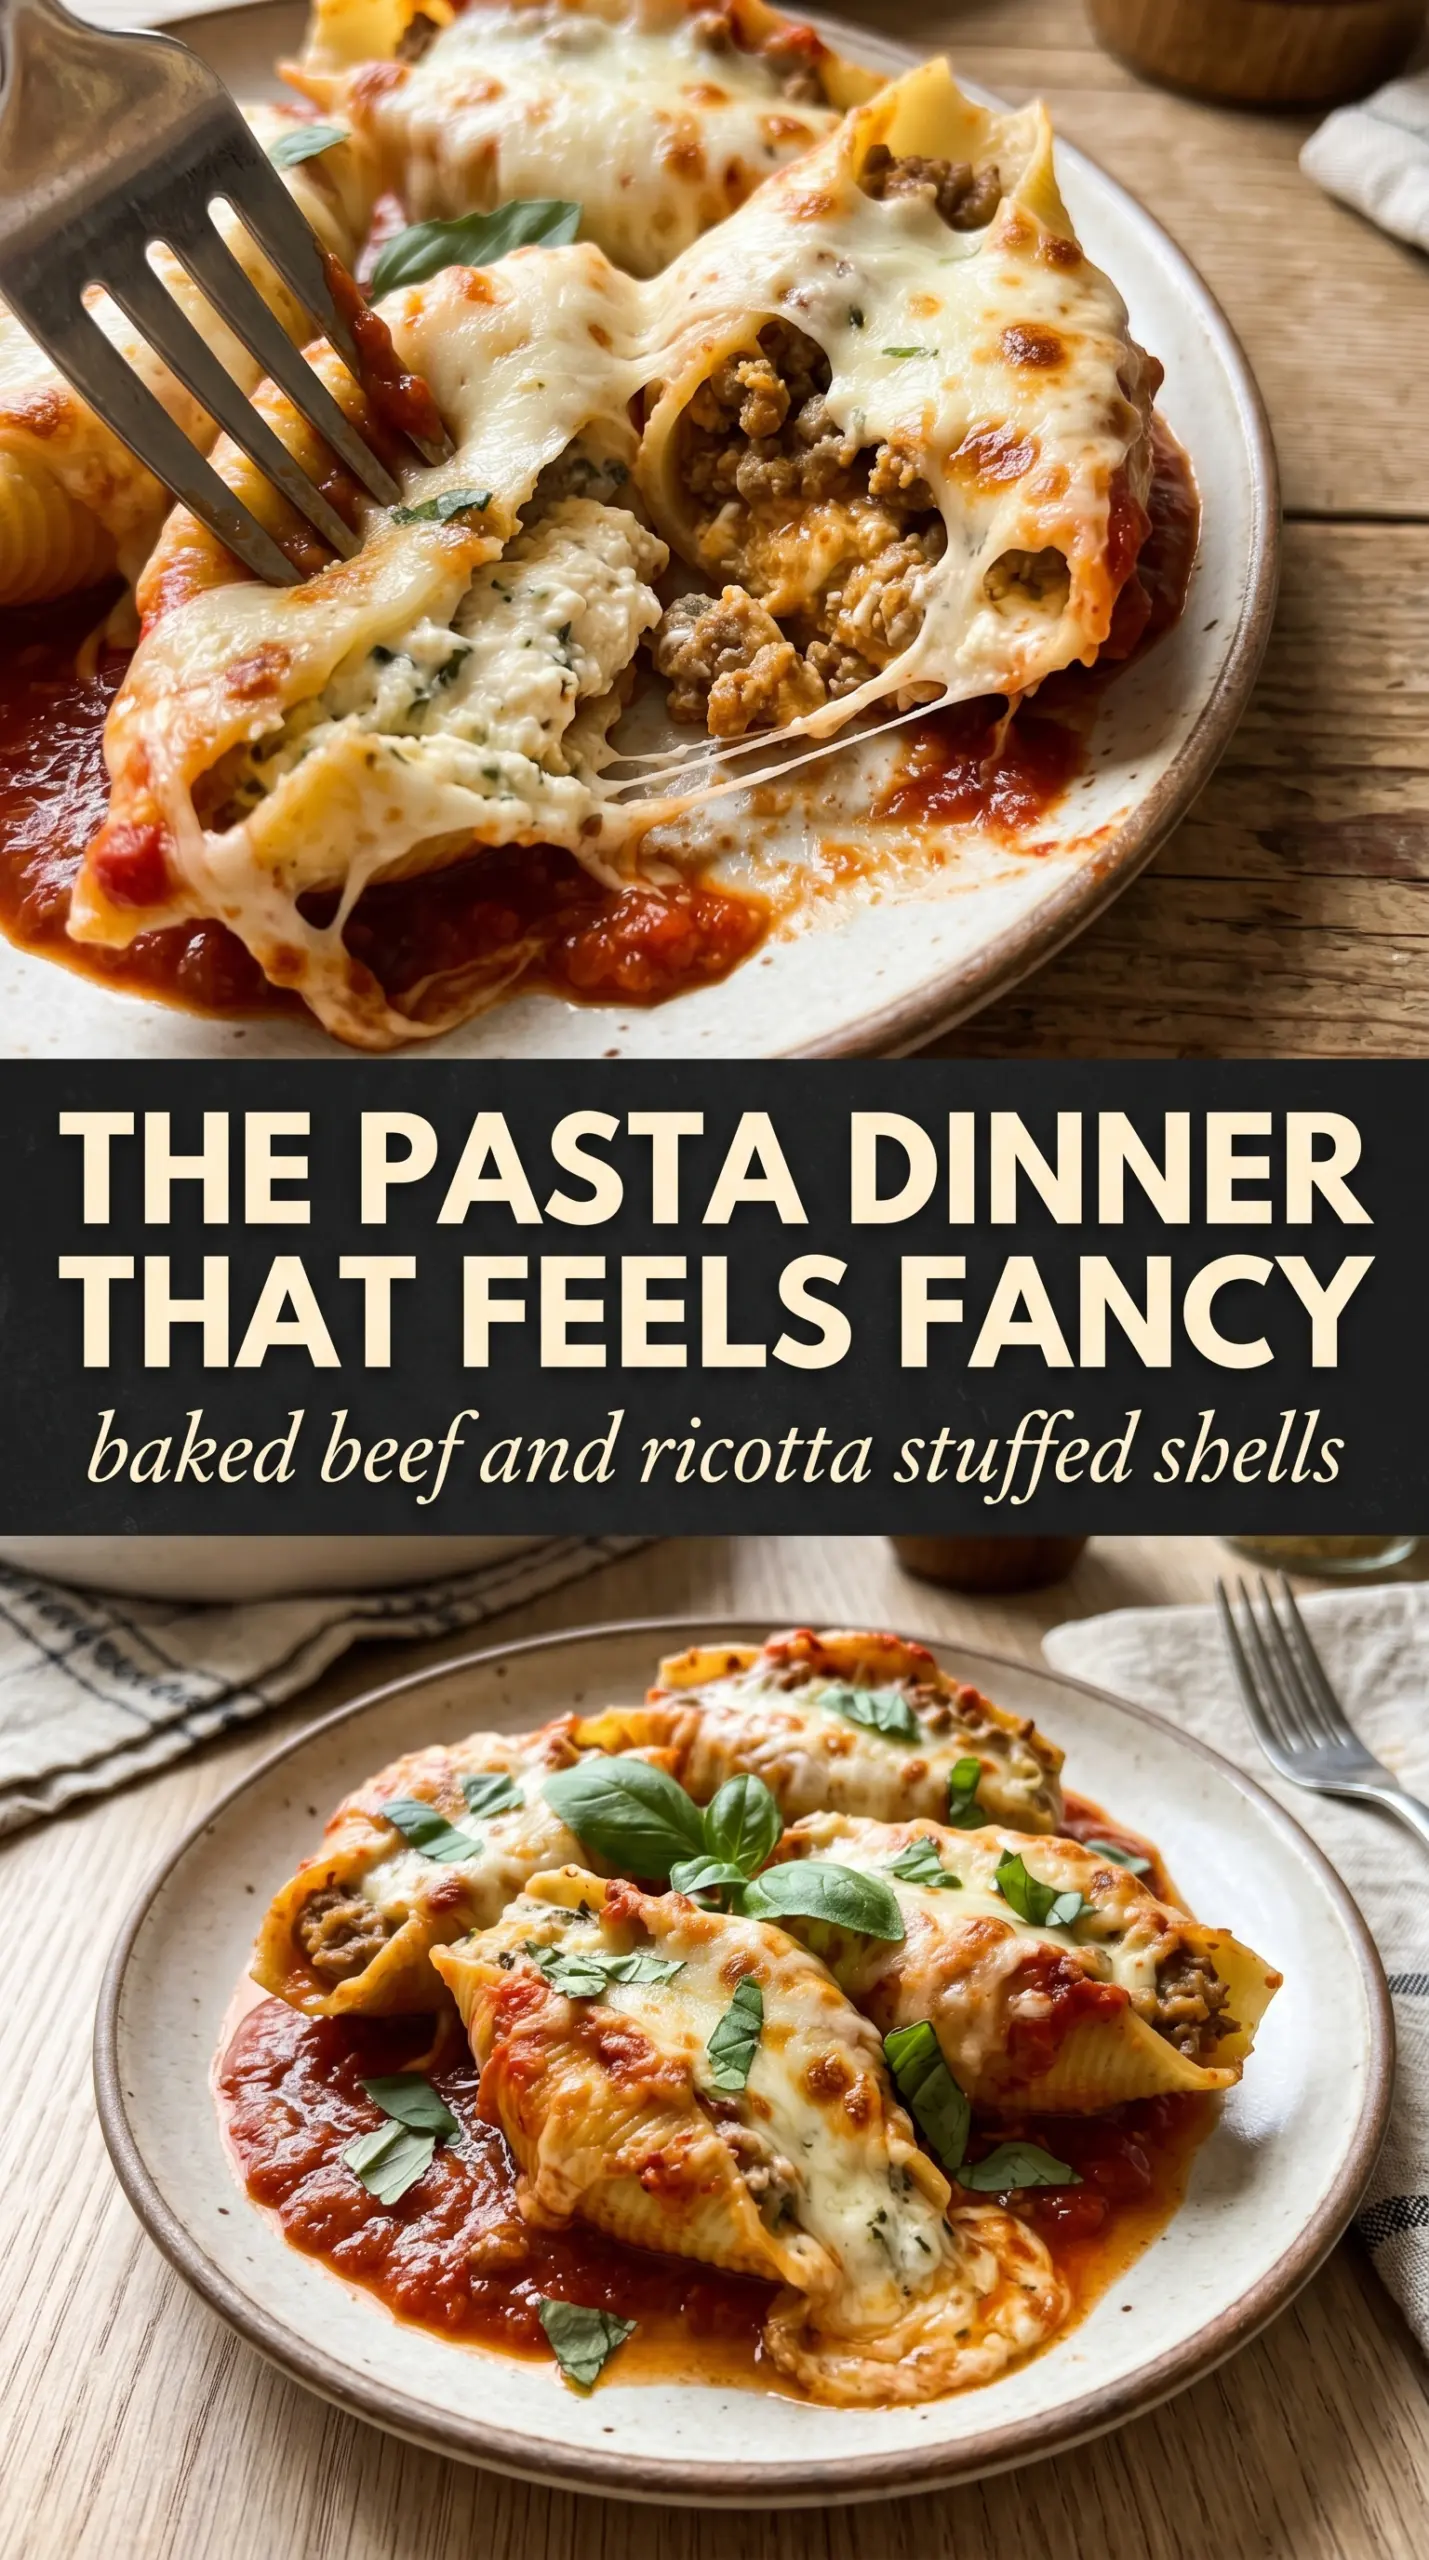
- Jumbo pasta shells — These are the structure of the dish. Don’t overcook them, or they’ll split before they ever make it to the oven.
- Ground beef — Use a beef that isn’t too lean. A little fat carries flavor, though you should still drain the excess so the filling doesn’t turn oily.
- Ricotta cheese — This gives the filling its creamy, gently tangy body. Whole-milk ricotta gives the best texture here; lower-fat versions can taste thin and bake up a little dry.
- Egg — The egg helps bind the filling so it stays inside the shells instead of oozing out once the pasta softens in the oven.
- Parmesan and parsley — Parmesan adds salt and depth, while parsley keeps the filling from tasting flat and heavy. Fresh parsley is worth using if you have it.
- Marinara sauce — A good jarred marinara works fine. Choose one you’d happily eat on its own, since the sauce does a lot of the background work in the bake.
- Mozzarella — This is the top layer that gives you the browned, stretchy finish. Shredded whole-milk mozzarella melts best and gives that classic casserole top.
Building the Bake So the Cheese Stays Creamy
Brown the Beef with the Onion First
Cook the ground beef and diced onion together until the meat is no longer pink and the onion looks soft and translucent. That step does more than cook the filling; it builds the savory base that keeps the ricotta from tasting bland. Drain off the fat before adding the garlic and seasoning, or the filling can turn loose once it bakes.
Cool the Filling Before You Mix
Stir in the garlic and Italian seasoning, then let the beef mixture cool slightly before combining it with the ricotta, egg, parmesan, and parsley. If you add it while it’s piping hot, the ricotta can loosen too much and lose that thick, scoopable texture. You’re aiming for a filling that holds its shape on a spoon.
Fill the Shells Gently, Not Tightly
Spoon the mixture into each shell without packing it down hard. The shells should look full, but not stretched to the point of splitting. Arrange them snugly in the sauce so they support one another during baking, then spoon the rest of the marinara over the top before adding mozzarella.
Bake Until the Edges Bubble and the Top Browns
Uncovered baking lets the cheese brown instead of steaming. Pull the dish when the sauce is bubbling around the edges and the mozzarella has golden spots across the top. If the top browns before the center is hot, lay foil loosely over the dish for the last few minutes.
How to Adapt These Shells for Different Kitchens and Different Nights
Make It Sausage-Forward
Swap all or half of the ground beef for Italian sausage. You’ll get more spice and a richer, saltier filling, which is a good move if your marinara is mild. If you use sausage, drain well before mixing it into the ricotta so the filling doesn’t get greasy.
Dairy-Free Adjustment
Use a dairy-free ricotta style cheese and a good melting dairy-free mozzarella. The texture won’t be identical, but the shells still bake up nicely if you keep the filling thick and don’t overload the sauce. Check that both substitutes are unsweetened and savory, or the dish can taste off.
Gluten-Free Version
Use gluten-free jumbo shells if you can find them and follow the package timing closely, since they can soften faster than wheat pasta. The filling and sauce don’t need any other changes. Just handle the shells gently after boiling, because gluten-free pasta tends to tear more easily when it’s hot.
Make-Ahead and Storage
You can assemble the shells up to 24 hours ahead, cover the dish, and refrigerate it before baking. If the dish goes into the oven cold, add a few extra minutes so the center heats through. Leftovers hold well, and they taste even better after the sauce has had time to settle into the pasta.
Storage and Reheating
- Refrigerator: Store leftovers covered for up to 4 days. The shells soften a bit as they sit, but the flavor stays strong.
- Freezer: Freeze baked or unbaked stuffed shells in a tightly covered dish for up to 2 months. For best texture, freeze before baking and thaw overnight in the refrigerator.
- Reheating: Reheat covered at 350°F until hot in the center. Add a spoonful of marinara before reheating if the pasta looks dry. Microwaving works in a pinch, but use short bursts so the cheese doesn’t turn rubbery.
Answers to the Questions Worth Asking
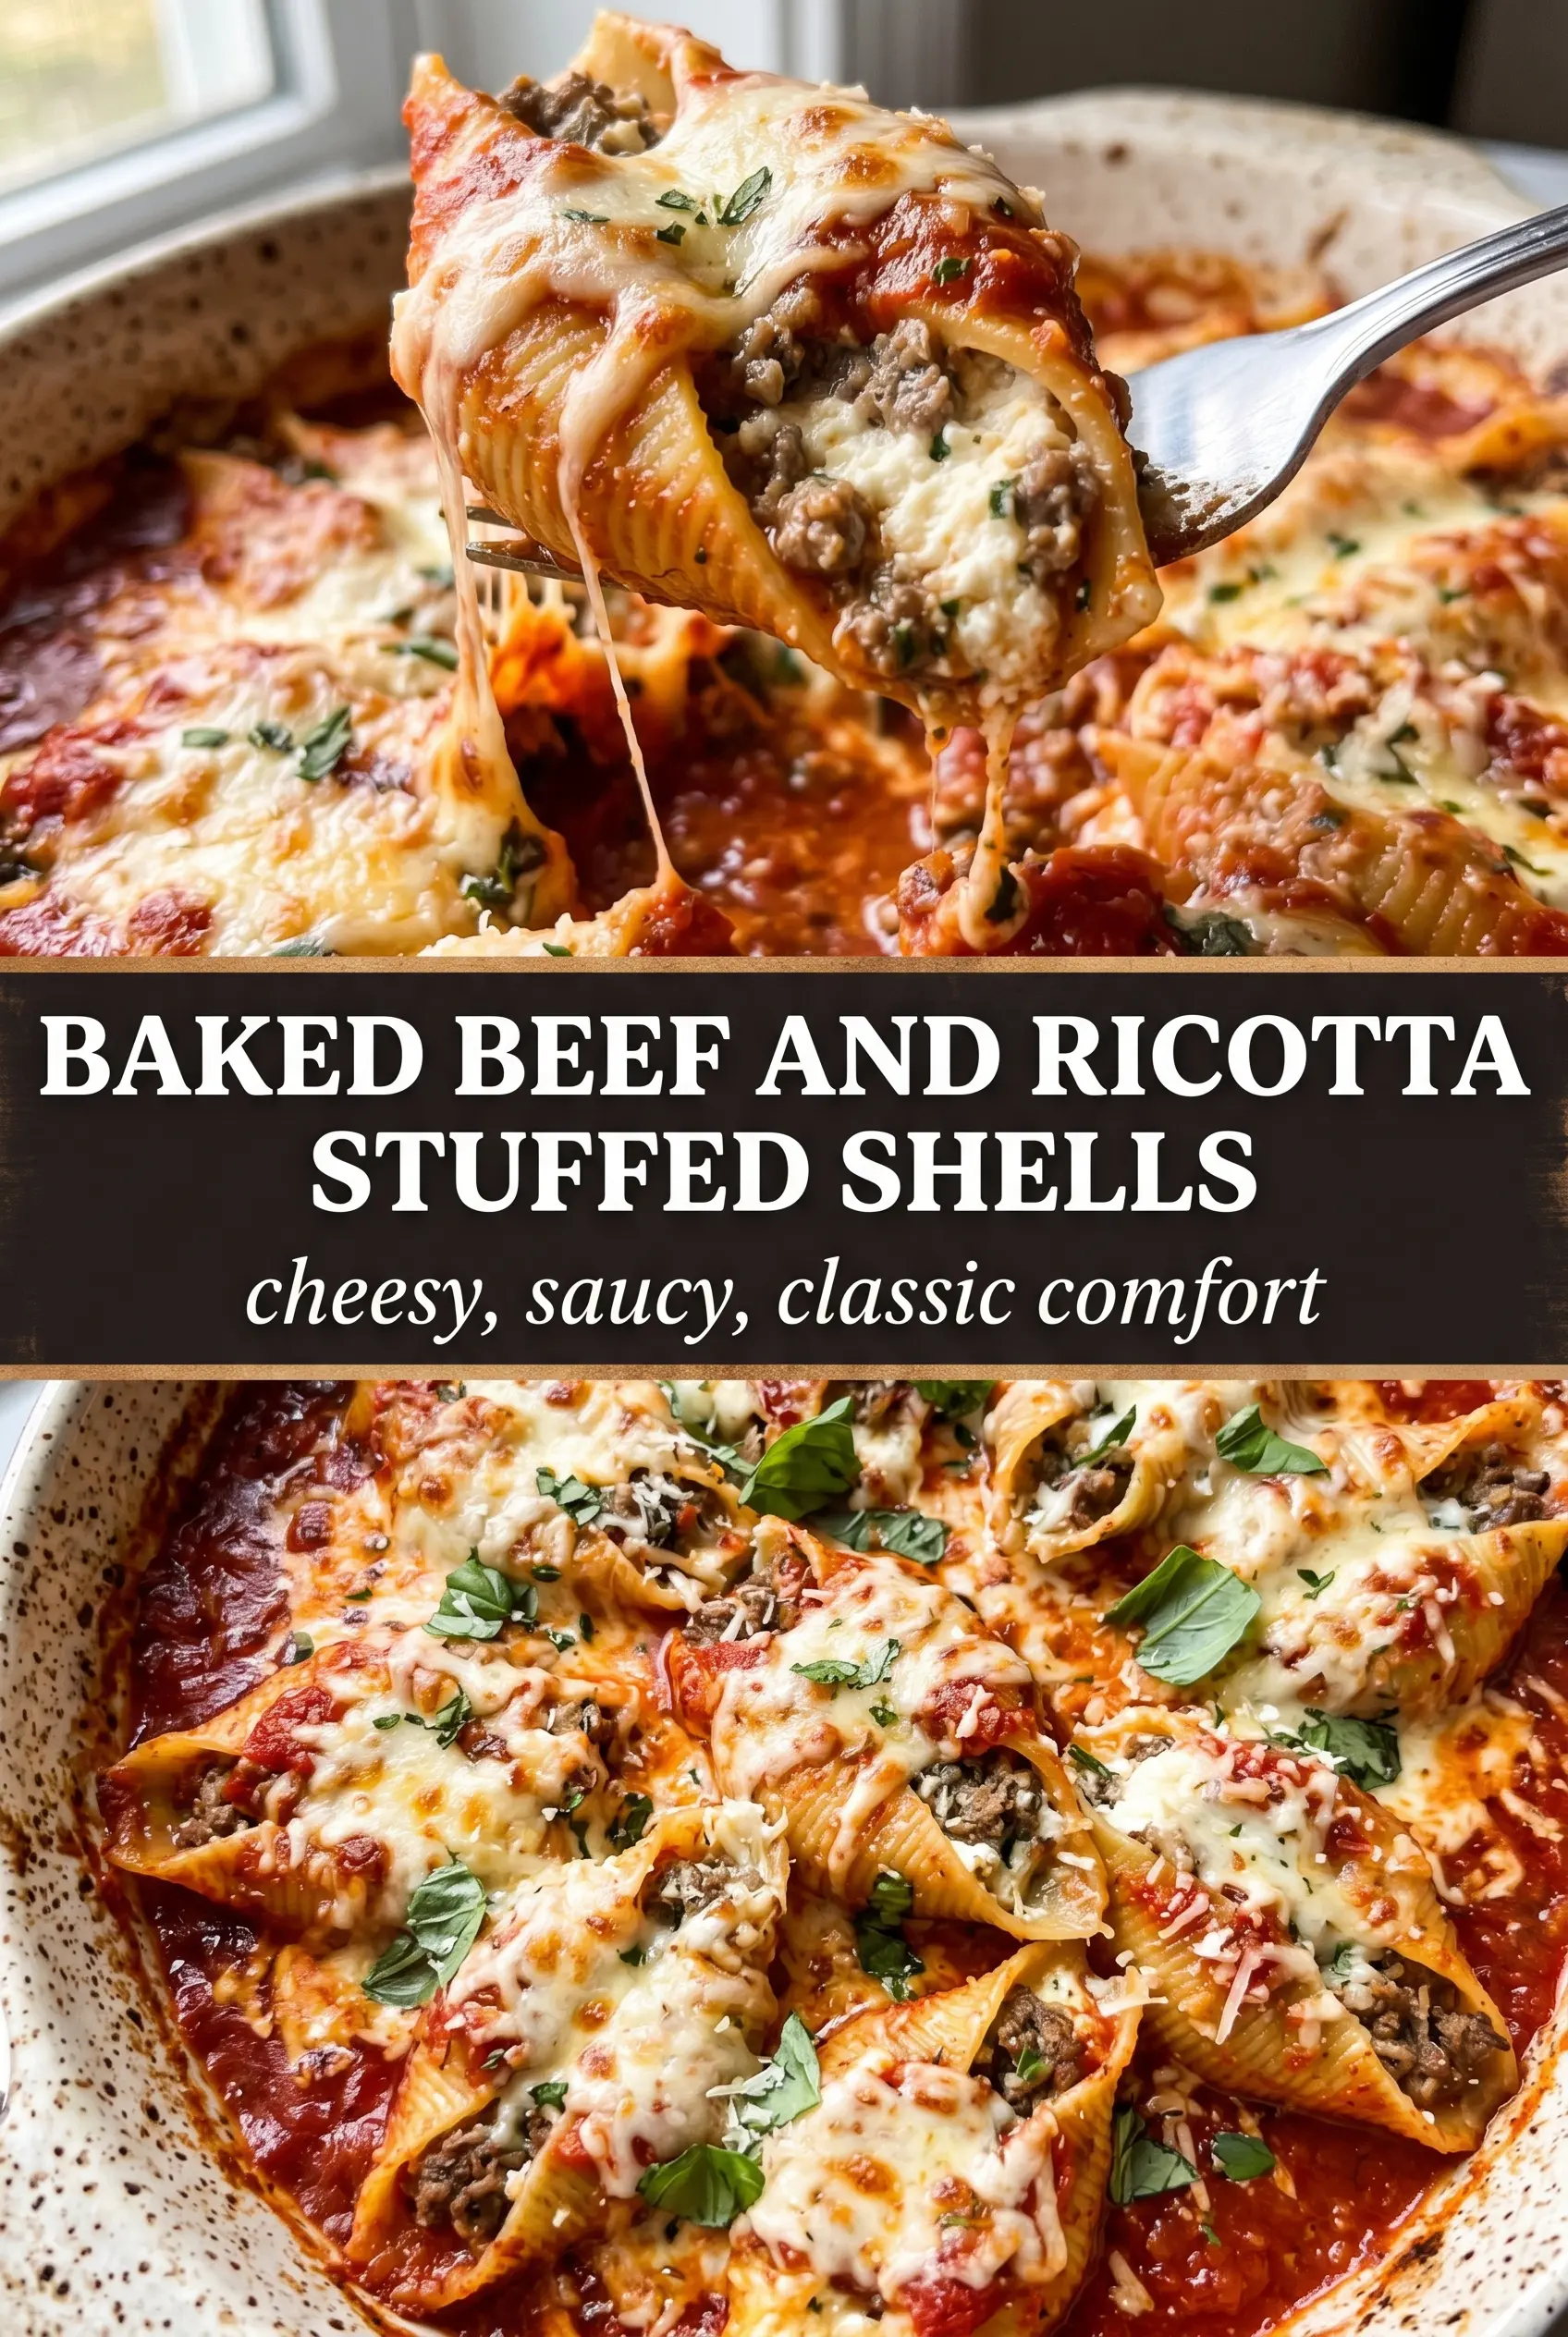
Baked Beef and Ricotta Stuffed Shells
Ingredients
Equipment
Method
- Preheat the oven to 375°F and grease a 9x13 baking dish.
- In a skillet, brown the ground beef with the diced onion, then drain excess fat.
- Add the minced garlic, Italian seasoning, salt, and pepper, and cook briefly until fragrant.
- Remove the skillet from heat and let the beef mixture cool slightly.
- In a bowl, mix the ricotta with the egg, grated parmesan, chopped parsley, and the cooled beef mixture until combined.
- Spread 1 cup of marinara sauce in the bottom of the greased baking dish.
- Fill each cooked jumbo pasta shell with the beef-ricotta mixture and arrange them in the dish.
- Pour the remaining marinara over the shells, then top with shredded mozzarella.
- Bake uncovered for 25–30 minutes at 375°F until the cheese is golden and the sauce is bubbling, then garnish with fresh basil.