Golden, crunchy chicken with a sticky hot honey drizzle hits that sweet spot between weeknight practical and straight-up craveable. The coating bakes up deeply crisp instead of soft and patchy, and the hot honey clings to every ridge without turning the crust soggy. It’s the kind of dinner that looks like you worked harder than you did, which is always a win.
The trick is in the setup: buttermilk gives the chicken a little insurance so it stays juicy, while panko and parmesan create a coating that actually browns in the oven. A wire rack matters here because it keeps air moving under the chicken, which means the bottom stays crisp instead of steaming against the pan. The hot honey gets warmed just enough to loosen, not boiled, so it pours cleanly and still tastes bright.
Below, I’ve included the one step people usually rush, the ingredient swap that matters most, and a few ways to adjust the heat without losing the crunchy finish.
The crust stayed crunchy all the way under the honey, and the hot sauce in the coating gave it a little kick even before the drizzle. I baked it on the rack like you said and the bottoms didn’t get soggy at all.
Save this Baked Crunchy Hot Honey Chicken for the nights when you want a shattering panko crust and sticky-sweet heat in one pan.
The Crunchy Coating That Stays Crisp After Baking
The biggest mistake with baked breaded chicken is expecting the oven alone to do all the work. It won’t. The crust needs panko for structure, parmesan for extra browning, and enough oil on the surface to turn the crumbs into an actual crisp shell instead of dry breadcrumbs.
Pressing the coating onto the chicken matters just as much as the ingredients. If the crumbs sit loosely on top, they’ll slide off before they set. If you pack them on with a firm hand, the crust bonds during baking and you get those rough, crunchy edges that catch the hot honey instead of collapsing under it.
- Chicken thighs or breasts — Thighs stay juicier and are a little more forgiving if you miss the timing by a minute or two. Breasts work too, but pound them to an even thickness so the thin end doesn’t dry out before the thick end is done.
- Buttermilk — This gives you tenderness and helps the coating cling. If you don’t have buttermilk, stir 1 tablespoon of lemon juice or vinegar into 1 cup milk and let it sit 10 minutes, but the texture won’t be quite as plush.
- Panko — Regular breadcrumbs won’t give you the same light, craggy crunch. Panko is the difference between a crust that feels baked and one that still tastes crisp.
- Parmesan — Finely grated parmesan melts into the coating and helps it brown. Use the shelf-stable kind only if that’s what you have; fresh grated tastes better and gives a cleaner finish.
What Each Ingredient Is Actually Doing in This Recipe
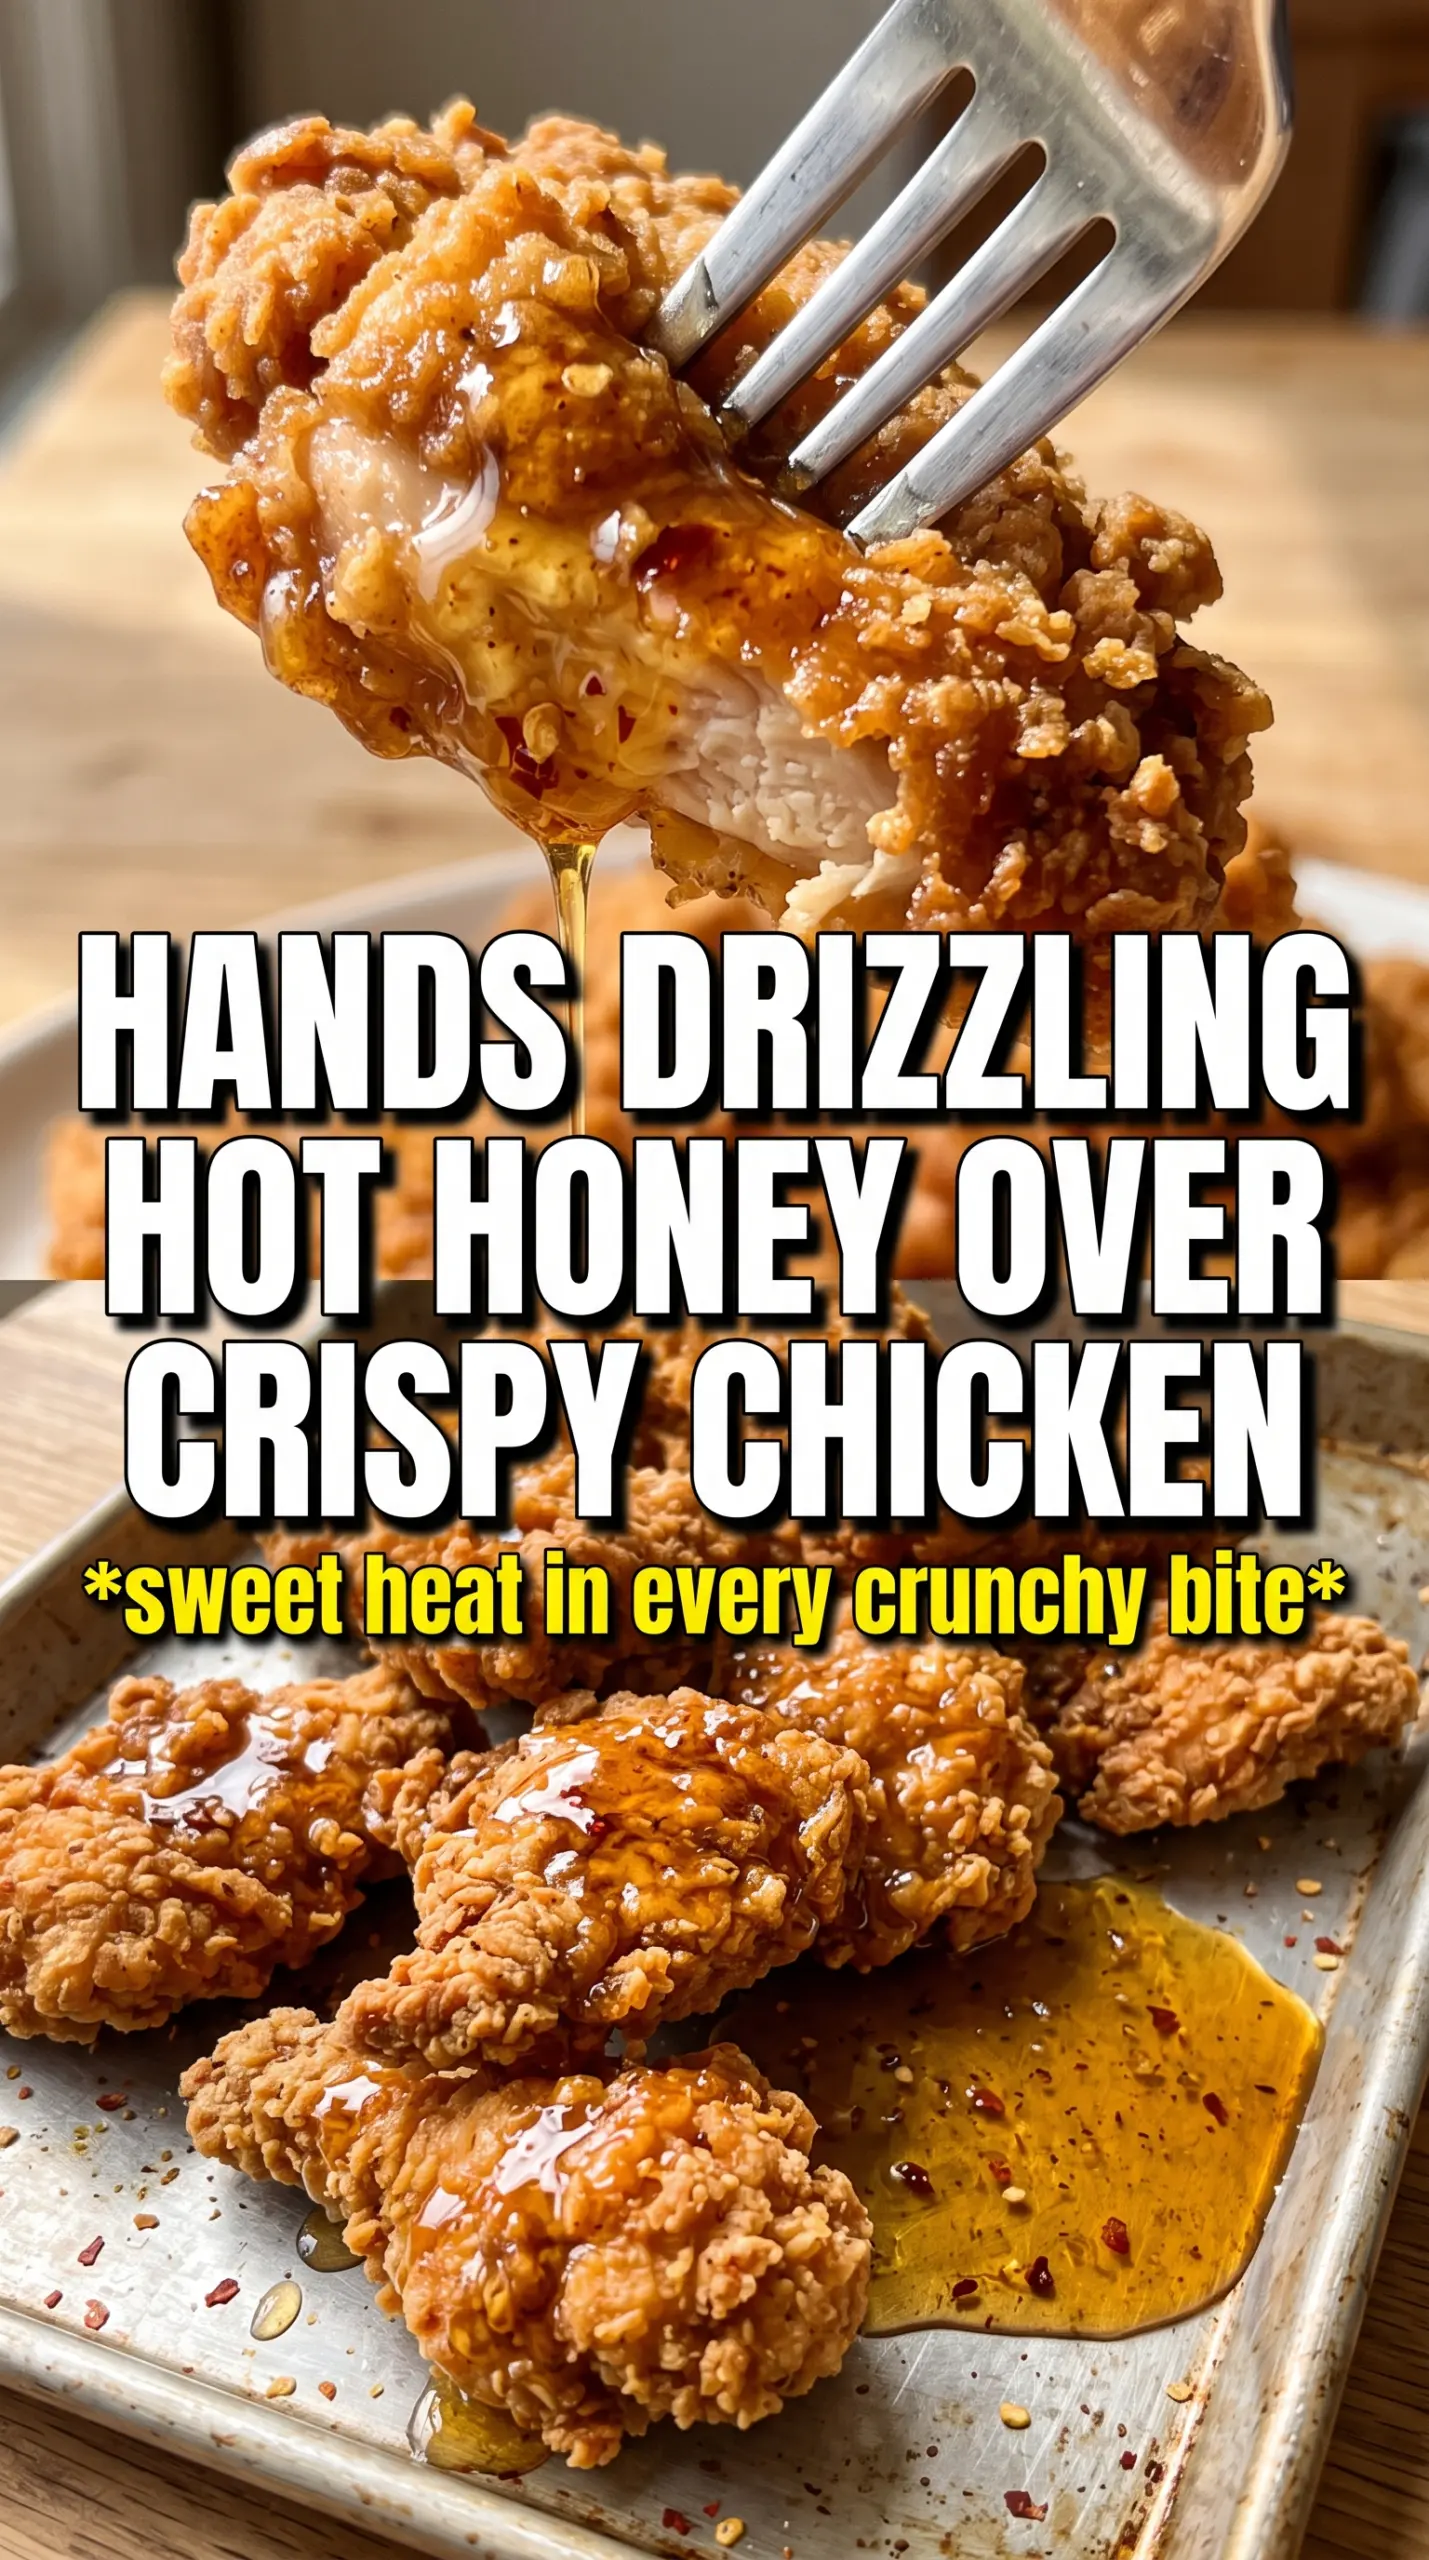
- Primary ingredient (the star) — Quality matters most. Choose the best you can find.
- Cooking medium (oil, butter, or broth) — This carries flavors and prevents dryness.
- Seasonings (salt, pepper, spices, herbs) — Layer flavors so nothing overpowers. Build depth gradually.
- Aromatics (garlic, onion, herbs) — Cook with fat to bloom flavors. Become the foundation.
- Supporting ingredients — Complement the main ingredient without overpowering it.
- Sauce or liquid (if applicable) — Brings flavors together. Balance richness with acid.
- Acid (lemon, vinegar, wine, or other) — Brightens and prevents flat-tasting results.
- Final finish (garnish, glaze, or sauce) — Prevents one-dimensional taste and adds visual appeal.
Getting the Chicken Crispy Before the Honey Goes On
Marinate for tenderness, not too long
Stir the buttermilk, hot sauce, and salt together, then coat the chicken and let it sit for about an hour. That’s enough time to season the meat and soften the surface without turning it mushy. If you leave it much longer, especially with breasts, the texture starts to go a little too soft for a crisp bake.
Build a dry, clingy crust
Mix the panko, parmesan, and seasonings in a shallow dish, then press the chicken into it firmly on all sides. The coating should look thick and shaggy, not dusted. If the crumbs feel dry and fall away, the chicken wasn’t drained enough from the marinade, so let the excess drip off before dredging.
Bake on a rack for real crunch
Set the coated chicken on a greased wire rack over a lined baking sheet and spray the tops generously with cooking spray. That top layer of fat is what helps the crumbs brown in the oven. Bake at 425°F until the crust is deep golden and the thickest part hits 165°F; if the coating is pale at the end, give it a few more minutes instead of pulling it too soon, because underbaked crust goes soft fast.
Finish with hot honey at the very end
Warm the honey, hot sauce, red pepper flakes, and butter just until the butter melts and everything blends. Don’t boil it. A hard boil makes the honey thin and can push the heat into a sharp, one-note burn instead of a rounded kick. Drizzle it over the chicken right before serving so the crust stays crunchy underneath.
How to Adjust the Heat, the Crunch, and the Dairy
Milder Hot Honey
Cut the hot sauce in the drizzle in half and skip the red pepper flakes. You’ll still get that sticky sweet glaze, but the heat lands at the back of the mouth instead of building fast. This is the best move if you’re serving kids or anyone who likes flavor without much burn.
Gluten-Free Version
Use certified gluten-free panko and check that your hot sauce is gluten-free too. The method stays the same, and the crunch is still there as long as you keep the coating well sprayed before baking.
Extra-Crispy Coating
Add another 1/2 cup of panko and lightly toast it in a dry skillet for a few minutes before coating the chicken. That gives the crumbs a head start on color, so the crust comes out even crunchier without overbaking the meat.
Storage and Reheating
- Refrigerator: Store leftovers up to 3 days. The crust softens a little in the fridge, but it still tastes good.
- Freezer: Freeze the baked chicken without the hot honey for up to 2 months. Wrap it well and reheat from thawed for the best texture.
- Reheating: Reheat on a wire rack in a 375°F oven or air fryer until hot and crisp again. The mistake people make is microwaving it, which turns the crust chewy and steams the coating right off.
Questions I Get Asked About This Recipe
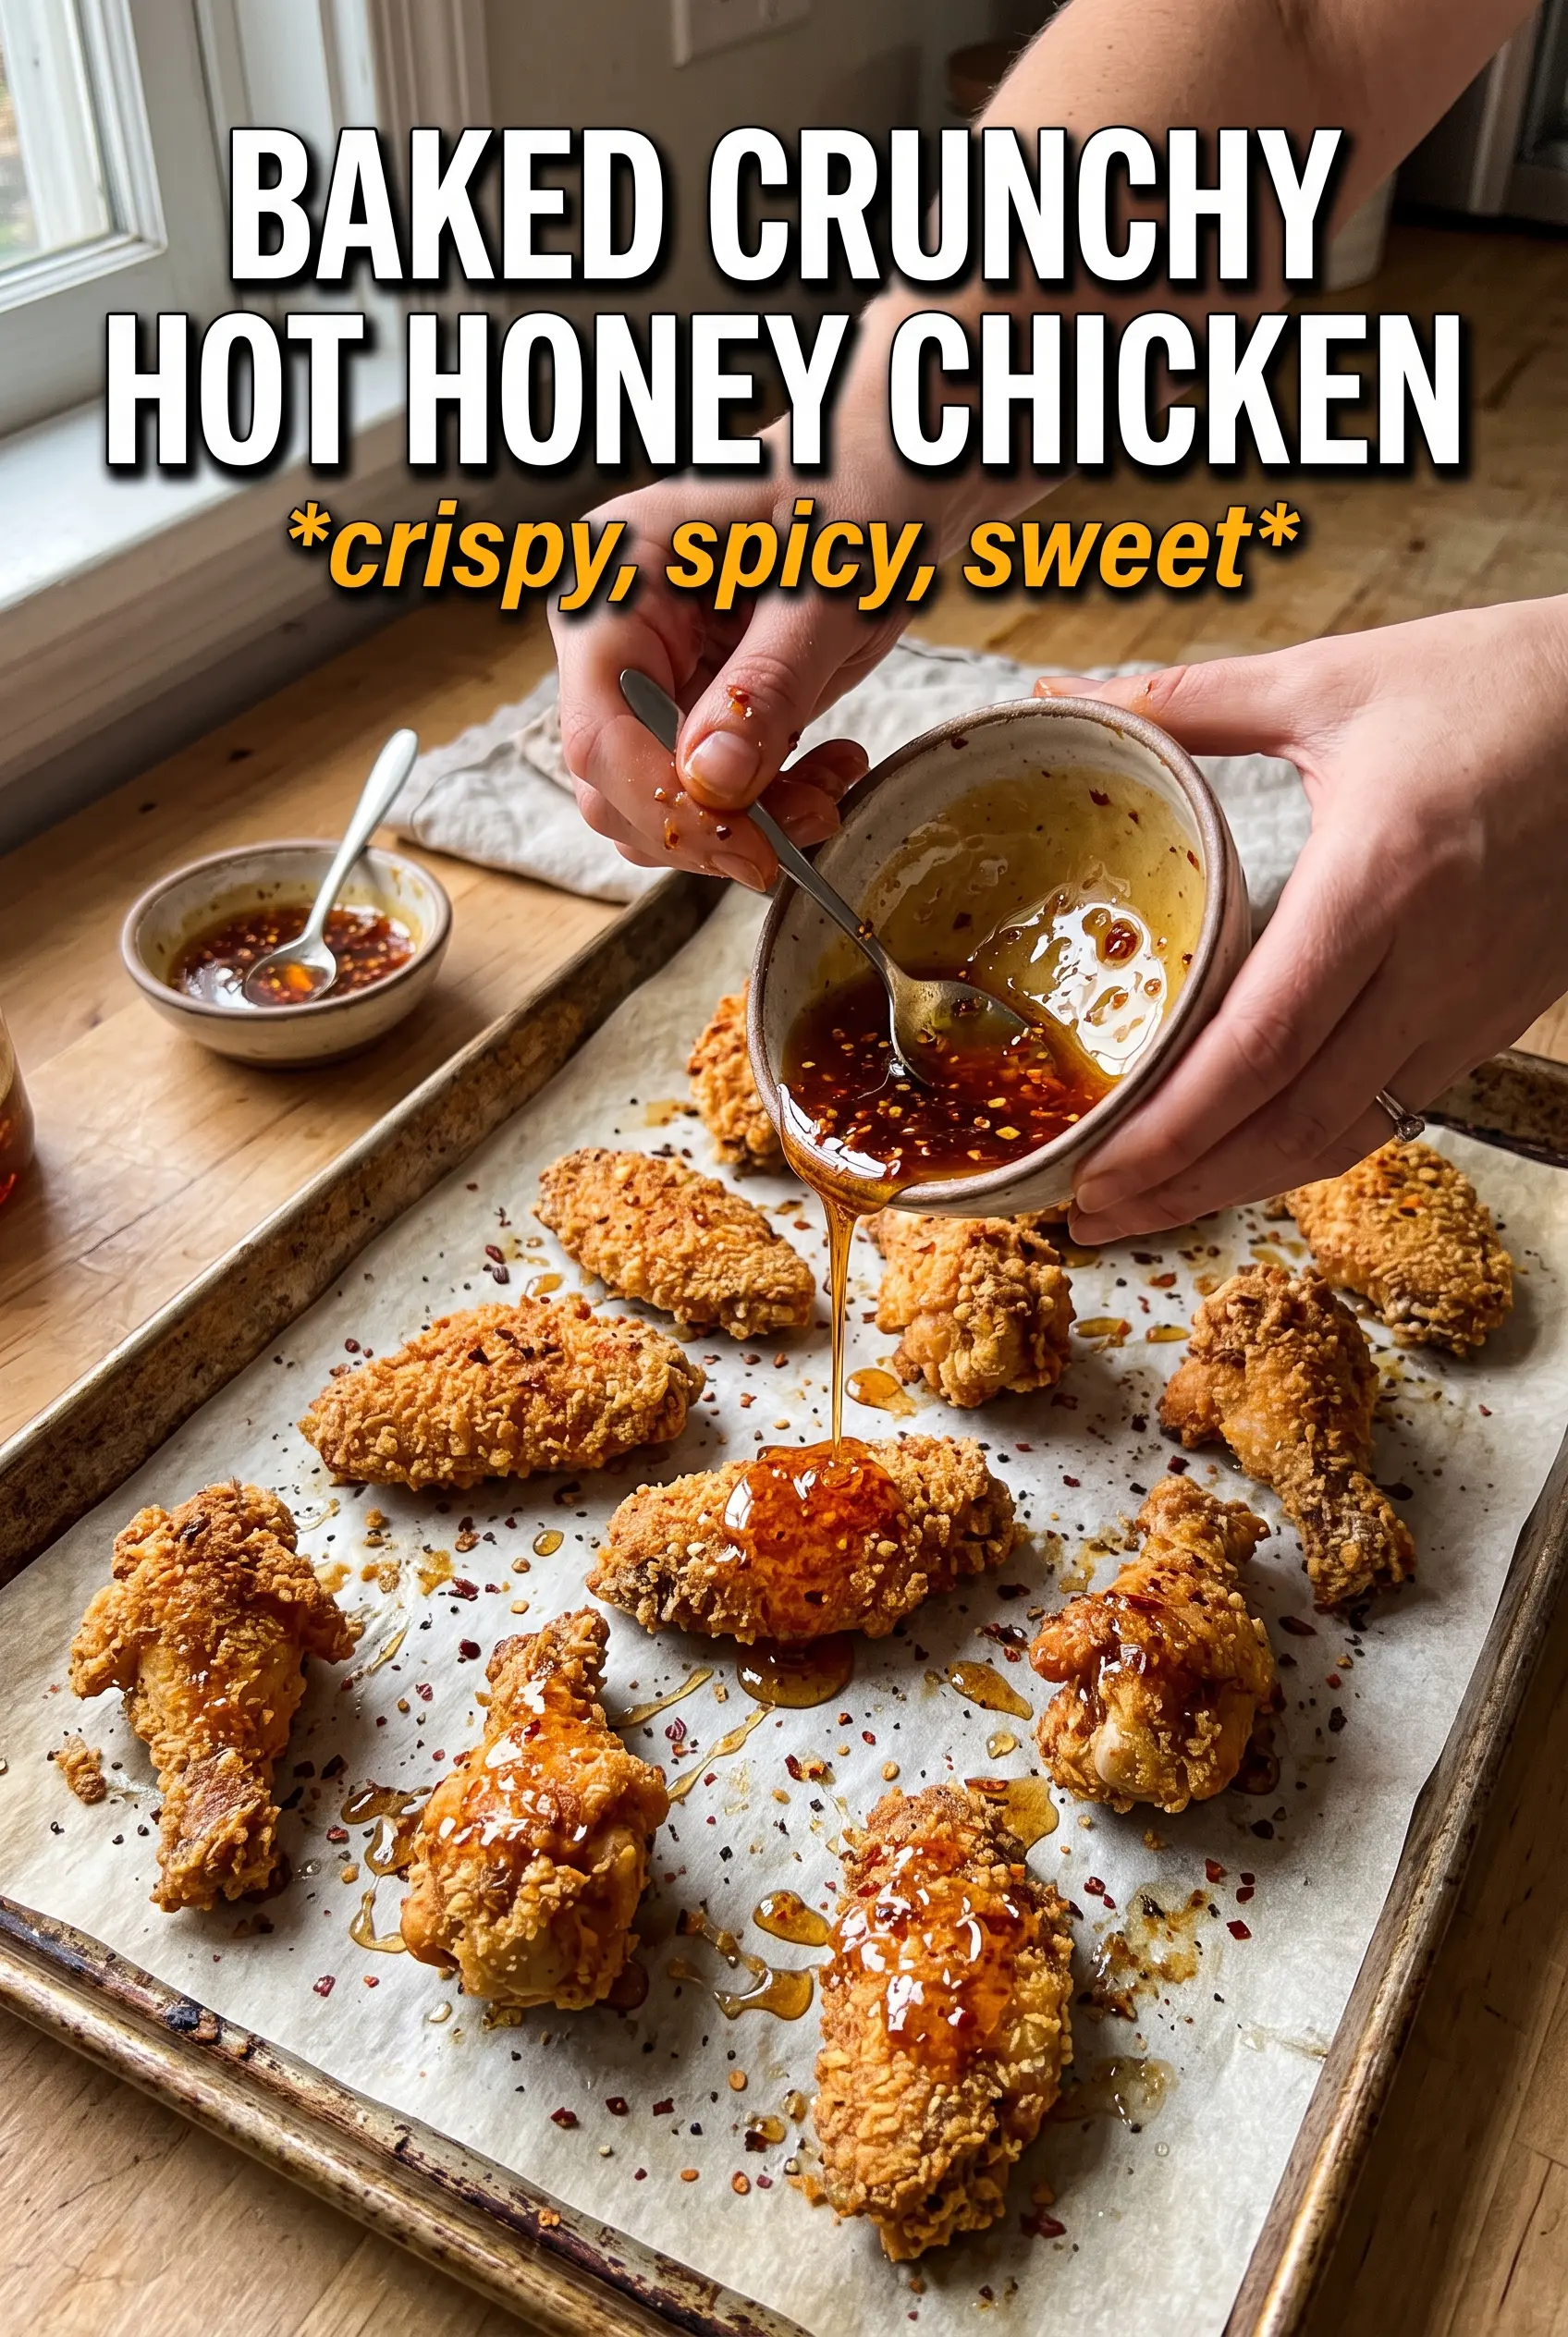
Baked Crunchy Hot Honey Chicken
Ingredients
Equipment
Method
- Mix buttermilk, hot sauce, and salt, then add the boneless chicken thighs or breasts and coat well. Marinate for 1 hour so the chicken stays juicy.
- Use a wire rack system with a lined baking sheet by preheating the oven to 425F and placing the rack on the sheet. Spray the rack with cooking spray to prevent sticking.
- Combine panko breadcrumbs, parmesan, garlic powder, smoked paprika, onion powder, and salt in a mixing bowl. Stir until the seasoning is evenly distributed.
- Remove the chicken from the marinade and dredge it in the panko mixture, pressing firmly to help the crust adhere. Arrange the coated chicken on the rack in a single layer.
- Spray the tops generously with cooking spray, then bake at 425F for 25-30 minutes. Bake until the coating is golden and the chicken reaches 165F.
- Warm honey, hot sauce, red pepper flakes, and butter together until smooth. Heat just until the butter melts and the sauce becomes glossy.
- Drizzle the hot honey over the baked crunchy chicken just before serving. Finish with any extra red pepper flakes if desired for added heat.