Golden chimichangas have a way of disappearing the second they hit the table. The tortilla blisters into a crisp shell, the seam stays sealed, and when you cut into one, the filling spills out in a mix of seasoned beef, creamy beans, and melted cheese. This version gives you that restaurant-style crunch without any complicated steps or fussy ingredients.
The trick is in the balance. The beef gets cooked down with taco seasoning and just enough water to coat the meat without turning it soupy, and the refried beans act like glue so the filling stays put as the chimichangas fry. Warm tortillas matter too; cold tortillas crack before you can roll them, which is the fastest way to end up with a filling leak in hot oil.
Below, I’ve included the one thing that keeps these from splitting in the skillet, plus a few smart swaps if you want to make them your own. If you’ve ever wanted a crisp, beefy chimichanga that actually stays together, you’re in the right place.
The tortillas got perfectly crisp and didn't burst open in the oil. I loved how the beans kept the filling creamy while the beef stayed nicely seasoned.
Save these crispy beef and cheese chimichangas for the night you want a Tex-Mex dinner with a shatteringly crisp crust and a cheesy, taco-spiced center.
The Reason Chimichangas Stay Crisp Instead of Greasy
The difference between a chimichanga that shatters when you cut it and one that turns heavy and oily comes down to two things: filling moisture and oil temperature. If the beef mixture is wet, steam builds inside the tortilla and softens the crust from the inside out. If the oil isn't hot enough, the tortilla sits there absorbing fat instead of setting into a crisp shell.
That's why the filling here gets cooked down until the seasoning coats the meat and any excess liquid cooks off. The tortillas are warmed first so they roll without tearing, and the chimichangas fry in enough oil to come up to the seam line and set fast. You want a steady 350°F, not a lazy shimmer.
What Each Filling Layer Is Doing Here
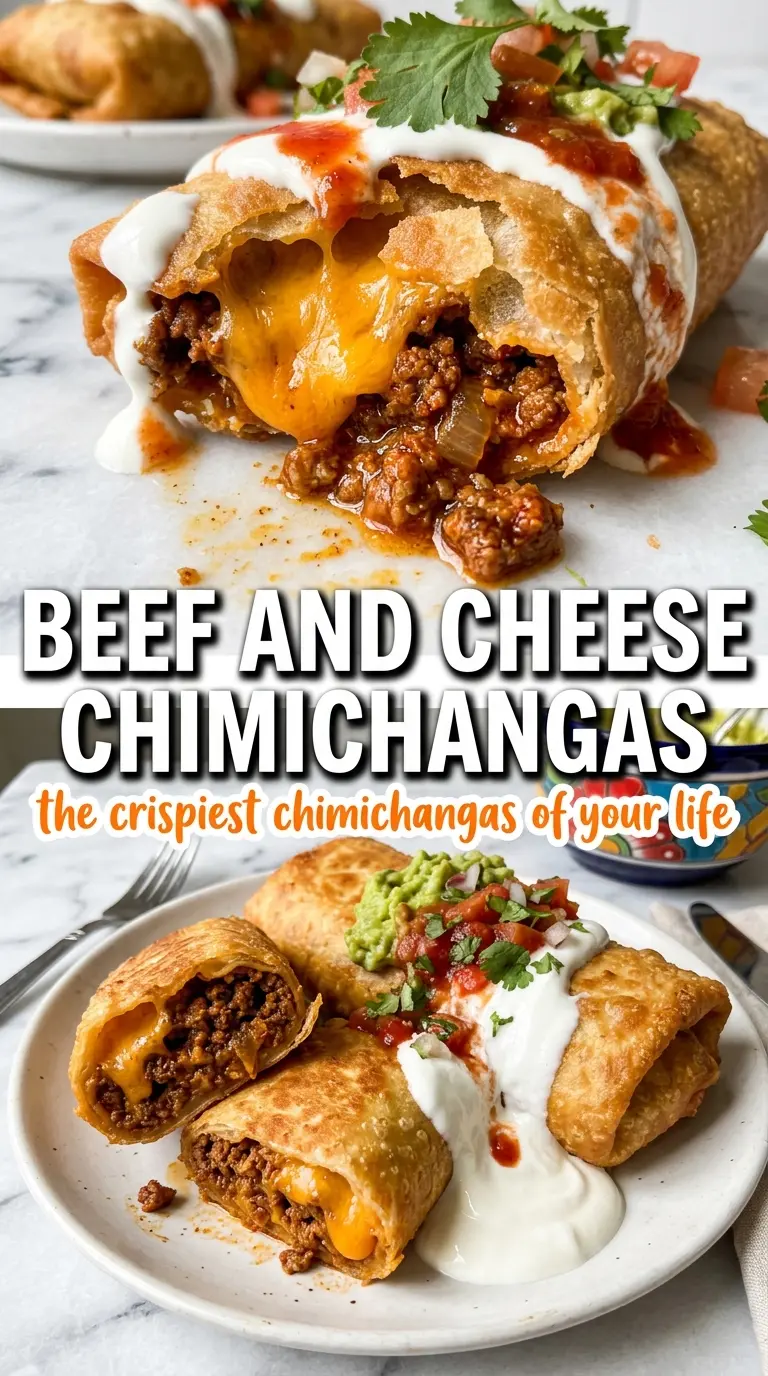
- Ground beef — This is the backbone of the filling. A 80/20 blend gives the best flavor, but anything in that range works since you're draining the fat after browning. Leaner beef is fine too, but add a small splash of oil if the pan looks dry before the seasoning goes in.
- Refried beans — These keep the filling creamy and help everything hold together inside the tortilla. They also act like a moisture buffer so the beef doesn't slide around. If you use chunky beans instead, the chimichangas are harder to roll and more likely to burst.
- Shredded Mexican cheese blend — Pre-shredded cheese melts well enough here and saves time, but freshly shredded cheddar or Monterey Jack melts smoother if you want a gooier center. Don't use a super wet cheese filling; it can leak into the oil and make the crust patchy.
- Flour tortillas — Ten-inch tortillas are the right size for a tight roll without overstuffing. Warm them briefly in the microwave so they bend instead of crack. Corn tortillas won't work for this version; they'll split before you get a seam sealed.
Rolling, Sealing, and Frying Without a Blowout
Cook the Beef Down First
Brown the beef until there's no pink left, then drain off the fat before adding the taco seasoning and water. Let it simmer until the liquid is mostly absorbed and the meat looks glossy, not wet. If the pan still has puddles, keep cooking; wet filling is the main reason chimichangas split in the fryer.
Warm the Tortillas So They Bend
Stack the tortillas and microwave them just long enough to turn soft and pliable. They should feel warm and flexible, not hot and gummy. If you skip this step, the edges crack as soon as you start folding, and once a crack forms, oil finds it.
Roll Tight and Seal the Seam
Spread a thin layer of refried beans first, then add the beef and cheese in a line across the center. Fold the sides in, roll snugly, and place the chimichanga seam-side down while you work. A toothpick helps hold it closed, but the real seal comes from a tight roll; loose filling creates air pockets that burst when the tortillas hit hot oil.
Fry to a Deep Golden Crust
Heat the oil to 350°F and fry the chimichangas seam-side down first so they seal immediately. Turn them once the bottom is deep golden and crisp, then fry the second side until the whole shell looks blistered and rigid. If the oil smokes or the shells darken too fast, it's too hot; if they sit there absorbing oil, the temperature's too low.
Baked Chimichangas for a Lighter Finish
Brush the rolled chimichangas with oil, set them seam-side down on a lined sheet pan, and bake until the tortillas turn deep golden and crisp. They won't have quite the same shattering crust as fried, but you'll still get a sturdy shell and all the same filling. This is the best route if you want less mess and no frying oil to manage.
Ground Turkey Instead of Beef
Swap in ground turkey for a lighter filling, but add a little oil to the skillet because turkey can dry out faster than beef. The flavor stays on the Tex-Mex side once the taco seasoning, beans, and cheese go in, though the filling will taste a little leaner and less rich.
Gluten-Free Version
Use certified gluten-free tortillas if you can find them, but expect them to be a little less flexible than standard flour tortillas. Warm them gently and handle them carefully so they don't crack at the fold. The filling itself is naturally gluten-free if your taco seasoning is.
Make-Ahead Filling
Cook the beef mixture a day ahead and refrigerate it, then rewarm it just until it's spoonable before assembling. Cold filling is harder to spread and can tear the tortillas during rolling. Assemble and fry right before serving for the best crust.
Storage and Reheating
- Refrigerator: Store leftovers in an airtight container for up to 3 days. The tortilla softens as it sits, but the filling stays flavorful.
- Freezer: Freeze fully cooled chimichangas wrapped tightly in foil, then place them in a freezer bag for up to 2 months. The crust won't be as crisp after freezing, but they reheat well if you use the oven or air fryer.
- Reheating: Reheat in a 375°F oven or air fryer until hot and crisp again. Don't microwave them if you want the crust to stay intact; it turns the tortilla soft and chewy fast.
Questions I Get Asked About This Recipe
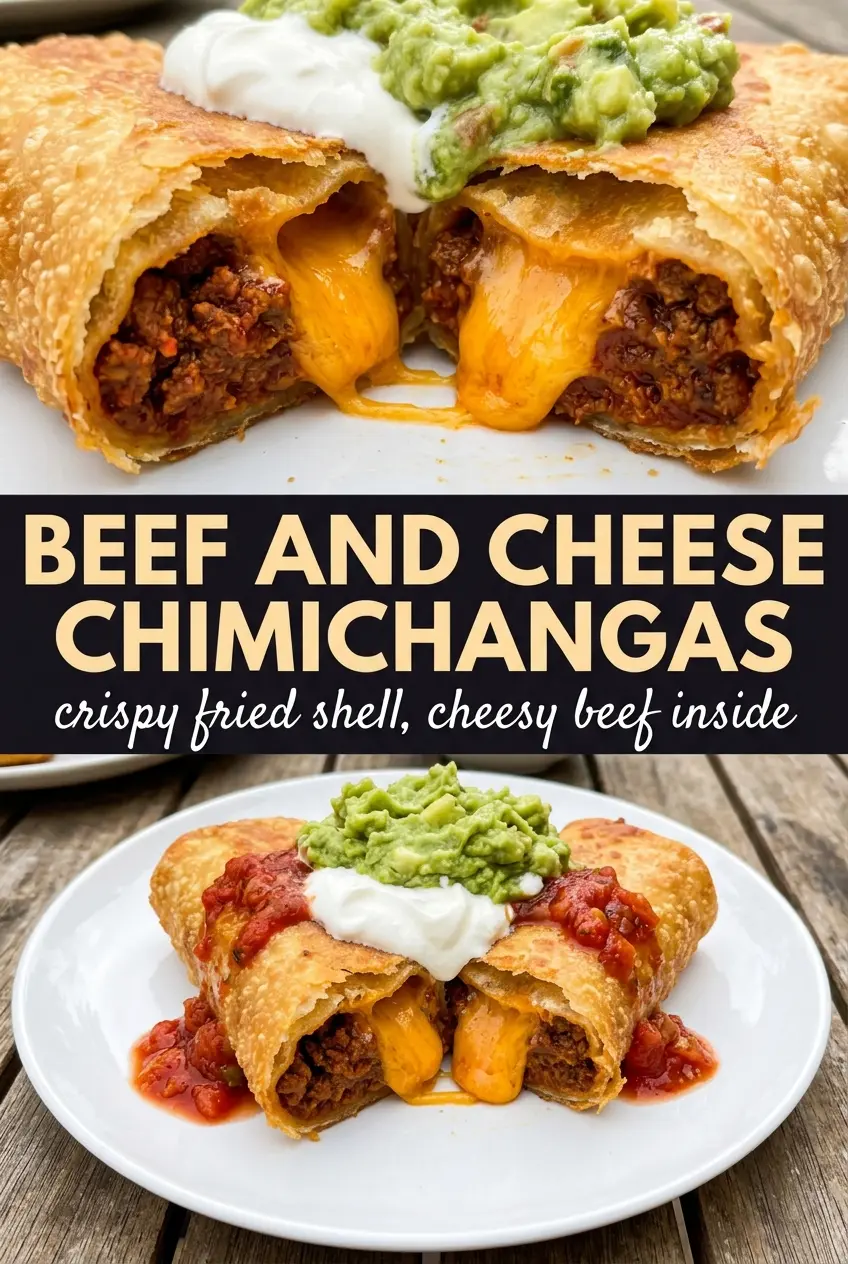
Beef and Cheese Chimichangas
Ingredients
Equipment
Method
- Brown the ground beef in a skillet, then drain off excess fat. Keep cooking until the beef loses its pink color.
- Add taco seasoning and water, then simmer for 3 minutes. Stir until the mixture looks evenly coated and slightly thickened (visual: glossy taco-spice look).
- Warm the tortillas in the microwave until pliable. Aim for about 20–30 seconds, so they bend without cracking (visual: soft, flexible surface).
- Spread 2 tablespoons refried beans on each tortilla. Keep a thin, even layer so the filling stays together.
- Top each tortilla with the seasoned beef and shredded Mexican cheese blend. Distribute so the fillings stay centered (visual: cheese begins to blanket the beef).
- Fold the sides in, then roll up tightly. Secure each roll with a toothpick so it holds its shape (visual cue: seam side tucked).
- Heat 2 inches of oil to 350°F in a deep skillet. Let it come to temperature fully (visual: steady shimmer without smoking).
- Fry the chimichangas 2–3 minutes per side until deeply golden and crispy. Turn once halfway for even browning (visual: dark-gold, shatteringly crisp exterior).
- Drain on paper towels, then remove toothpicks. Serve immediately while the crust is crisp.
- Serve with sour cream, guacamole, and salsa. Add alongside for dipping so the interior stays hot and the toppings stay fresh.