Black pepper chicken hits the pan fast and lands with that glossy, takeout-style sauce that clings to every piece of chicken instead of pooling at the bottom of the bowl. The cracked pepper gives it a sharp, warm bite that cuts through the soy and oyster sauce, and the peppers and onions stay crisp enough to keep the dish from feeling heavy.
What makes this version work is the order. The chicken gets a quick sear in batches so it browns instead of steaming, then the vegetables go in just long enough to soften around the edges. The sauce is mixed ahead of time and thickened with a little cornstarch slurry at the end, which keeps it smooth and glossy instead of gummy.
Below you’ll find the small details that matter most: how to keep the chicken tender, how much black pepper gives you real flavor without overwhelming the dish, and what to change if you want to stretch it into a bigger dinner.
The sauce thickened right at the end and coated the chicken like our favorite takeout place. I used the full amount of black pepper and it had that bold, peppery kick without tasting bitter.
Save this black pepper chicken for the nights when you want glossy sauce, crisp vegetables, and rice-bowl dinner speed.
The Seared Chicken and Glossy Sauce Need Different Timing
Black pepper chicken falls apart when the chicken and sauce are treated like one step. The chicken needs direct contact with a hot pan so it can pick up color before the sauce goes in, and the sauce needs only a short finish at the end so the cornstarch can thicken it without turning it sticky. If you add the sauce too early, the chicken gives off moisture, the pan cools down, and you lose both browning and that clean, glossy coating.
Another place people go wrong is with the pepper. Black pepper is the point of the dish, but it tastes harsh when it sits in the pan too long. Freshly cracked pepper gives you a sharper, cleaner bite than pre-ground pepper, and adding a little more at the end keeps the flavor bright instead of buried under the soy sauce.
- Batch-cooked chicken — Crowding the pan steams the meat and softens the edges before they can brown. Work in two batches if needed.
- Short vegetable cook — The bell pepper and onion should still have structure. If they go fully limp, they’ll disappear into the sauce.
- Final thickening — The sauce should go from thin to lightly glossy in 2 to 3 minutes. If it gets too thick, splash in a spoonful of water.
What Each Sauce Ingredient Is Actually Doing Here
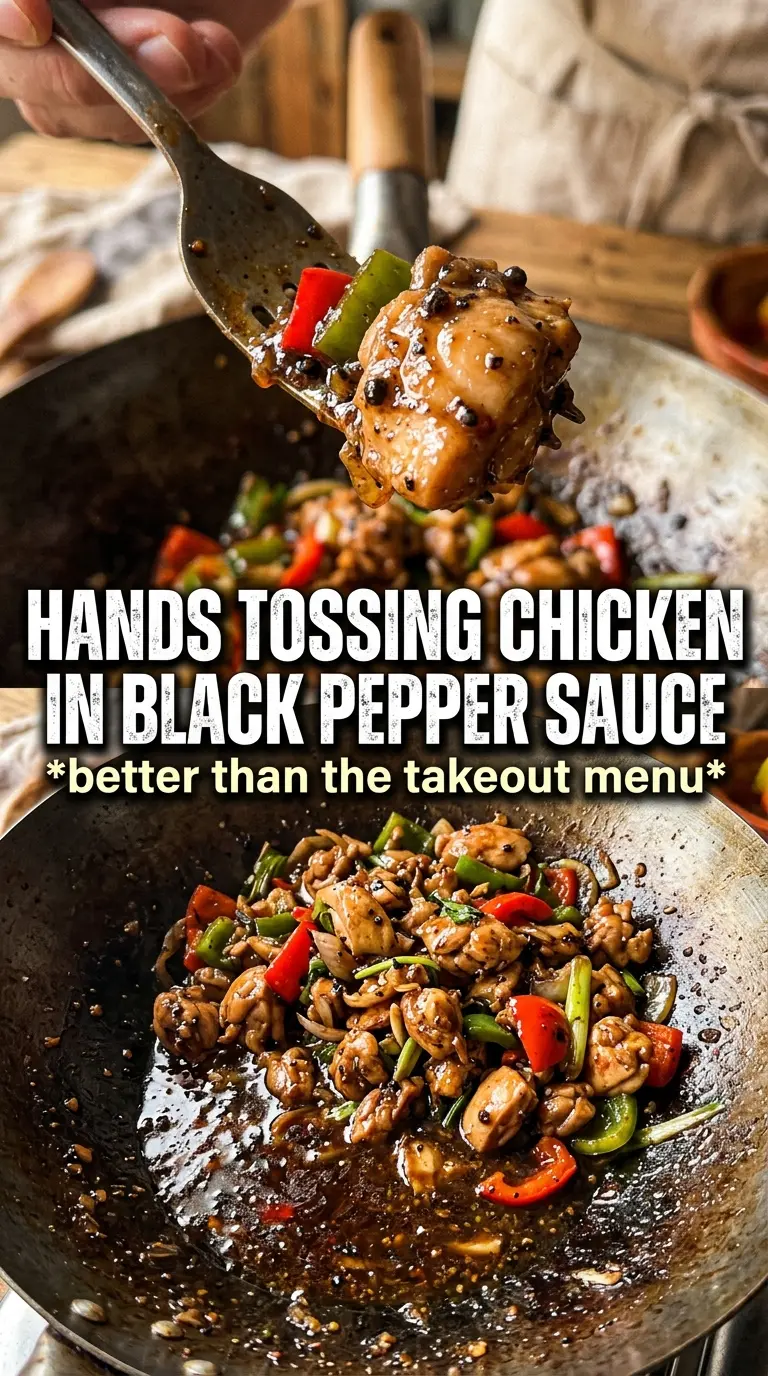
- Chicken breast — Thin slices cook quickly and stay tender as long as they’re not piled into the pan. Chicken thighs work too if you want a little more richness and don’t mind a slightly longer cook.
- Dark soy sauce — This adds color and a deeper, rounder soy flavor. Regular soy sauce alone will taste saltier and look lighter, so use the dark soy if you want that takeout-style finish.
- Oyster sauce — This is what gives the sauce body and that savory, almost silky depth. There isn’t a true one-to-one substitute, but hoisin sauce can work in a pinch; the result will be sweeter and less balanced.
- Freshly cracked black pepper — Ground pepper from the jar won’t hit as hard here. Crack it fresh so the pepper stays fragrant and sharp in the finished dish.
- Cornstarch slurry — This is what turns the sauce from thin to glossy. Whisk it well before adding, because settled cornstarch turns lumpy the second it hits heat.
Getting the Sear, Vegetables, and Sauce in the Right Order
Whisk the Sauce Before the Pan Heats Up
Mix the soy sauce, oyster sauce, dark soy sauce, brown sugar, black pepper, cornstarch, and water in a small bowl before you start cooking. Once the chicken is in the pan, things move fast, and there isn’t time to measure while the garlic is burning. The cornstarch should be fully dissolved so the sauce goes in smooth instead of speckled with dry bits.
Brown the Chicken Without Steaming It
Heat the oil until it shimmers, then add the chicken in a single layer, working in batches if the pan looks crowded. You’re looking for golden edges and opaque centers, not full browning everywhere. If the chicken starts releasing a lot of liquid, the pan is too full or not hot enough, and you need to let that moisture cook off before moving on.
Wake Up the Aromatics Quickly
Add the bell pepper and onion and stir-fry them for about 3 minutes, just until they soften slightly and pick up a little color. Then add the garlic and ginger for only 1 minute. Garlic burns fast in a hot wok, and once it does, the whole dish tastes bitter; the short timing keeps the flavor fresh and sharp.
Finish With the Sauce and Let It Tighten
Return the chicken to the pan, pour in the sauce, and toss everything over high heat until the sauce bubbles and turns glossy. In 2 to 3 minutes, it should coat the chicken in a thin sheen that clings when you stir. If it looks watery, give it another minute; if it turns thick too fast, add a small splash of water and stir until it loosens just enough to glaze.
How to Adapt This Black Pepper Chicken for Different Nights
Make It Gluten-Free
Use gluten-free soy sauce or tamari and check that your oyster sauce is labeled gluten-free. The sauce will still thicken and coat the same way, but the flavor may be a little less deep if your substitute oyster sauce is lighter.
Swap in Chicken Thighs for a Richer Bite
Boneless thighs stay juicier and can handle a little more time in the pan, which makes them forgiving if you’re not chasing exact timing. They bring a softer, richer texture that works well with the pepper sauce.
Dial Back the Heat Without Losing the Pepper Flavor
Use 1 teaspoon of cracked black pepper in the sauce instead of 2, then finish with a small pinch at the end. You’ll still get the peppery aroma, just with a softer bite that works better for kids or anyone sensitive to spice.
Storage and Reheating
- Refrigerator: Store leftovers in an airtight container for up to 4 days. The vegetables soften a bit, but the sauce stays flavorful.
- Freezer: It freezes fairly well for up to 2 months, though the peppers will lose some texture. Freeze cooled chicken and sauce over rice only if you don’t mind a softer result after thawing.
- Reheating: Warm it in a skillet over medium-low heat with a splash of water to loosen the sauce. The biggest mistake is blasting it in the microwave until the chicken turns dry and the sauce tightens into paste.
Answers to the Questions Worth Asking
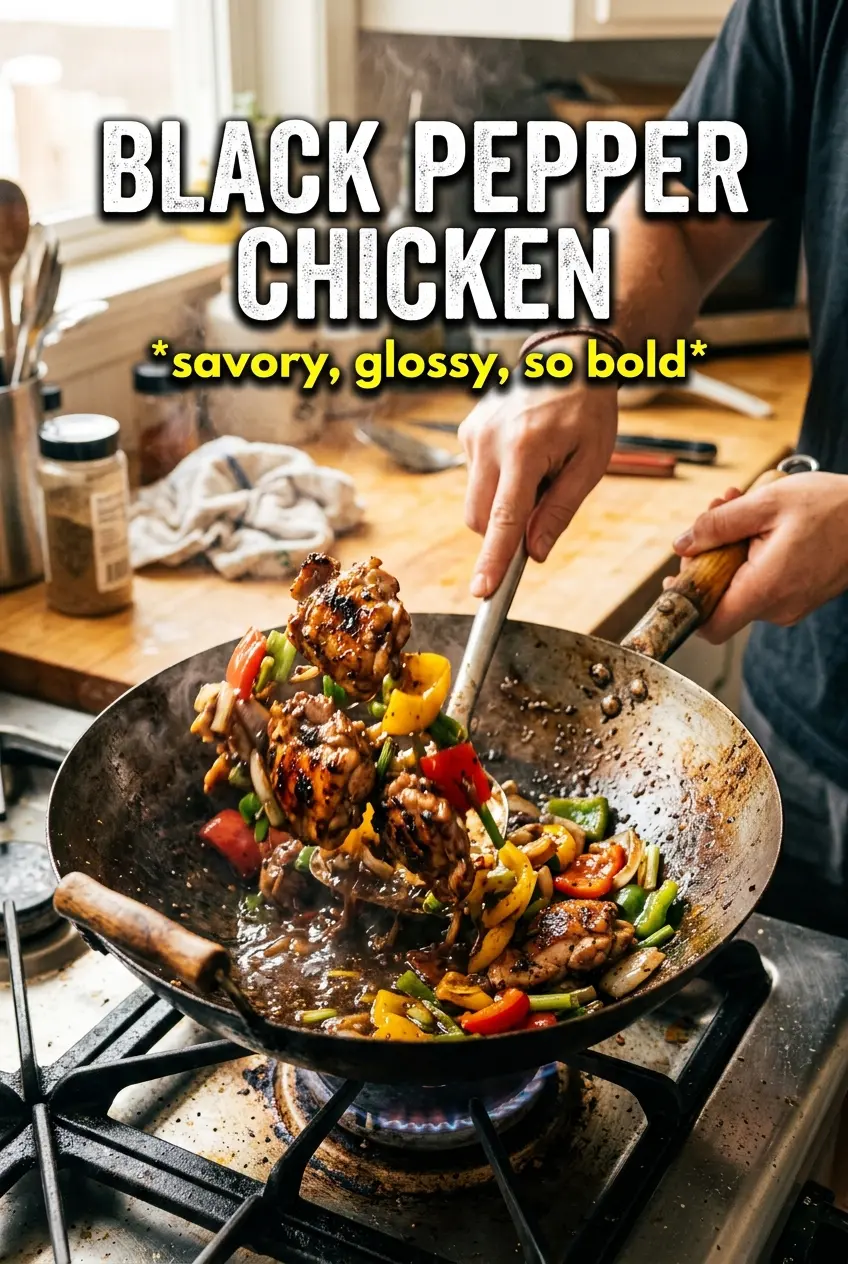
Black Pepper Chicken
Ingredients
Equipment
Method
- Whisk soy sauce, oyster sauce, dark soy sauce, brown sugar, and freshly cracked black pepper until smooth, then set aside.
- Whisk cornstarch with water until no lumps remain, then whisk it into the sauce mixture.
- Heat vegetable oil in a wok or large skillet over high heat, then stir-fry the sliced chicken in batches until golden and remove to a plate.
- Stir-fry the green bell pepper and onion for 3 minutes, keeping the pan hot.
- Add the minced garlic and grated ginger and cook for 1 minute, stirring constantly until fragrant.
- Return the chicken to the pan, pour the sauce over top, and toss to coat every piece.
- Cook for 2-3 minutes until the sauce thickens and clings to the chicken and vegetables, then season with extra cracked black pepper if desired.
- Serve hot over steamed rice.