Blackberry apple crumble hits that sweet spot between soft, jammy fruit and a topping that stays nubby and crisp instead of going sandy or flat. The apples hold their shape just enough, the blackberries bleed into the juices, and every spoonful gets a mix of tart fruit, cinnamon warmth, and buttery crumble. It’s the kind of dessert that disappears fast because it tastes like you worked harder than you did.
The key is balancing the filling before it goes into the oven. Cornstarch thickens the fruit juices as they bubble, lemon juice keeps the apples bright, and a short rest after baking lets everything settle so the filling doesn’t run all over the plate. Cold butter in the topping matters just as much; it melts in pockets, which is what gives you those crisp, craggy bits instead of a paste.
Below, I’ve added the small details that make this crumble dependable: how to tell when the fruit is cooked through, what to do if your blackberries are especially juicy, and a few simple ways to change the topping without losing that classic crumble texture.
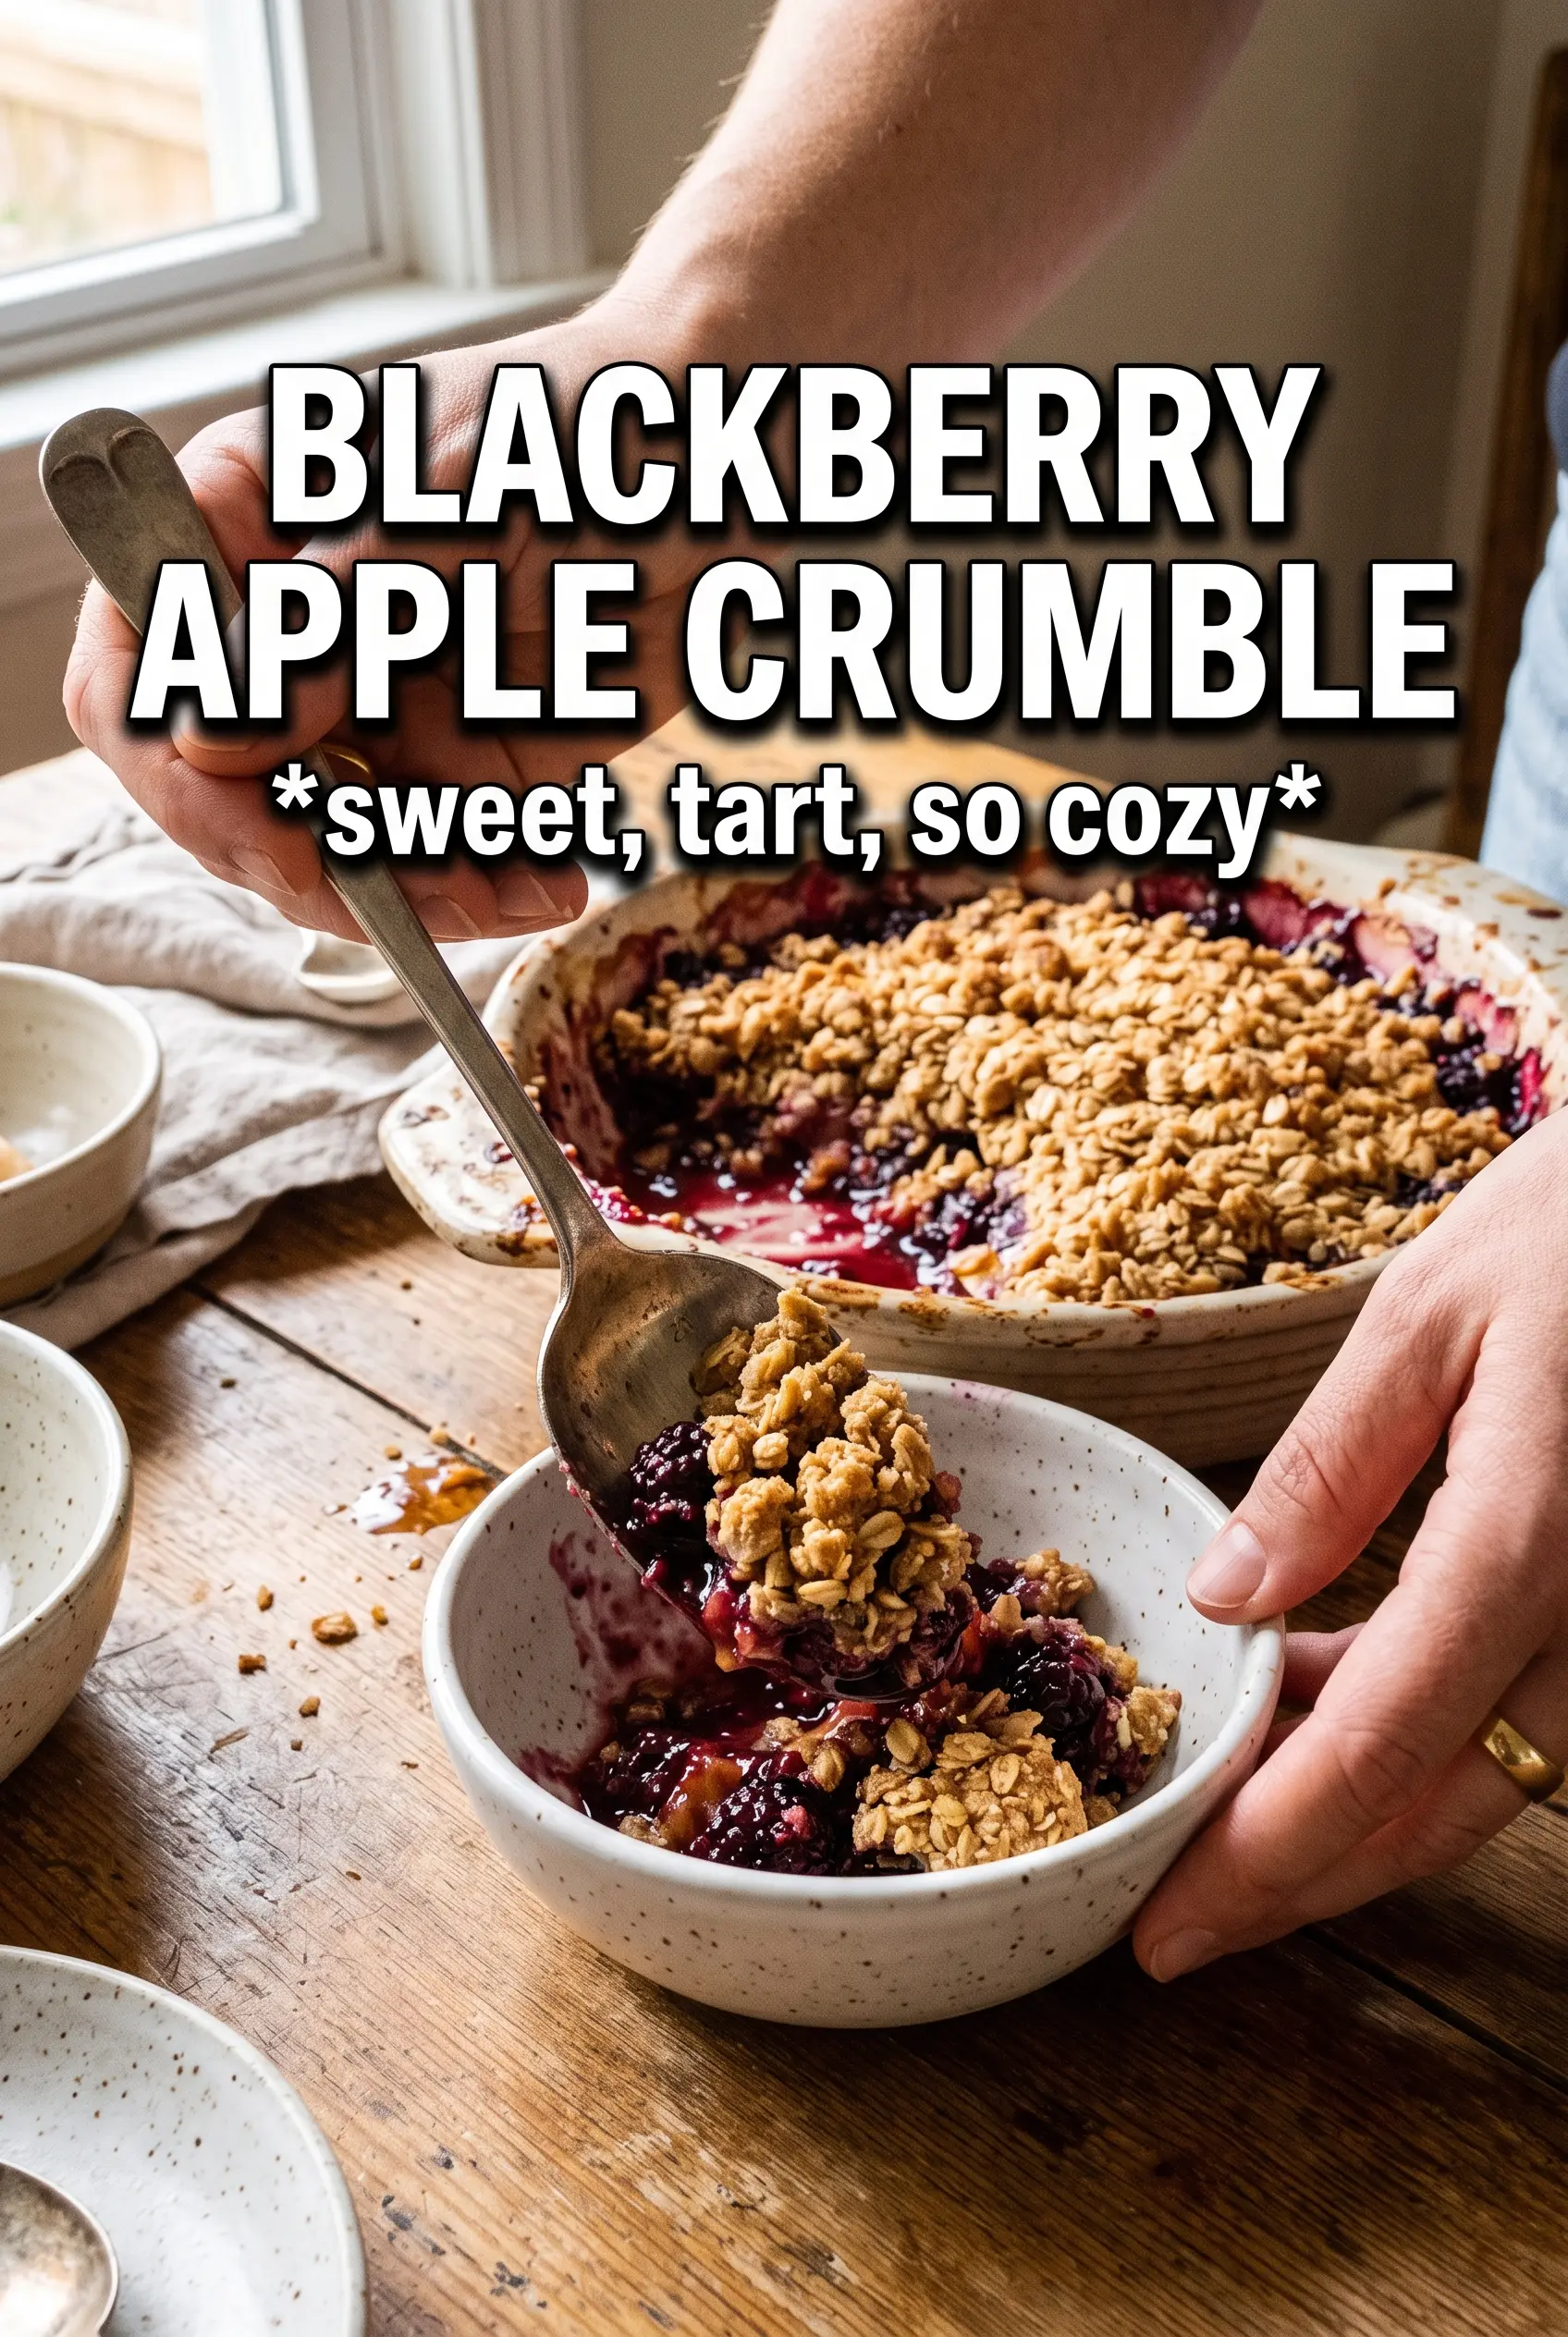
The topping came out crisp and golden, and the blackberry juices thickened instead of turning watery. I baked it in a ceramic dish, and after 10 minutes of resting it sliced up perfectly with ice cream on top.
Pin this blackberry apple crumble for a bubbling fruit filling and crisp oat topping that never goes soggy.
The Reason This Crumble Stays Crisp Instead of Going Soggy
Most crumbles fail in the same place: the fruit lets out juice faster than the topping can handle it, and the whole dessert turns soft underneath before the top has a chance to brown. Cornstarch fixes part of that by thickening the juices as they heat, but the other half of the job is the topping itself. Cold butter, worked into the dry ingredients just until clumps form, gives you pockets that bake up dry and crisp instead of blending into a heavy paste.
The other thing worth paying attention to is the fruit balance. Apples give the filling structure, while blackberries bring the deep color and a sharper bite. If the apples are sliced too thin, they collapse; if they’re too thick, they stay stubbornly firm. Aim for even slices so they soften at the same rate, and don’t skip the rest after baking. That pause lets the juices settle and thicken, which is the difference between a neat scoop and a runny mess.
What Each Ingredient Is Actually Doing in the Dish
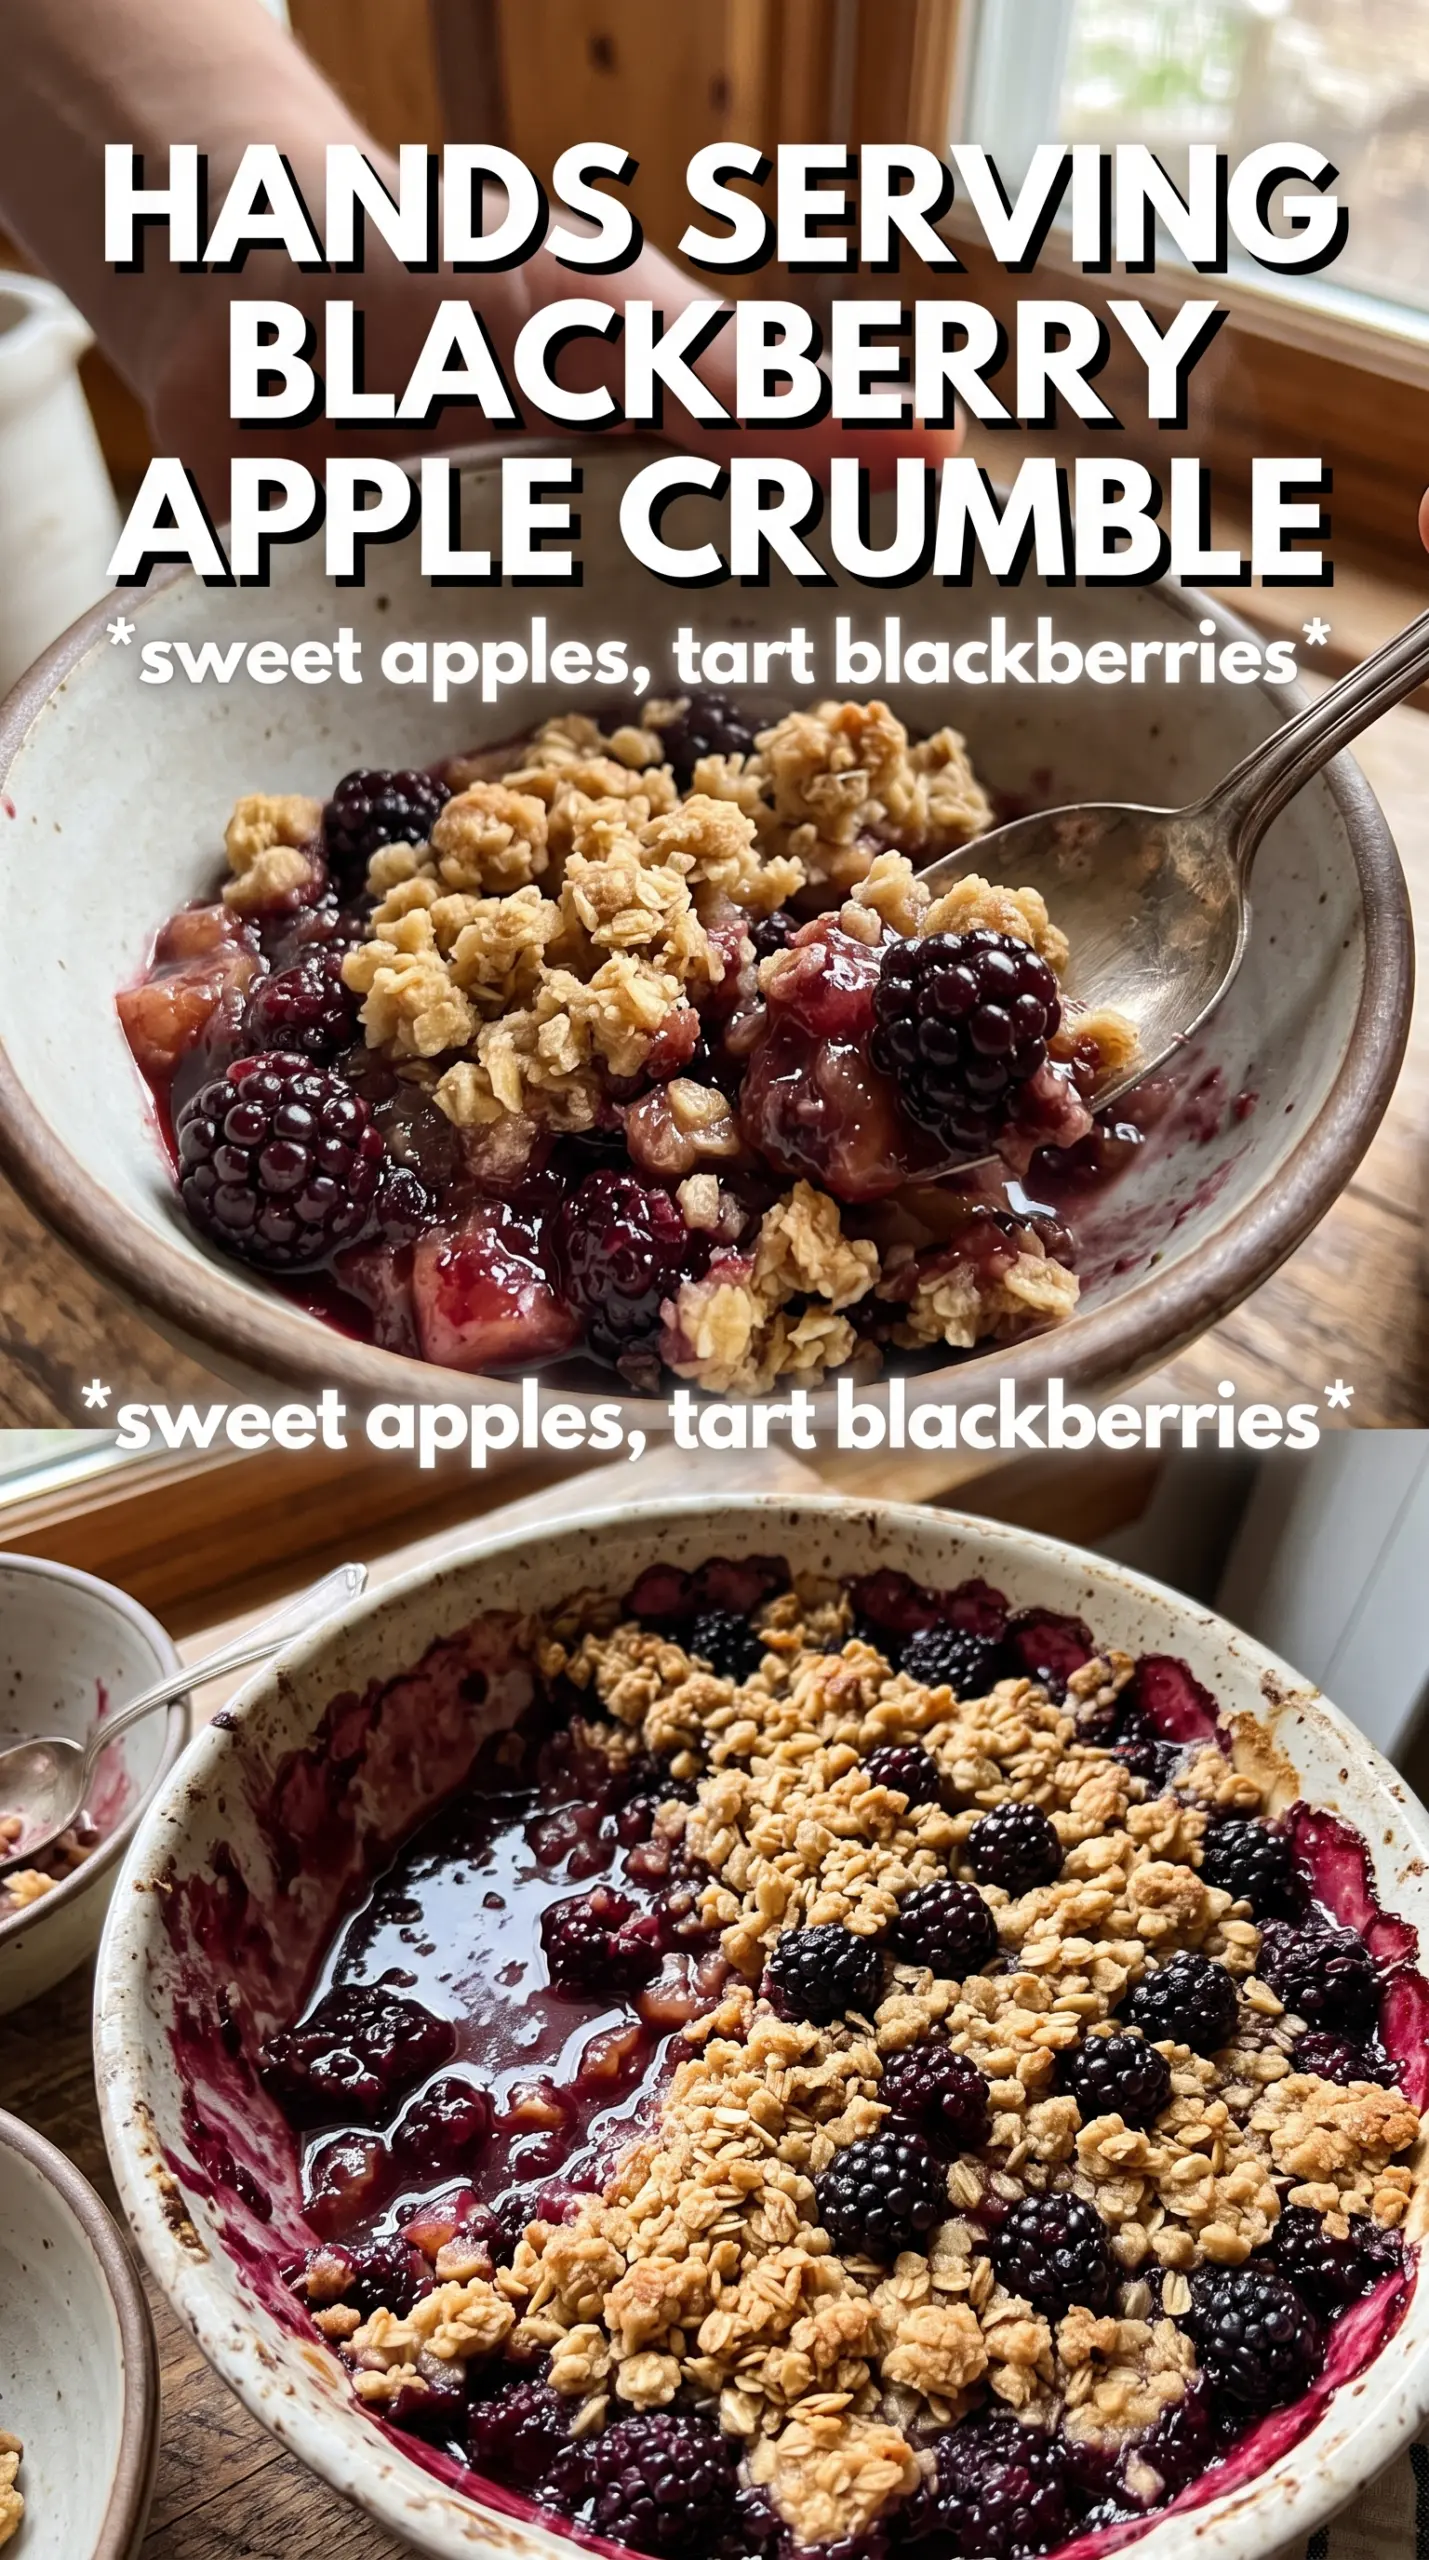
- Apples — Use firm baking apples if you can. They hold their shape and give the filling some body, which matters because blackberries soften fast and turn juicy. If you only have softer apples, slice them a little thicker so they don’t melt away.
- Blackberries — Fresh or frozen both work. Frozen berries don’t need thawing first; just expect a little extra juice and give the crumble the full bake time. Their tartness keeps the dessert from tasting one-note sweet.
- Cornstarch — This is what turns the fruit juices into a glossy, spoonable filling. Flour won’t thicken as cleanly here, and you’ll end up with a cloudier, heavier sauce.
- Rolled oats — They give the topping its rough, craggy texture. Quick oats will work in a pinch, but the crumble will be finer and less rustic.
- Cold unsalted butter — Cold butter is non-negotiable. If it softens before baking, the topping spreads instead of crumbling, and you lose the crisp pockets that make this dessert worth making.
How to Build the Topping and Bake the Fruit Without Overdoing It
Coating the Fruit
Toss the sliced apples and blackberries with the sugar, cornstarch, lemon juice, and cinnamon until everything looks lightly coated rather than wet and soupy. The sugar pulls some juice from the fruit right away, which is normal. Spread the mixture in the baking dish in an even layer so the center and edges cook at the same pace. If the fruit is piled too deep in one spot, the middle will stay undercooked while the top dries out.
Making the Crumble
Mix the flour, oats, brown sugar, cinnamon, and salt first, then cut in the cold butter until the mixture looks like damp gravel with a few larger clumps. Those bigger clumps bake into the best crisp bits. If you keep working the butter until everything looks uniform, the topping turns dense and pasty. Stop as soon as it holds together when squeezed.
Baking Until the Filling Bubbles
Scatter the crumble over the fruit without pressing it down. Bake until the top is deeply golden and you can see the filling bubbling at the edges and in a few spots through the topping. That bubbling is the signal that the cornstarch has thickened the juices; if you pull it early, the filling will look loose even after it cools. If the top browns too fast, lay a loose piece of foil over it for the last 10 minutes.
Resting Before Serving
Let the crumble sit for at least 10 minutes before scooping. The filling tightens as it cools, and that short rest keeps the juices from flooding the plate. Serve it warm with double cream or vanilla ice cream. Cold cream against the hot fruit is part of what makes each bite work.
Three Ways to Adjust This Crumble Without Losing the Texture
Make It Gluten-Free
Swap the all-purpose flour for a good 1:1 gluten-free baking blend. Keep the oats certified gluten-free if cross-contamination matters to you. The texture stays close to the original, though the topping may be a little more delicate when you scoop it.
Use Frozen Fruit Without Thawing
Frozen blackberries can go straight into the dish. Don’t thaw them first or they’ll leak too much juice before baking. If your apples are very juicy too, add an extra teaspoon of cornstarch so the filling still sets properly.
Reduce the Sugar a Little
You can cut the granulated sugar in the filling slightly if your apples are sweet and your berries are ripe, but don’t remove it entirely. Sugar helps draw out the fruit juices and gives the filling that syrupy texture. If you cut the brown sugar in the topping too much, the crumble will bake up paler and less crisp.
Make It Dairy-Free
Use a firm plant-based butter block instead of regular butter. The key is choosing one that stays solid when cold, because spreadable substitutes melt too quickly and can make the topping greasy. The flavor changes a bit, but the crumble texture still works.
Storage and Reheating
- Refrigerator: Store covered for up to 4 days. The topping softens a little in the fridge, but the flavor stays good.
- Freezer: Freeze baked or unbaked in a tightly wrapped dish for up to 2 months. If baking from frozen, add extra time and wait for the filling to bubble through the center.
- Reheating: Warm uncovered in a 325°F oven until the fruit is hot and the top crisps back up. The microwave will soften the crumble and make the topping leathery instead of crisp.
Questions I Get Asked About This Recipe
Blackberry Apple Crumble
Ingredients
Equipment
Method
- Preheat the oven to 375F and grease a 9x13 baking dish.
- Toss apple slices and blackberries with granulated sugar, cornstarch, lemon juice, and cinnamon, then spread evenly in the prepared dish.
- Combine all-purpose flour, rolled oats, brown sugar, cinnamon, and salt, then cut in the cold butter until the mixture looks clumpy with small uneven bits.
- Scatter the crumble topping over the fruit so it covers the surface.
- Bake at 375F for 35-40 minutes, until the topping is golden and the fruit is bubbling at the edges (visual cue: thickened juices bubbling around the perimeter).
- Rest for 10 minutes to let the juices set slightly, then serve with double cream or vanilla ice cream.