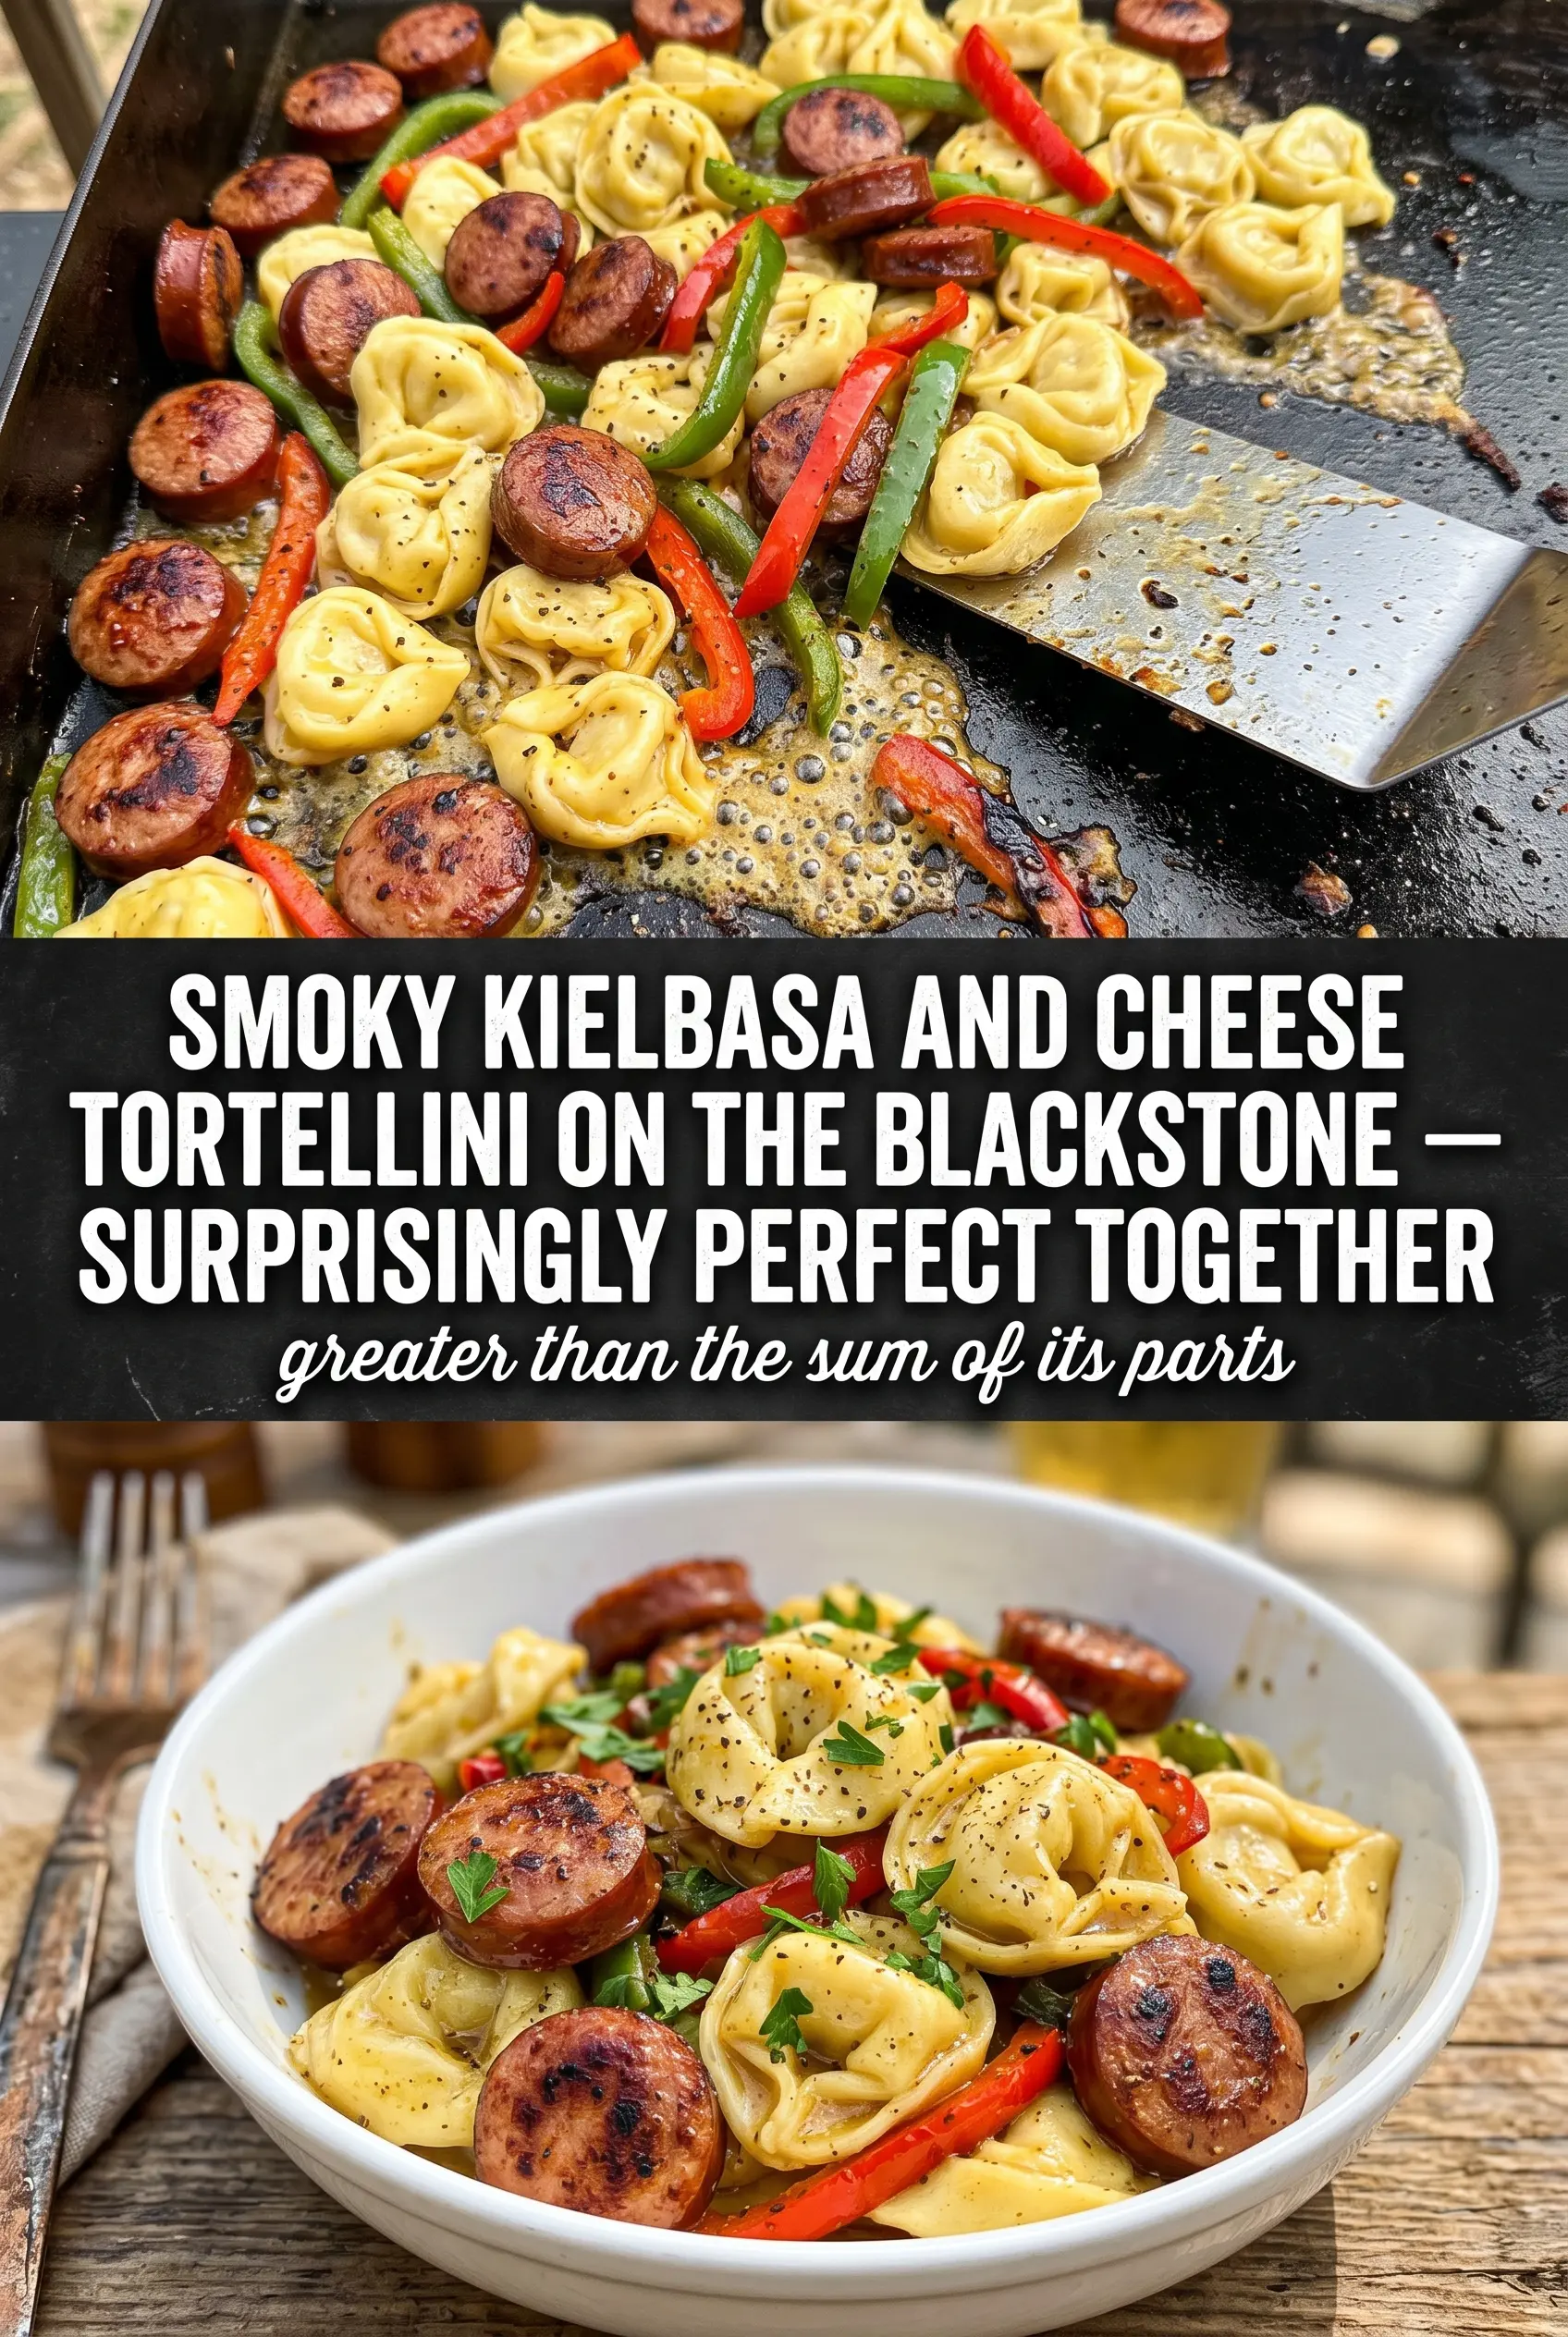
Sliced kielbasa, golden tortellini, and sweet peppers all hitting a hot Blackstone at the same time gives you the kind of dinner that tastes like you worked a lot harder than you did. The sausage turns crisp at the edges, the tortellini picks up a little chew and color, and the tomatoes collapse just enough to coat everything in a light, savory glaze.
What makes this version work is timing. The kielbasa goes first so it can render a little fat and leave browned spots behind, then the peppers and onions soften in that same space before the cooked tortellini goes in at the end. If you add the pasta too early, it goes soft and clumpy instead of getting those toasty edges that make griddle pasta worth making.
Below you’ll find the trick to keeping the tortellini from sticking, the best way to get real color on the sausage, and a few swaps for when you want to use what you’ve already got in the fridge.
The tortellini got those crispy edges on the griddle and the kielbasa stayed juicy. I liked that the tomatoes broke down just enough to coat everything without making it soupy.
Save this Blackstone Grilled Kielbasa and Tortellini for a fast griddle dinner with crisp sausage, caramelized vegetables, and golden pasta.
The Trick Is Letting the Kielbasa Brown Before the Pasta Goes In
The biggest mistake with griddle pasta is crowding everything onto the surface too early. Tortellini cooks fast, and once it gets steamed under a pile of vegetables, it turns soft instead of picking up those little browned spots that give the dish its texture. The kielbasa needs that first stretch on the hot griddle because its edges render and crisp, and that flavor carries through the whole pan.
Keep the griddle hot enough that the sausage sizzles immediately when it lands. If it just sits there and steams, the temperature is too low or the pan is overcrowded. Once the peppers and onions go in, you want them softened but not collapsed; they should still have shape when the tortellini joins the party.
What Each Ingredient Is Doing in This Griddle Dinner
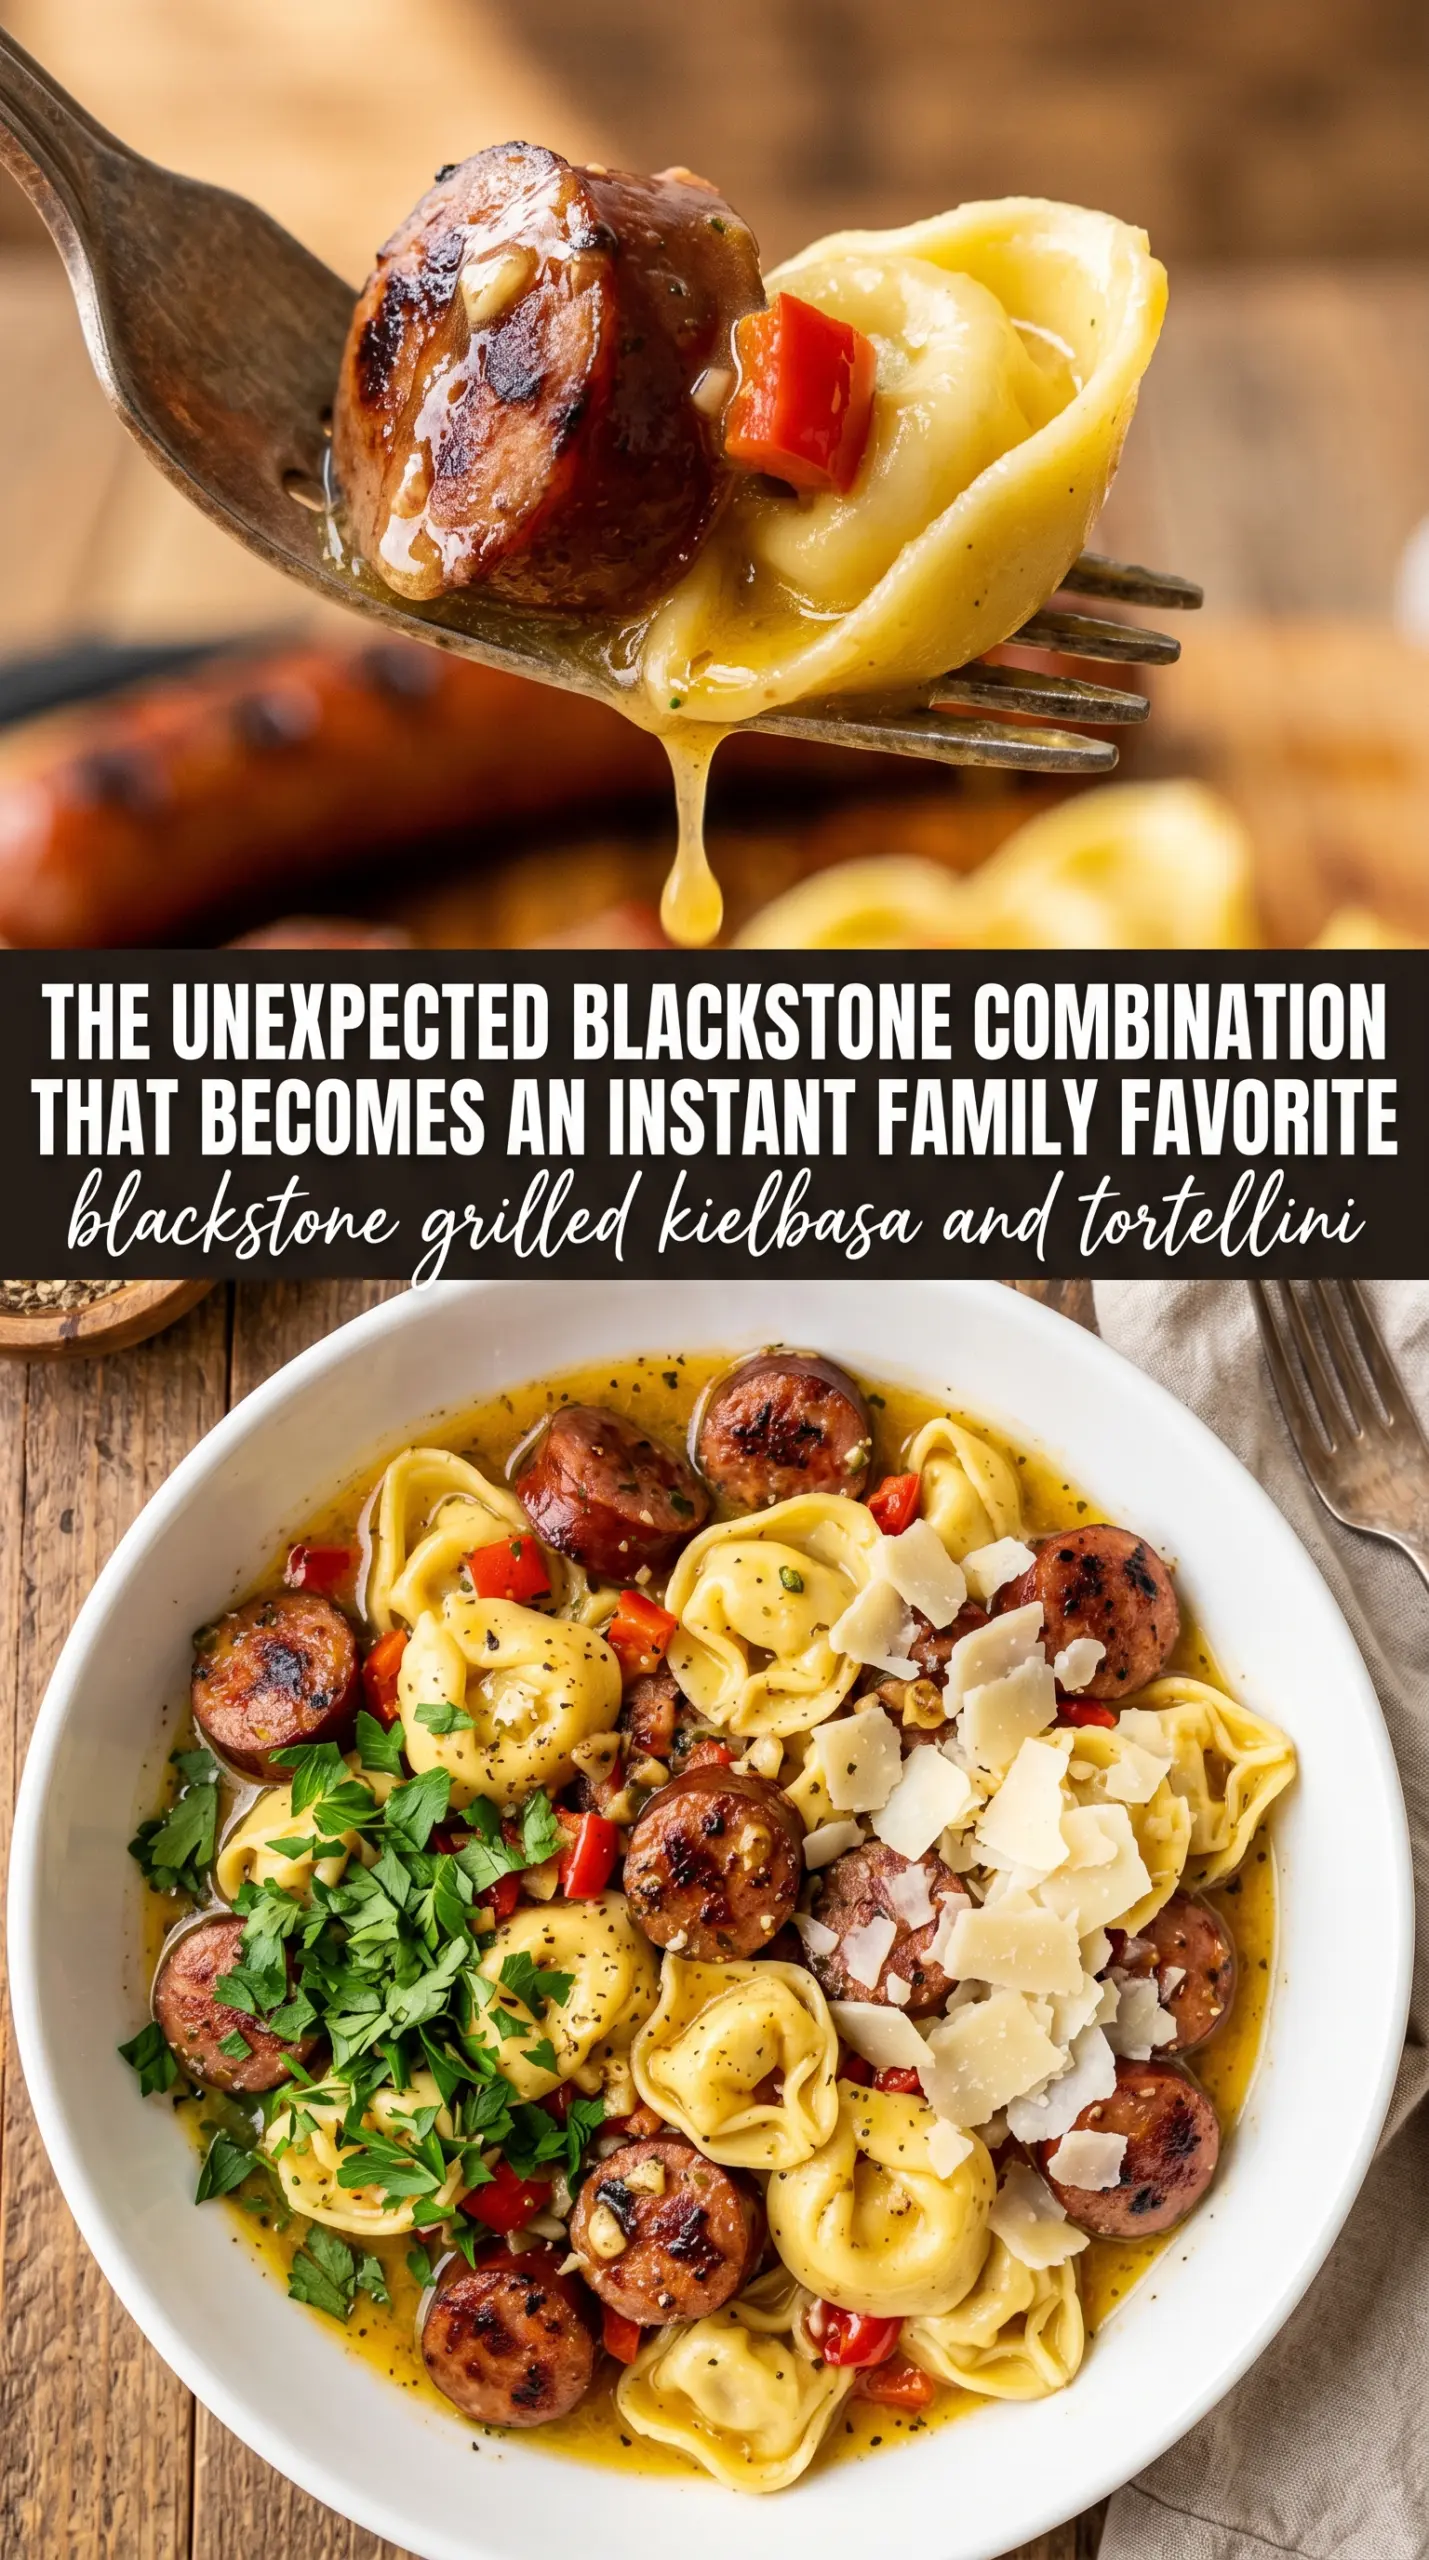
- Kielbasa — This brings the smoky, salty backbone of the dish. Pre-sliced kielbasa is ideal here because the flat sides brown faster than whole links, and that browned surface is where the flavor comes from.
- Cheese tortellini — Use cooked tortellini, not dry. It only needs a few minutes on the griddle to warm through and pick up color, and that short finish keeps it from bursting or turning gummy.
- Bell peppers and onion — These add sweetness and give the dish enough vegetable bulk to feel complete. Dice them fairly evenly so they soften at the same pace; big chunks stay crunchy while smaller pieces disappear.
- Cherry tomatoes — They add juiciness and a little acidity that cuts through the sausage. Once they hit the heat, they should blister and start to slump, not fully dissolve.
- Garlic and Italian seasoning — Garlic goes in late because it burns fast on a hot griddle. Italian seasoning ties the sausage and pasta together, but if yours is older and muted, add a pinch more than you think you need.
- Parmesan and fresh basil — These finish the dish with salt, sharpness, and freshness. Parmesan should be grated fine enough to cling to the tortellini, and the basil goes on at the end so it doesn’t darken or lose its aroma.
How to Get the Griddle Crisp Without Overcooking the Tortellini
Heat the Surface First
Preheat the Blackstone until a drop of oil shimmers right away. That hot surface is what gives the kielbasa a crust before the sausage fat has time to pool and soften everything underneath. If the griddle isn’t hot enough, you’ll get pale sausage and mushy vegetables instead of a proper sear.
Brown the Kielbasa in a Single Layer
Lay the sliced kielbasa flat and leave it alone long enough for the first side to color deeply. Turn each piece after 4 to 5 minutes, when the edges are crisp and the bottom releases easily. If it sticks, it’s not ready yet; forcing it off early tears away the browned crust you’re trying to build.
Soften the Vegetables in the Sausage Drippings
Add the peppers and onion after the kielbasa comes off the hottest part of the griddle. Stir them through the fat and browned bits until the onion turns glossy and the peppers lose their raw bite, about 5 to 6 minutes. If the pan looks dry, add a small drizzle of oil instead of turning the heat down.
Finish With the Tortellini at the End
Add the cooked tortellini, tomatoes, garlic, and Italian seasoning once the vegetables are tender. Toss everything for 3 to 4 minutes just until the pasta is hot and the tomatoes start to burst. The goal is a little color on the tortellini, not a long cook that makes the pasta split and the filling leak out.
Swap the Kielbasa for Chicken Sausage
Chicken sausage works if you want a lighter dish, but it won’t give you the same smoky richness. Add a little extra olive oil and let it brown well so the pan still builds enough flavor before the vegetables go in.
Make It Gluten-Free
Use gluten-free tortellini if you can find it, or swap in another sturdy gluten-free stuffed pasta. Keep the finish short, because gluten-free pasta often softens faster and can go from tender to fragile in a minute or two.
Make It Dairy-Free
Use dairy-free tortellini if available and skip the Parmesan, or finish with a spoonful of nutritional yeast for a salty, savory note. You lose some of the classic creamy finish, but the browned sausage, peppers, and tomatoes still carry the dish.
Add Heat Without Changing the Method
A pinch of crushed red pepper or a few sliced pickled peppers works well here. Add them with the garlic so the heat blooms briefly in the oil instead of getting lost at the very end.
Storage and Reheating
- Refrigerator: Store leftovers in an airtight container for up to 4 days. The tortellini will soften a little as it sits, but the flavor holds well.
- Freezer: It freezes, but the tortellini texture gets softer after thawing. Freeze in a flat, sealed container for up to 2 months if you don’t mind a less springy pasta.
- Reheating: Warm it in a skillet over medium heat with a splash of water or broth. Microwaving works in a pinch, but it tends to overcook the pasta before the center heats through.
Answers to the Questions Worth Asking
Blackstone Grilled Kielbasa and Tortellini
Ingredients
Equipment
Method
- Heat Blackstone griddle to medium-high and add olive oil. You should see a light shimmer across the surface.
- Cook kielbasa slices for 4-5 minutes per side until browned and crispy. Look for visible char marks and caramelized edges.
- Add diced bell peppers and onion, cooking for 5-6 minutes until softened. Stir occasionally so peppers and onions pick up browned spots.
- Add cooked tortellini, halved cherry tomatoes, minced garlic, and Italian seasoning, then toss everything together. The mixture should look evenly coated and glossy.
- Cook for 3-4 minutes until heated through and slightly crispy. You should see toasted edges on the tortellini.
- Season with salt and pepper to taste, then top with grated Parmesan cheese and fresh basil. Finish when the cheese looks partially melted and the basil is bright green.